TL;DR
Windows向けで初期サイズ固定のアプリを作成する場合、ウィンドウサイズを指定してもフレームで指定より小さくなるので、
ウィンドウをフレームレスにして角丸、タイトルバーを別途実装したほうがいい。
macOSだと影響は受けないのでWindowsのみを対応すればいいかと。
使用パッケージはwindow_manager、マルチウィンドウを取り扱うのなら拡張したパッケージのwindow_manager_plusを使いたい。
環境
Flutter 3.24.4 • channel stable • https://github.com/flutter/flutter.git
Tools • Dart 3.5.4 • DevTools 2.37.3
fvm 3.2.1
Windows 11 Pro 23H2開発者モード
macOS Sonoma 14.7
VS Code 1.95.2
Desktop向けFlutterの作成
作業ディレクトリを作成して、中からCLIで空のプロジェクト作成し起動します。
$ flutter create --platforms=windows,macos -e .
$ flutter run
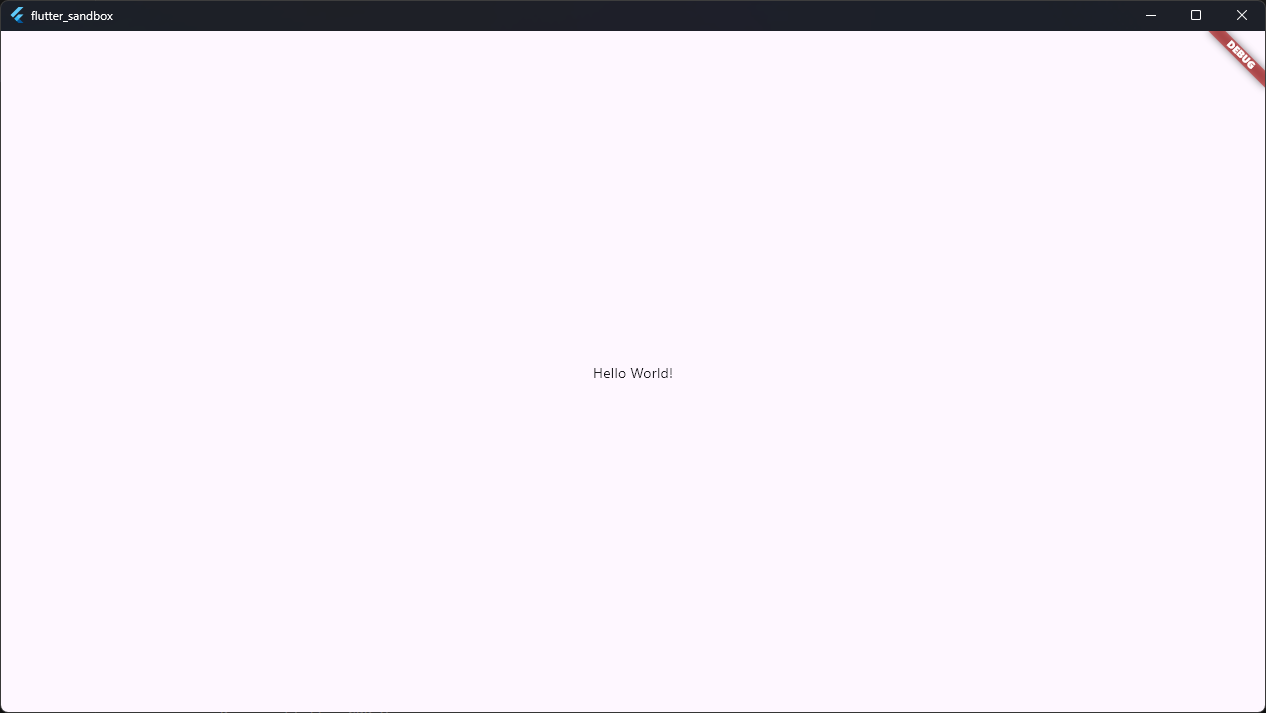
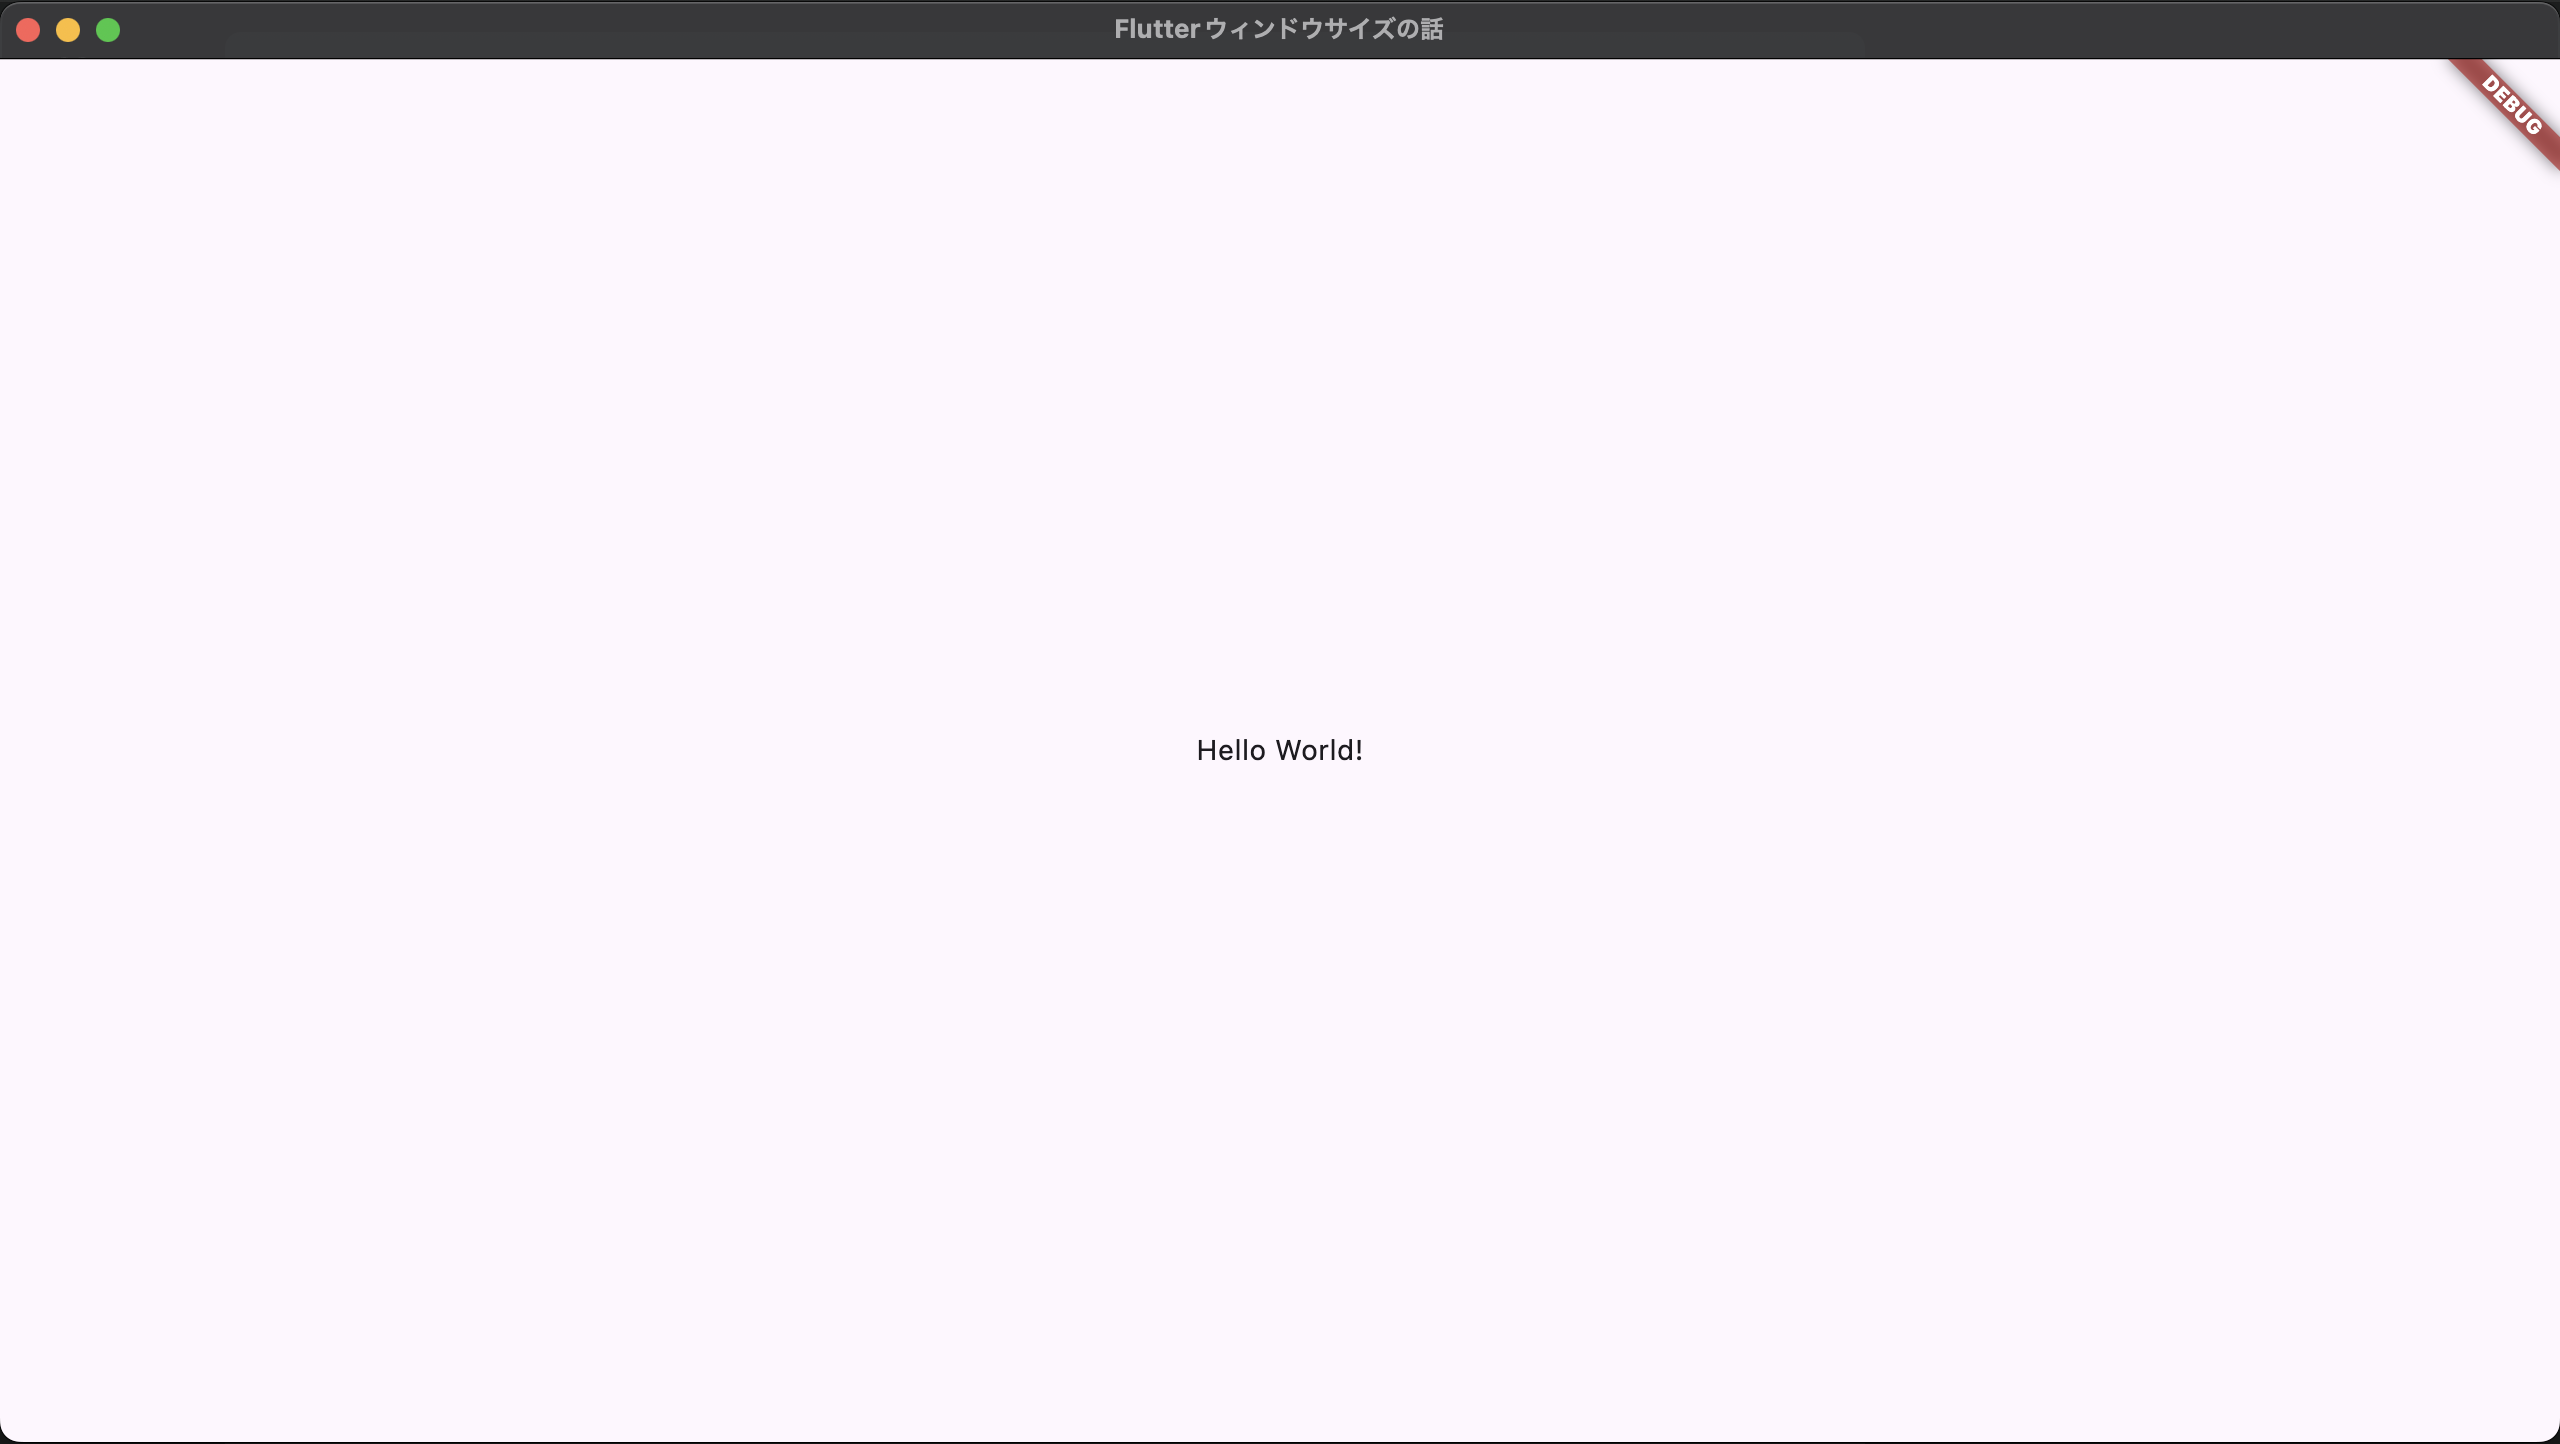
この時点でデフォルトサイズのウィンドウが開き、スクリーンショットで確認するとWindowsだと1266 * 713になっていて、macOSだと800 * 628になっています。
ウィンドウ管理パッケージの導入
上記の記事を参考にしてひとまずwindow_managerを導入します。
dependencies:
  flutter:
    sdk: flutter
+ window_manager: ^0.4.3
ウィンドウサイズ指定してアプリを起動
パッケージをインポートして、main()を以下のように変更します。
起動時のウィンドウオプションを指定して、ウィンドウのサイズと位置を明示するとします。
import 'package:window_manager/window_manager.dart';

void main() async {
  // 初期化
  WidgetsFlutterBinding.ensureInitialized();

  // window_managerを初期化
  windowManager.ensureInitialized();
  // ウィンドウプロパティを指定
  WindowOptions windowOptions = const WindowOptions(
    size: Size(1280, 720),
    center: true,
  );

  // ウィンドウを表示
  windowManager.waitUntilReadyToShow(windowOptions, () async {
    await windowManager.show();
    await windowManager.focus();
  });

  runApp(const MainApp());
}
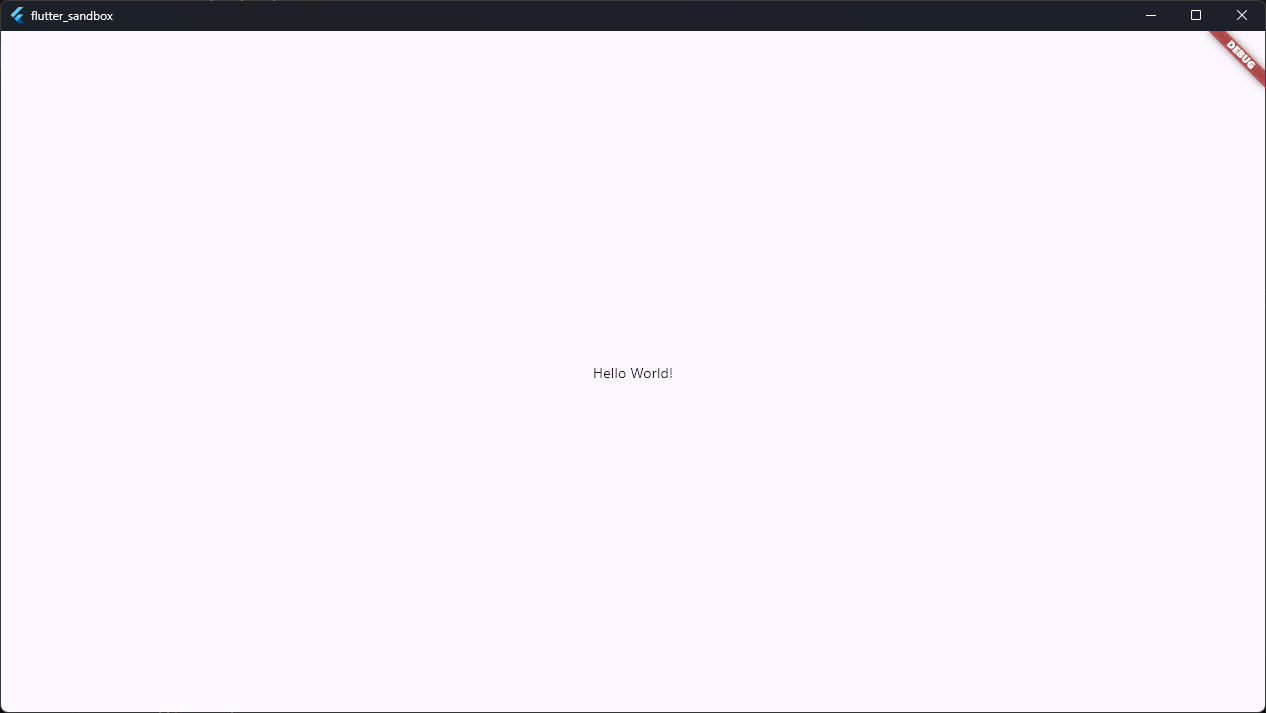
これで起動してウィンドウサイズを確認すると…
macOSだと問題ないのに、Windowsだと微妙に小さくなりました。
ちなみにwindows/runner/main.appでウィンドウサイズをハードコードしても直りませんでした。
原因と解決案
問題の正体はWindowsアプリケーションのフレームにあり、これを消せば指定サイズの通りのウィンドウが生成されます。
windowManager.waitUntilReadyToShowの先頭に1行追加してウィンドウをフレームレスにします。
  windowManager.waitUntilReadyToShow(windowOptions, () async {
+   await windowManager.setAsFrameless();
    await windowManager.show();
    await windowManager.focus();
  });
が、フレームを無くすと代わりに以下の問題があります。
- タイトルバーがなくなる
- ウィンドウコントロールボタンがなくなる
- Windowsの場合
- 角が丸くなくなります。
- ウィンドウをドラッグで動かせなくなる
- ウィンドウのサイズ調整もできなくなる
これらを1つずつ解決します。
ウィンドウを角丸化
MainAppクラスのbuild関数でScaffoldを右クリック>リファクター...>Wrap with widgetで、
Scaffoldを子としてWidgetで囲います。
widgetの部分はClipRRectに書き換え、半径指定して角を丸くします。
Windowsならデフォルトアプリは7.5になってますので合わせると良いでしょう。
macOSの場合デフォルトですでに9.5の角丸が適用されており、これより小さく設定しても無視されます。
  @override
  Widget build(BuildContext context) {
    return const MaterialApp(
      home: ClipRRect(
        borderRadius: const BorderRadius.all(Radius.circular(7.5)),
        child: Scaffold(
          body: Center(
            child: Text('Hello World!'),
          ),
        ),
      ),
    );
  }
ただ、このままだと角の削られた部分が黒く表示されます。
解消するのにmain()にあるwindowOptionsで背景色を透明と指定します。
  WindowOptions windowOptions = const WindowOptions(
    size: Size(1280, 720),
+    backgroundColor: Colors.transparent,
    center: true,
  );
ウィンドウをドラッグで位置調整できるようにする
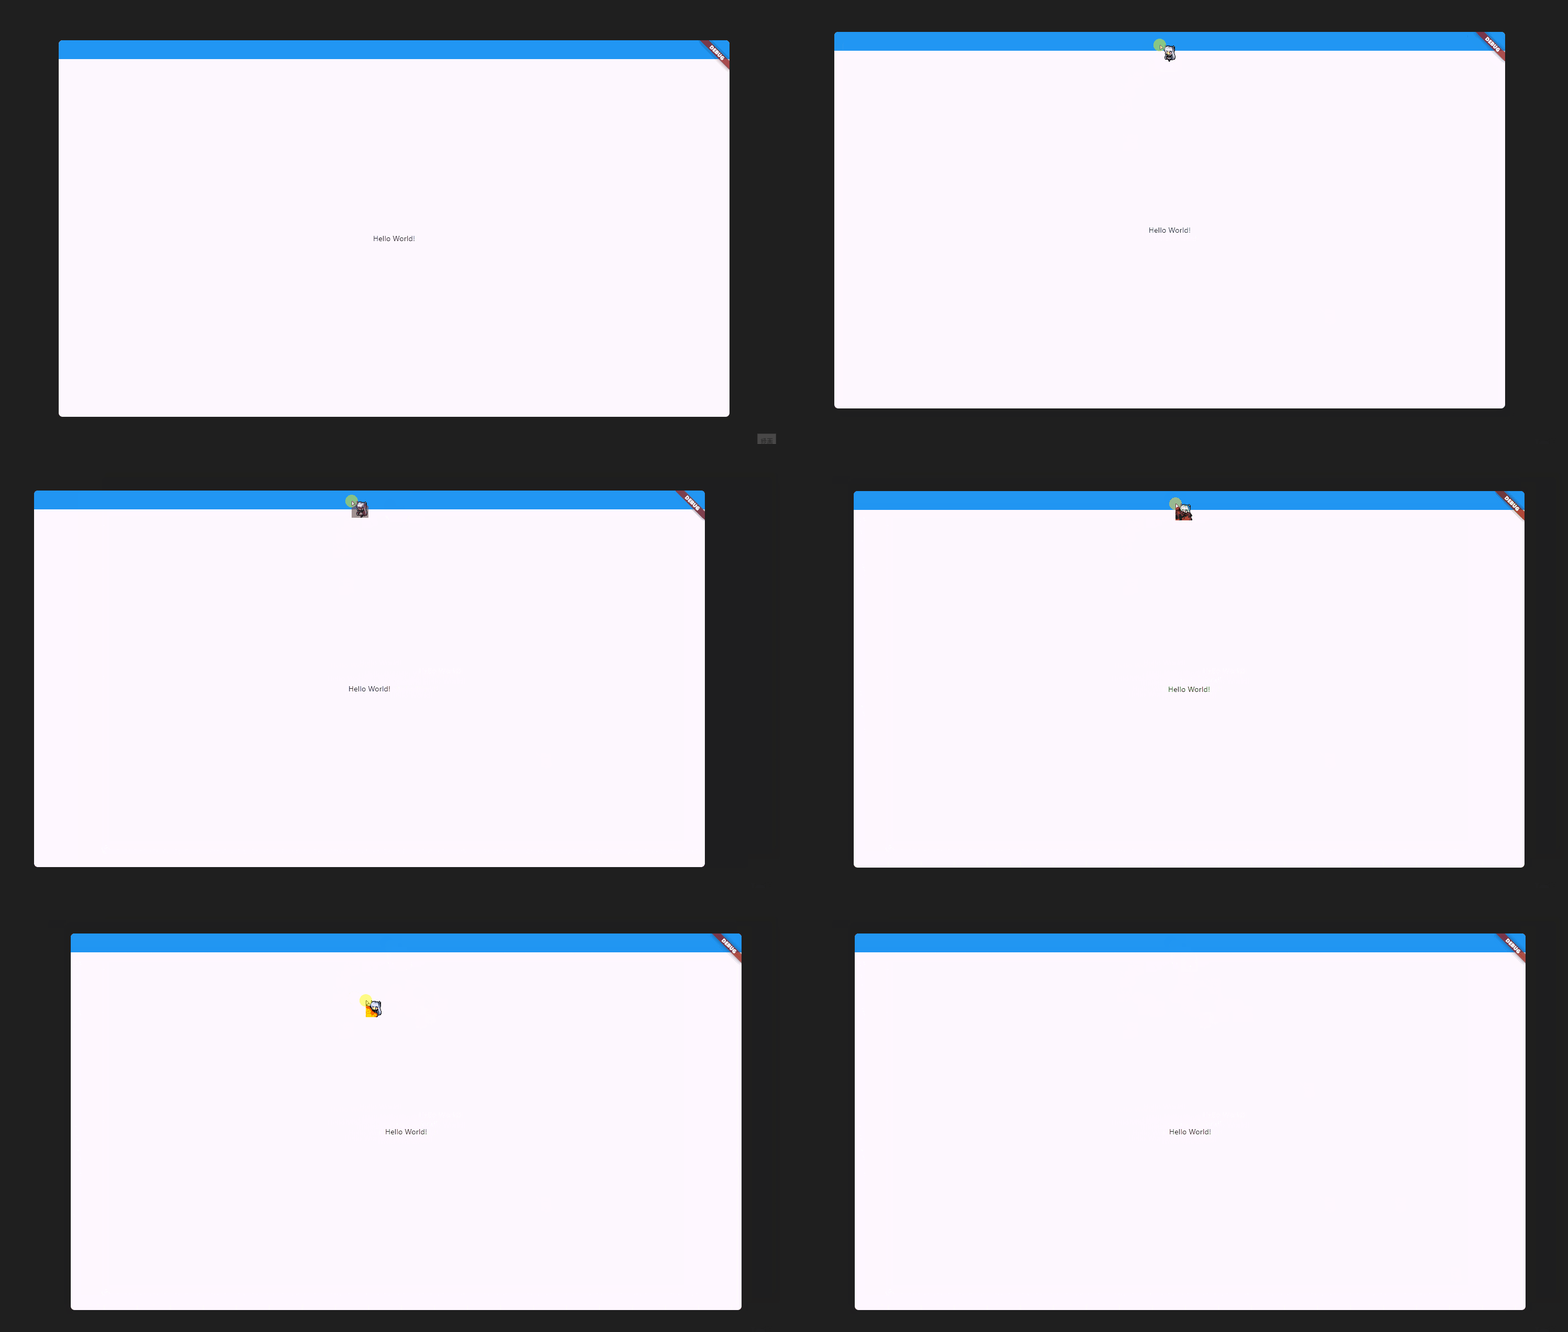
ドラッグしてウィンドウの位置を調整できる場所を決めます。
ここは例として、Scaffoldの子をColumnにして、上部にタイトルバーの仮置きとして青いContainerを配置しました。
  @override
  Widget build(BuildContext context) {
    return MaterialApp(
      home: ClipRRect(
        borderRadius: const BorderRadius.all(Radius.circular(7.5)),
        child: Scaffold(
          body: Column(
            children: [
              Expanded(
                flex: 1,
                child: Container(
                  color: Colors.blue,
                ),
              ),
              const Expanded(
                flex: 19,
                child: Center(
                  child: Text('Hello World!'),
                ),
              ),
            ],
          ),
        ),
      ),
    );
  }
あとはこの青いContainerをDragToMoveAreaを囲えば、青いContainer部をドラッグしてウィンドウを移動できるようになります。
              Expanded(
                flex: 1,
+               child: DragToMoveArea(
                  // タイトルバー代わりのContainer
                  child: Container(
                    color: Colors.blue,
                  ),
+               ),
              ),
ドラッグして移動する部分のダブルクリックを無効化
実装上、DragToMoveAreaはドラッグして移動できるだけではなく、ダブルクリックしてウィンドウの最大化もできるようになっています。
もしこの動作が必要なければ、以下を参考にして実装をoverrideするかGestureDetectorを使えば大丈夫かと思います。
class CustomDragToMoveArea extends DragToMoveArea {
  const CustomDragToMoveArea({super.key, required super.child});

  @override
  Widget build(BuildContext context) {
    return GestureDetector(
      behavior: HitTestBehavior.translucent,
      onPanStart: (details) {
        windowManager.startDragging();
      },
      child: child,
    );
  }
}
ウィンドウのサイズ調整を可能にする
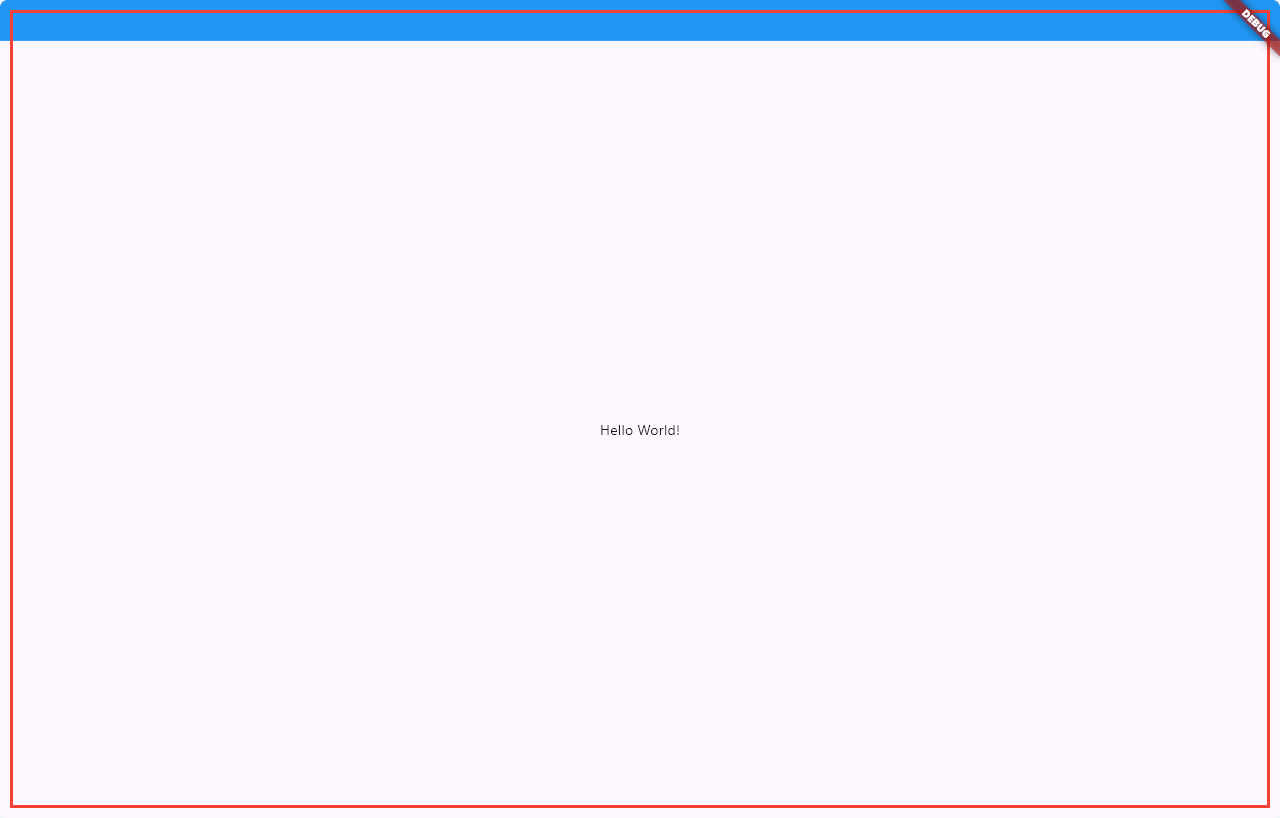
DragToResizeAreaで囲って、ドラッグしてウィンドウサイズを調整できる箇所を指定します。
ここでは、ウィンドウ全体でサイズ調整できるようにScaffoldを指定します。
  @override
  Widget build(BuildContext context) {
    return MaterialApp(
      home: ClipRRect(
        borderRadius: const BorderRadius.all(Radius.circular(7.5)),
+       child: DragToResizeArea(
          child: Scaffold(
            body: Column(
              children: [
                Expanded(
                  flex: 1,
                  child: DragToMoveArea(
                    child: Container(
                      color: Colors.blue,
                    ),
                  ),
                ),
                const Expanded(
                  flex: 19,
                  child: Center(
                    child: Text('Hello World!'),
                  ),
                ),
              ],
            ),
          ),
+       ),
      ),
    );
  }
childの他に指定できる要素として、
- サイズ調整に使えるエッジ・角の指定
- サイズ調整用の縁の色
- サイズ調整用の縁と外周との距離
- サイズ調整用の縁の幅
があります。
うまく使えば縁の判定を甘くしたり、変な場所でサイズ調整できるようになったりします。
          resizeEdgeColor: Colors.red,
          resizeEdgeMargin: const EdgeInsets.all(10.0),
          resizeEdgeSize: 3,
タイトルバーとウィンドウコントロールを追加
タイトルバーのContainerにchildとしてWindowCaption()を追加すれば、Windows風のウィンドウコントロールが表示され使用可能になります。
WindowCaption()を使うことでDragToMoveAreaを指定する必要もなくなります。
引数にタイトル、背景色も指定できます。
                Expanded(
                  flex: 1,
-                 child: DragToMoveArea(
-                   child: Container(
-                     color: Colors.blue,
-                   ),
-                 ),
+                 child: WindowCaption(
+                   title: Text(
+                     'test',
+                     style: TextStyle(color: Colors.black),
+                   ),
+                   backgroundColor: Colors.amber,
+                 ),
                ),
ただし、このままではmacOSでアプリを起動してもWindows風のウィンドウコントロールが表示されるし、
このタイトルバーは違う…って方向けに自作することもできます。
例として、DragToMoveArea>Containerのchildとして以下のWidgetを追加します。
Row(
  mainAxisAlignment: MainAxisAlignment.end,
  children: [
    IconButton(
        onPressed: () {
          windowManager.minimize();
        },
        icon: Icon(Icons.minimize)),
    IconButton(
        onPressed: () async {
          bool isMaximized =
              await windowManager.isMaximized();
          if (isMaximized) {
            windowManager.unmaximize();
          } else {
            windowManager.maximize();
          }
        },
        icon: Icon(Icons.rectangle_outlined)),
    IconButton(
        onPressed: () {
          windowManager.close();
        },
        icon: Icon(Icons.close)),
  ],
),
ボタンのonPressed動作にそれぞれ最小化、最大化・戻す、閉じるを割り当てました。
これでひととおりウィンドウの操作ができるようになりましたので、あとは需要に合わせてタイトルを追加したり他のボタンを足したりしてカスタムすればいいかと思います。
macOSはmacOSで元のタイトルバーかウィンドウコントロールを使いたい!って時に
dart.ioのPlatform.is*で使っているOSの判定ができます。
これを使って、OSごとで処理を分岐させることができます。
macOSの方で元のタイトルバーもしくはウィンドウコントロールを使いたい場合、main()を以下のように変更します。
void main() async {
  // 初期化
  WidgetsFlutterBinding.ensureInitialized();

  // window_managerを初期化
  windowManager.ensureInitialized();
  // ウィンドウプロパティを指定
  WindowOptions windowOptions = WindowOptions(
    size: const Size(1280, 720),
    backgroundColor: Colors.transparent,
    center: true,
+   // ウィンドウのタイトル
+   title: 'Flutterウィンドウサイズの話',
+   // タイトルバーのスタイル、`normal`で通常表示、`hidden`で非表示
+   // ウィンドウがフレームレスの場合、非表示される
+   titleBarStyle: Platform.isMacOS ? TitleBarStyle.normal : null,
+   // ウィンドウコントロールの表示、trueで表示
+   // ウィンドウがフレームレスの場合、非表示される
+   windowButtonVisibility: Platform.isMacOS ? true : null,
+   // タスクバーで非表示にするかどうかの設定
+   skipTaskbar: false,
  );

  // ウィンドウを表示
  windowManager.waitUntilReadyToShow(windowOptions, () async {
    // Windowsの場合フレームレス化
-   await windowManager.setAsFrameless();
+   if (Platform.isWindows) await windowManager.setAsFrameless();
    await windowManager.show();
    await windowManager.focus();
  });

  runApp(const MainApp());
}
レイアウトもWindowsとmacOSで切り替えるようにします。
まずはそれぞれのOS向けのレイアウトWidgetを作成します。
長いので折り畳めます。
class LayoutForWindows extends StatefulWidget {
  final Widget child;
  const LayoutForWindows({super.key, required this.child});

  @override
  State<LayoutForWindows> createState() => _LayoutForWindowsState();
}

class _LayoutForWindowsState extends State<LayoutForWindows> {
  @override
  Widget build(BuildContext context) {
    return ClipRRect(
      // Windowsのデフォルトアプリでは半径7.5になっているので合わせる
      borderRadius: const BorderRadius.all(Radius.circular(7.5)),
      // ドラッグしてウィンドウのサイズを調整できる範囲を指定
      child: DragToResizeArea(
        child: Scaffold(
          body: Column(
            children: [
              Expanded(
                flex: 1,
                // ドラッグしてウィンドウを移動できる範囲を指定
                child: DragToMoveArea(
                  // タイトルバー代わりのContainer
                  child: Container(
                    color: Colors.blue,
                    child: Row(
                      mainAxisAlignment: MainAxisAlignment.end,
                      children: [
                        // 最小化
                        IconButton(
                            onPressed: () {
                              windowManager.minimize();
                            },
                            icon: const Icon(Icons.minimize)),
                        // 最大化・戻す
                        IconButton(
                            onPressed: () async {
                              bool isMaximized =
                                  await windowManager.isMaximized();
                              if (isMaximized) {
                                windowManager.unmaximize();
                              } else {
                                windowManager.maximize();
                              }
                            },
                            icon: const Icon(Icons.rectangle_outlined)),
                        // 閉じる
                        IconButton(
                            onPressed: () {
                              windowManager.close();
                            },
                            icon: const Icon(Icons.close)),
                      ],
                    ),
                  ),
                ),
              ),
              Expanded(
                flex: 19,
                child: widget.child,
              ),
            ],
          ),
        ),
      ),
    );
  }
}

/// macOS向けのレイアウトを提供するウィジェット。
///
/// このウィジェットは、macOSのデスクトップアプリケーションで使用するレイアウトを提供します。
/// Windowsのようなカスタムタイトルバーやウィンドウ操作ボタンは含まれていません。
///
/// - [child] は、ウィンドウの主要な内容を表示するウィジェットです。
class LayoutForMacOS extends StatefulWidget {
  final Widget child;
  const LayoutForMacOS({super.key, required this.child});

  @override
  State<LayoutForMacOS> createState() => _LayoutForMacOSState();
}

class _LayoutForMacOSState extends State<LayoutForMacOS> {
  @override
  Widget build(BuildContext context) {
    return Scaffold(
      body: widget.child,
    );
  }
}
これでMainAppクラスもかなりスッキリします。
Widget childはテキトーに作ったメインコンテンツ変数なんて適宜に変更してください。
class MainApp extends StatelessWidget {
  const MainApp({super.key});

  @override
  Widget build(BuildContext context) {
    Widget child = const Center(
      child: Text('Hello World!'),
    );
    return MaterialApp(
      home: Platform.isWindows
          ? LayoutForWindows(child: child)
          : LayoutForMacOS(child: child),
    );
  }
}
サンプルコード
最終的にコードは以下のようになりました。
おまけ
今回使ったwindow_managerパッケージを拡張したwindow_manager_plusというパッケージがありますが、こちらのほうでは複数ウィンドウを取り扱うことも、ウィンドウ間でのデータやり取りもできます。
状況に応じて使いたいと思います。
