この記事はつい先日初めてGitHubアクション・テストを触り始めた学生がアウトプット目的として随筆した記事です。
ベストプラクティスなどではない可能性がありますがご了承ください。
対象
- Flutterのテストについてある程度理解のある方(私自身最近触り始めたので、テストについての説明はできる自信がないので)
- GitHubActionsでテストを自動化してみたい方
本記事ではGitHubActionsでMacOSを利用します。Publicリポジトリでは問題ありませんが、Privateリポジトリでは無料枠に制限があり、Linuxの10倍枠を消費します。
やること
本記事では、AndroidとiOSの実機テストを自動化します。
WidgetテストやUnitテストと異なる点としては、OSネイティブ機能のテストができる点です。(例えばデータ保存など)
私自身が実機テストをやろうと思った理由は、このデータ保存がしっかりできているのかな〜?という軽い理由で始めました。
サンプルアプリ
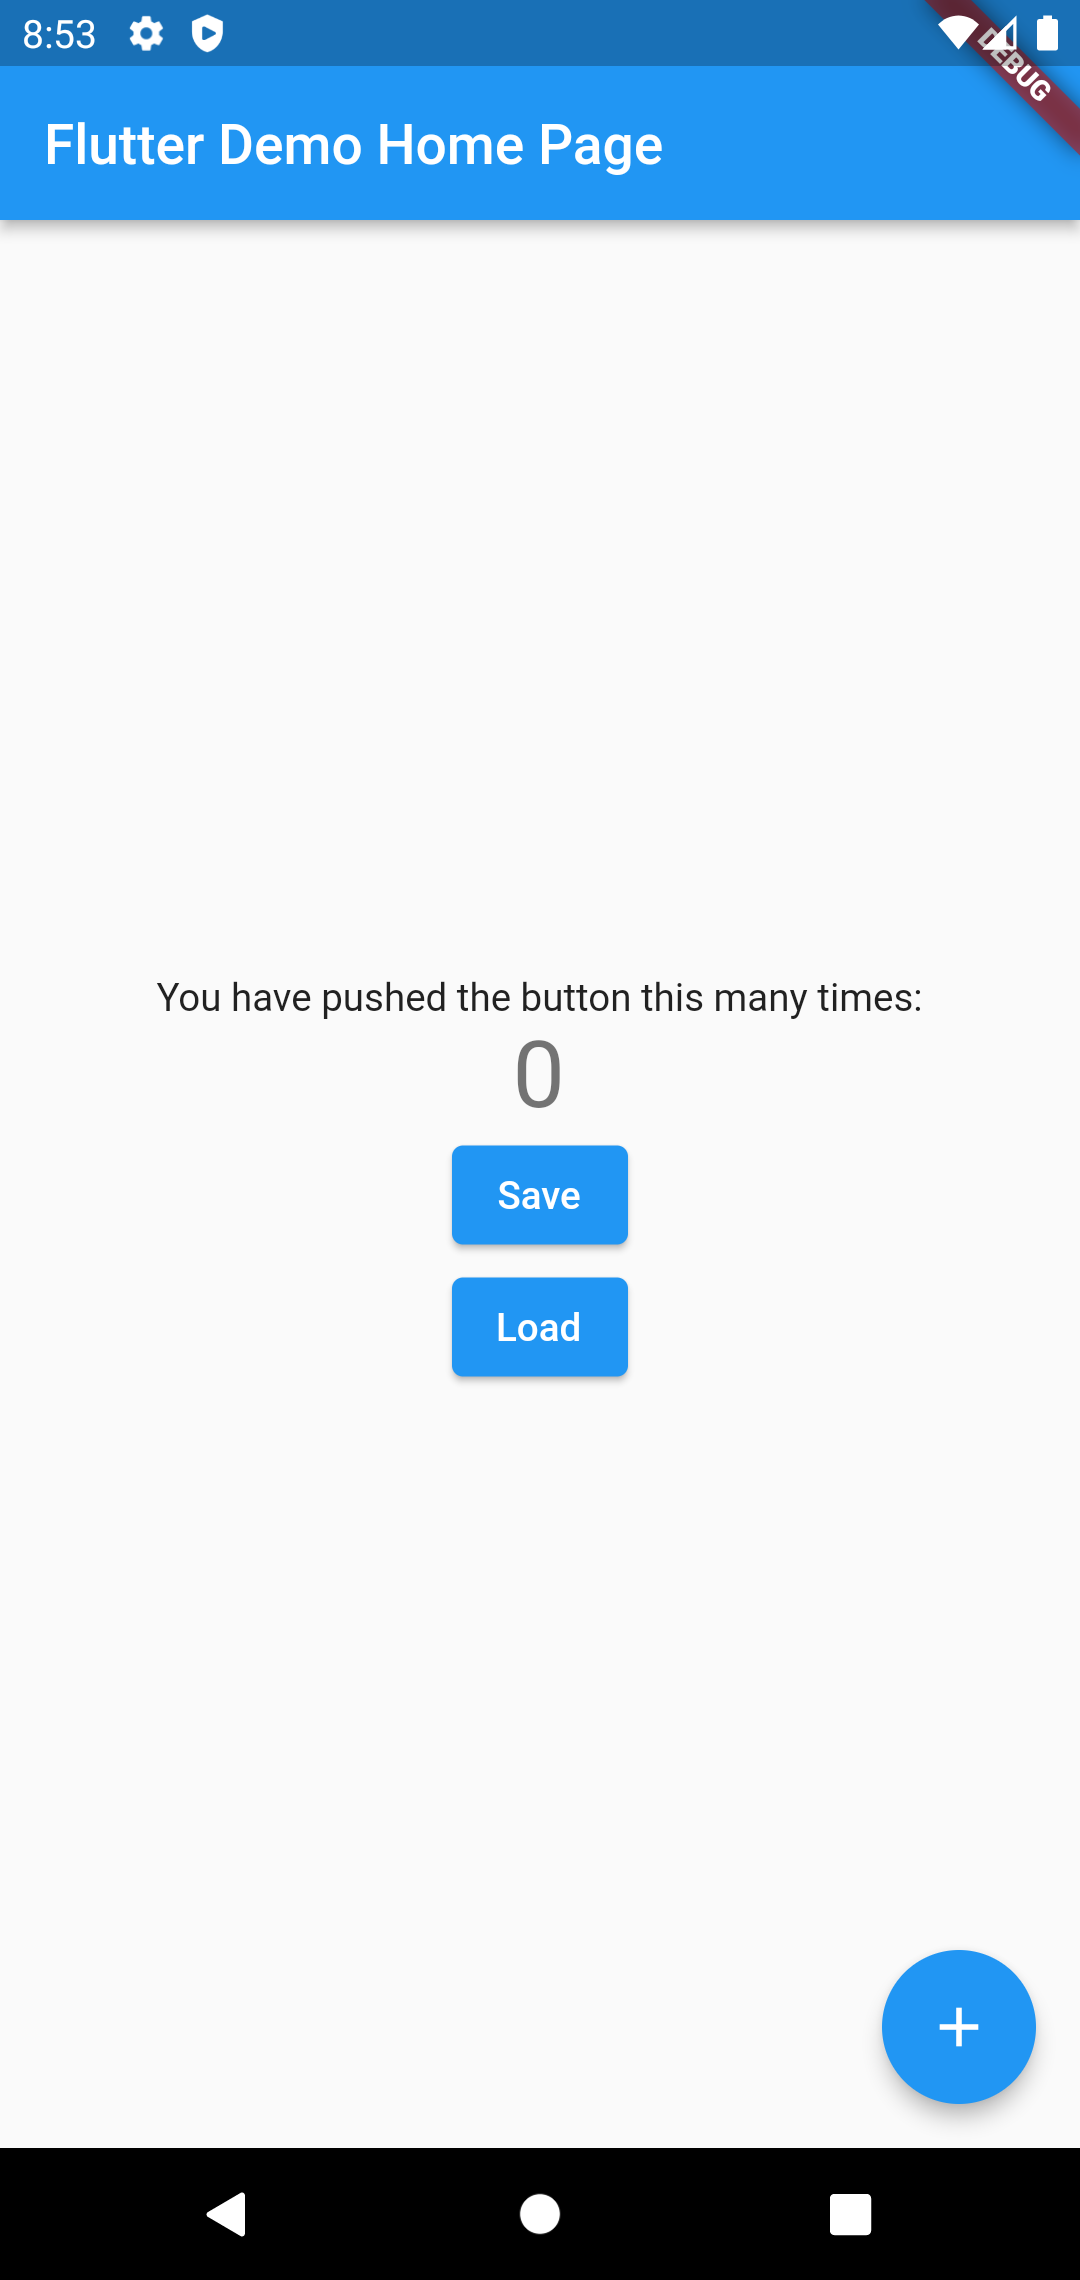
お馴染みのカウンターアプリに、保存と読み込み機能を追加したプログラムです。
通常のテストではMockを使いますが、実機でも念の為テストをしたいと思います。
ソースコードはこちら
まずはローカルで動かしてみる
main.dartのコードを見る
import 'dart:math';

import 'package:flutter_ci_example/main.dart' as app;
import 'package:flutter_secure_storage/flutter_secure_storage.dart';
import 'package:flutter_test/flutter_test.dart';
import 'package:integration_test/integration_test.dart';

void main() {
  //IntegrationTestをするためのおまじない
  IntegrationTestWidgetsFlutterBinding.ensureInitialized();

  //毎回呼び出される初期化処理
  setUp(() async {
    //ストレージの値を初期化する。
    await const FlutterSecureStorage()
        .write(key: app.countStorageKey, value: null);
  });

  group('ストレージ関係', () {
    testWidgets('ストレージに保存するテスト', (tester) async {
      var storage = const FlutterSecureStorage();
      app.main();
      await tester.pumpAndSettle();

      //ストレージ初期値のnullチェック
      var storageCount = await storage.read(key: app.countStorageKey);
      expect(storageCount, null);

      //何回かボタンをを押す
      var fab = find.byTooltip('Increment');
      var times = Random().nextInt(10) + 5;
      for (int i = 0; i < times; i++) {
        await tester.tap(fab);
        await tester.pumpAndSettle();
      }

      //押した回数の値が表示されているか?
      expect(find.text(times.toString()), findsOneWidget);

      //saveボタンを押す。
      await tester.tap(find.byKey(app.saveKey));
      await tester.pumpAndSettle();

      //ストレージの数値が正しいか確認する
      storageCount = await storage.read(key: app.countStorageKey);
      expect(storageCount, times.toString());
    });

    testWidgets('ストレージから読み込むテスト', (tester) async {
      var storage = const FlutterSecureStorage();
      app.main();
      await tester.pumpAndSettle();

      //表示されている初期値は0?
      expect(find.text("0"), findsOneWidget);

      //loadボタンを押す。
      await tester.tap(find.byKey(app.loadKey));
      await tester.pumpAndSettle();

      //表示されている値は0?
      expect(find.text("0"), findsOneWidget);

      //ストレージの初期値を決める。
      var times = Random().nextInt(10000) + 1;

      //ストレージに書き込む
      await storage.write(key: app.countStorageKey, value: times.toString());

      //loadボタンを押す。
      await tester.tap(find.byKey(app.loadKey));
      await tester.pumpAndSettle();

      //値がしっかりと読み込めているか?
      expect(find.text(times.toString()), findsOneWidget);
    });
  });
}
このようなコードを作成し、integration_test/app_test.dartとして配置しました。
何をしているかはコメントを読んでいただけると幸いです。
flutter test integration_testとすると、デバイスを選択を求められ、選ぶとテストが実行されます。
次のようなエラーが出る場合があります。
D/InputConnectionAdaptor( 4730): The input method toggled cursor monitoring on
I/flutter ( 4730): ══╡ EXCEPTION CAUGHT BY RENDERING LIBRARY ╞═════════════════════════════════════════════════════════
I/flutter ( 4730): The following assertion was thrown during layout:
I/flutter ( 4730): A RenderFlex overflowed by 4.0 pixels on the right.
I/flutter ( 4730): The overflowing RenderFlex has an orientation of Axis.horizontal.
I/flutter ( 4730): ══╡ EXCEPTION CAUGHT BY WIDGET INSPECTOR ╞══════════════════════════════════════════════════════════
I/flutter ( 4730): The following assertion was thrown:
I/flutter ( 4730): Looking up a deactivated widget's ancestor is unsafe.
I/flutter ( 4730): At this point the state of the widget's element tree is no longer stable.
I/flutter ( 4730): To safely refer to a widget's ancestor in its dispose() method, save a reference to the ancestor by
これはウィジェットがはみ出している時に発生するものです。(黄色と黒の縞々のやつ)
頑張ってレイアウトを修正しましょう。
GitHubActionsで実行してみよう
エミュレーターを選ぼう
まずはGitHubActions上で実行できるエミュレーターの種類を確認します。
こちらのワークフローを手動実行することで、GitHubActions上で実行できるエミュレーターが確認できます。
実行した結果がこちらです。(macos-latest 2022/07/06現在)
クリックで展開
OS: 15.2	Name: iPad (7th generation)
OS: 15.2	Name: iPad (8th generation)
OS: 15.2	Name: iPad (9th generation)
OS: 15.2	Name: iPad Air (3rd generation)
OS: 15.2	Name: iPad Air (4th generation)
OS: 15.2	Name: iPad Pro (11-inch) (2nd generation)
OS: 15.2	Name: iPad Pro (11-inch) (3rd generation)
OS: 15.2	Name: iPad Pro (12.9-inch) (4th generation)
OS: 15.2	Name: iPad Pro (12.9-inch) (5th generation)
OS: 15.2	Name: iPad Pro (9.7-inch)
OS: 15.2	Name: iPad mini (6th generation)
OS: 15.2	Name: iPhone 11
OS: 15.2	Name: iPhone 11 Pro
OS: 15.2	Name: iPhone 11 Pro Max
OS: 15.2	Name: iPhone 12
OS: 15.2	Name: iPhone 12 Pro
OS: 15.2	Name: iPhone 12 Pro Max
OS: 15.2	Name: iPhone 12 mini
OS: 15.2	Name: iPhone 13
OS: 15.2	Name: iPhone 13 Pro
OS: 15.2	Name: iPhone 13 Pro Max
OS: 15.2	Name: iPhone 13 mini
OS: 15.2	Name: iPhone 8
OS: 15.2	Name: iPhone 8 Plus
OS: 15.2	Name: iPhone SE (2nd generation)
OS: 15.2	Name: iPod touch (7th generation)
API: 10   ARCH: armeabi-v7a        TARGET: default
API: 10   ARCH: x86                TARGET: default
API: 10   ARCH: armeabi-v7a        TARGET: google_apis
API: 10   ARCH: x86                TARGET: google_apis
API: 14   ARCH: armeabi-v7a        TARGET: default
API: 15   ARCH: armeabi-v7a        TARGET: default
API: 15   ARCH: x86                TARGET: default
API: 15   ARCH: armeabi-v7a        TARGET: google_apis
API: 15   ARCH: x86                TARGET: google_apis
API: 16   ARCH: armeabi-v7a        TARGET: default
API: 16   ARCH: mips               TARGET: default
API: 16   ARCH: x86                TARGET: default
API: 16   ARCH: armeabi-v7a        TARGET: google_apis
API: 16   ARCH: x86                TARGET: google_apis
API: 17   ARCH: armeabi-v7a        TARGET: default
API: 17   ARCH: mips               TARGET: default
API: 17   ARCH: x86                TARGET: default
API: 17   ARCH: armeabi-v7a        TARGET: google_apis
API: 17   ARCH: x86                TARGET: google_apis
API: 18   ARCH: armeabi-v7a        TARGET: default
API: 18   ARCH: x86                TARGET: default
API: 18   ARCH: armeabi-v7a        TARGET: google_apis
API: 18   ARCH: x86                TARGET: google_apis
API: 19   ARCH: armeabi-v7a        TARGET: default
API: 19   ARCH: x86                TARGET: default
API: 19   ARCH: armeabi-v7a        TARGET: google_apis
API: 19   ARCH: x86                TARGET: google_apis
API: 21   ARCH: armeabi-v7a        TARGET: default
API: 21   ARCH: x86                TARGET: default
API: 21   ARCH: x86_64             TARGET: default
API: 21   ARCH: armeabi-v7a        TARGET: google_apis
API: 21   ARCH: x86                TARGET: google_apis
API: 21   ARCH: x86_64             TARGET: google_apis
API: 22   ARCH: armeabi-v7a        TARGET: default
API: 22   ARCH: x86                TARGET: default
API: 22   ARCH: x86_64             TARGET: default
API: 22   ARCH: armeabi-v7a        TARGET: google_apis
API: 22   ARCH: x86                TARGET: google_apis
API: 22   ARCH: x86_64             TARGET: google_apis
API: 23   ARCH: arm64-v8a          TARGET: default
API: 23   ARCH: armeabi-v7a        TARGET: default
API: 23   ARCH: x86                TARGET: default
API: 23   ARCH: x86_64             TARGET: default
API: 23   ARCH: arm64-v8a          TARGET: google_apis
API: 23   ARCH: armeabi-v7a        TARGET: google_apis
API: 23   ARCH: x86                TARGET: google_apis
API: 23   ARCH: x86_64             TARGET: google_apis
API: 24   ARCH: arm64-v8a          TARGET: default
API: 24   ARCH: armeabi-v7a        TARGET: default
API: 24   ARCH: x86                TARGET: default
API: 24   ARCH: x86_64             TARGET: default
API: 24   ARCH: arm64-v8a          TARGET: google_apis
API: 24   ARCH: x86                TARGET: google_apis
API: 24   ARCH: x86_64             TARGET: google_apis
API: 24   ARCH: x86                TARGET: google_apis_playstore
API: 25   ARCH: arm64-v8a          TARGET: default
API: 25   ARCH: x86                TARGET: default
API: 25   ARCH: x86_64             TARGET: default
API: 25   ARCH: arm64-v8a          TARGET: google_apis
API: 25   ARCH: armeabi-v7a        TARGET: google_apis
API: 25   ARCH: x86                TARGET: google_apis
API: 25   ARCH: x86_64             TARGET: google_apis
API: 25   ARCH: x86                TARGET: google_apis_playstore
API: 26   ARCH: arm64-v8a          TARGET: default
API: 26   ARCH: x86                TARGET: default
API: 26   ARCH: x86_64             TARGET: default
API: 26   ARCH: arm64-v8a          TARGET: google_apis
API: 26   ARCH: x86                TARGET: google_apis
API: 26   ARCH: x86_64             TARGET: google_apis
API: 26   ARCH: x86                TARGET: google_apis_playstore
API: 27   ARCH: arm64-v8a          TARGET: default
API: 27   ARCH: x86                TARGET: default
API: 27   ARCH: x86_64             TARGET: default
API: 27   ARCH: arm64-v8a          TARGET: google_apis
API: 27   ARCH: x86                TARGET: google_apis
API: 27   ARCH: x86                TARGET: google_apis_playstore
API: 28   ARCH: arm64-v8a          TARGET: default
API: 28   ARCH: x86                TARGET: default
API: 28   ARCH: x86_64             TARGET: default
API: 28   ARCH: arm64-v8a          TARGET: google_apis
API: 28   ARCH: x86                TARGET: google_apis
API: 28   ARCH: x86_64             TARGET: google_apis
API: 28   ARCH: arm64-v8a          TARGET: google_apis_playstore
API: 28   ARCH: x86                TARGET: google_apis_playstore
API: 28   ARCH: x86_64             TARGET: google_apis_playstore
API: 29   ARCH: arm64-v8a          TARGET: default
API: 29   ARCH: x86                TARGET: default
API: 29   ARCH: x86_64             TARGET: default
API: 29   ARCH: arm64-v8a          TARGET: google_apis
API: 29   ARCH: x86                TARGET: google_apis
API: 29   ARCH: x86_64             TARGET: google_apis
API: 29   ARCH: arm64-v8a          TARGET: google_apis_playstore
API: 29   ARCH: x86                TARGET: google_apis_playstore
API: 29   ARCH: x86_64             TARGET: google_apis_playstore
API: 30   ARCH: arm64-v8a          TARGET: aosp_atd
API: 30   ARCH: x86                TARGET: aosp_atd
API: 30   ARCH: arm64-v8a          TARGET: default
API: 30   ARCH: x86_64             TARGET: default
API: 30   ARCH: arm64-v8a          TARGET: google_apis
API: 30   ARCH: x86                TARGET: google_apis
API: 30   ARCH: x86_64             TARGET: google_apis
API: 30   ARCH: arm64-v8a          TARGET: google_apis_playstore
API: 30   ARCH: x86                TARGET: google_apis_playstore
API: 30   ARCH: x86_64             TARGET: google_apis_playstore
API: 30   ARCH: arm64-v8a          TARGET: google_atd
API: 30   ARCH: x86                TARGET: google_atd
API: 31   ARCH: arm64-v8a          TARGET: default
API: 31   ARCH: x86_64             TARGET: default
API: 31   ARCH: arm64-v8a          TARGET: google_apis
API: 31   ARCH: x86_64             TARGET: google_apis
API: 31   ARCH: arm64-v8a          TARGET: google_apis_playstore
API: 31   ARCH: x86_64             TARGET: google_apis_playstore
API: 32   ARCH: arm64-v8a          TARGET: google_apis
API: 32   ARCH: x86_64             TARGET: google_apis
API: 32   ARCH: arm64-v8a          TARGET: google_apis_playstore
API: 32   ARCH: x86_64             TARGET: google_apis_playstore
API: 33   ARCH: arm64-v8a          TARGET: google_apis
API: 33   ARCH: x86_64             TARGET: google_apis
API: 33   ARCH: arm64-v8a          TARGET: google_apis_playstore
API: 33   ARCH: x86_64             TARGET: google_apis_playstore
Apple製品は機種を選ぶだけで簡単ですが、Androidの場合はARCHがarmではないものを選べば問題ないかと思います。
実行してみよう
次のファイルを利用します。
.github/workflows/ios/integration_test.sh(UDIDを取得し、シェルスクリプトを呼び出す)
.github/workflows/ios/simulator_start.sh(UDIDを取得し、エミュレータを起動する)
.github/workflows/flutter_integration_test.yaml(GitHubActionsで利用する)
.scripts/integration_test.sh(CI上かどうかを判断し、テストを実行する)
flutter_integration_test.yaml
こちらはGitHubActions上で必要なファイルとなります。
- Androidの場合
- Javaセットアップ
- Gradleセットアップ
- エミュレータキャッシュ設定
- エミュレータキャッシュ作成
- Flutter初期化
- テスト実行
- レポート作成(おまけ)
- Apple製品の場合
- エミュレータ起動
- Flutter初期化
- テスト実行
- レポート作成(おまけ)
といった流れでワークフローを実施しています。
strategy機能を利用することで、1つのワークフローを繰り返し使うことができるので、とても便利です。
先ほど決めたエミュレータは、次のように設定してください。
    strategy:
      matrix:
        device:
          - "iPhone SE (2nd generation)"
          - "iPhone 13 Pro Max"
          - "iPad Pro (12.9-inch) (5th generation)"
    strategy:
      matrix:
        include:
          - api-level: 18
            arch: x86
            target: default
          - api-level: 31
            arch: x86_64
            target: default
scripts/integration_test.sh
こちらはGitHubActions上でなくても実行が可能です。(bashが動作する環境のみ)
ローカルで実行した場合には、テスト実行後にカバレッジがブラウザで確認できます。
GitHubActions上で実行した場合には、デバイスを引数として受け取り、テストを実行します。
simulator_start.sh
Apple製品のエミュレータを起動します。
ios/integration_test.sh
Apple製品のデバイス名をUDIDと呼ばれる値に変換し、もう一つのintegration_test.shを呼び出します。
Pushすると・・・?
リポジトリのActions欄にてワークフローが実行されます。
他に実行しているワークフローが無く、エミュレータの指定が5個以下であれば、10分ほどでテストが終わります。
(初回はキャッシュがないため少し時間がかかります。)
次のようなエラーが出る場合があります。(再掲)
D/InputConnectionAdaptor( 4730): The input method toggled cursor monitoring on
I/flutter ( 4730): ══╡ EXCEPTION CAUGHT BY RENDERING LIBRARY ╞═════════════════════════════════════════════════════════
I/flutter ( 4730): The following assertion was thrown during layout:
I/flutter ( 4730): A RenderFlex overflowed by 4.0 pixels on the right.
I/flutter ( 4730): The overflowing RenderFlex has an orientation of Axis.horizontal.
I/flutter ( 4730): ══╡ EXCEPTION CAUGHT BY WIDGET INSPECTOR ╞══════════════════════════════════════════════════════════
I/flutter ( 4730): The following assertion was thrown:
I/flutter ( 4730): Looking up a deactivated widget's ancestor is unsafe.
I/flutter ( 4730): At this point the state of the widget's element tree is no longer stable.
I/flutter ( 4730): To safely refer to a widget's ancestor in its dispose() method, save a reference to the ancestor by
これはウィジェットがはみ出している時に発生するものです。(黄色と黒の縞々のやつ)
頑張ってレイアウトを修正しましょう。
おまけ
今回のソースコードにはカバレッジやレポートを作成する機能のほかに、通常のUnit・Widgetテスト用のワークフローファイルが.github/workflows/flutter_test.yamlとscripts/test.shにて用意されています。
参考にした記事
https://zenn.dev/sgr_ksmt/articles/4c61e10b31f90e
https://www.linkedin.com/pulse/github-actions-flutter-app-moataz-nabil