絶体絶命の時にパンの数をスッと言えるアプリをつくりました
今まで食ったパンカウンター
サイトはこちらです。
(12/2)また再開するかもしれませんが、現在はカウントの更新を止めています
つくり方
パンの数を保持する部分はデータベースを用意し、パンの絵文字をタップするごとにAPIリクエストを行います。
アーキテクチャとそれぞれの役割は以下の通りです。
-
S3: 静的なWebコンテンツ(今回はHTML)のホスティング
-
CloudFront: S3のコンテンツをキャッシュし高速配信
※こちらはなくても構築できます -
Lambda: API Gatewayからのリクエストを処理し、DynamoDBを操作
-
API Gateway: フロントエンドとバックエンドをつなぐAPIエンドポイント
-
Amazon DynamoDB: ユーザーのカウントデータの保存
基本的なAWSのコンポーネントを使いこなします。
S3
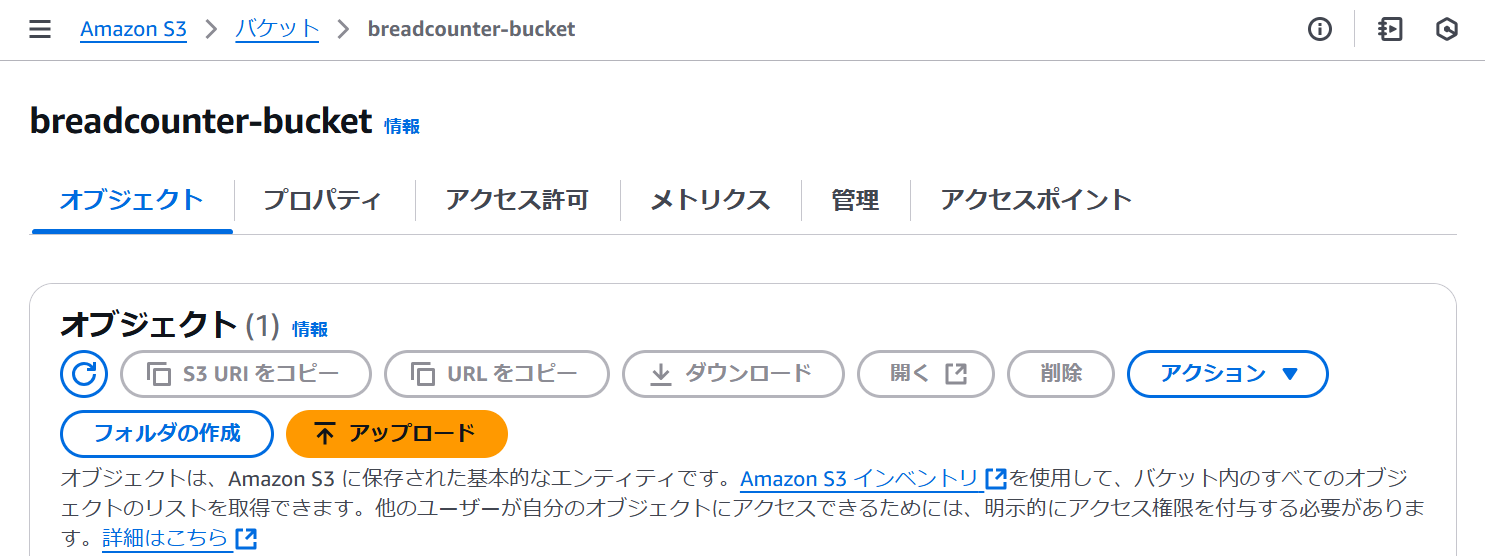
S3バケットを作成します。名前はbreadcounter-bucketとしました。
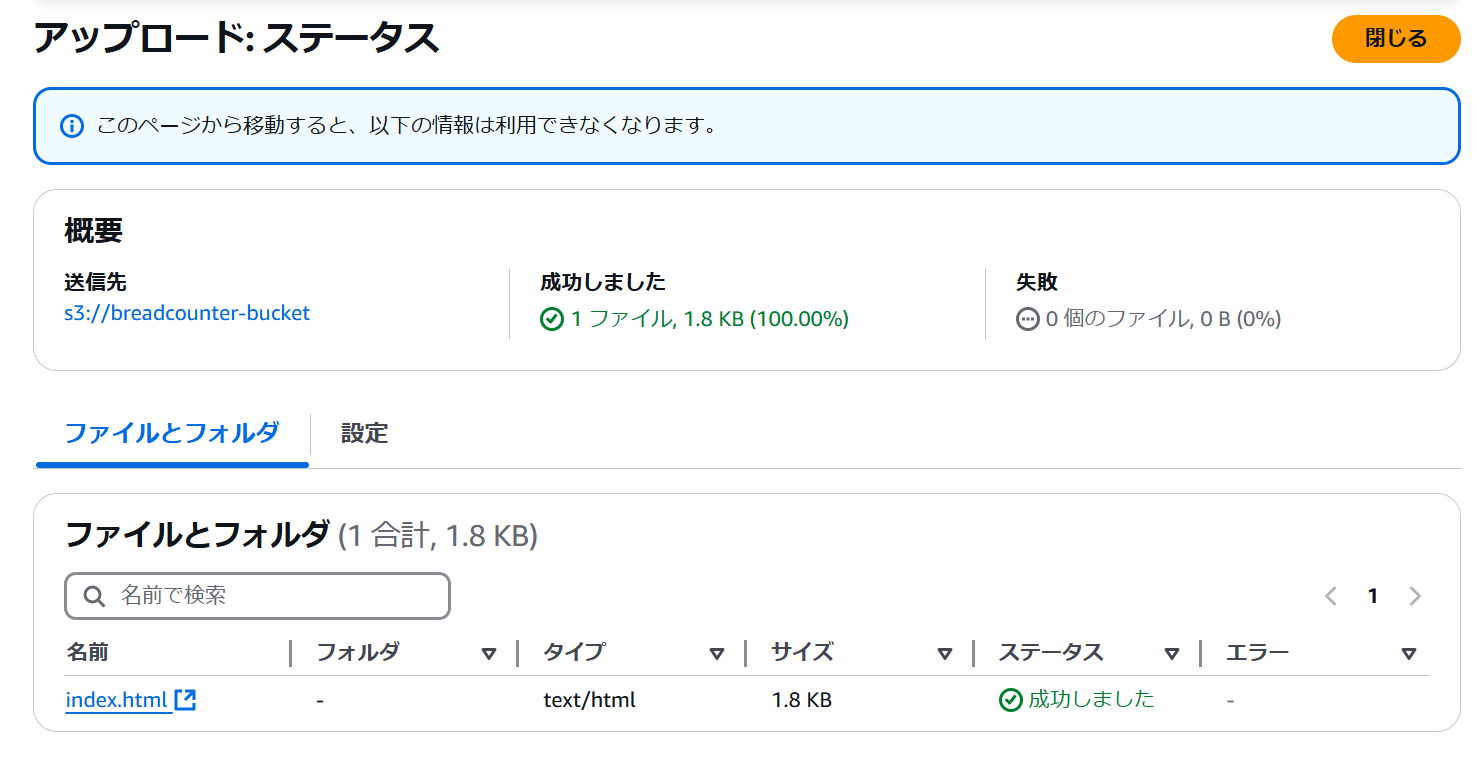
ここにhtml.indexをアップロードします。
のちに作るAPI GatewayのURLをこのファイル内に追加します。記事上は行き来することになってしまうのでソースコード上では"https://your-api-gateway-url"としています。
<script>
        const apiUrl = "https://your-api-gateway-url";
ソースコード
<!DOCTYPE html>
<html lang="ja">
<head>
    <meta charset="UTF-8">
    <meta name="viewport" content="width=device-width, initial-scale=1.0">
    <title>お前が今まで食ったパンの枚数</title>
    <style>
        body {
            background-color: black;
            color: white;
            font-family: Arial, sans-serif;
            text-align: center;
            margin: 0;
            padding: 0;
        }
        h1 {
            margin-top: 20px;
        }
        #emoji-container {
            display: flex;
            justify-content: center;
            gap: 20px;
            margin: 40px auto;
            flex-wrap: wrap;
        }
        .emoji {
            font-size: 50px;
            background: none;
            border: none;
            cursor: pointer;
            padding: 10px;
        }
        .emoji:focus {
            outline: none;
        }
        #results {
            margin-top: 20px;
            font-size: 20px;
        }
    </style>
</head>
<body>
    <h1>お前が今まで食ったパンの枚数</h1>
    <div id="emoji-container">
        <button class="emoji" data-id="bread">🍞</button>
    </div>
    <div id="results">
        パンの絵文字を押したの回数がここに表示されます。
    </div>
    <script>
        const apiUrl = "https://your-api-gateway-url";

        async function updateCount(emojiId) {
            const response = await fetch(`${apiUrl}/count`, {
                method: "POST",
                headers: { "Content-Type": "application/json" },
                body: JSON.stringify({ emojiId }),
            });
            const data = await response.json();
            displayResults(data);
        }

        async function getCounts() {
            const response = await fetch(`${apiUrl}/counts`);
            const data = await response.json();
            displayResults(data);
        }

        function displayResults(data) {
            const resultsDiv = document.getElementById("results");
            resultsDiv.innerHTML = "";
            const breadCount = data["bread"] || 0; // パンのカウントを取得
            resultsDiv.innerHTML = `<p>🍞: ${breadCount}回</p>`;
        }

        document.getElementById("emoji-container").addEventListener("click", (event) => {
            if (event.target.classList.contains("emoji")) {
                const emojiId = event.target.dataset.id;
                updateCount(emojiId);
            }
        });

        getCounts(); // ページロード時にカウントを取得
    </script>
</body>
</html>
アップロードできたらこちらは完了です。
Lambda
データベースを操作する関数をPythonで書きます。
関数名はfunc-breadcounterとしました。ファイル名は何でも良いです。
ソースコード
import json
import boto3
from boto3.dynamodb.conditions import Key

dynamodb = boto3.resource('dynamodb')
table = dynamodb.Table('EmojiCounts')

def lambda_handler(event, context):
    if event['httpMethod'] == 'POST':
        body = json.loads(event['body'])
        emoji_id = body['emojiId']
        response = table.update_item(
            Key={'emojiId': emoji_id},
            UpdateExpression="ADD count :increment",
            ExpressionAttributeValues={':increment': 1},
            ReturnValues="UPDATED_NEW"
        )
        return {
            'statusCode': 200,
            'body': json.dumps({'emojiId': emoji_id, 'count': response['Attributes']['count']})
        }
    elif event['httpMethod'] == 'GET':
        response = table.scan()
        counts = {item['emojiId']: item['count'] for item in response['Items']}
        return {
            'statusCode': 200,
            'body': json.dumps(counts)
        }
こちらをデータベースのテーブル名として使います。
table = dynamodb.Table('EmojiCounts')
API Gateway
「APIを作成」からREST APIを作成します。
エンドポイントを以下のように設定します。
- GETメソッド:/counts
データベースから現在のカウントを取得 - POSTメソッド:/count
カウントを更新
ここで先ほど作ったLambdaと統合します。
こちらもデプロイしたら完了です。ステージ名はbreadcounterにしています。
サイドバーの「ステージ」にAPIのURLがあるので、これを上で作成したindex.htmlの"https://your-api-gateway-url"に入れて完了です。
DynamoDB
Lambdaで作成したコードに合わせてキーを設定していきます。
「テーブルを作成」からテーブル名とパーティションキー、ソートキーを入れます。
データベースはこれだけです!
できたものを確認
WebサイトをホスティングしたS3バケットのエンドポイントを使います。
形式は次の通りです。
http://<バケット名>.s3-website-<リージョン>.amazonaws.com
正しくパンの枚数がカウントできているかを確認する方法はいろいろとあります。
-
API Gatewayのログ
「ステージ」→「ログ/トレース」→CloudWatchのログを確認 -
DynamoDBを直接確認
「テーブル」→「項目」→レコードを確認 -
Lambdaのログを確認
「モニタリング」→CloudWatchのログを確認 -
Postmanなどのテストツール
例えばPOSTメソッドならJSONデータを送信しカウントを更新します
curl -X POST https://your-api-gateway-url/count \
-H "Content-Type: application/json" \
-d '{"emojiId": "bread"}'
参考
つくり方は違いますがこちらを参考にしました。


