はじめに
RaspberryPiが取得した値をHoloLensに送信したかったので,RaspberryPiにWindows 10 IoT Coreを導入した.
そこで,今回はUWPアプリでRaspberryPiを動かし,接続されているモジュールから値を取得してGUIで表示してみる.
環境
- Raspberry Pi 3 Model B(OS:Windows 10 IoT core ver10.0.17134.1)
- MPU6050(加速度センサ)
- VisualStudio2017
手順
MPU6050のデータシートを見ながら取得したいデータレジスタのアドレスを指定していきます.
得られた値をGUIのテキストに反映させます.
MPU6050データシート↓↓↓
https://www.invensense.com/wp-content/uploads/2015/02/MPU-6000-Datasheet1.pdf
![MPU6050[1].jpg](https://qiita-user-contents.imgix.net/https%3A%2F%2Fqiita-image-store.s3.amazonaws.com%2F0%2F257442%2F2c327ffa-696c-7ad8-f670-6ceaccb82a71.jpeg?ixlib=rb-4.0.0&auto=format&gif-q=60&q=75&s=a98d22986868fa018bee55d1f26c2c89)
ソースコード
csのみでxamlは省略します.
ReadValuesByRaspberryPi.cpp
using System;
using System.Diagnostics;
using System.Threading;
using Windows.UI.Xaml.Controls;
using Windows.Devices.Enumeration;
using Windows.Devices.I2c;

namespace ReadValuesByRaspberryPi
{
    struct Acceleration
    {
        public int X;
        public int Y;
        public int Z;
    };

    /// <summary>
    /// app that reads data over I2C from an attached MPU6050 accelerometer
    /// </summary>
    public sealed partial class MainPage : Page
    {
        private const byte I2C_ADDR = 0x68;                 /* Address of MP6050 */
        private const byte POWER_CONTROL = 0x6B;            /* Address of the Power Control register */
        private const byte ACCEL_REG_X = 0x3B;              /* Address of the X Axis data register */
        private const byte ACCEL_REG_Y = 0x3D;              /* Address of the Y Axis data register */
        private const byte ACCEL_REG_Z = 0x3F;              /* Address of the Z Axis data register */

        private I2cDevice MPU6050; //Module name
        private Timer periodicTimer;

        private int cnt;

        public MainPage()
        {
            this.InitializeComponent();

            /* Register for the unloaded event so we can clean up upon exit */
            Unloaded += MainPage_Unloaded;

            /* Initialize the I2C bus, accelerometer, and timer */
            InitI2CAccel();
        }

        private async void InitI2CAccel()
        {

            var settings = new I2cConnectionSettings(I2C_ADDR);
            settings.BusSpeed = I2cBusSpeed.FastMode;
            var controller = await I2cController.GetDefaultAsync();
            MPU6050 = controller.GetDevice(settings);    /* Create an I2cDevice with our selected bus controller and I2C settings */


            /*
             * Initialize the accelerometer:
             *
             * For this device, we create 2-byte write buffers:
             * The first byte is the register address we want to write to.
             * The second byte is the contents that we want to write to the register.
             */
            byte[] WriteBuf_PowerControl = new byte[] { POWER_CONTROL, 0x20 };    /* puts the accelerometer into measurement mode */

            /* Write the register settings */
            try
            {
                MPU6050.Write(WriteBuf_PowerControl);
            }
            /* If the write fails display the error and stop running */
            catch (Exception ex)
            {
                Text_Status.Text = "Failed to communicate with device: " + ex.Message;
                return;
            }

            /* Now that everything is initialized, create a timer so we read data every 100mS */
            periodicTimer = new Timer(this.TimerCallback, null, 0, 100);
        }

        private void MainPage_Unloaded(object sender, object args)
        {
            /* Cleanup */
            MPU6050.Dispose();
        }

        private void TimerCallback(object state)
        {
            string xText, yText, zText;
            string statusText;

            /* Read and format accelerometer data */
            try
            {
                Acceleration accel = ReadI2CAccel();
                xText = String.Format("X Axis: {0}", accel.X);
                yText = String.Format("Y Axis: {0}", accel.Y);
                zText = String.Format("Z Axis: {0}", accel.Z);
                statusText = "Status: Running";
            }
            catch (Exception ex)
            {
                xText = "X Axis: Error";
                yText = "Y Axis: Error";
                zText = "Z Axis: Error";
                statusText = "Failed to read from Accelerometer: " + ex.Message;
            }

            /* UI updates must be invoked on the UI thread */
            var task = this.Dispatcher.RunAsync(Windows.UI.Core.CoreDispatcherPriority.Normal, () =>
            {
                Text_X_Axis.Text = xText;
                Text_Y_Axis.Text = yText;
                Text_Z_Axis.Text = zText;
                Text_Status.Text = statusText;
                //Debug.Write(xText + "\n");
            });
        }

        // Write the address then read data from accelerometer
        private Acceleration ReadI2CAccel()
        {
            byte[] RegAddrBuf_X = new byte[] { ACCEL_REG_X }; /* Register address we want to read from */
            byte[] RegAddrBuf_Y = new byte[] { ACCEL_REG_Y };
            byte[] RegAddrBuf_Z = new byte[] { ACCEL_REG_Z };

            byte[] ReadBuf_X = new byte[1];                   /* We read 3 bytes sequentially to get all 3 two-byte axes registers */
            byte[] ReadBuf_Y = new byte[1];
            byte[] ReadBuf_Z = new byte[1];

            /*
             * Read from the accelerometer
             * We call WriteRead() so we write the address of the each-Axis I2C register, then read each axes
             */
            MPU6050.WriteRead(RegAddrBuf_X, ReadBuf_X); //
            MPU6050.WriteRead(RegAddrBuf_Y, ReadBuf_Y);
            MPU6050.WriteRead(RegAddrBuf_Z, ReadBuf_Z);

            cnt++;
            Debug.Write(ReadBuf_X[0] + "\n");

            Acceleration accel;
            accel.X = ReadBuf_X[0];
            accel.Y = ReadBuf_Y[0];
            accel.Z = ReadBuf_Z[0];

            return accel;
        }
    }
}
実行結果
Raspberry Pi側での出力画面(随時更新されます)
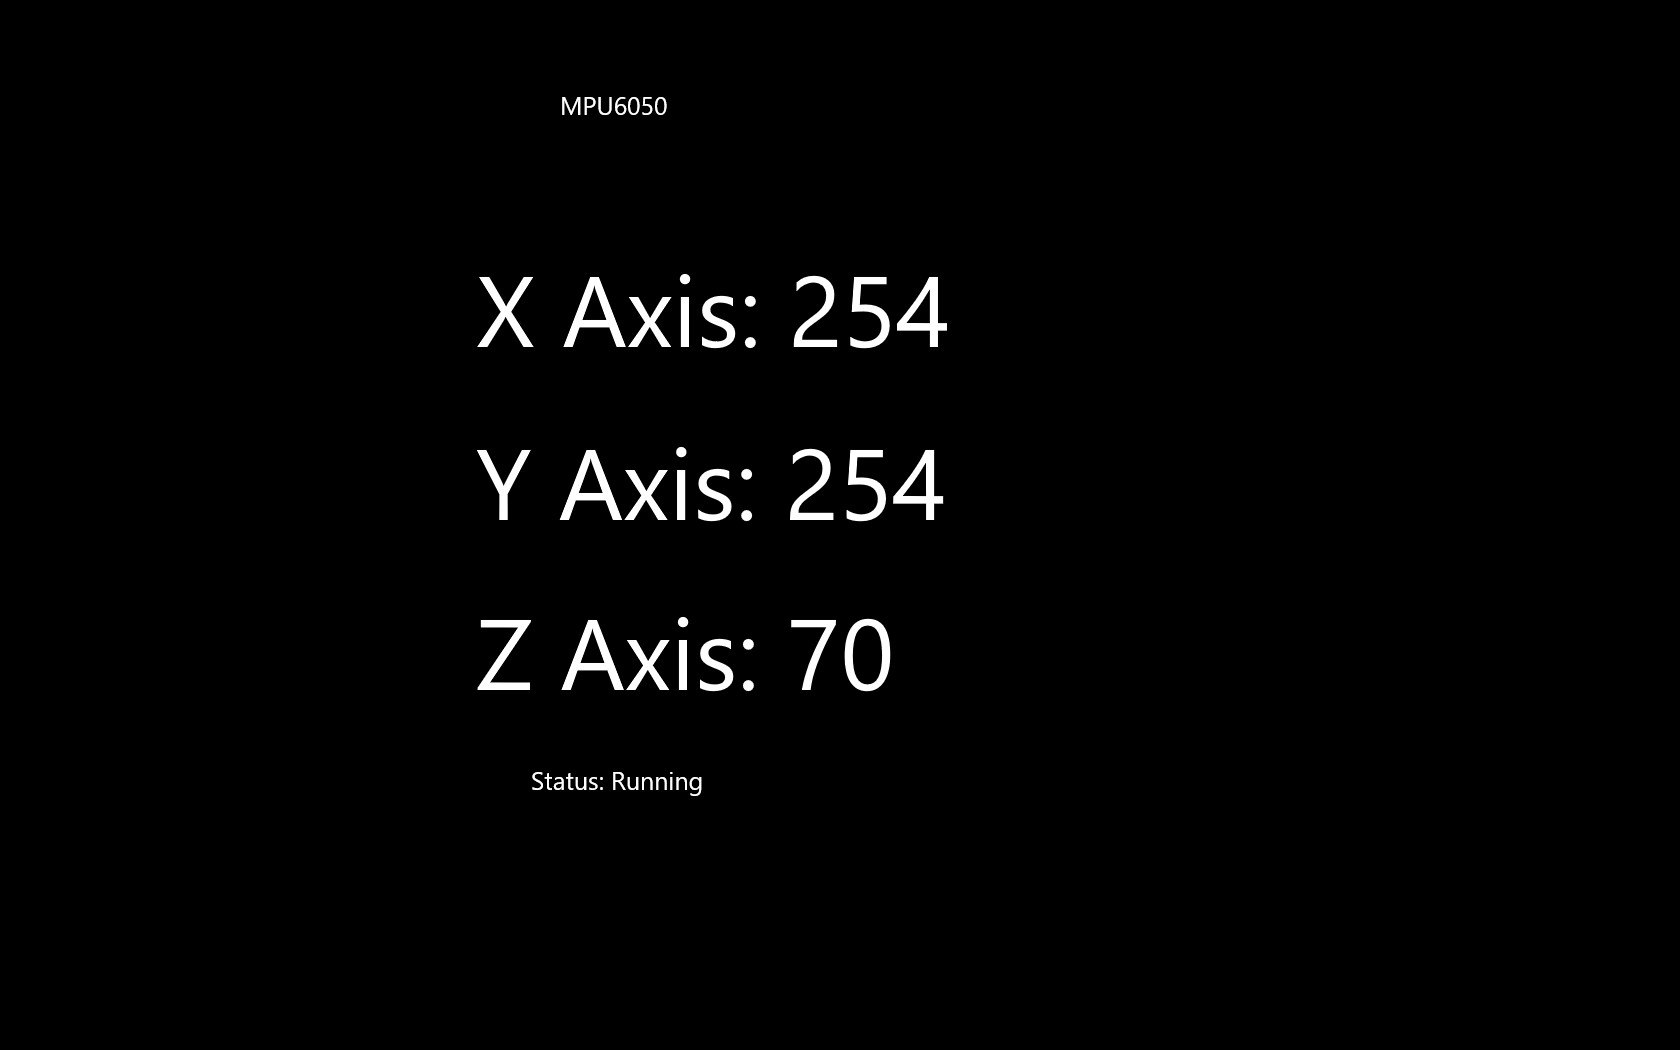
しっかり値は取れていますね.
問題点
なぜか値が更新されるのに800ms程の間隔が空いてしまう.
また調べて解決できれば更新します.