Cloudn Loggingで今流行っているKibana+fluentd+elasticsearchをお手軽に試せるという話だったので、個人で色々触ってみました。
筆者はKibana使用経験なし。
JenkinsやらApacheのログなどをぶちこんでみてグラフを作ってみました。
要約
とりあえず触ってみた要約としては、
- セットアップの手間がなく大変ラク
- 流行りのデータ見える化とかすぐに立ち上げたい人、バックアップとか考えるの面倒な人にはGood
あるといい部分は
- GUI(初心者やちょっと試してみたい人向けに作成すらAPIというのはハードル高い)
- HTML形式のAPIドキュメント
- ログの内蔵ストレージ容量の追加
- 複数台分散
という感じでした。
まぁKibana、Elasticsearch、fluentdを普段から使い込んでいる人だときっともっと深い別の感想が出てくると思います。
手順
サインアップする
Loggingを押してみる。
コンパネが出るのかと思わせて・・・
割り切り仕様で勇ましい。
準備
APIクライアントは"kick_api.rb"をCloud(n)技術ブログから持ってきました。
RDBと書いていますが、まぁ要するにHMAC形式が扱えてbase64でエンコードしてくれるならAPIクライアントがあれば何でもOKです。
私の環境ではrbenv配下のrubyで1.9.3に、ruby-hmacだけ入れて上記クライアントを使用しています。
エンドポイントは下記。
とりあえず作成してみる
LogServerGroupというものを作ると一式(fluentd+Kibana+elasticsearch)がセットアップされる模様。
Fluentdは使用しなくてもrsyslogでいけるので、自宅ルータなんかのログも飛ばしていいかも。
CreateLoggingServerGroup
上記APIを利用する。
必須parameterは特になし。
ruby kick_api.rb Action="CreateLoggingServerGroup" Identifier="TestLoggingGroup01" Name="TestLoggingGroup01" Description=test
これで作成した結果が以下。
Identifierは結果に含まれているものはuuidチックな文字列で、なんのために必要だったのかわからない。
GUIが出たりしたらそのIdentifierになるのかな?
それとも効いていない?
===
# <Net::HTTPOK 200 OK readbody=true>
<?xml version="1.0" encoding="UTF-8"?>
<CreateLoggingServerGroupResponse>
  <Group>
    <Identifier>************</Identifier>
    <Uuid>*************</Uuid>
    <Name>TestLoggingGroup01</Name>
    <Description>test</Description>
    <Status>creating</Status>
    <RetentionPeriod>14</RetentionPeriod>
    <InstanceClass>log.m1.medium</InstanceClass>
    <DiskSize>40</DiskSize>
    <Servers>
      <Server>
        <Identifier>*************</Identifier>
        <Uuid>*****************</Uuid>
        <Name></Name>
        <Description></Description>
        <Status>creating</Status>
        <IpAddress></IpAddress>
      </Server>
    </Servers>
    <Sources>
      <Source>
        <Identifier>******************</Identifier>
        <Uuid>*****************</Uuid>
        <Name></Name>
        <Description></Description>
        <LoggingType>syslog</LoggingType>
        <Tag>syslog</Tag>
        <Port>5140</Port>
        <Status>creating</Status>
      </Source>
      <Source>
        <Identifier>****************</Identifier>
        <Uuid>**********************</Uuid>
        <Name></Name>
        <Description></Description>
        <LoggingType>td</LoggingType>
        <Tag>td</Tag>
        <Port>24224</Port>
        <Status>creating</Status>
      </Source>
    </Sources>
    <Filters/>
    <SecurityGroups>
      <SecurityGroup>
        <Identifier>*****************</Identifier>
        <Uuid>*****************</Uuid>
        <Name></Name>
        <Description></Description>
        <Status>modifying</Status>
        <Rules/>
      </SecurityGroup>
    </SecurityGroups>
  </Group>
</CreateLoggingServerGroupResponse>
結果にはざっくりいうと、
-
Group
-
Servers
- Server
-
Sources
- Source
-
Filters
-
SecurityGroups
- SecurityGroup
-
こんな階層でした。
状況確認
作成には時間がかかる(先のResposnseではStatusがCreateのまま)なので、
しばらくして様子をみます。
StatusがActiveになるまでは2min程度でした。
ruby kick_api_logging.rb Action=DescribeLoggingServerGroups
=====
# <Net::HTTPOK 200 OK readbody=true>
<?xml version="1.0" encoding="UTF-8"?>
<DescribeLoggingServerGroupsResponse>
  <Groups>
    <Group>
      <Identifier>*******************</Identifier>
      <Uuid>*******************</Uuid>
      <Name>TestLoggingGroup01</Name>
      <Description>test</Description>
      <Status>active</Status>
      <RetentionPeriod>14</RetentionPeriod>
      <InstanceClass>log.m1.medium</InstanceClass>
      <DiskSize>40</DiskSize>
      <Servers>
        <Server>
          <Identifier>*******************</Identifier>
          <Uuid>*******************</Uuid>
          <Name></Name>
          <Description></Description>
          <Status>active</Status>
          <IpAddress>****************</IpAddress>
        </Server>
      </Servers>
      <Sources>
        <Source>
          <Identifier>*******************</Identifier>
          <Uuid>*******************</Uuid>
          <Name></Name>
          <Description></Description>
          <LoggingType>syslog</LoggingType>
          <Tag>syslog</Tag>
          <Port>5140</Port>
          <Status>active</Status>
        </Source>
        <Source>
          <Identifier>*******************</Identifier>
          <Uuid>*******************</Uuid>
          <Name></Name>
          <Description></Description>
          <LoggingType>td</LoggingType>
          <Tag>td</Tag>
          <Port>24224</Port>
          <Status>active</Status>
        </Source>
      </Sources>
      <Filters/>
      <SecurityGroups>
        <SecurityGroup>
          <Identifier>*******************</Identifier>
          <Uuid>*******************</Uuid>
          <Name></Name>
          <Description></Description>
          <Status>active</Status>
          <Rules/>
        </SecurityGroup>
      </SecurityGroups>
    </Group>
  </Groups>
</DescribeLoggingServerGroupsResponse>
Security Groupをあける、KibanaのGUIにアクセスする
とりあえずKibanaにアクセスしたいので、
SecurityGroupに自分のクライアントのグローバルIPを許可させます。
とりあえずクライアントのグローバルIPを調べて、、
curl ifconfig.me
リクエストを投げる。
必須パラはSecurityGroupIdentifier/SecurityGroupUuid/Protocol/CIDR/Port
ruby kick_api_logging.rb Action=AuthorizeLoggingSecurityGroup SecurityGroupIdentifier=セキュリティグループのIdentifier Protocol=tcp Cidr=自分のクライアントのCIDR Port=443
# <Net::HTTPOK 200 OK readbody=true>
<?xml version="1.0" encoding="UTF-8"?>
<AuthorizeLoggingSecurityGroupResponse>
  <SecurityGroupRule>
    <Identifier>************</Identifier>
    <Uuid>log-u-rule-************</Uuid>
    <Name></Name>
    <Description></Description>
    <Status>creating</Status>
    <Direction>ingress</Direction>
    <Protocol>tcp</Protocol>
    <Cidr>****クライアントのCIDRですよ****</Cidr>
    <Port>443</Port>
  </SecurityGroupRule>
</AuthorizeLoggingSecurityGroupResponse>
ここで指定したIPからは素でアクセス出来てしまう(#Kibanaってアクセス制御できるのかな?)
ので固定のグローバルIPがないとちょっと面倒くさいかな。
まぁOpenVPNとかあればいいのではないでしょうか。
これが終わると、
おしゃれ!
rsyslogでsyslogデフォルトを転送してみる
ログを可視化しようにもログがないと始まりません。
#正確にいうと、初期状態でKibanaからこのLoggingServerのログが表示されているようです。
#IPアドレス_log_server_UUIDで見えているログがそれっぽい?
まずはリモートからrsyslogdを使って転送してみる。
セキュリティグループの開放
rsyslogを使う場合はprotocol:udpのみ対応しているようです。
対してfluentdはudp/tcpの模様。
今回はrsyslogなのでudpを開けます。
ruby kick_api_logging.rb Action=AuthorizeLoggingSecurityGroup SecurityGroupIdentifier=セキュリティグループのIdentifier Protocol=udp Cidr=ログ転送元サーバCIDR Port=5140
転送元サーバの設定
転送元サーバは送信FWやセキュリティグループが空いていればOK。
ここから転送元サーバの設定です。
私はCentOS6.5を使っているので以下その環境です。
リモートのサーバにログインして、rsyslogの設定をいじります。
せっかくのログ管理なので全部のファシリティ・プライオリティを転送します。
下記ファイルのどこでもいいので、リモート転送設定をいれる。
*.* @LOGGINGサーバのIP:5140
rsyslogdを再起動して反映。
service rsyslogd restart
これで出来ているはず!
Kibanaにアクセス
Kibana( https://LoggingサーバのIP )にアクセスして、確認します。
右下のSample Dashboardへ。
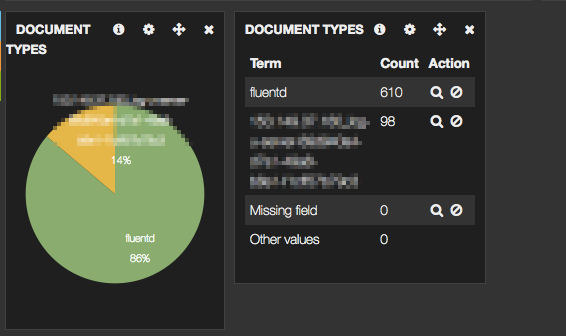
二段目にこんな感じのログ収集ソースが見えます。
ここでipアドレスから始まっているのはおそらくこのログサーバ自体のログで、
fluentdになっているのがリモートから転送されたログです。
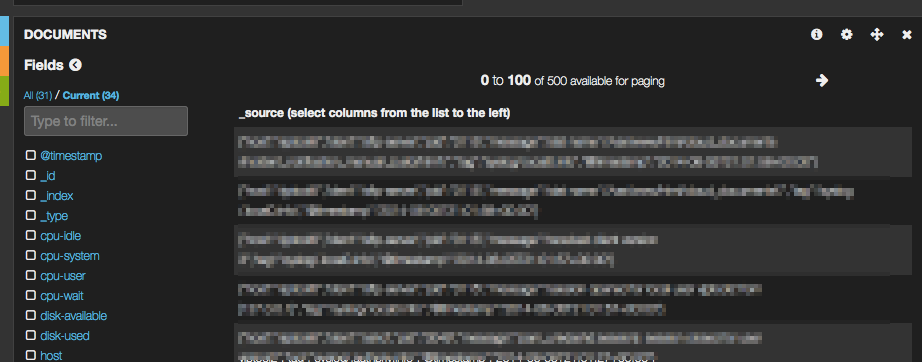
更に下にはログが表示されています。
左のフィルタを使うといい感じに必要なものだけぬけます。
Jenkinsログを飛ばしてみる
もうここらへんはrsyslogの使い方になっていますがせっかくなので。
Jenkinsのビルドの成功・失敗、その他情報をいれておきたいということでやってみました。
Jenkinsは下記プラグインを使うのが一番簡単です。
Syslogポートを5140に変更し、SyslogServerHostnameをLoggingサーバのIPにしておきます。
Fineにしておくと成功ログも見えていい感じですね。
Apacheログを飛ばしてみる
Apacheはパイプでloggerに渡すしかないです。
httpd.confのCustomLog|Errorログで設定します。
ファシリティはlocal0-7でカチあっていないものを使用。
CustomLog "|/usr/bin/logger -p local1.info -t example_com-access" combined
ErrorLog "|/usr/bin/logger -p local1.notice -t example_com-error"
これで先ほどの設定ですべてのファシリティ、プライオリティを飛ばしているのでOKです。
Kibana自体の使い方
練習がてら、Kibanaを触ってみたログを残しておきます。
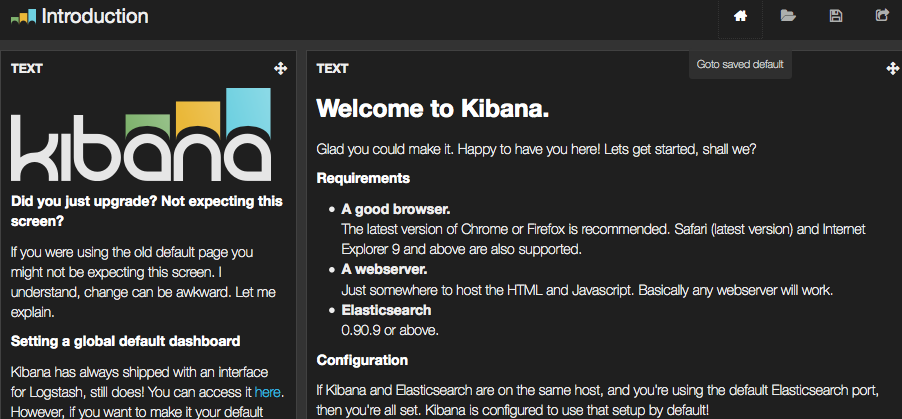
まずはトップ画面から右下"Unconfigured Dashboard"で作ってみます。
チュートリアル的な画面。
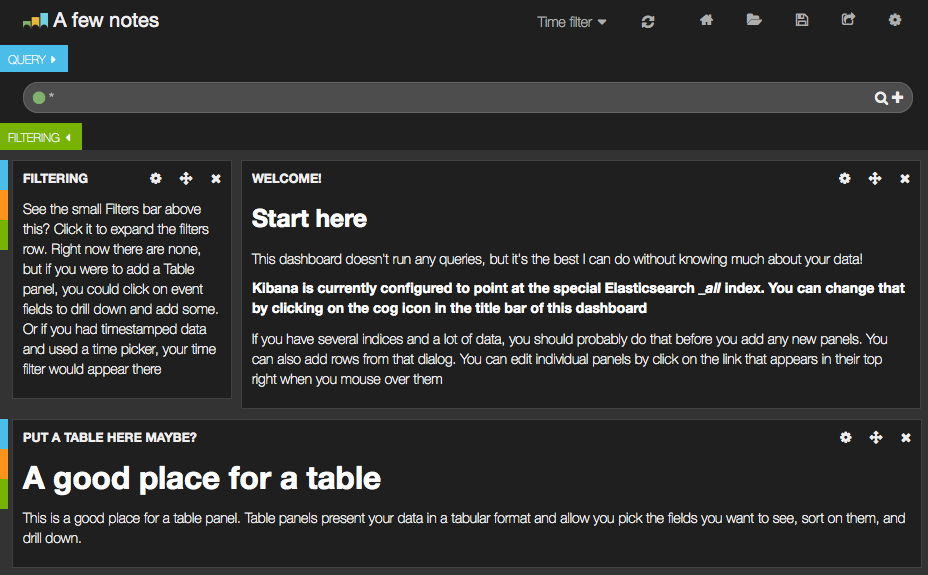
まず押さえるのはRowとPanelという概念らしい。
RowはこのWidgetのようなものをいれる枠で、行です。
高さだけ設定します。
Rowを足すと左に三色のバーがでてくるので、その中からPanelを追加していく。
Widget的なものをPanelと呼ぶらしい。
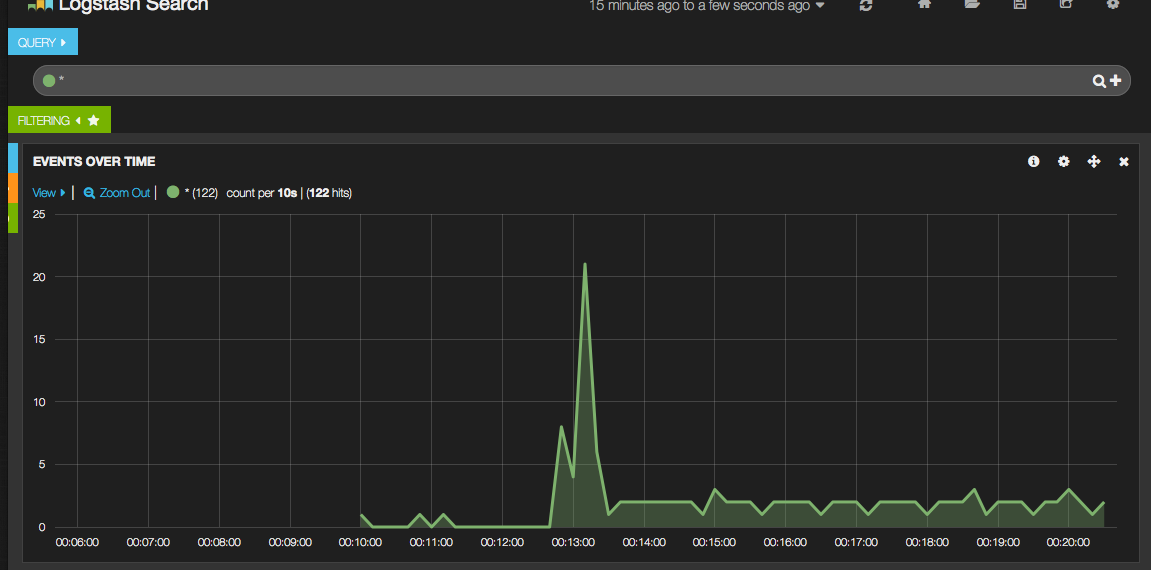
とりあえずグラフやらを足してみるとこんなかんじに。
QueryやFilterで複数のグラフを追加したり分析できるようですね。
Kibana3に関してはほかの記事も詳しいのがあるので、そちらを参照してください。
これを気軽に試せるというのはいいなぁ。

