内容
画面系のテストの毎回大変
→
画面系のテストを自動化できるseleniumというのがあるらしい。
→
ただ画面があって動かすのはダサいなー
→
docker内でヘッドレスに動作するselenium環境が作れるらしい
→
使ってみた
docker-seleniumのインストール
ソースは https://github.com/SeleniumHQ/docker-selenium から取得
種類はたくさんあるのですが、
今回はselenium自体を使うのもほぼ初めてなのと、動いている画面も見たかった、想定ブラウザがchromeなのでVNC付きのselenium/standalone-chrome-debugを選択。
standalone-chrome-debugとstandalone-chromeの違いはVNCサーバーの有無みたい。
あとはstandalone-chromeには日本語フォントが入っていないので注意。
インストールコマンド
dockerのインストールは割愛
$ docker run -d -p <docker側のselenium serverのポート>:4444 -p <docker側のVNCのためのポート>:5900 selenium/standalone-chrome-debug:3.2.0-actinium
コンテナ内を起動するとselenium serverとVNC serverが自動で起動します。
初期値だとselenium serverが4444,VNC serverが5900なので下記コマンドで大丈夫でした。使用するポートを変更する場合は適宜変更してください。
$ docker run -d -p 4444:4444 -p 5900:5900 selenium/standalone-chrome-debug:3.2.0-actinium
VNC server
- 5900ポートでVNCが立ち上がります。立ち上げ時の -p 指定でdocker内の5900ポートの通信がホストの5900にバインドされているのでlocalhost:5900からdockerのVNCに接続出来ます。
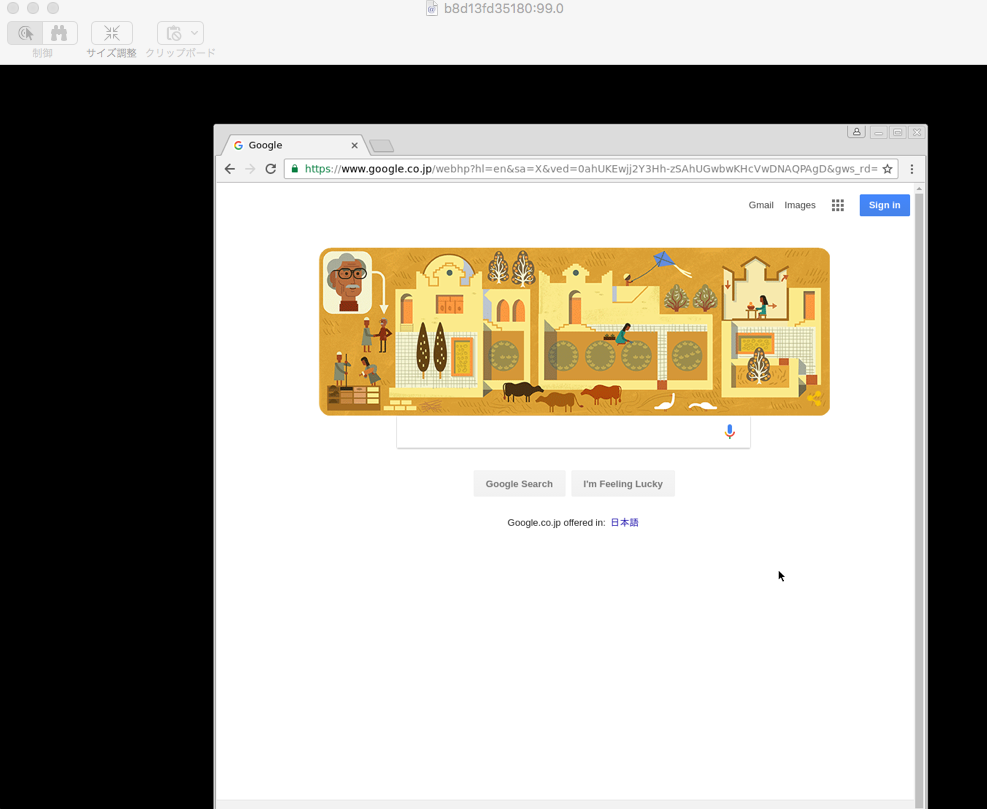
- macの場合はFinder→移動→サーバへ接続→サーバアドレス[vnc://localhost:5900]でVNCに接続できます(passwordはsecret)
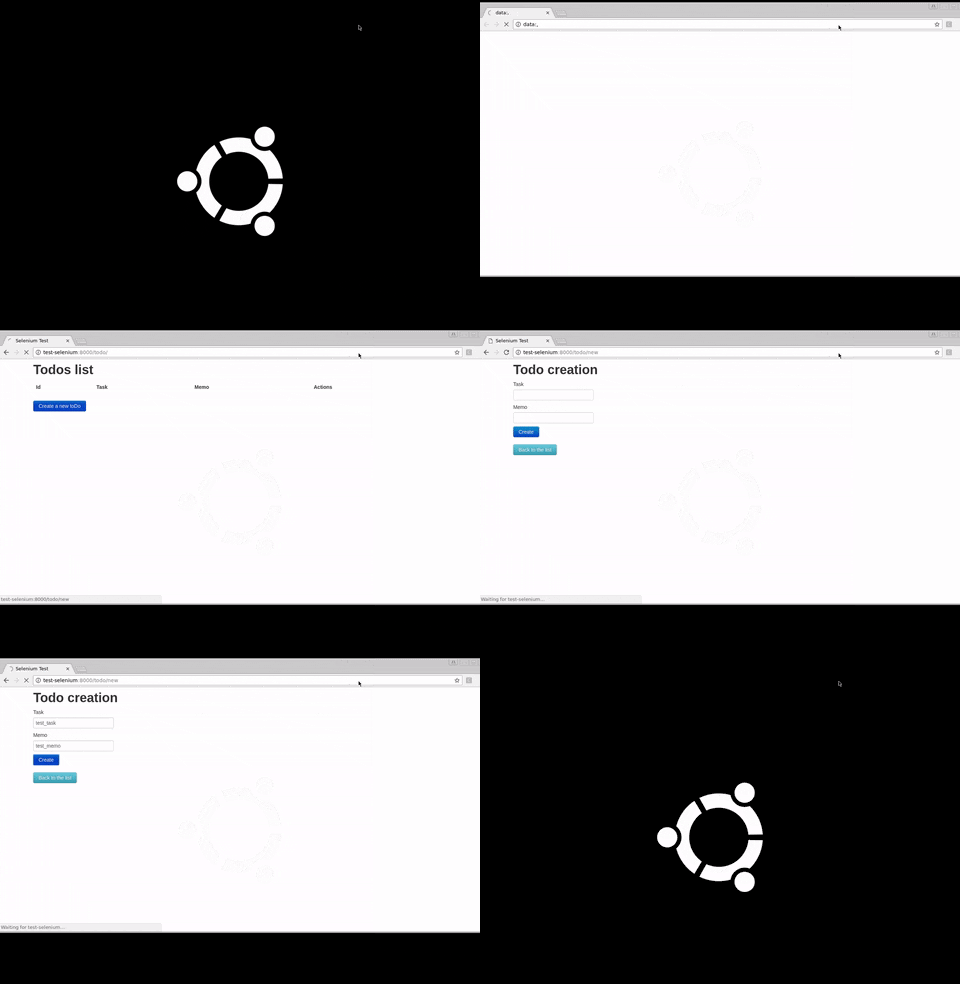
- docker内にfluxboxというGUIマネジャーがインストールされていてGUIで画面が確認できます。chromeもインストール済み

selenium server
- 4444ポートでselenium serverが立ち上がります。立ち上げ時の -p 指定でdocker内の4444ポートの通信がホストの4444にバインドされているので、コンテナが起動しているlocalhost:4444を指定することで実行出来ます。
php-webdriver
- selenium serverへのアクセスするAPIはいくつかの言語の実装があって、今回はfacebookが開発しているphp-webdriverを利用して操作を行いました。
サンプルコード
- symfonyで自動生成できる簡易なcrud画面の登録機能の確認
- 一覧画面→新規画面遷移→入力→登録→詳細画面の値のassert
-
php bin/phpunit -c appで実行
<?php

namespace AppBundle\Tests\Screen;

use Facebook\WebDriver\Interactions\WebDriverActions;
use Facebook\WebDriver;
use Facebook\WebDriver\WebDriverExpectedCondition;
use Facebook\WebDriver\WebDriverBy;
use Facebook\WebDriver\Remote;
use Facebook\WebDriver\Remote\RemoteWebDriver;
use Facebook\WebDriver\Remote\DesiredCapabilities;
use Symfony\Bundle\FrameworkBundle\Test\WebTestCase;


/**
 * @property RemoteWebDriver driver
 */
class SeleniumTest extends WebTestCase
{

    const WINDOW_HEIGHT = 768;
    const WINDOW_WIDTH = 1366;
    const SELENIUM_SERVER_HOST = "http://localhost:4444/wd/hub";

    protected $driver;


    /**
     * @test
     * @group chk
     */
    public function testSelenium()
    {
        $inputTask = "test_task";
        $inputMemo = "test_memo";

        $expectTask = "test_task";
        $expectMemo = "test_memo";

        $this->driver = RemoteWebDriver::create(self::SELENIUM_SERVER_HOST, DesiredCapabilities::chrome());
        //windowサイズを指定
        $this->driver->manage()->window()->setSize(new WebDriver\WebDriverDimension(self::WINDOW_WIDTH, self::WINDOW_HEIGHT));

        $this->driver->get("http://test-selenium:8000/todo/");
        $this->driver->findElement(WebDriverBy::id('create'))->click();

        $this->driver->wait(20, 1000)->until(
            WebDriverExpectedCondition::visibilityOfElementLocated(WebDriverBy::cssSelector('body > .container'))
        );

        //フォームへの入力
        $this->driver->findElement(WebDriverBy::id('appbundle_todo_task'))->click();
        $this->driver->getKeyboard()->sendKeys($inputTask);
        $this->driver->findElement(WebDriverBy::id('appbundle_todo_memo'))->click();
        $this->driver->getKeyboard()->sendKeys($inputMemo);

        //submit
        $this->driver->findElement(WebDriverBy::id('create'))->click();
        $this->driver->wait(20, 1000)->until(
            WebDriverExpectedCondition::visibilityOfElementLocated(WebDriverBy::cssSelector('body > .container'))
        );

        //詳細画面に表示されている値の取得
        $actualTask = $this->driver->findElement(WebDriverBy::id('task_text'))->getText();
        $actualMemo = $this->driver->findElement(WebDriverBy::id('memo_text'))->getText();

        //assert
        $this->assertEquals($expectTask, $actualTask);
        $this->assertEquals($expectMemo, $actualMemo);

        $this->driver->quit();
    }

}
感想
初期導入や実装はまだまだ情報が少なくて大変だけれども、画面系のE2Eテストを自動化できるのは有用だと思うのでもっと使えるようになりたいところ。
せっかくヘッドレスな環境で作成したのでjenkinsで実行して、CI的な感じにも進めていきたい・・・(誰かノウハウ教えてください!)
サンプルコード
今回作ったコードはここに置いてあります。
https://github.com/yutachaos/selenium-test-for-symfony
