はじめに
この記事では、初学者がNext.jsのキャッチアップのために電卓アプリを作成しました。
読者はこの記事を通じてNext.jsを使用した電卓アプリの作成方法と、基本的なAIプロンプトエンジニアリングについて学ぶことができます。
開発環境
- OS:windows11
- 言語:Javascript、html/css
- JSフレームワーク:React.js 18
- React.jsフレームワーク: Next.js 14.2.15
- CSSフレームワーク:tailwindcdd 3.4.1
1.作業ディレクトリの作成
自分の好きな階層で以下のコマンドを実行
C: \Desktop>mkdir testcalculator
C: \Desktop>cd testcalculator
下記に移動
C: \Desktop\testcalculator>
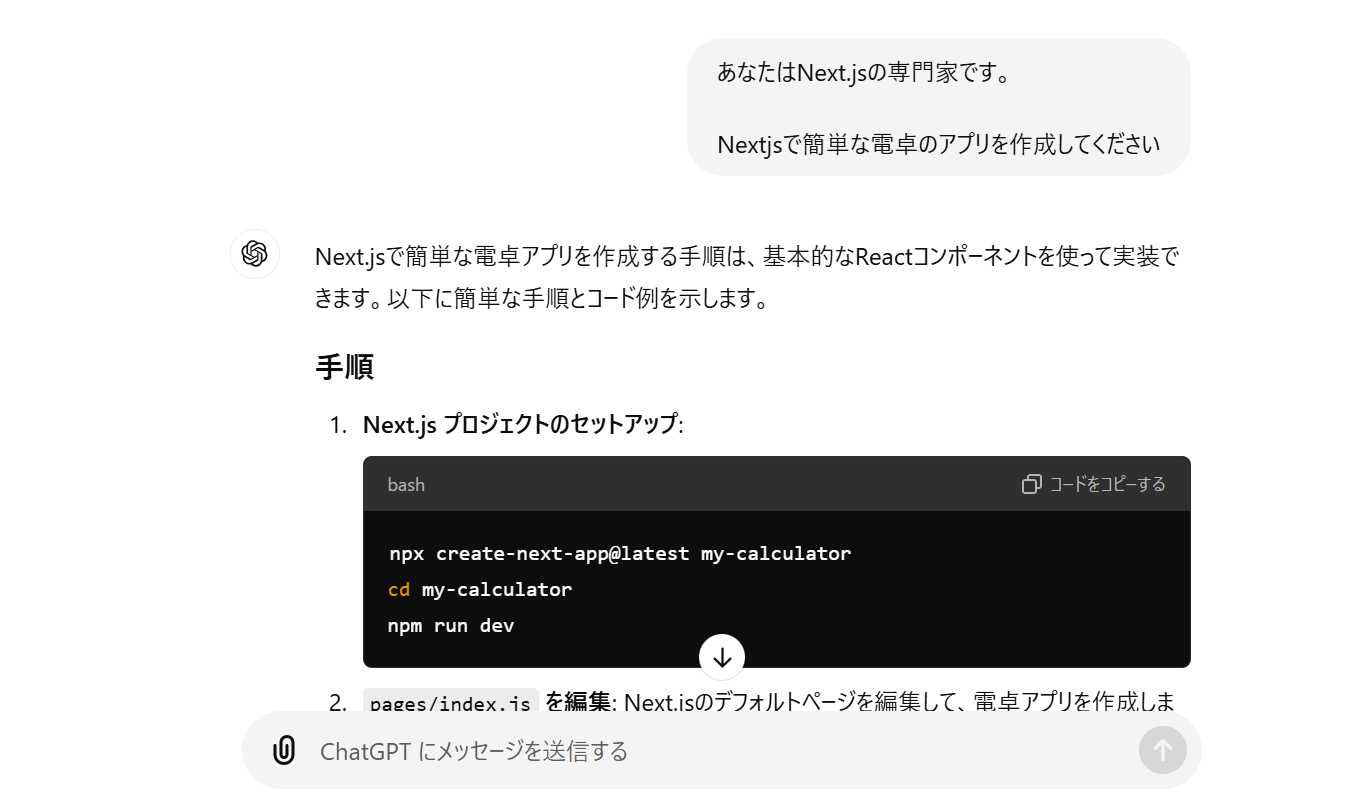
2.chatgptにNext.jsを使用したアプリの作成方法を質問する
あなたはNext.jsの専門家です。
Nextjsで簡単な電卓のアプリを作成してください
ここからは手順に従ってアプリを作成していきます。
ここでは例として、私のAI出力結果による実装手順を以下に掲載させて頂きます。
3.Next.jsプロジェクトの作成
下記のコマンドを実行し、Next.jsプロジェクトを作成
C: \Desktop\testcalculator>npx create-next-app mycalculator
インストールが始まるので完了するまで待ち、下記のコマンドを実行してプロジェクトのルートに移動
C: \Desktop\testcalculator>cd mycalculator
C: \Desktop\testcalculator\mycalculator>
下記のコマンドを実行し、開発サーバーを起動できるか確認
C: \Desktop\testcalculator\mycalculator>npm run dev
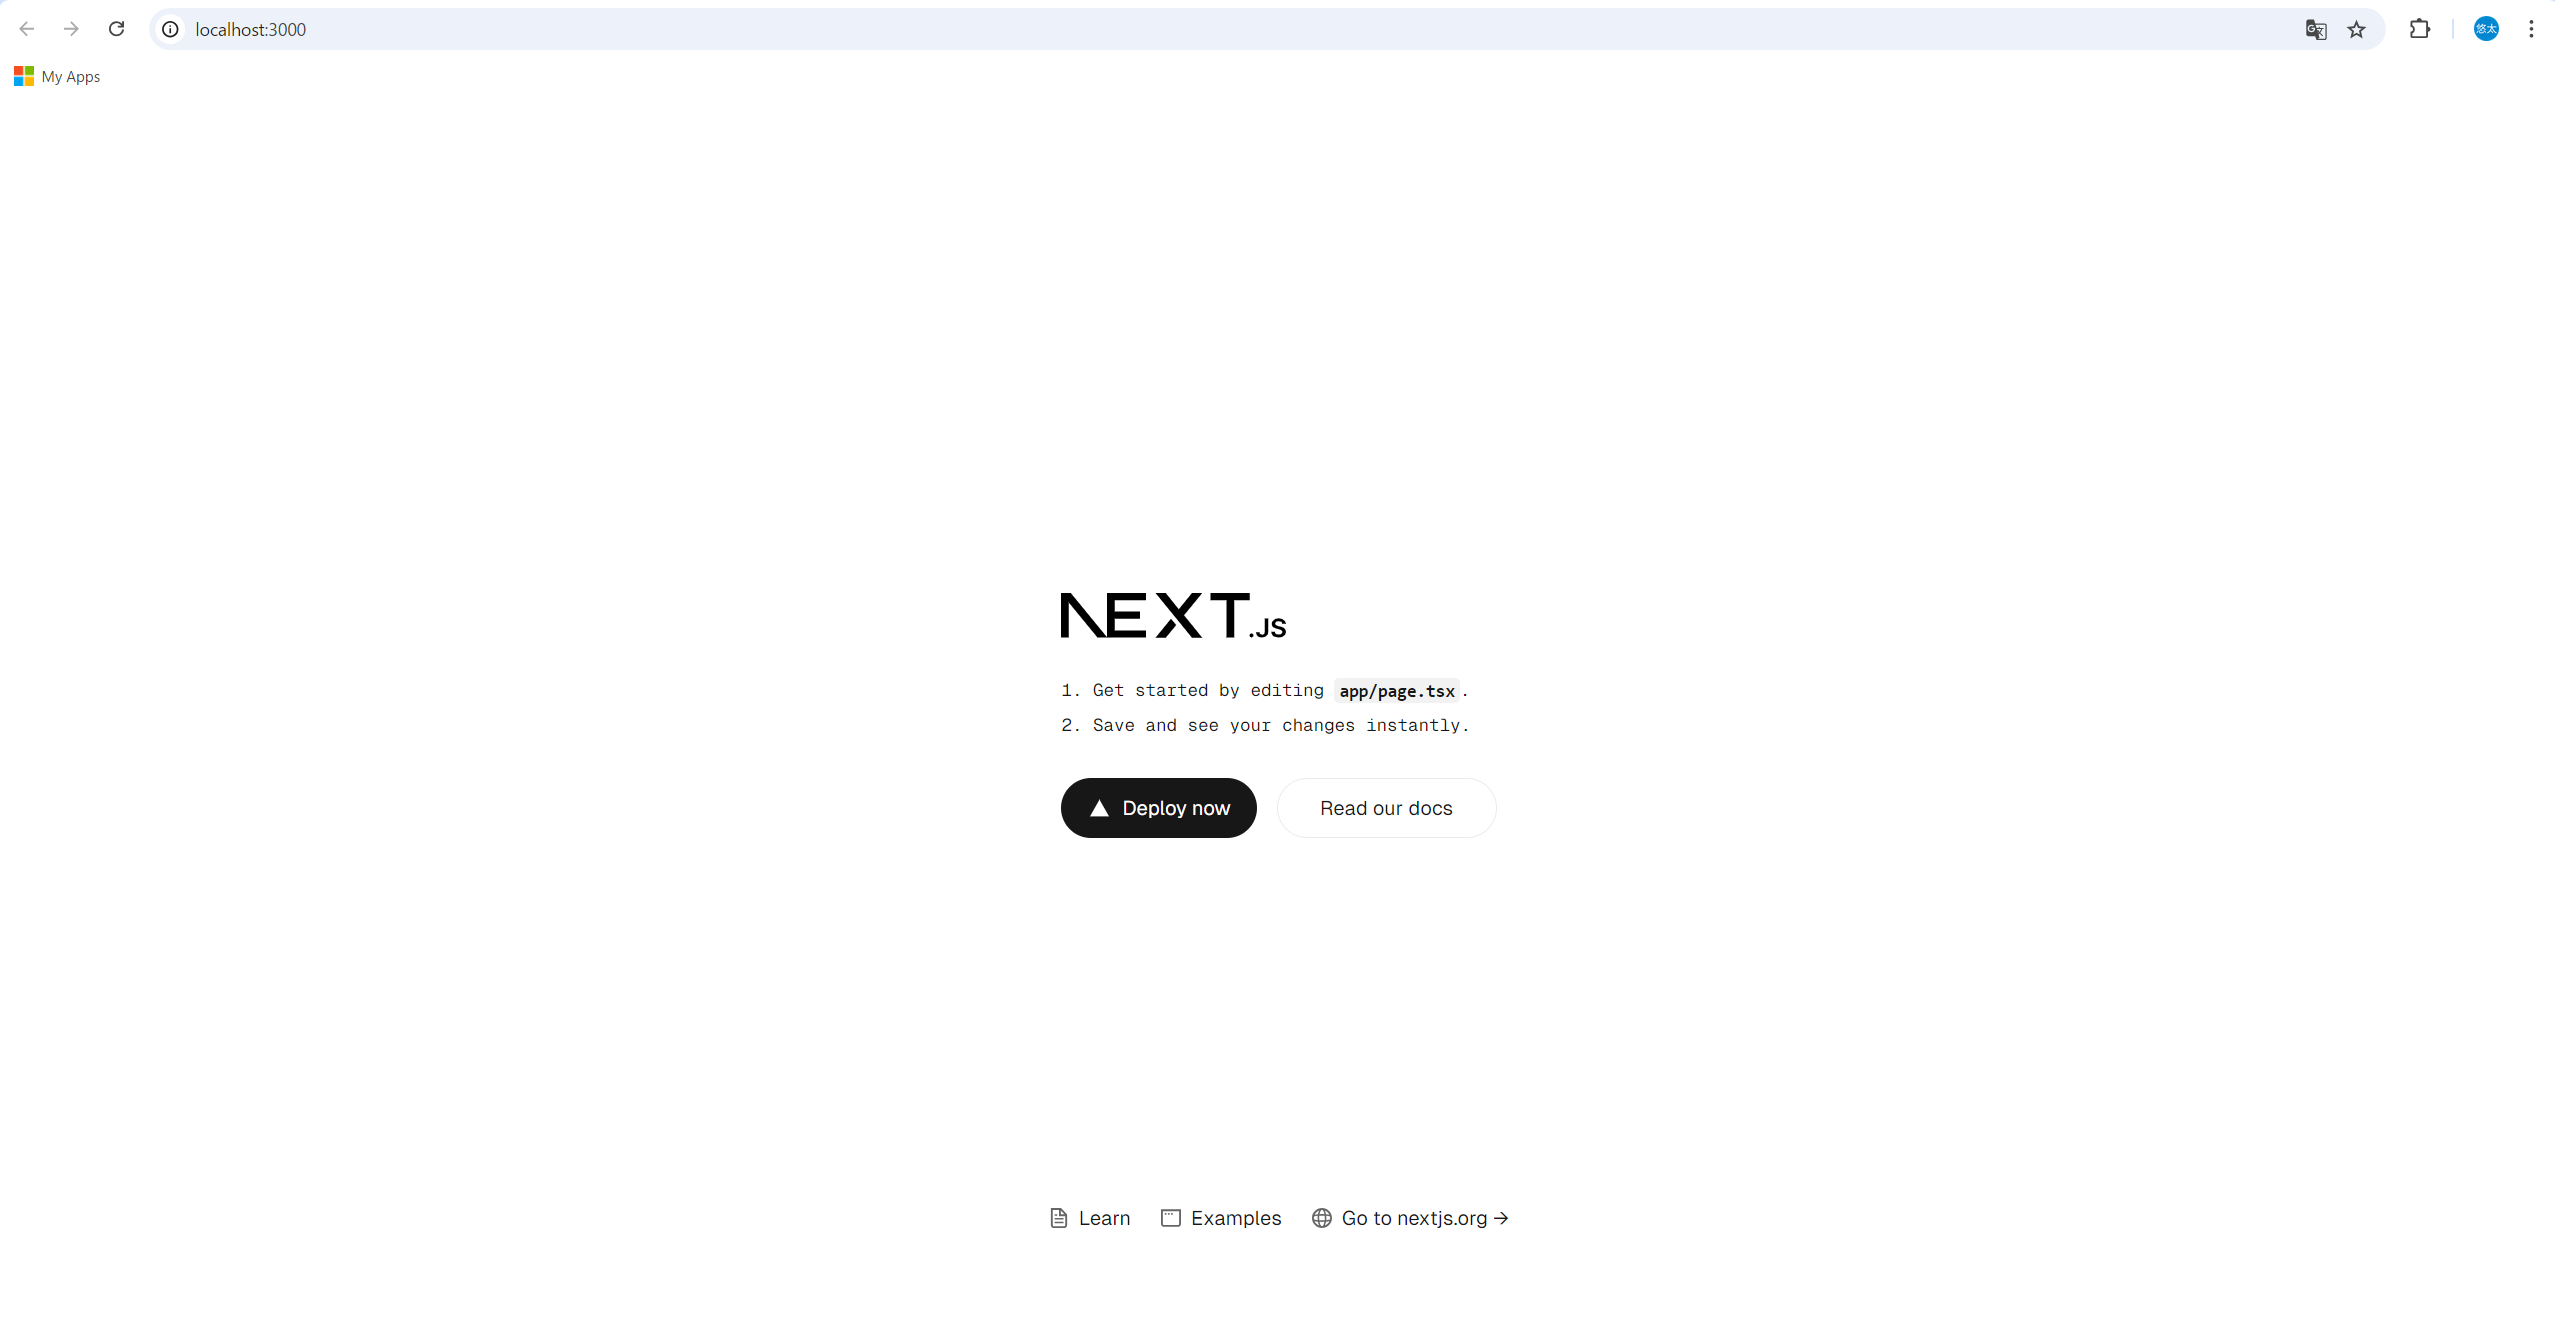
下記の画面が表示されていれば、開発サーバーが起動できています

別タブでターミナルを開き、再度プロジェクトのルートディレクトリに移動
下記のコマンドを実行し、vscodeを開く
C: \Desktop\testcalculator\mycalculator>code .
chatGPTが作成したcodeをルートディレクトリの/app/page.tsxに上書き貼り付け
code記述後は必ず保存しておくこと。保存しないとブラウザに反映されません。
'use client'

import { useState } from 'react'

export default function Home() {
  const [display, setDisplay] = useState('')

  const appendToDisplay = (value: string) => {
    setDisplay(display + value)
  }

  const clearDisplay = () => {
    setDisplay('')
  }

  const calculate = () => {
    try {
      // Note: eval is used for simplicity, but it's not recommended for production use
      const result = eval(display)
      setDisplay(result.toString())
    } catch (error) {
      setDisplay('Error')
    }
  }

  return (
    <div className="flex justify-center items-center min-h-screen bg-blue-300">
      <div className="bg-white rounded-lg shadow-md p-6">
        <input
          type="text"
          className="w-full h-12 text-2xl text-right mb-4 p-2 border rounded"
          value={display}
          readOnly
        />
        <div className="grid grid-cols-4 gap-2">
          {['7', '8', '9', '+', '4', '5', '6', '-', '1', '2', '3', '*', '0', '.', 'C', '/'].map((btn) => (
            <button
              key={btn}
              onClick={() => btn === 'C' ? clearDisplay() : appendToDisplay(btn)}
              className={`h-12 text-lg ${
                ['+', '-', '*', '/'].includes(btn)
                  ? 'bg-orange-400 text-white hover:bg-orange-500'
                  : 'bg-gray-200 hover:bg-gray-300'
              }`}
            >
              {btn}
            </button>
          ))}
          <button
            onClick={calculate}
            className="col-span-4 h-12 text-lg bg-orange-400 text-white hover:bg-orange-500"
          >
            =
          </button>
        </div>
      </div>
    </div>
  )
}
完成です、お疲れ様でした。
Next.jsでのプロジェクト作成時にtailwindCSSも標準搭載されていますので、chatGPTに聞いたりtailwindCSSチートコードなどを活用して遊んでみるのもおすすめです。

