10
2

Delete article

Deleted articles cannot be recovered.

Draft of this article would be also deleted.

Are you sure you want to delete this article?

More than 3 years have passed since last update.

【Qiita】記事で挿入した画像に枠線をつける方法

Last updated at Posted at 2020-03-16

#【Qiita】記事の画像に枠線をつける方法

画像を挿入するときに、枠線がないとどこからどこまでが画像かわかりにくい。

⇛ 表形式(テーブル)をうまく使うことで枠線をつけられる

##記述方法
| ![image.png](URL)| |:--|

<ポイント>

  • 2行で記述
  • 1行目:「|」(パイプ)で画像のソースコードを挟む
    • 画像のソースコード「![image.png](URL)」
      • [ ]の中は[ファイル名.拡張子]:例[example-picture.JPG]
  • 2行目:|:--|
    • 「-」の数は2つ以上

ソースコードの例
|![image.png](https://qiita-image-store.s3.ap-northeast-1.amazonaws.com/0/563526/9c4e0aa5-69a5-d717-d1d8-af8611bf0498.png)|
|:--|

ソースコードが長いのでややこしく見えるが、やってることはシンプル。
①「|」で挟む
②「|:--|」をつけるだけ

##画像への枠適用:実例

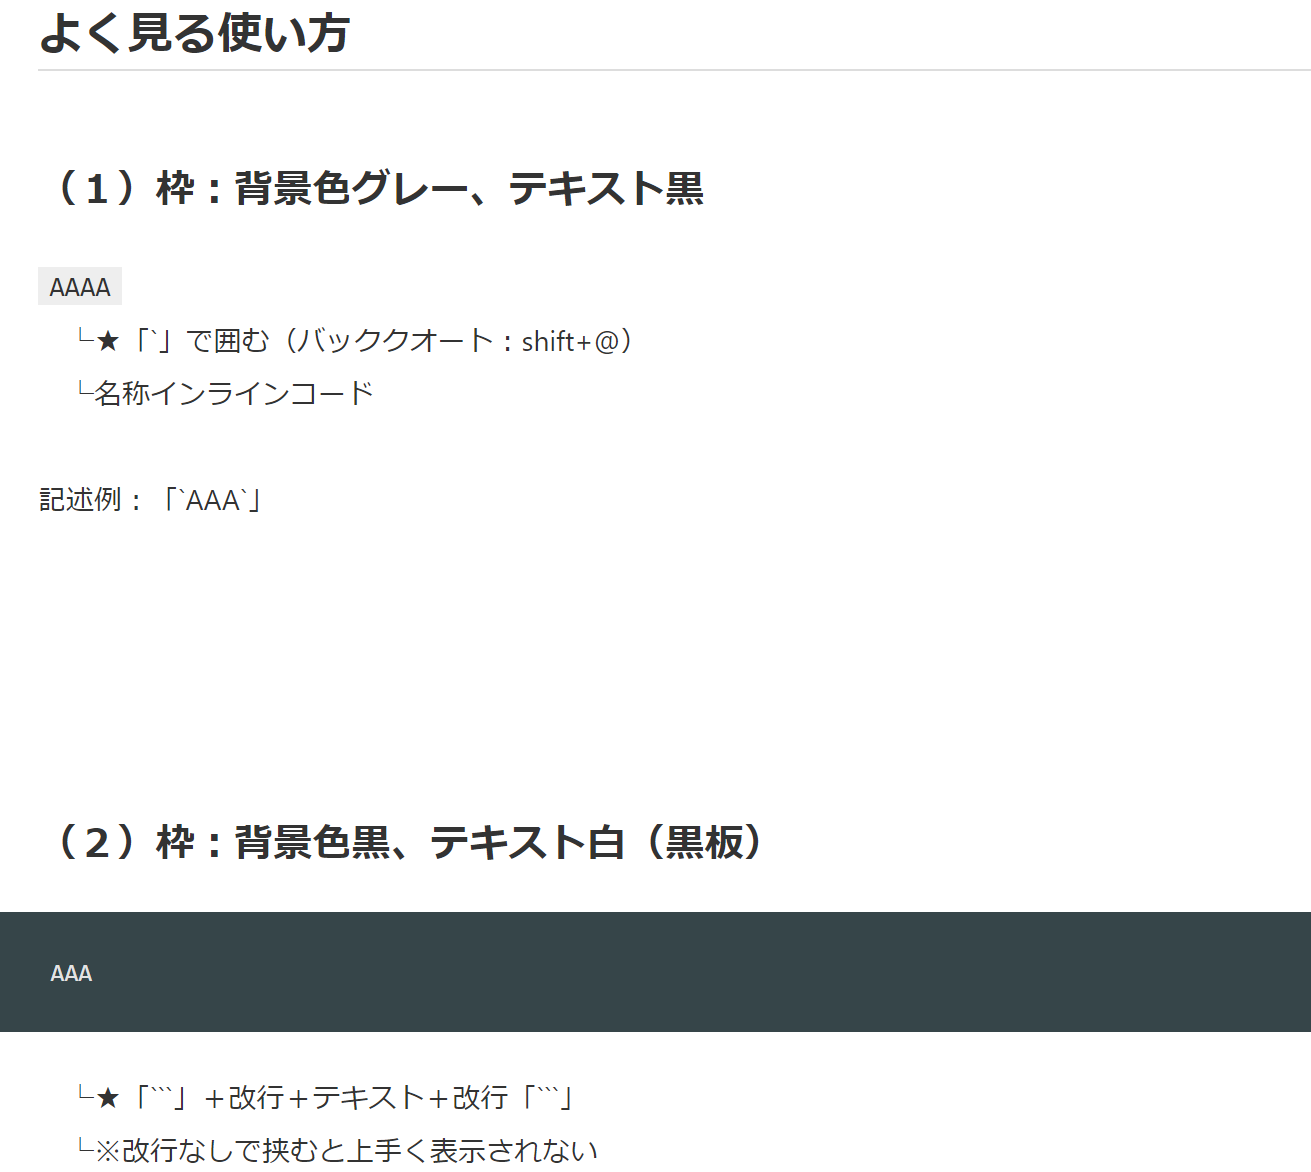
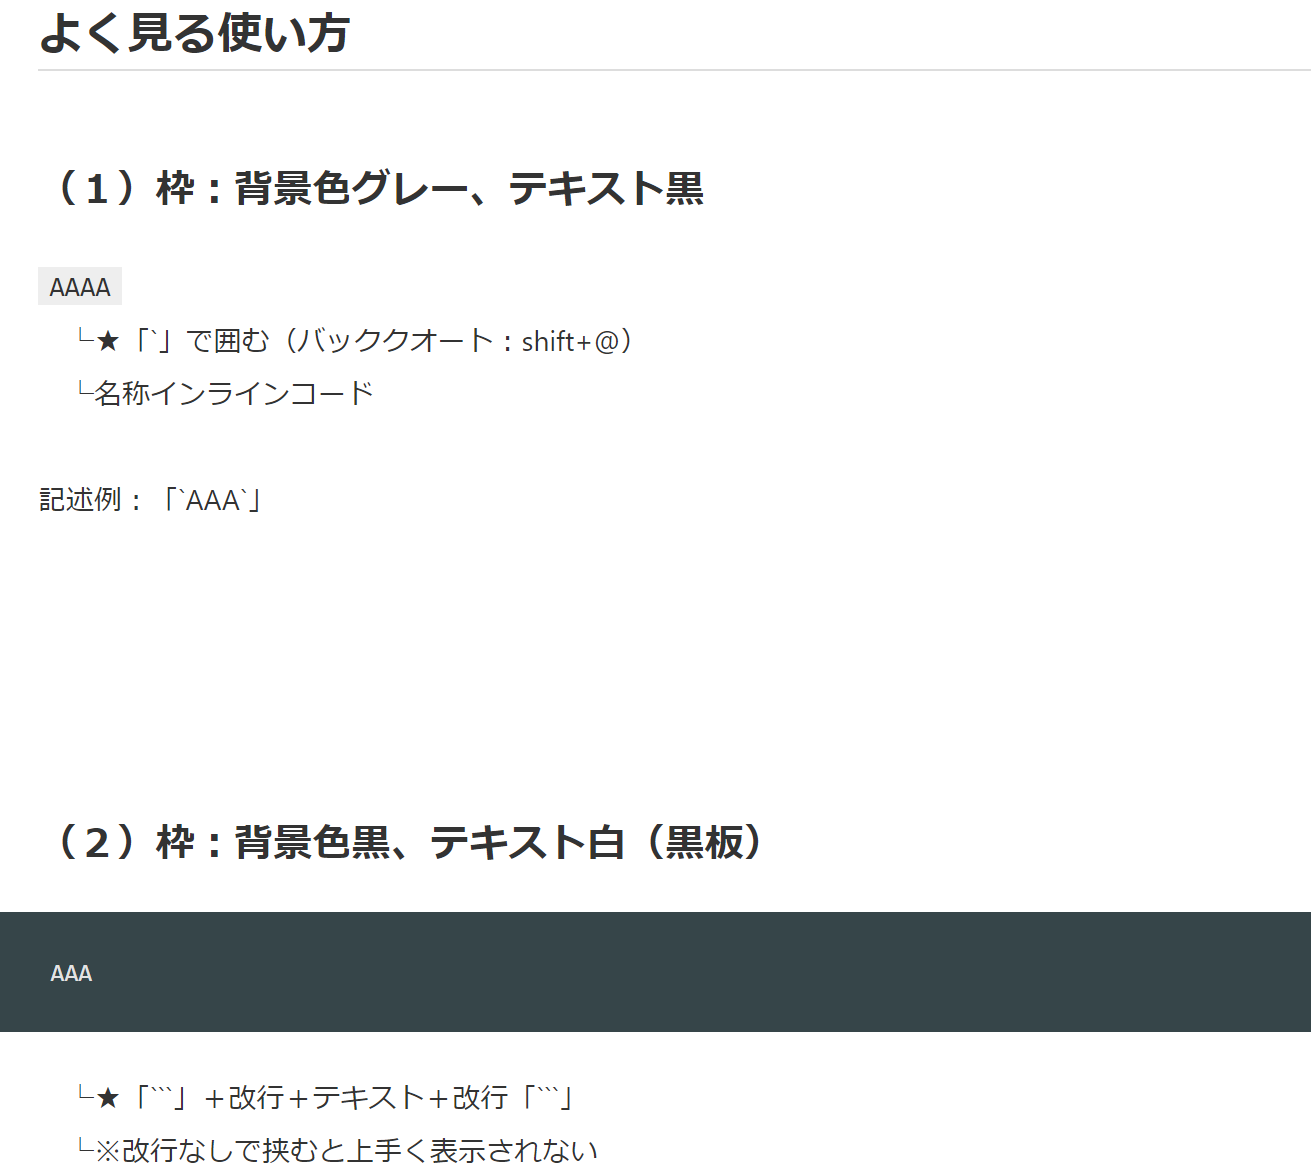
image.png

##枠がない場合

↓↓↓ここから画像↓↓↓

image.png

↑↑↑ここまでが画像↑↑↑

背景白だと、境目がわからない、、

10
2
0

Register as a new user and use Qiita more conveniently

  1. You get articles that match your needs
  2. You can efficiently read back useful information
  3. You can use dark theme
What you can do with signing up
10
2

Delete article

Deleted articles cannot be recovered.

Draft of this article would be also deleted.

Are you sure you want to delete this article?