Qiita初投稿です。普段はJavaとか使って業務システムをいろいろしている奴です。
何番煎じかは分かりませんが、ReactとTypeScriptの勉強をしてみようということで、楽にReactの環境を構築できるcreate-next-appを使って、VSCodeで環境構築をした際の手順を備忘録がてら書いておこうと思います。
create-next-appでプロジェクトを作成
環境はWindows 11のWSLのUbuntuです。Node.jsとかnpmとかは入っている前提で進めます。
npx create-next-app --typescript
--typescriptオプションを付けるとTypeScriptで、無しだと普通にJavaScriptで生成されます。
確か初回は「create-next-appをインストールしますか?」的なことが英語で聞かれたと思いますので、その場合は「y」を入力してEnter。
「✔ What is your project named? … 」とプロジェクト名を聞いてきますので、任意の名前を入力してEnter。
しばらく待つと下記のような表示が出ます。
Success! Created [プロジェクト名] at [ディレクトリ]
Inside that directory, you can run several commands:

  npm run dev
    Starts the development server.

  npm run build
    Builds the app for production.

  npm start
    Runs the built app in production mode.

We suggest that you begin by typing:

  cd [プロジェクト名]
  npm run dev
表示の通り、cd [プロジェクト名]で生成先のディレクトリまで移動して、npm run devとタイプします。
> dev
> next dev

ready - started server on 0.0.0.0:3000, url: http://localhost:3000
event - compiled client and server successfully in 1331 ms (125 modules)
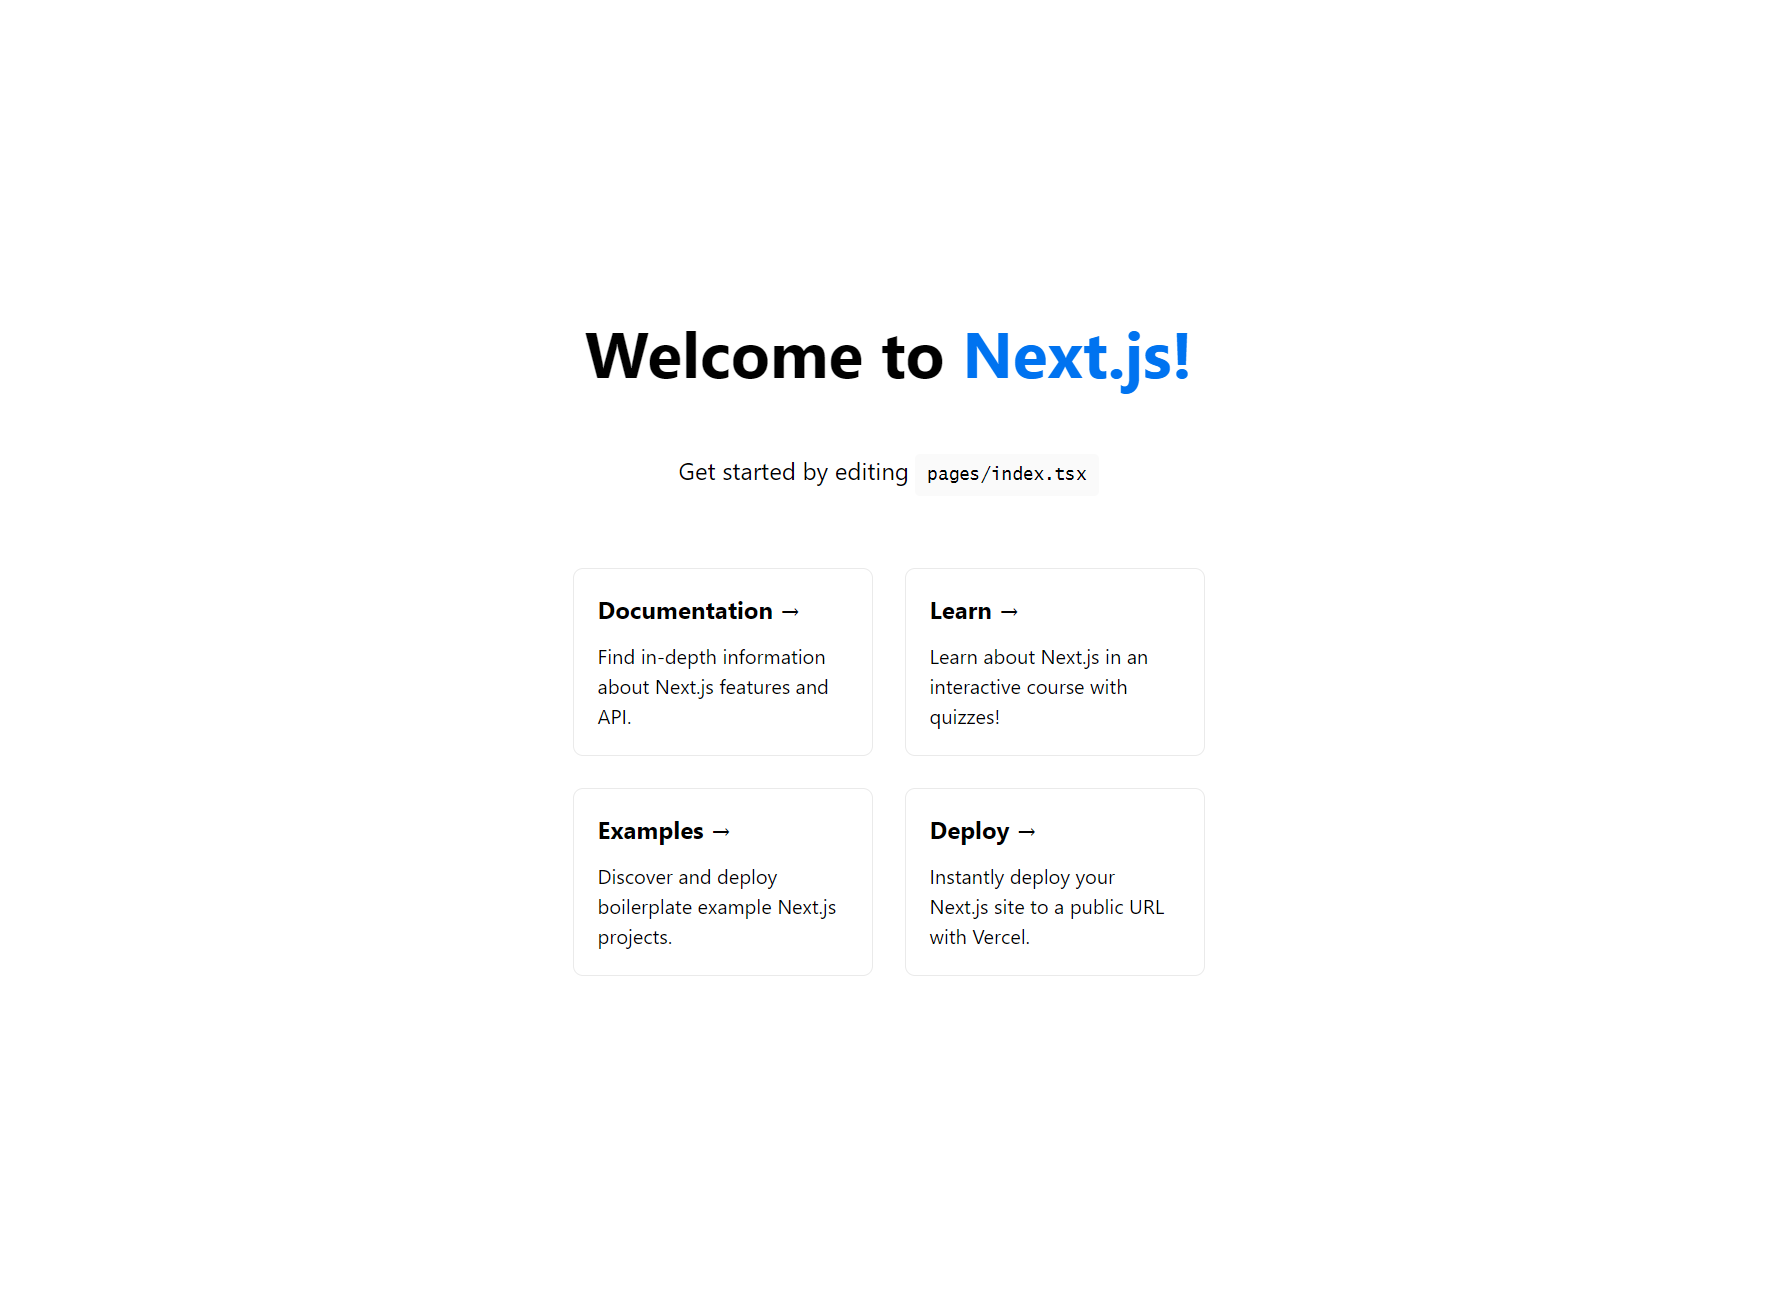
ここまで来たらブラウザーでhttp://localhost:3000へアクセスすると以下のようなページが出てきます。
これでNext.jsでの環境構築は成功です。
VSCodeでデバッグの設定
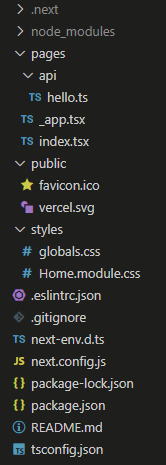
VSCodeを起動して「ファイル」→「フォルダーを開く」で先程生成したフォルダーを開きます。
何も弄っていない状態だと下記のような構成になっています。
VSCode上でデバッグができる環境を作っていきます。
左メニューの「実行とデバッグ」から「launch.json ファイルを生成します。」をクリック。何でもいいのですがとりあえず「Node.js」を選択します。

Next.jsの公式ドキュメントにデバッグ用のlaunch.jsonを用意してくれていますので、これを使用します。
先程出来たlaunch.jsonの中身をこれに書き換えます。
{
  "version": "0.2.0",
  "configurations": [
    {
      "name": "Next.js: debug server-side",
      "type": "node-terminal",
      "request": "launch",
      "command": "npm run dev"
    },
    {
      "name": "Next.js: debug client-side",
      "type": "pwa-chrome",
      "request": "launch",
      "url": "http://localhost:3000"
    },
    {
      "name": "Next.js: debug full stack",
      "type": "node-terminal",
      "request": "launch",
      "command": "npm run dev",
      "console": "integratedTerminal",
      "serverReadyAction": {
        "pattern": "started server on .+, url: (https?://.+)",
        "uriFormat": "%s",
        "action": "debugWithChrome"
      }
    }
  ]
}
(https://nextjs.org/docs/advanced-features/debugging より引用)
上手くいっていれば「実行とデバッグ」に下図のような項目が出来ていると思います。
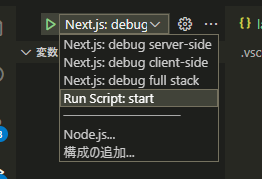
試しに「Next.js: debug full stack」を選択して、左の「▷」をクリックしてみましょう。
ターミナルに以下のような表示が現れ、自動的にChromeが立ち上がって先程と同じページが表示されます。
Debugger attached.

> dev
> next dev

Debugger attached.
ready - started server on 0.0.0.0:3000, url: http://localhost:3000
event - compiled client and server successfully in 346 ms (125 modules)
wait  - compiling /_error (client and server)...
event - compiled client and server successfully in 118 ms (126 modules)
wait  - compiling / (client and server)...
event - compiled client and server successfully in 98 ms (142 modules)

また、試しにindex.tsxに適当にブレークポイントを追加して起動してみるとブレークポイントで一時停止するので、デバッグ機能がちゃんと使えていることが分かります。

記事としてはここで終わりです。
あとはリンターなりフォーマッターなり入れて始めていくかなと思います。