はじめに
FlutterとFirebaseを使って、スマホアプリの個人開発をしている。
草野球の助っ人を募集するアプリなのだが、試合の開催日を過ぎたら、自動的にその募集をクローズさせたい。
調べてみたところ、どうやらCloud Functions for Firebaseを使うとできそう。
正確には、Cloud Functionsのみだと定期実行はできないため、Cloud Schedulerというものと連携し、定期実行するらしい。
詳しくはドキュメント参照↓
https://firebase.google.com/docs/functions/schedule-functions?hl=ja
終わってみればそんなに難しくないという感じなのだが、Cloud Functionsを使うのは今回が始めてで、遠回りした部分もあったため、少し丁寧にまとめておく。
ターミナルからFirebaseにログインする
Firestore等の各種サービスはすでに使用していたが、Functionsを使用するにあたって、事前にログインする必要があった。
ターミナルからアプリのルートディレクトリに移動し、以下コマンドを実行。
$ firebase login
ブラウザが開き、Googleアカウントでのログインを求められるので、ログインする。
その後、以下のコマンドでプロジェクトを紐づける。
$ firebase use --add
 Which project do you want to add?  // 対象のプロジェクトを選択 →Enter
 What alias do you want to use for this project? (e.g. staging)   // staging →Enter

 Created alias staging for アプリ名.
 Now using alias staging (アプリ名)
Cloud Functions を使ってみる
ログイン&紐付けが完了したら、早速Cloud Functionsを使っていく。
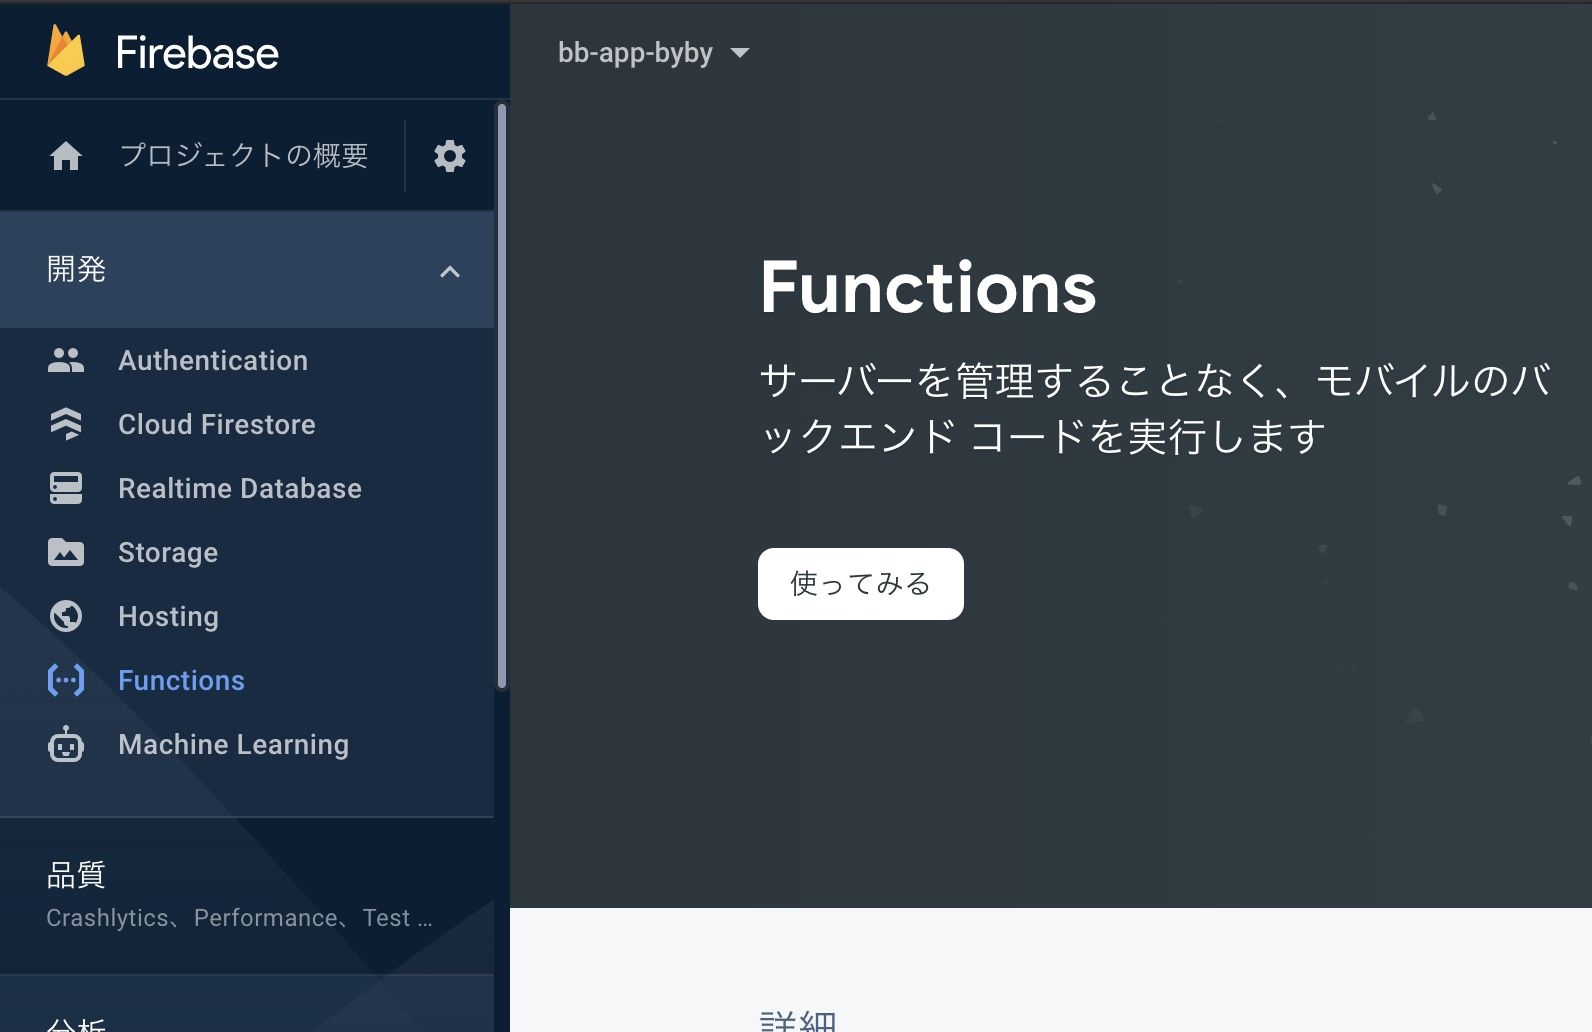
Firebaseのコンソール画面から、Cloud Functionsを選択し、「使ってみる」をクリック。
その後は、案内に従って進めていく。
今回は、Functionsのみ使用するため、firebase initでそのように設定する。
$ npm install -g firebase-tools

$ firebase init
 ◯ Functions: Configure and deploy Cloud Functions   // スペースで選択 →Enter
 ❯ JavaScript   // Enter
 ? Do you want to use ESLint to catch probable bugs and enforce style? (y/N)  // N →Enter

 ✔  Firebase initialization complete!
firebase initが完了すると、アプリのディレクトリ内にfunctions/が作成されるので、functions/index.jsにコードを書いていく。
コード内容は↓の通り。
const admin = require('firebase-admin');
const functions = require('firebase-functions');

admin.initializeApp(functions.config().firebase);

let db = admin.firestore();

let recRef = db.collection('recruitments');

let today = new Date();

exports.updateRecruiting = functions.region('asia-northeast1')
  .pubsub.schedule('0 0 * * *').onRun((_) => {
    recRef.where('date', '<', today).get()
    .then(snapshot => {
      if (snapshot.empty) {
        console.log('No matching documents.');
        return;
      }
      snapshot.forEach(doc => {
        doc.ref.update({"recruiting": false});
      });
    })
    .catch(err => {
      console.log('Error getting documents', err);
    });
})
簡単にコードの説明
const admin = require('firebase-admin');
const functions = require('firebase-functions');

admin.initializeApp(functions.config().firebase);

let db = admin.firestore();

let recRef = db.collection('recruitments');
前半の部分は、firestoreを使うための決まり文句みたいなもの。
公式ドキュメント↓(Node.js)を参考に書いてみた。
https://firebase.google.com/docs/firestore/quickstart?hl=ja#node.js
後半(実際の処理)の部分を切り分けてみていく。
exports.updateRecruiting = functions.region('asia-northeast1')
まずここで、リージョンを指定している。exports.updateRecruitingはexports.関数名というように、自分で命名してOK。
.pubsub.schedule('0 0 * * *').onRun((_) => {
続いてこの部分。
こちらも公式ドキュメント↓に沿った、定期的に処理を実行するための書き方。
毎日0:00に実行されるよう設定している。
https://firebase.google.com/docs/functions/schedule-functions?hl=ja
let today = new Date();

 (省略)

    recRef.where('date', '<', today).get()
    .then(snapshot => {
      if (snapshot.empty) {
        console.log('No matching documents.');
        return;
      }
      snapshot.forEach(doc => {
        doc.ref.update({"recruiting": false});
      });
    })
    .catch(err => {
      console.log('Error getting documents', err);
    });
})
そして残りは、やりたい処理の中身。
recRef.where('date', '<', today).get()で過去の日付のクエリを取得し、
snapshot.forEach(doc => {
  doc.ref.update({"recruiting": false});
});
↑でデータを更新する。
doc.ref.updateと書くべきなのだが、最初 doc.updateと書いていてエラーになったので、要注意(と言いたけどこんなの当たり前?)
コードがかけたらデプロイする
さて、コードが完成したところで、再びターミナルへ戻りデプロイコマンドを実行。
$ firebase deploy

i  deploying functions
i  functions: ensuring required API cloudfunctions.googleapis.com is enabled...
i  functions: ensuring required API cloudbuild.googleapis.com is enabled...
✔  functions: required API cloudbuild.googleapis.com is enabled
✔  functions: required API cloudfunctions.googleapis.com is enabled
i  functions: preparing functions directory for uploading...
i  functions: packaged functions (29.51 KB) for uploading
✔  functions: functions folder uploaded successfully
i  functions: creating Node.js 10 function updateRecruiting(asia-northeast1)...
i  scheduler: ensuring required API cloudscheduler.googleapis.com is enabled...
i  pubsub: ensuring required API pubsub.googleapis.com is enabled...
✔  pubsub: required API pubsub.googleapis.com is enabled
✔  scheduler: required API cloudscheduler.googleapis.com is enabled
✔  functions: created scheduler job firebase-schedule-updateRecruiting-asia-northeast1
✔  functions[updateRecruiting(asia-northeast1)]: Successful create operation.

✔  Deploy complete!
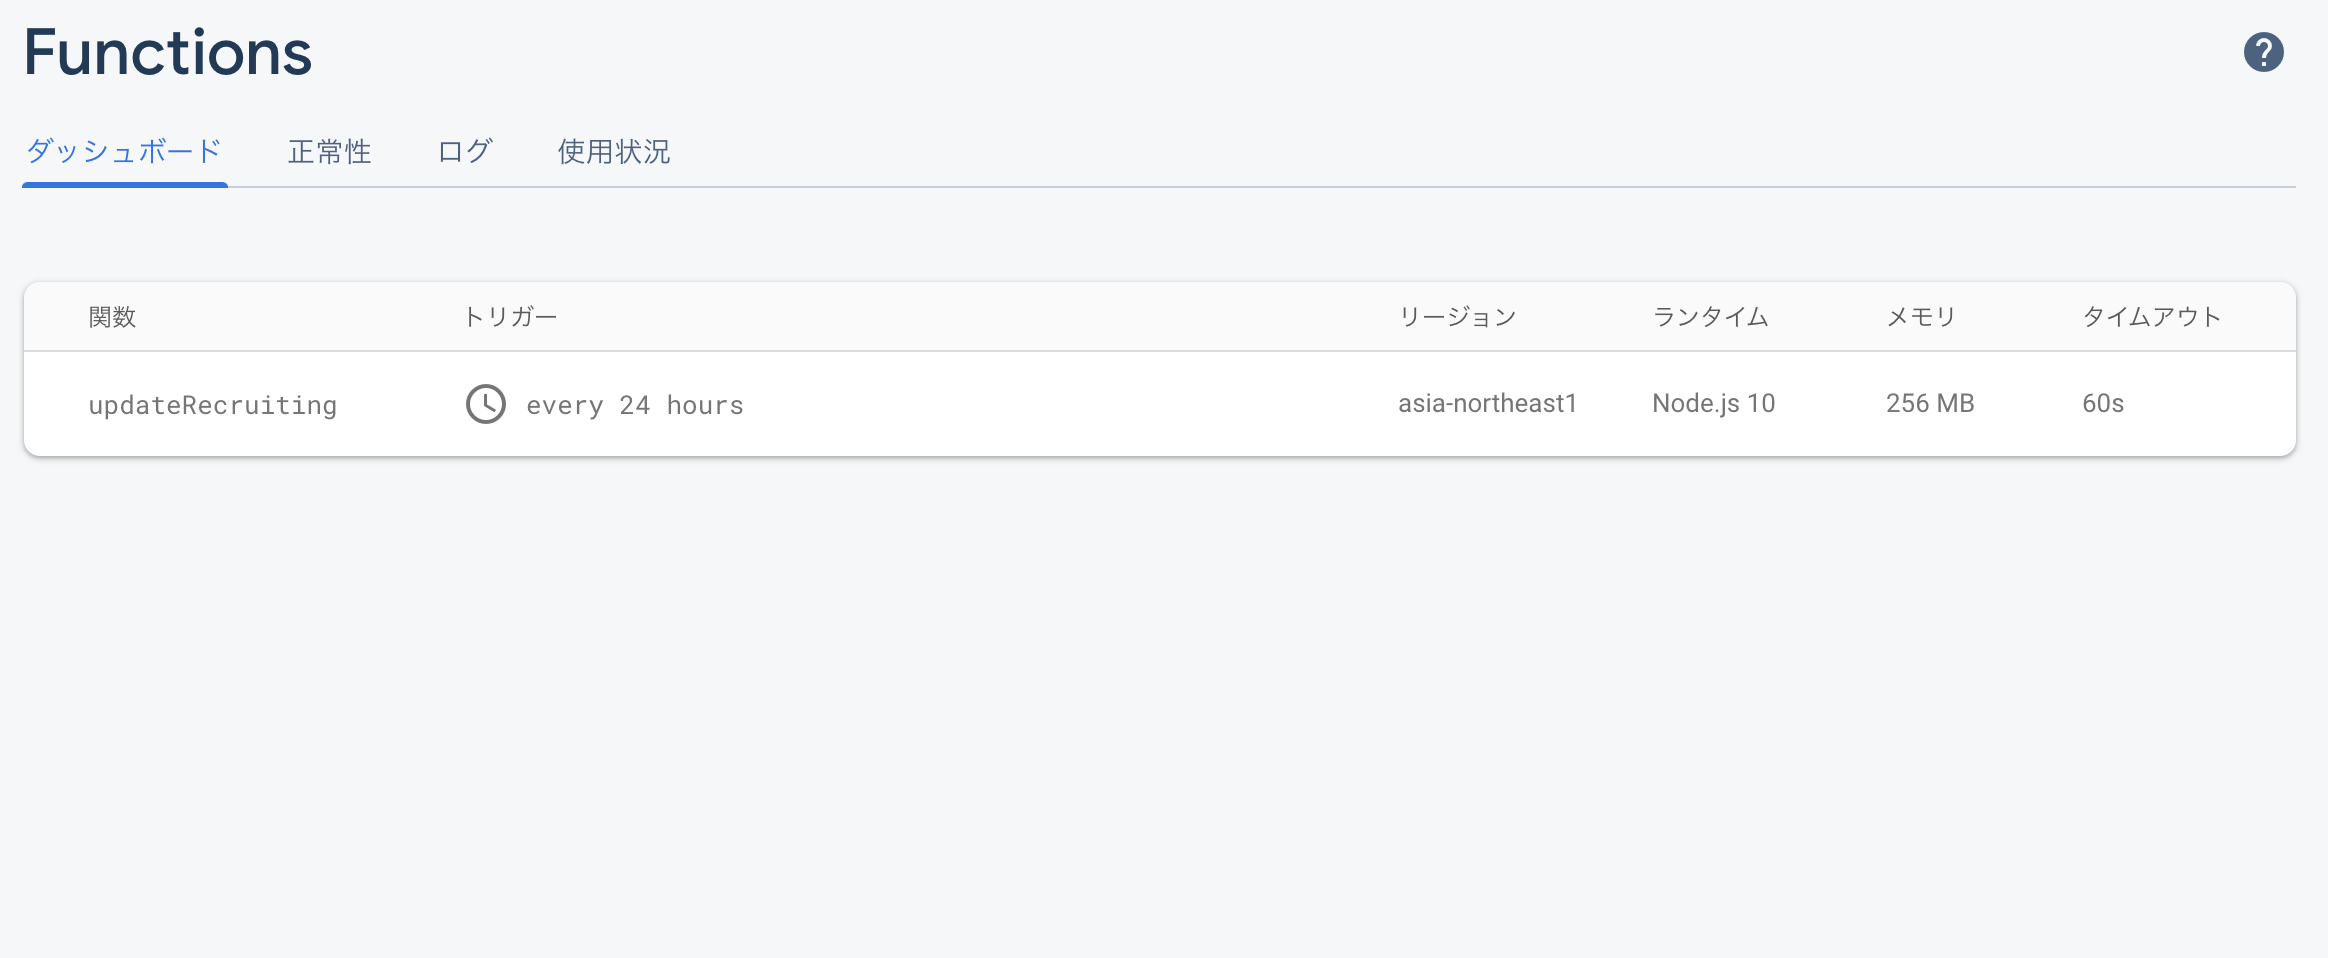
コンソールから確認すると、無事関数が追加されている。
そして、Cloud Scheduler↓を開いてみると、こちらにも自動でジョブが追加されている。
https://console.cloud.google.com/cloudscheduler
頻度の欄をみると、TimeZoneがアメリカになっているぽいので、一応変更しておく。

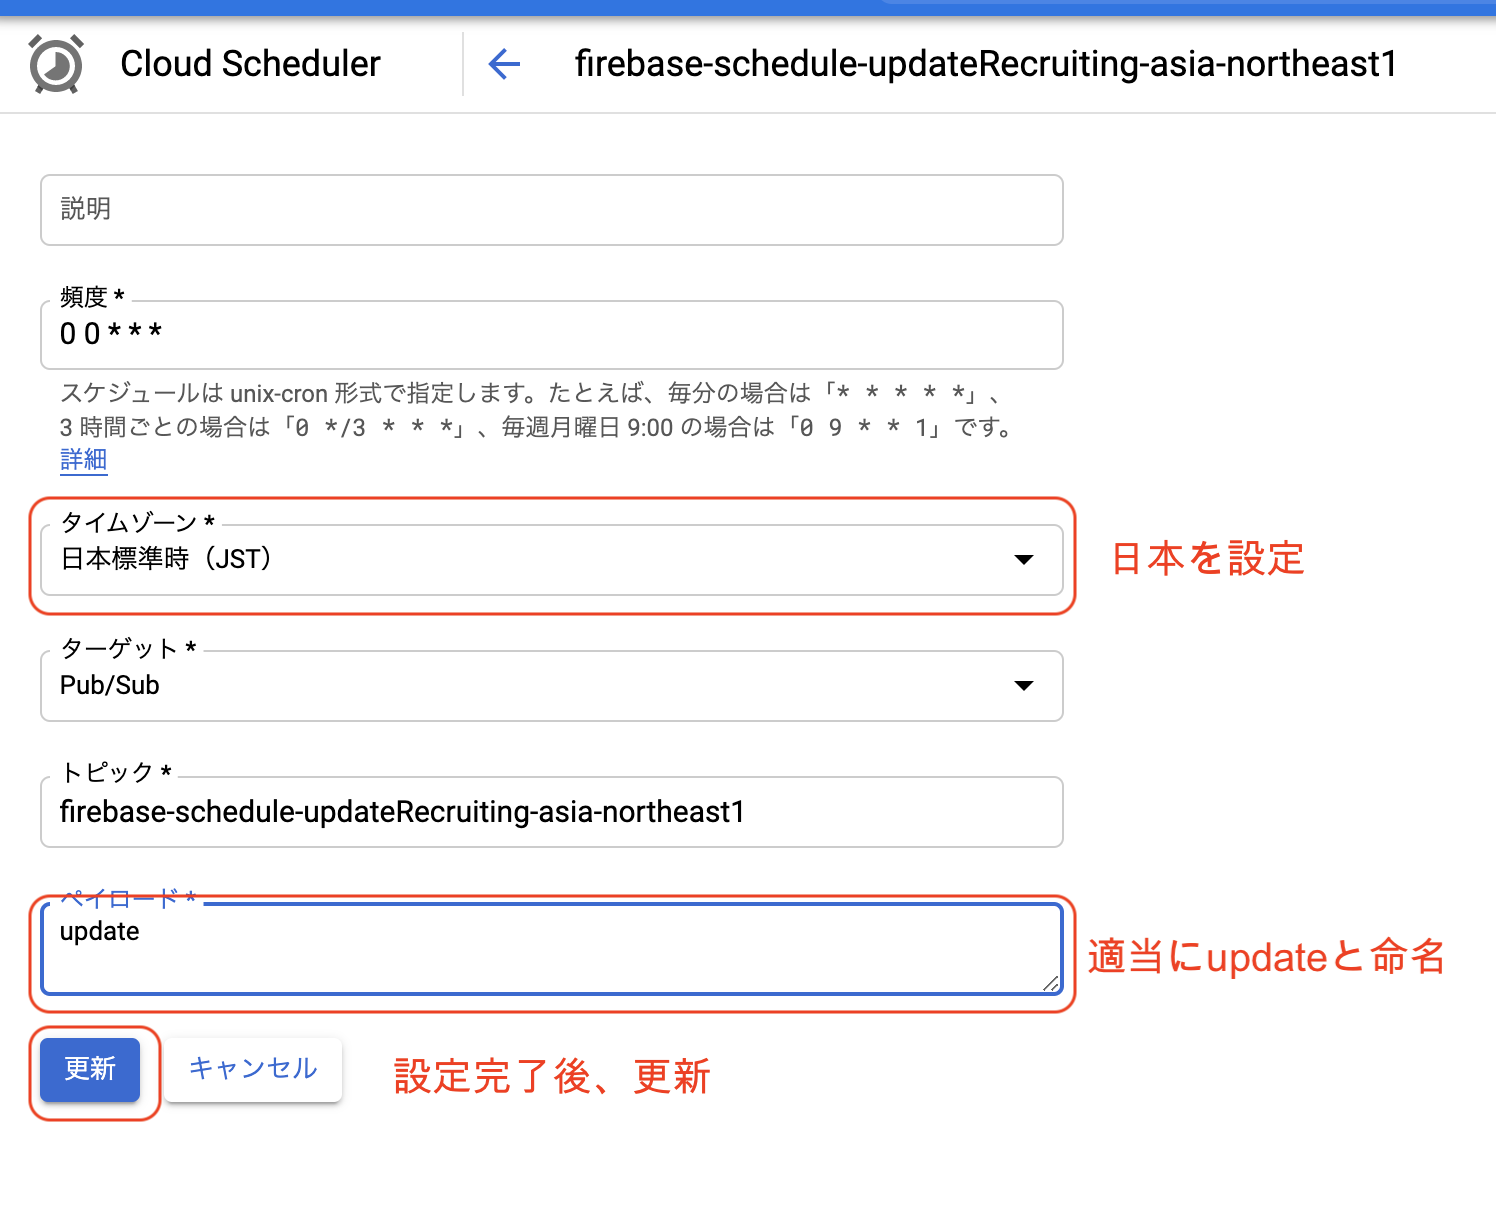
- ペイロードの入力を求められるので、適当に。
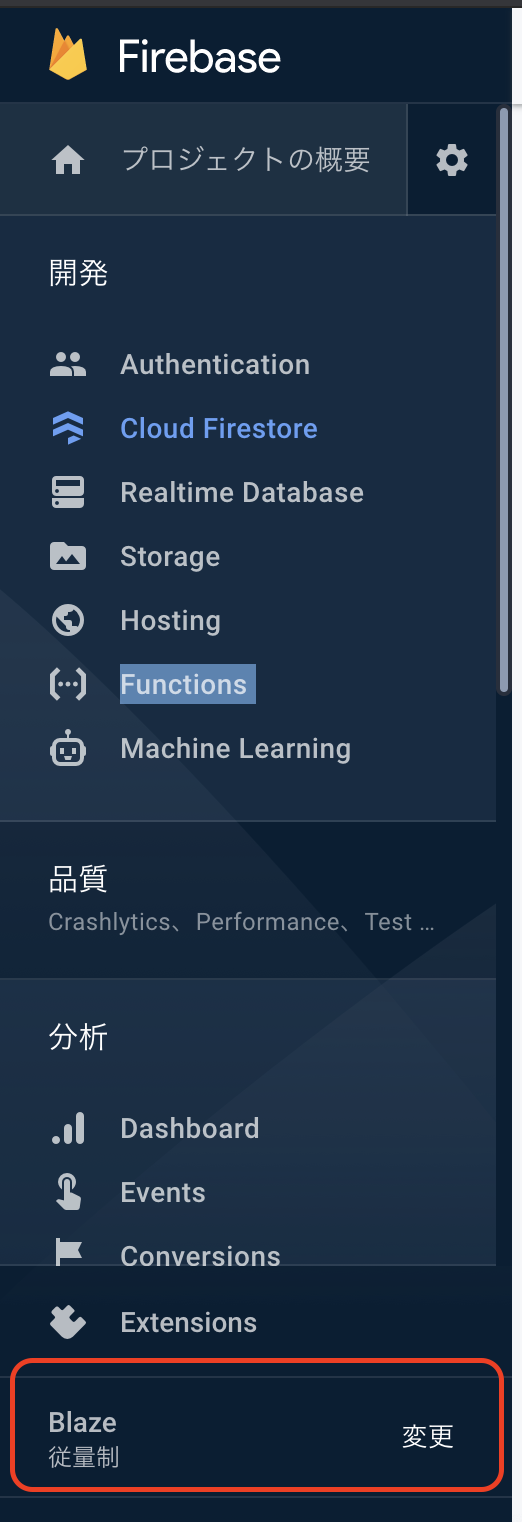
ちなみに、スケジュールを含む関数をデプロイするためには、Firebaseを有料プランにする必要がある。
といっても、従量課金制なので、1つ関数をデプロイするぐらいなら無料で使える。(2020年10月現在)
コンソールの左下からプラン変更ができるため、エラーが出る場合は、そちらを要確認。
念のため確認
これで、毎日0:00に処理が実行され、日付が過去のものはクローズ(recruiting = false)するはず。
明日を待てばいいのだが、念のため、Cloud Schedulerの「今すぐ実行」でFunctionsの処理が動作するか確認してみる。
(コードに自信がないため・・・)
詳細は割愛するが、無事データが更新されていた。
まとめ
とくにまとめることもないが、Firebaseは便利だなと改めて感じた。
FirestoreやAuth、Storageと比べると、少しだけFunctionsはハードルが高いが(個人の見解です)、この記事が役に立てば嬉しい。
公式ドキュメントが充実しているので、そちらを読めばほぼOKなのだが・・・。
追記
exports.updateRecruiting = functions.region('asia-northeast1')
  .pubsub.schedule('0 0 * * *').timeZone('Asia/Tokyo').onRun(
↑のように、timeZone('Asia/Tokyo')を追加することで、タイムゾーンを指定できた。
毎回デプロイ後に、Cloud Schedulerのコンソールから変更していた愚かな自分を呪いたい・・・