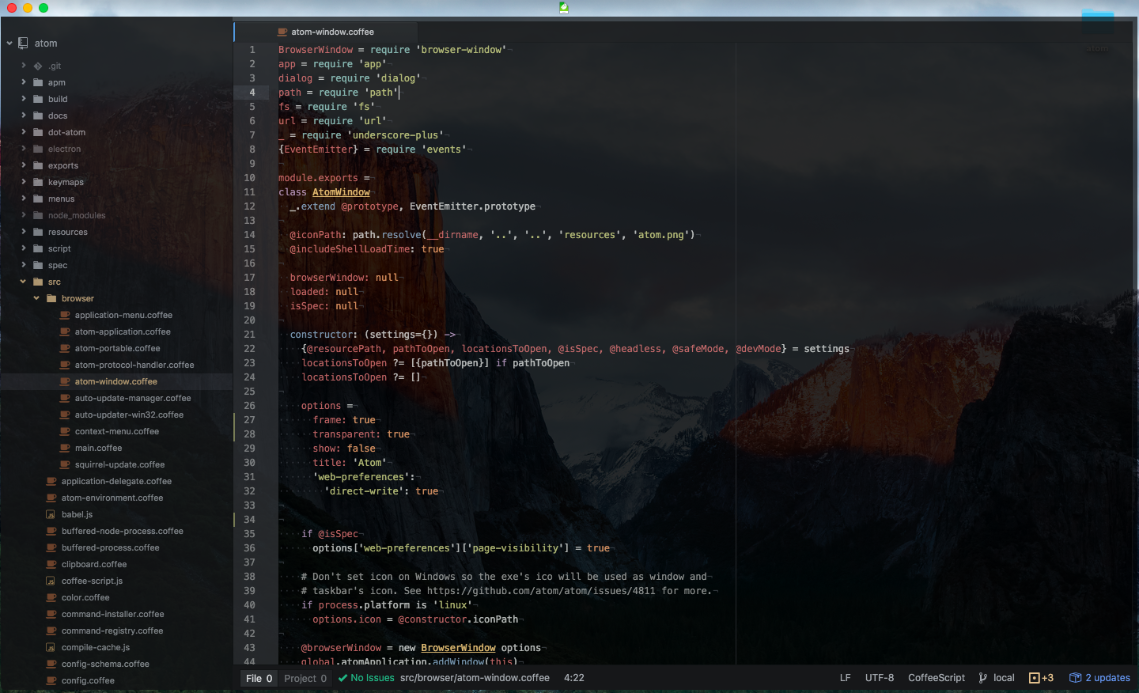
デフォルトでは設定できないが、ソースコードからビルドすることで可能。
手順
(1) Githubのリポジトリ から clone する。
$ git clone https://github.com/atom/atom.git
(2) atom-window.coffee を編集。場所は src/browser/atom-window.coffee。
constructorの中を以下のように編集する。
    options =
      frame: true
      transparent: true
      show: false
      title: 'Atom'
      'web-preferences':
        'direct-write': true
frame: false にしてもいいが、バグがでやすくなるので注意。
(3) そしてビルド。
$ ./script/build
ビルドが終わるまでしばし時間がかかるので待機。もしかしたら python のバージョンが 2.7.6 じゃないとビルドできない依存パッケージがあるかもしれないので、もしエラーがでたら$ pyenv local 2.7.6などで対処。
(4) ビルドが終わると、 /Applicationsフォルダに Atom.app が入っています。アイコンの色はキレイな青色。
(5) これで背景透過できるAtomは手に入ったので、後は自分でテーマ less を作るなり、編集するなりすればOK。background-colorでは透過できないところもあったので、そこはopacityを設定しています。
/* 一部抜粋 */

html, body, atom-workspace, atom-pane-container atom-pane {
  background: rgba(0, 0, 0, 0.25) !important;
}

atom-text-editor, :host {
  background-color: rgba(0, 0, 0, 0.25) !important;
}

atom-panel.left {
  background: rgba(0, 0, 0, 0.5);
  opacity: 0.75;
}

.tab-bar {
  opacity: 0.9;
}
