Azure FunctionsのPython環境(2019/5/1現在、プレビュー)でパッケージをインストール方法の備忘録です。
Azure上ではpipコマンドは使えなかった
ググると、Kuduコンソールからpipコマンドを使えば良いように思えたのですが、Kuduが開きません。。Azureコンソールのプラットフォーム機能をみると、Kuduが使えるような雰囲気ですが、クリックしても反応しません。
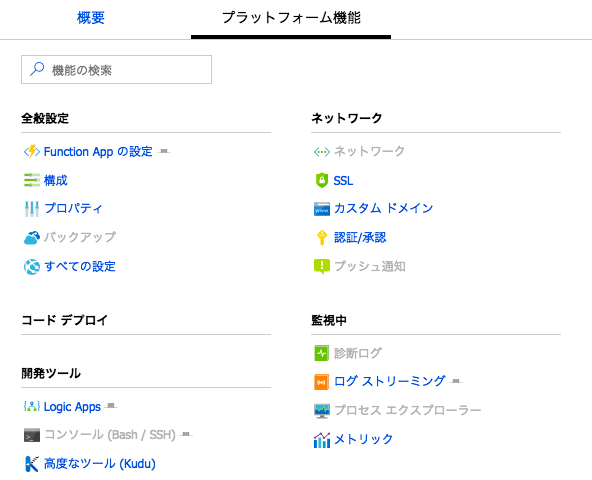
scmのURLを直接指定しても、「サーバーが見つかりません」となって、どうやらPythonがホストされるLinux環境ではKuduコンソールは使用できないようです。なので、Azure上でpipコマンドを実行することはできませんでした。
気を取り直して、チュートリアルを確認すると、依存ファイルであるrequirements.txtに必要なパッケージ名とバージョンを書いておけばOKとのこと。では、やってみます。
サンプルアプリ
今回使用したサンプルアプリです。Httpでトリガーされる関数内でBeautifulSoupを使用したコードを動かしてみます。
import logging

import azure.functions as func
import urllib.request
from bs4 import BeautifulSoup

def main(req: func.HttpRequest) -> func.HttpResponse:
    logging.info('Python HTTP trigger function processed a request.')

    url = 'https://azure.microsoft.com/ja-jp/'
    with urllib.request.urlopen(url) as res:
        html = res.read()
        soup = BeautifulSoup(html, 'html.parser')
        title = soup.head.title
        return func.HttpResponse(f"title: {title.text}")
パッケージのインストール手順
1. ローカル環境にパッケージをインストール
まず、ローカル環境でいつものようにpipコマンドを使用してパッケージをインストールします。
python -m pip install BeautifulSoup4
インストールされたパッケージのバージョンを確認します。
python -m pip list
2. requirements.txtを編集
pipでパッケージがインストールできたら、requirements.txt にパッケージ名とバーションを記述します。requirements.txtは Azure Functions Core Tools(CLI、またはVS Codeの拡張機能)でプロジェクトディレクトリーの直下に生成されています。
beautifulsoup4==4.7.1
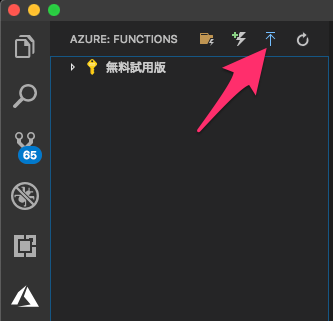
3. Azureへデプロイ
いつものように発行するだけでOKです。特に追加の手順は必要ありません。
VS codeの場合:
CLIの場合:
func azure functionapp publish <app_name>
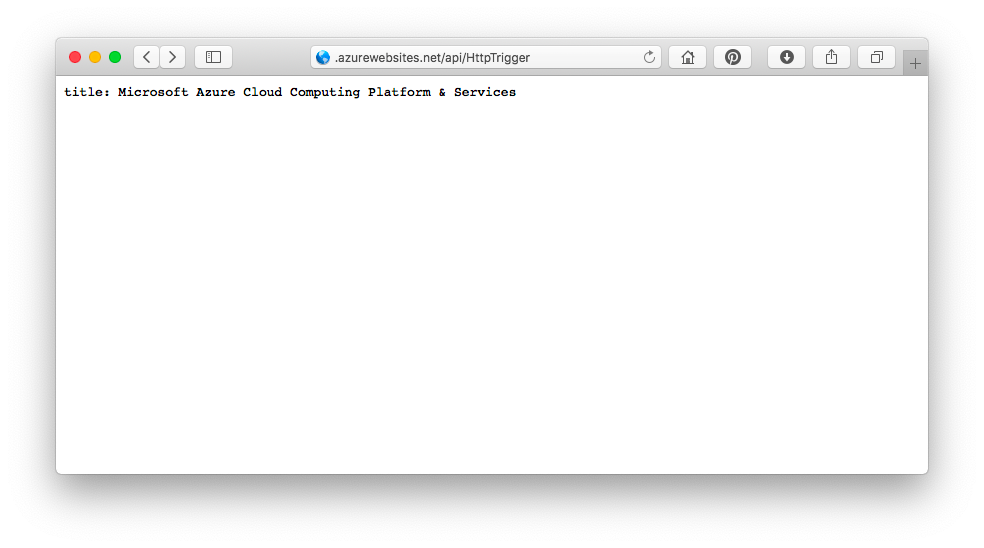
4. 実行
ブラウザから関数を実行してみます。
https://<app_name>.azurewebsites.net/api/HttpTrigger
ターゲットのWebサイトのTitleタグが取得できていれば成功です。
おしまい〜