この記事について
この記事はGatsbyJS初心者の新卒2年目が作成しています。
参考資料として書籍を使用していますが、筆者がビギナークラスのため読んでいて「?」となる部分や間違っている箇所もあるかと思います。
参考までに、そして間違えている箇所がありましたらご連絡いただけると嬉しいです。
Chapter11:カテゴリーページの作成 備忘録メモ
1.ブログ一覧ページをコピーしてカテゴリーページを作成する
2.カテゴリーページの見出しを調整する
3.カテゴリーページにアクセスできるよう設定する
※他のチャプターで記載しているメタデータの設定については割愛します。
ブログ一覧ページをコピーしてカテゴリーページを作成する
まず、blog-template.jsをコピーしてcat-template.jsを作成します。
そしてgatsby-node.jsにクエリを追加していきます。
また前回ブログ一覧を作成するときに追加したようにcreatePageを使用して
ページ作成に必要なパス、テンプレート、テンプレートに渡すコンテキストを指定していきます。
exports.createPages = async({ graphql, actions, reporter }) => {
  const { createPage } = actions
  const blogresult = await graphql(`
  query {
    allContentfulBlogPost(sort: {fields: publishDate, order: DESC}) {
     ・・・
      //下記を追加
    allContentfulCategory {
      edges {
        node {
          categorySlug
          id
          category
          blogpost {
            title
          }
        }
      }
    }
  }
  `)

blogresult.data.allContentfulBlogPost.edges.forEach(({ node, next, previous }) => {
//略
  })
Array.from({length: blogPages}).forEach((_, i) => {
//略
  })

//下記を追加
  blogresult.data.allContentfulCategory.edges.forEach(({ node }) => {
    const catPostsPerPage = 6 //1ページに表示する記事の数
    const catPosts = node.blogpost.length //カテゴリーに属した記事の総数
    const catPages = Math.ceil(catPosts / catPostsPerPage) //カテゴリーページの総数

    Array.from({ length: catPages }).forEach((_, i) => {
      createPage({
        path:
          i === 0
            ? `/cat/${node.categorySlug}/`
            : `/cat/${node.categorySlug}/${i + 1}/`,
        component: path.resolve(`./src/templates/cat-template.js`),
        context: {
          catid: node.id,
          catname: node.category,
          catslug: node.categorySlug,
          skip: catPostsPerPage * i,
          limit: catPostsPerPage,
          currentPage: i + 1, //現在のページ番号
          isFirst: i + 1 === 1, //最初のページ
          isLast: i + 1 === catPages, //最後のページ
        },
      })
    })
  })
)
カテゴリーページではカテゴリーに属した記事のみをリストアップするため、
コンテキストで渡されるcategory idを使用して記事にフィルターをかけます。
cat-template.jsのクエリ文を下記の様に変更。
export const query = graphql`
query($catid: String!, $skip: Int!, $limit: Int!){
  allContentfulBlogPost(
    sort: {order: DESC, fields: publishDate}
    limit: $limit
    skip: $skip
    //フィルターの条件を追加
    filter:{ category: { elemMatch: { id: { eq: $catid } } } }
  ) {
    edges {
      node {
        title
        id
        slug
        eyecatch {
          gatsbyImageData(width: 500, layout: CONSTRAINED)
          description
        }
      }
    }
  }
}
`
また、cat-template.jsのページネーションリンクを設定している部分も
指定されているカテゴリーでページ遷移ができるように設定していきます。
<ul class="pagenation">
  {!pageContext.isFirst && (
    <li class="prev">
        <Link to={
          pageContext.currentPage === 2
          ? `/cat/${pageContext.catslug}/`
          : `/cat/${pageContext.catslug}/${pageContext.currentPage -1}/`} rel="prev">
            <FontAwesomeIcon icon={faChevronLeft}/>
            <span>前のページ</span>
        </Link>
    </li>
    )}
    {!pageContext.isLast && (
    <li class="next">
      <Link to={`/cat/${pageContext.catslug}/${pageContext.currentPage + 1}/`} rel="next">
            <span>次のページ</span>
            <FontAwesomeIcon icon={faChevronRight}/>
      </Link>
    </li>
    )}
</ul>
カテゴリーページの見出しを調整する
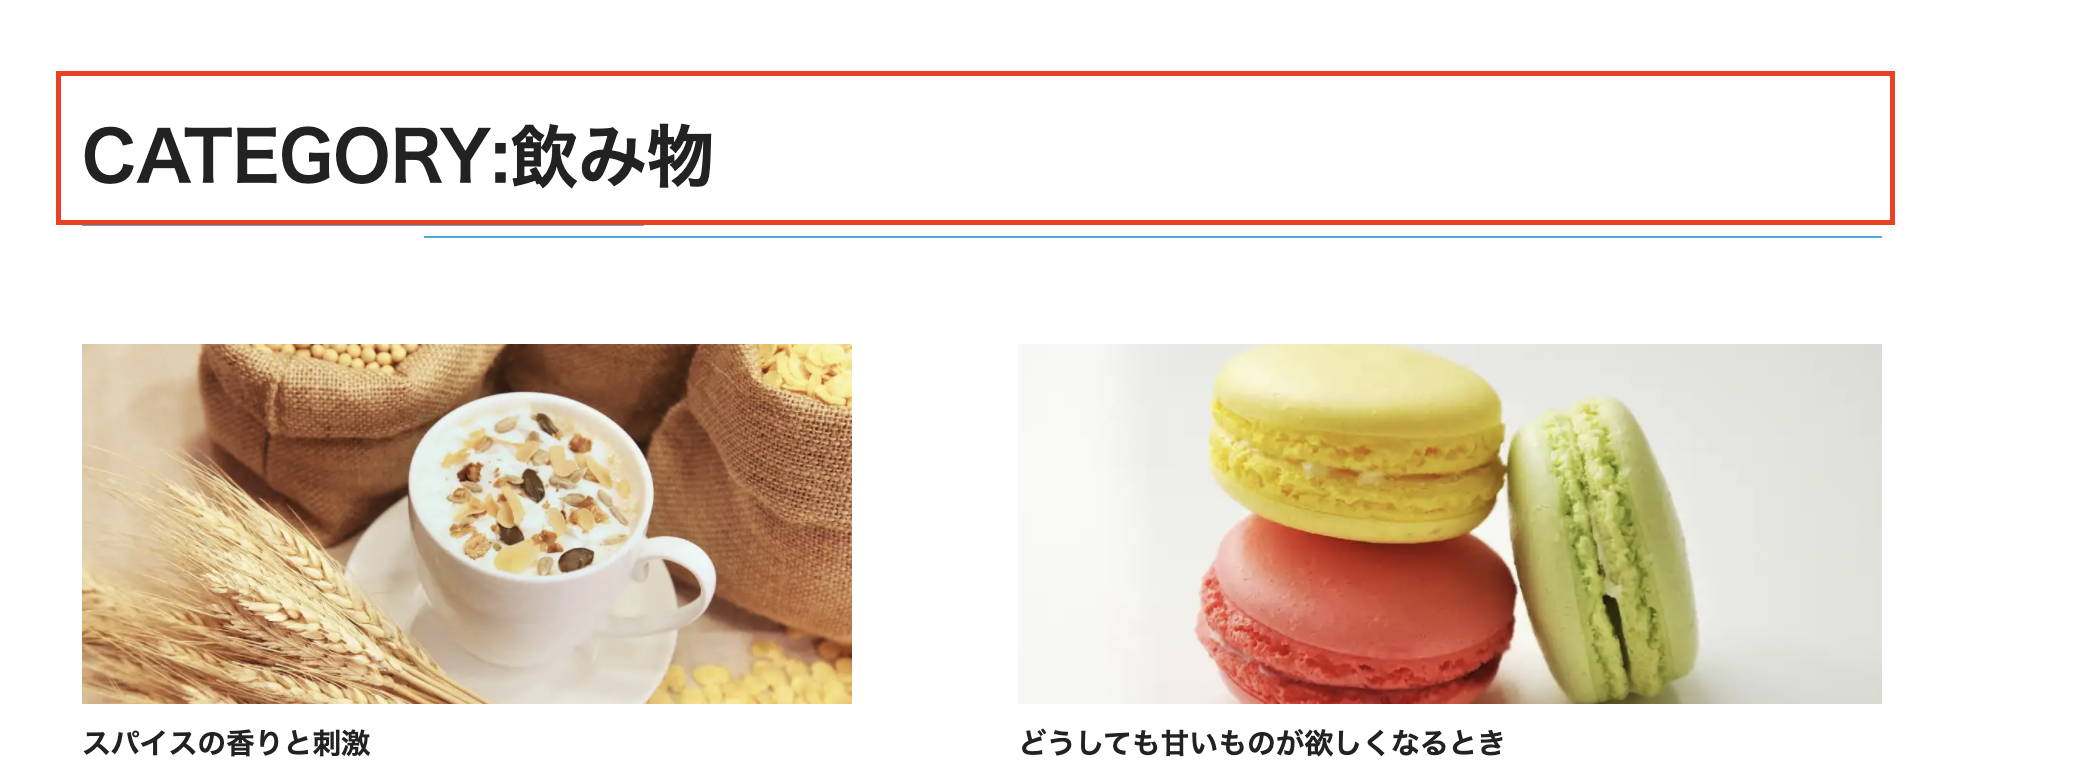
ブログ一覧ではRECENT POSTSとなっている見出しをカテゴリーページ用に変更します。
    <section className="content bloglist">
      <div className="container">
        <h1 className="bar">CATEGORY: {pageContext.catname}</h1>
        <div className="posts">
   ・・・
カテゴリーページにアクセスできるよう設定する
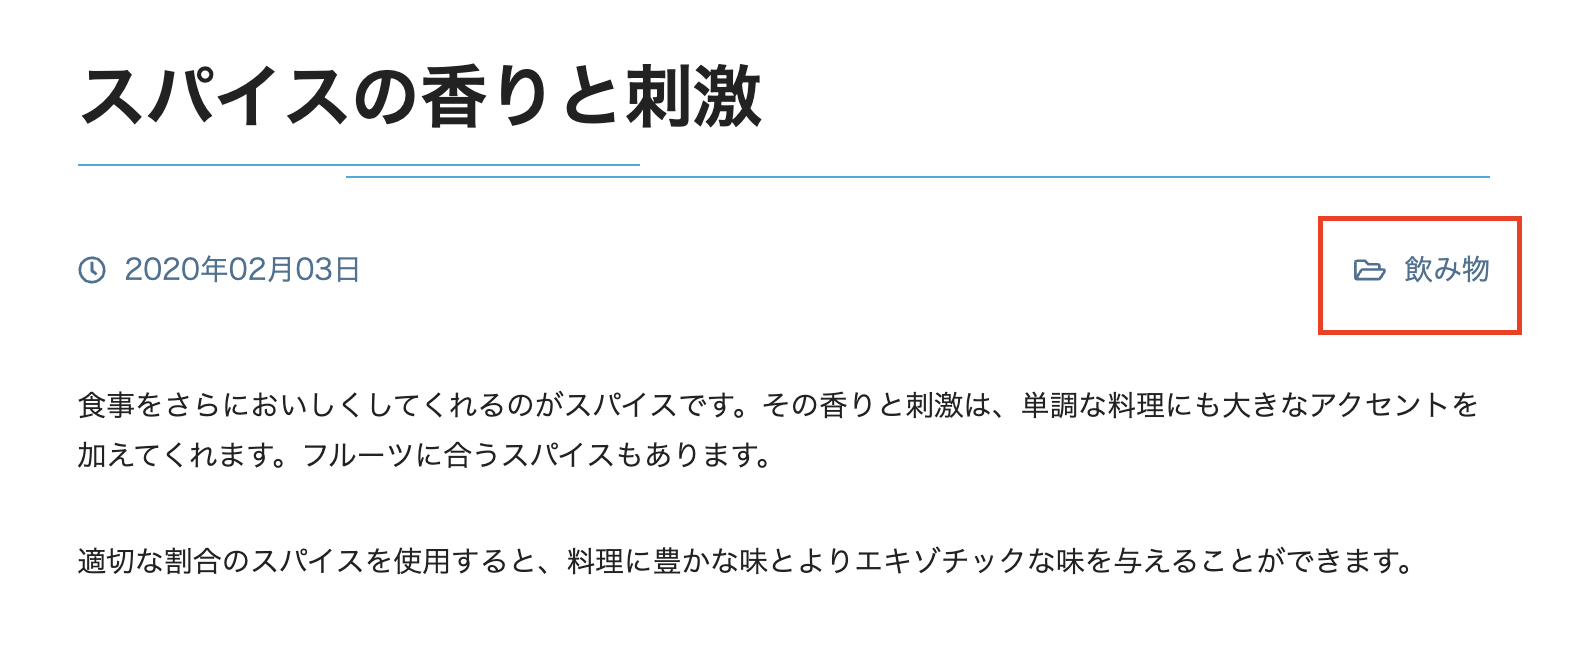
blogpost-template.jsのカテゴリーリンクを編集します。

<ul>
  {data.contentfulBlogPost.category.map(cat => (
    <li className={cat.categorySlug} key={cat.id}>
      <Link to={`/cat/${cat.categorySlug}/`}>{cat.category}</Link>
    </li>
  ))}
</ul>
これにて全行程完成です。
