0
1

Delete article

Deleted articles cannot be recovered.

Draft of this article would be also deleted.

Are you sure you want to delete this article?

More than 3 years have passed since last update.

最新版 MacにXAMPPを導入する手順

Last updated at Posted at 2021-04-01

初めましてyumaです。

Laravel6の環境を構築するにあたりXAMPPを導入して欲しいと会社から指示があった為、MacにXAMPPを導入します。
MacにはMAPPの方が良いみたいですが、僕と同じようにMacにXAMPPを導入する方もいると思うので参考になれば幸いです。

という事でまずはXAMMPをインストール
https://www.apachefriends.org/download.html
スクリーンショット 2021-03-31 22.26.47.png
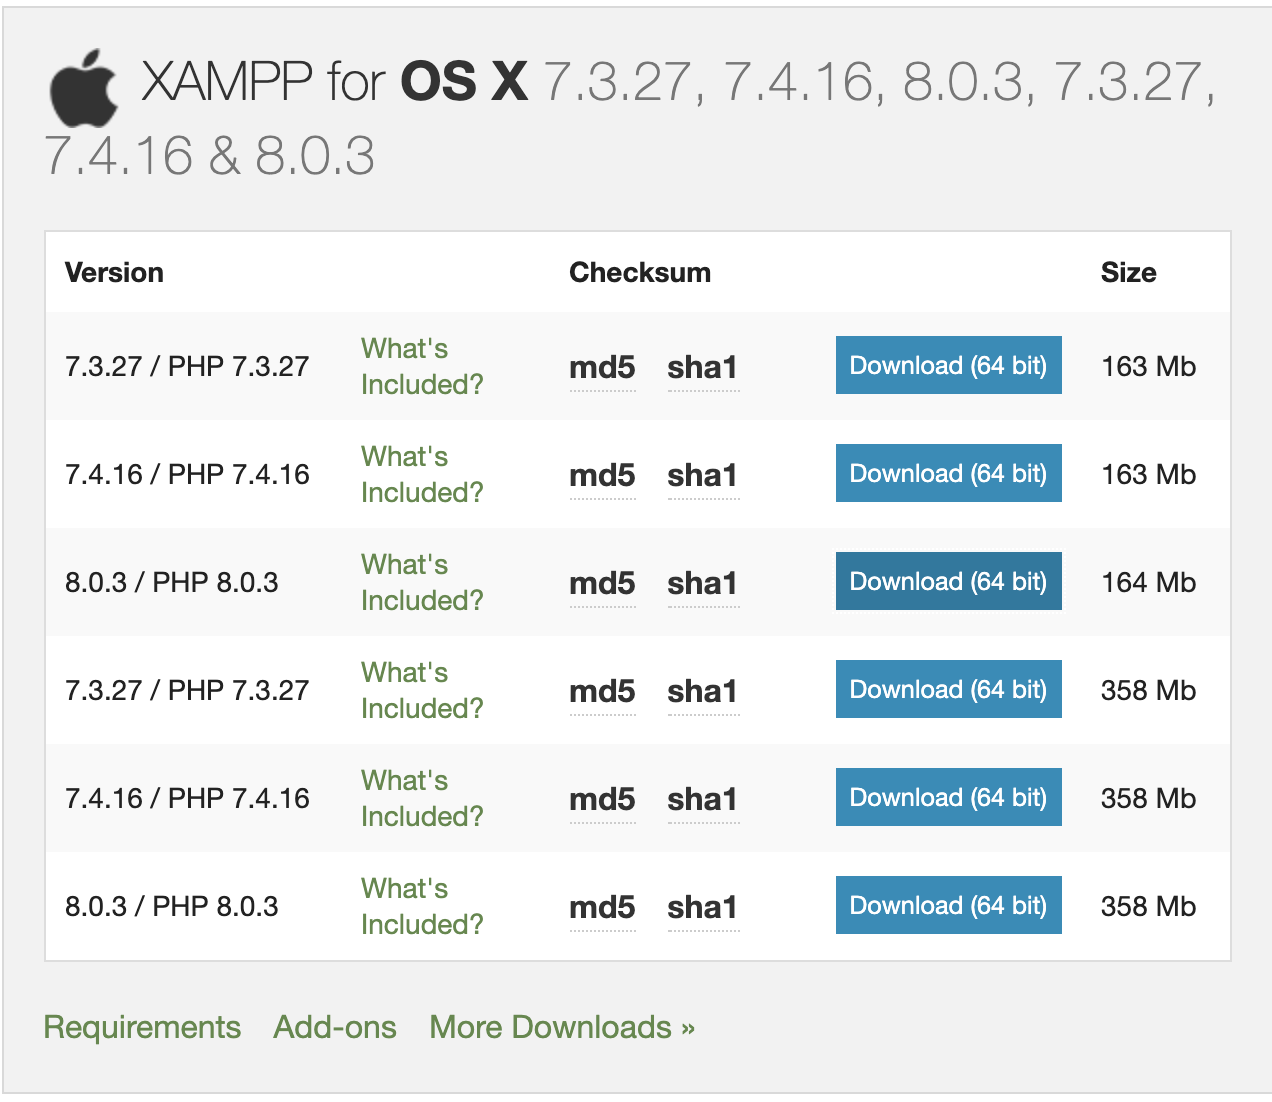
Macは上記の上から3番目、8.03/PHP 8.03 164Mbをダウンロードしましょう。(2021/04/01現在)

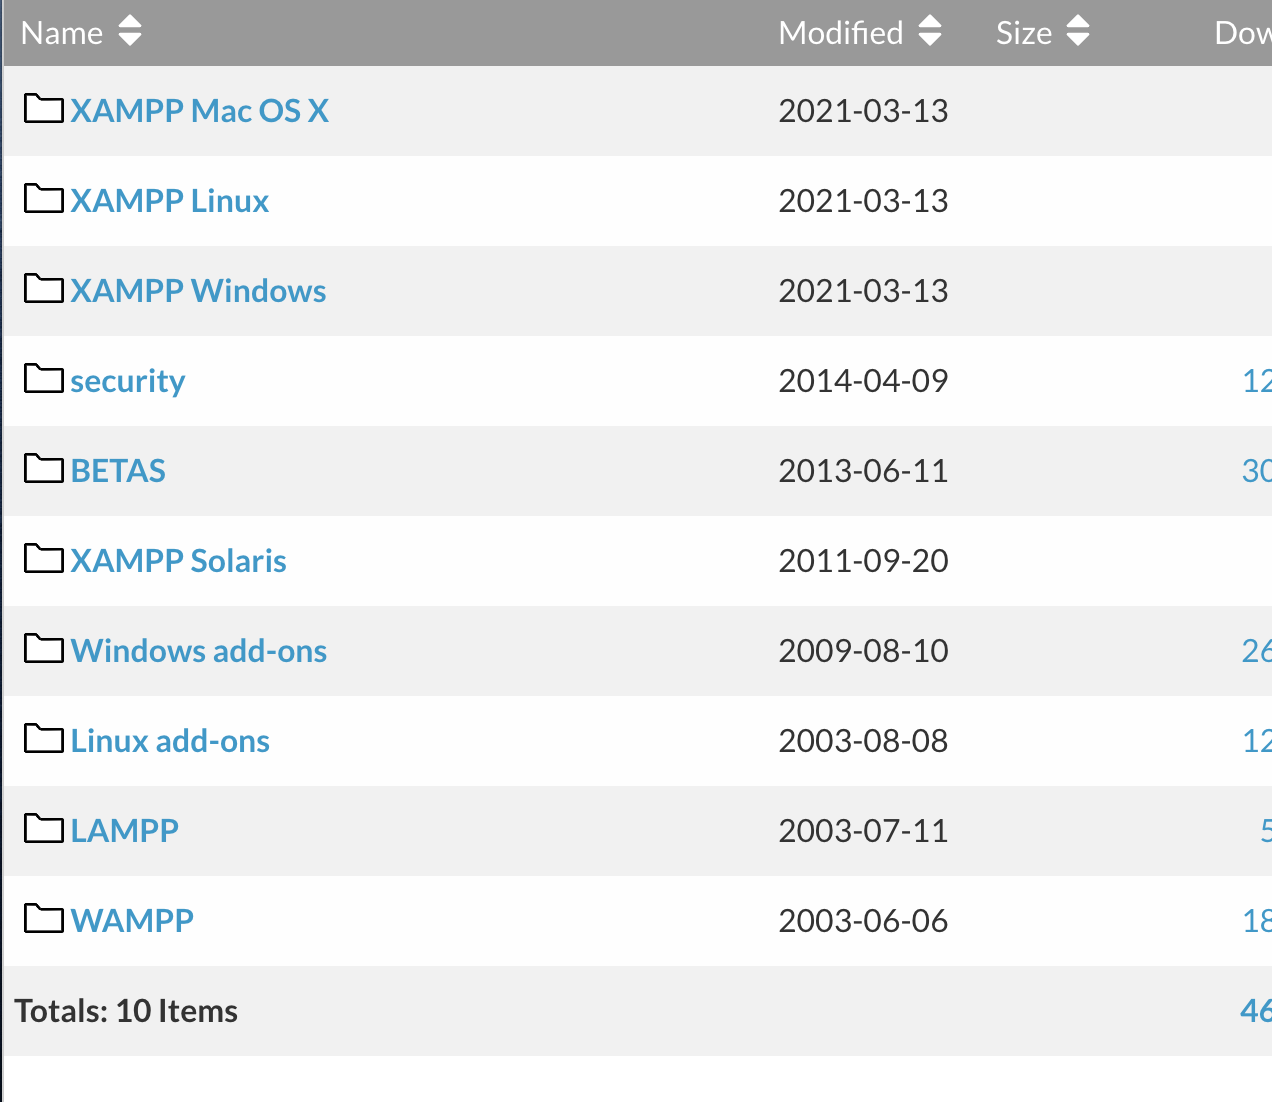
ダウンロードが完了したらsourceforgeのサイト
https://sourceforge.net/projects/xampp/files/
へ飛びます。

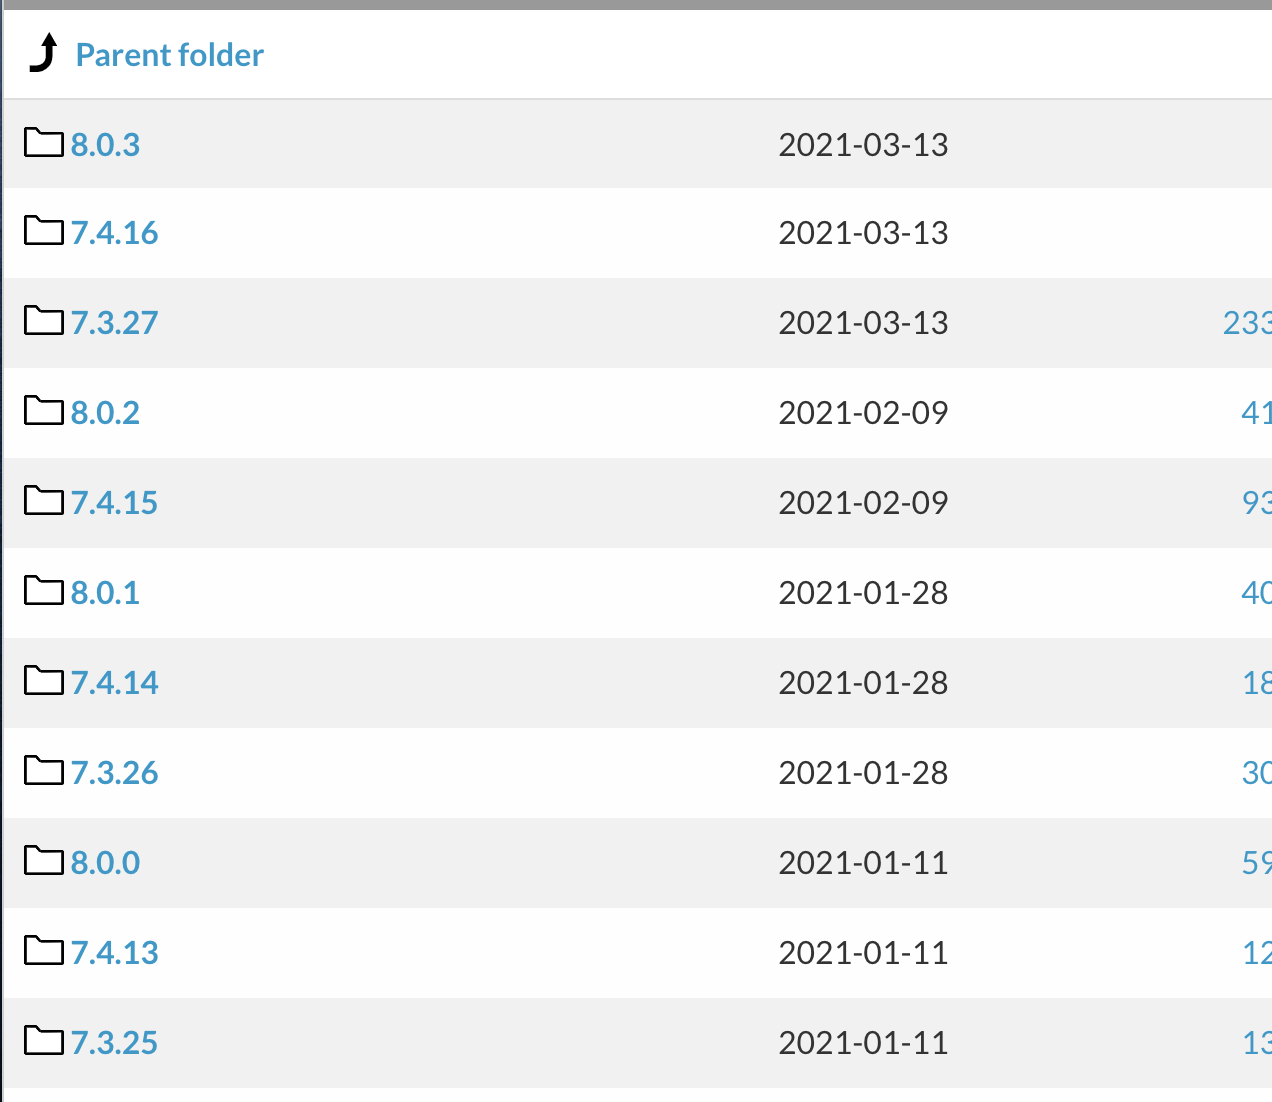
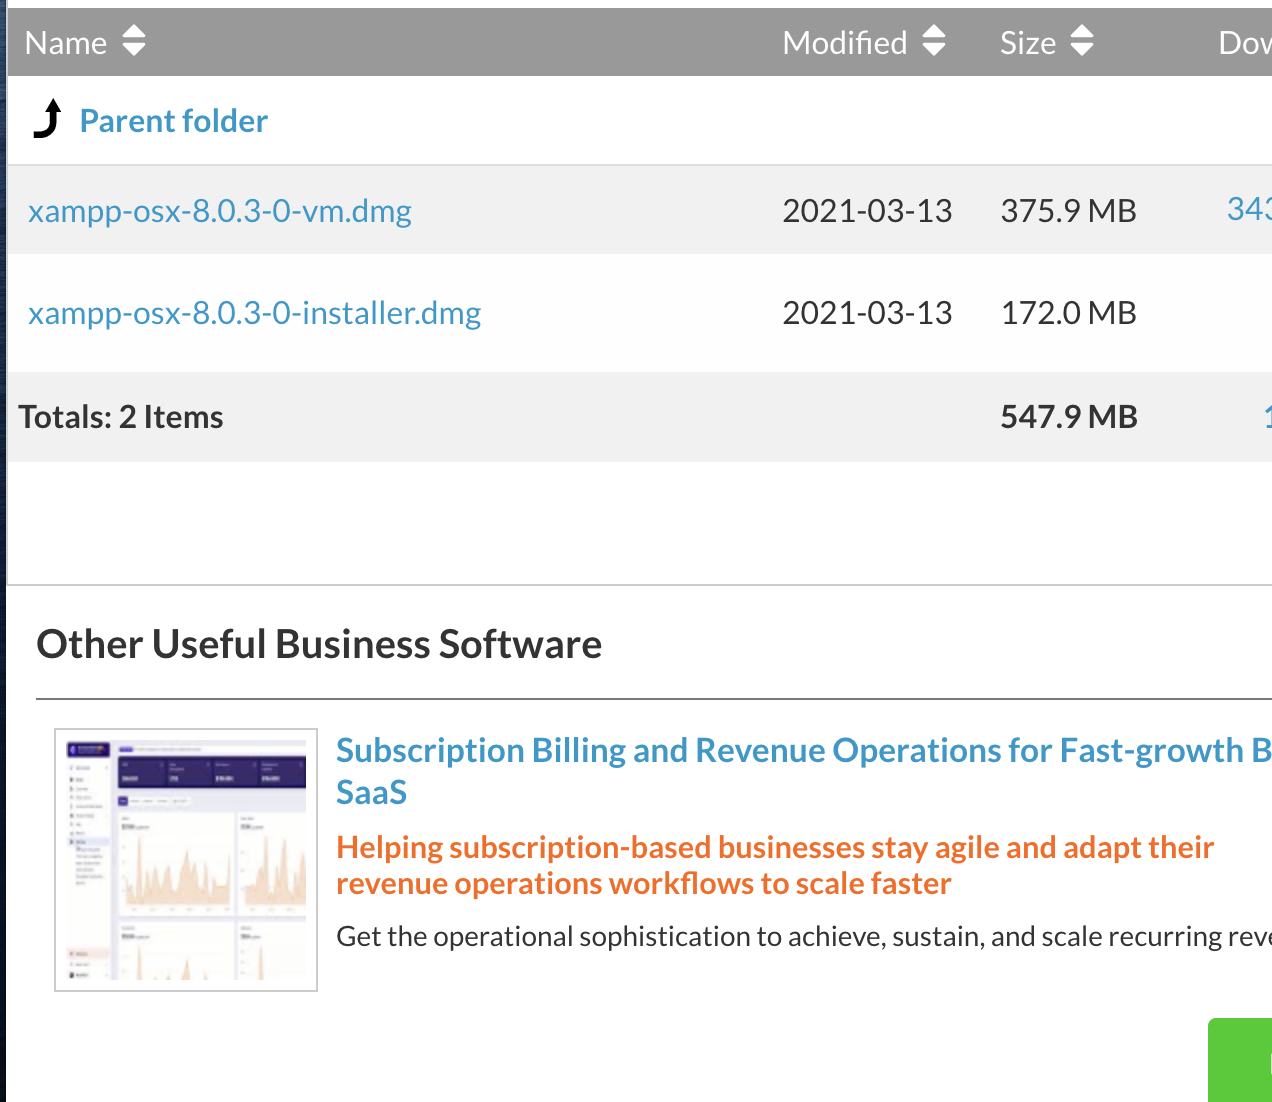
「XAMPP Mac OS X」、「8.0.3」、「xampp-osx-8.0.3-0-installer.dmg」の順にクリック
下記参照
スクリーンショット 2021-03-31 22.27.40.png
スクリーンショット 2021-03-31 22.27.51.png
スクリーンショット 2021-03-31 22.28.04.png
ダウンロードが完了したら左下のダウンロードしたファイルをクリック

するとこのような画像がでます。
スクリーンショット 2021-03-31 22.30.02.png
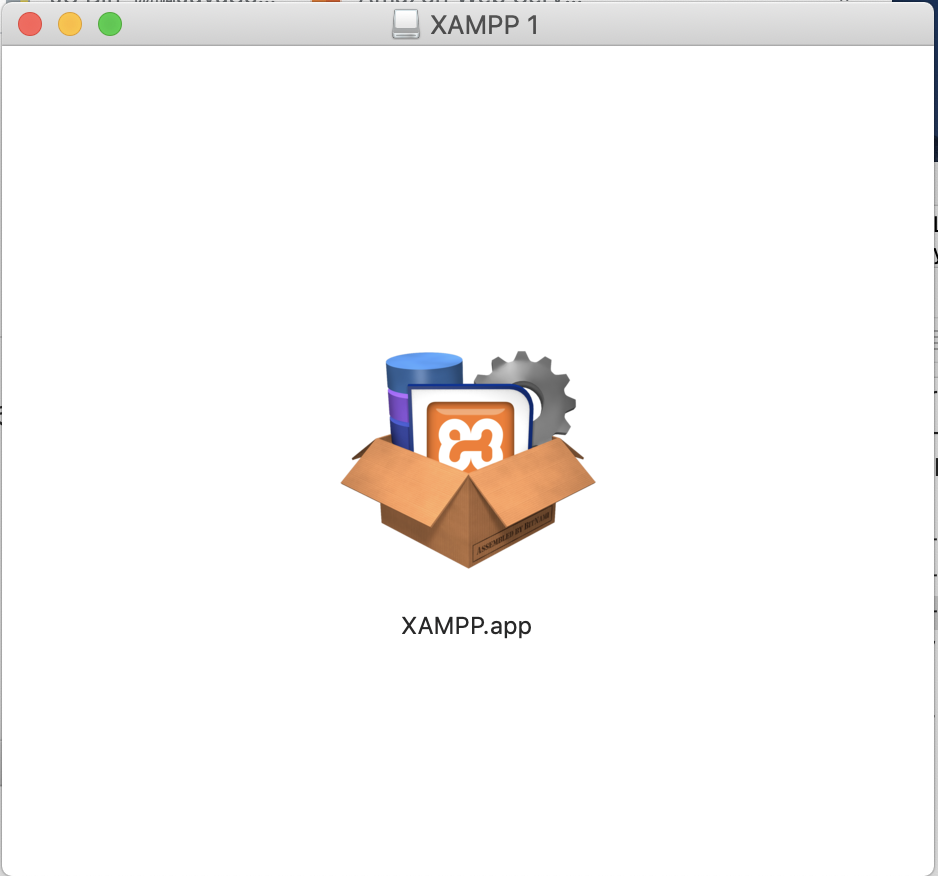
そしてXAMPPのアイコンをダブルクリック。
そして開くをクリック。
スクリーンショット 2021-03-31 22.30.45.png
名前とパスワードを入れたらOKをクリックするとインストールダイアログが出てくるので下記の画像が出てくるまでNextをクリック。
するとブラウザが開きます。
スクリーンショット 2021-03-31 22.33.41.png
こちらは閉じてOK
スクリーンショット 2021-03-31 22.34.23.png
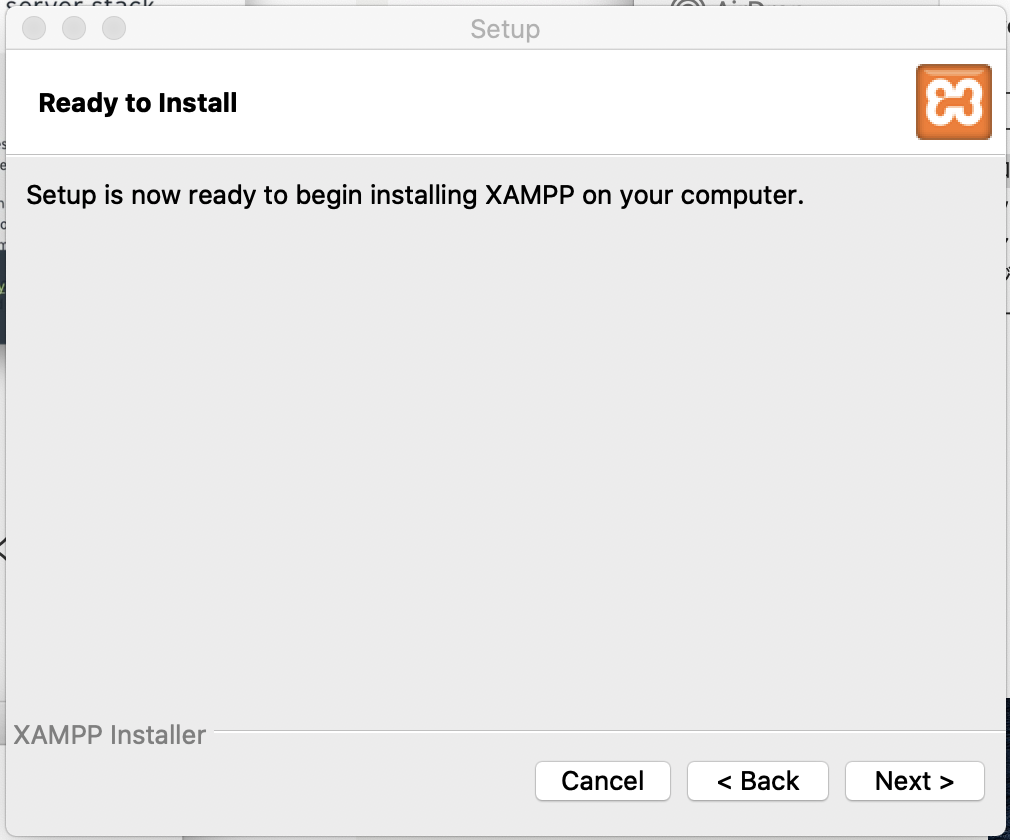
Nextをクリックでダウンロードが始まります。
少し時間がかかりました。

インストールが完了したらFinishをクリックで終了。
スクリーンショット 2021-03-31 22.43.53.png
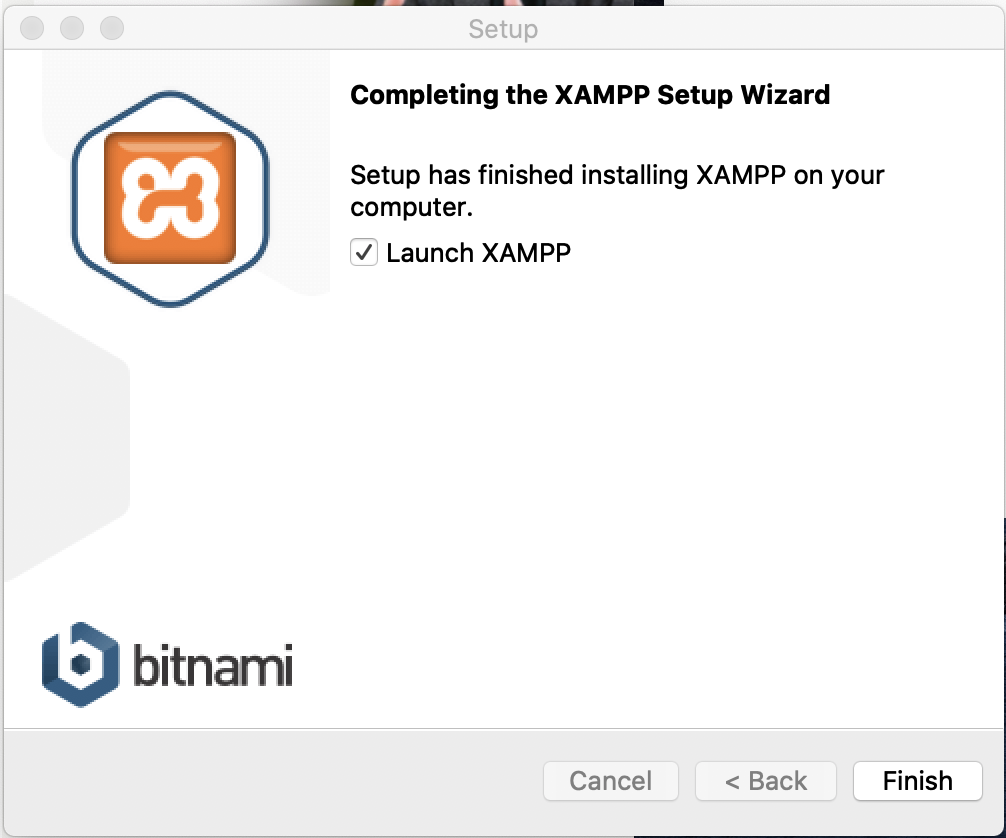
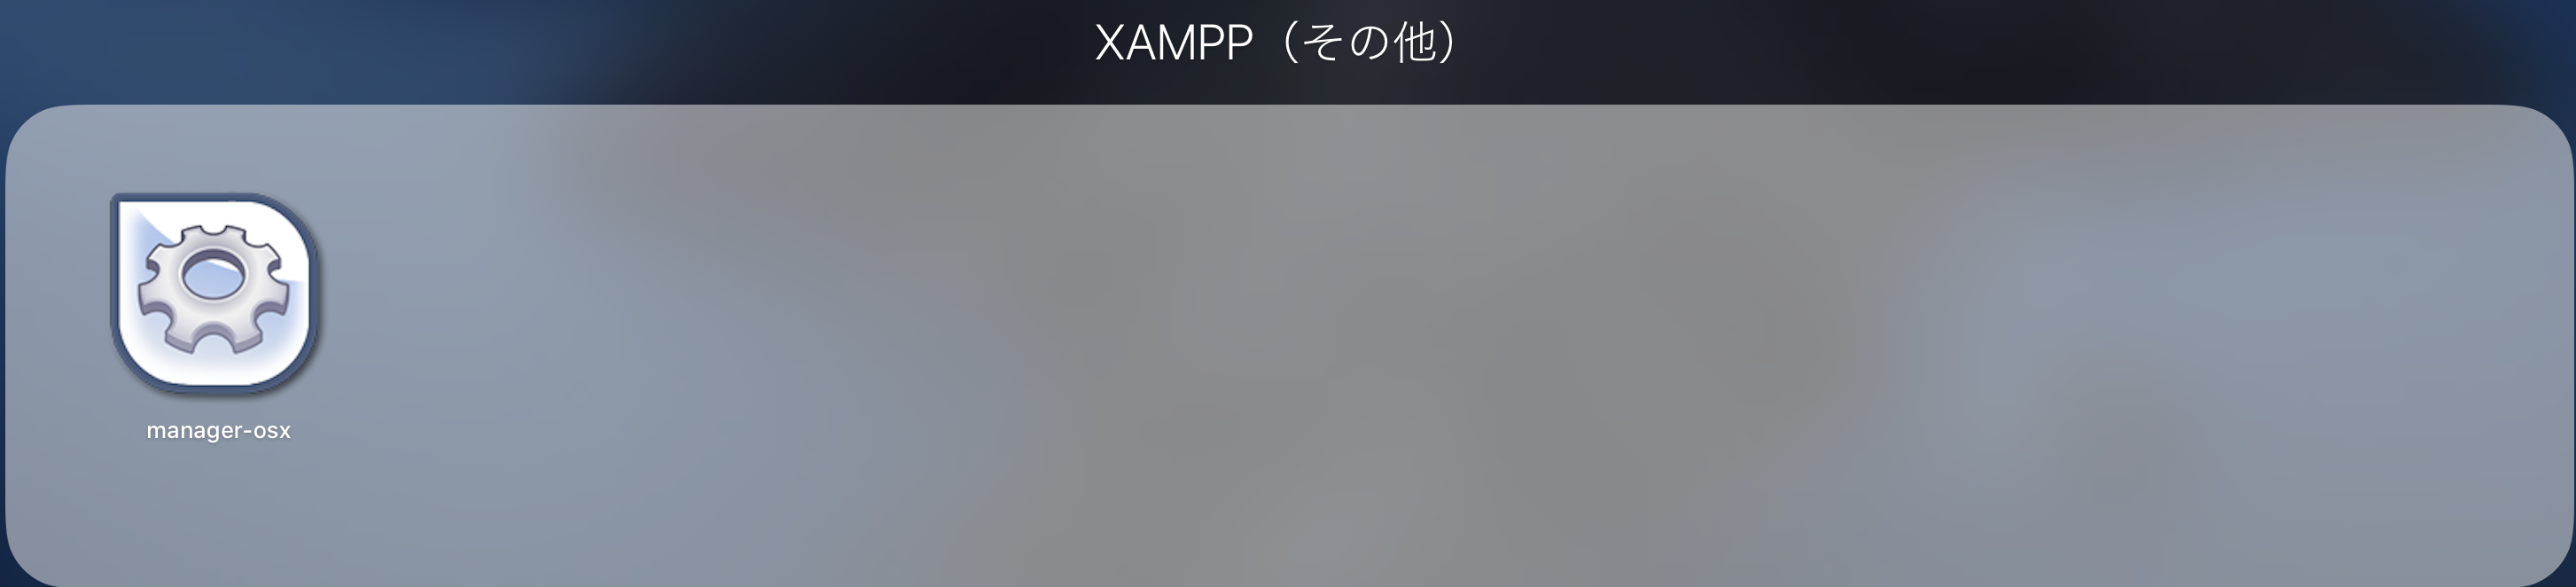
LaunchPadの「XAMPP(その他)」というフォルダに「manager-osx」というアプリを開くと起動できます。
(毎回パスワードを求められます)
スクリーンショット 2021-03-31 22.46.13.png

以上で完了です。

0
1
0

Register as a new user and use Qiita more conveniently

  1. You get articles that match your needs
  2. You can efficiently read back useful information
  3. You can use dark theme
What you can do with signing up
0
1

Delete article

Deleted articles cannot be recovered.

Draft of this article would be also deleted.

Are you sure you want to delete this article?