はじめに
この記事ではcanvas要素にて描かれた画像をスクレイピングする方法について紹介したいと思います.
注意
この記事を参考にして利用する際には著作権法や利用規約を理解した上で行いましょう.
今回の課題
機械学習やデータ分析のために画像をスクレイピング・クローリングすることがあるかと思います.
しかし,サイトによってはimg要素にて表示せずcanvas要素に描画して表示していることがあります.
その際imgタグから取得する方法と同じ方法にて取ることができません.
課題解決策
JavaScriptが利用できるSeleniumを使用すれば取得可能です!
そのため今回はSeleniumを利用してcanvasにて描かれた画像を保存します.
流れ
取得ページに移動→canvas要素を取得→画像に変換して保存→次のページに移動する→etc...
事前準備
動作環境(2021/07/02)
- Python:3.7.9
- selenium:3.141.0
- Chrome:91.0.4472.124
- ChromeDriver:91.0.4472.101
ソースコード
メインコード
model/sample.py
from selenium import webdriver
from selenium.webdriver.chrome.options import Options
from selenium.webdriver.support.ui import WebDriverWait
from selenium.webdriver.support import expected_conditions as EC
from selenium.webdriver.common.by import By

import base64
import os


class Main(object):
    def __init__(self, url: str):
        """class初期設定"""
        self.url = url
        self.url_title = None
        self.driver = None
        self.soup = None

        self.idx = 0

    def driver_init(self):
        """webdriverの初期設定"""
        op = Options()
        op.add_argument("--disable-gpu")
        op.add_argument("--disable-extensions")
        op.add_argument("--proxy-server='direct://'")
        op.add_argument("--proxy-bypass-list=*")
        op.add_argument("--start-maximized")
        # op.add_argument("--headless")
        op.add_argument('--no-sandbox')
        op.add_argument('--disable-dev-shm-usage')
        self.driver = webdriver.Chrome('chromedriver', options=op)

    def driver_wait(self):
        """ページ移動時の関数"""
        selector = 'body'
        # ページ移動処理
        self.driver.get(self.url)

        # cssが反映されるまで待機処理
        WebDriverWait(self.driver, 30).until(
            EC.presence_of_element_located((By.CSS_SELECTOR, selector))
        )

    def canvas_get(self):
        """canvas内の画像を取得する関数"""
        self.dir_create()
        print('canvas内の画像を取得する')

        # canvas要素を取得する
        canvas_first = self.driver.find_element_by_css_selector(
            '#output')

        # javascriptにて画像のDataURLsを取得する
        dataURLs = self.driver.execute_script("return arguments[0].toDataURL('image/png').substring(21);",
                                              canvas_first)

        # DataURLsをバイナリデータにデコードする
        first_png = base64.b64decode(dataURLs)

        # デコードしたデータを保存する
        with open("img/{}/{}.png".format(self.url_title, self.idx), 'wb') as f:
            f.write(first_png)

    def next_page_click(self):
        """次のページに移動する関数"""
        print('次のページに移動する')
        next_page = self.driver.find_element_by_css_selector('#output')
        next_page.click()
        self.idx += 1

    def dir_create(self):
        """保存先フォルダを作成する関数"""
        self.url_title = self.driver.title.split("-")[0].strip()
        # フォルダが存在しない場合のみフォルダを生成する条件文
        if os.path.exists('img') is False:
            os.mkdir('img')
        if os.path.exists('img/' + self.url_title) is False:
            os.mkdir('img/' + self.url_title)
実行コード
main.py
from model import sample
import time


def sample_run():
    # 収集先urlを指定
    url = 'https://yum-git.github.io/Scraping-lec/html/'
    try:
        # クラス生成
        Soup = sample.Main(url)
        # webdriver初期設定
        Soup.driver_init()
        # 指定したurlへ移動+処理
        Soup.driver_wait()
        for _ in range(6):
            # canvasタグ内の画像を取得
            Soup.canvas_get()
            # 次のページに移動
            Soup.next_page_click()
            time.sleep(3)
    except Exception as e:
        print(e)
        Soup.driver.quit()


sample_run()
実行結果
今回テスト用のページをGithubPageにて作成しました.
https://yum-git.github.io/Scraping-lec/html/
canvas属性をクリックすると別の画像になるようにしています.
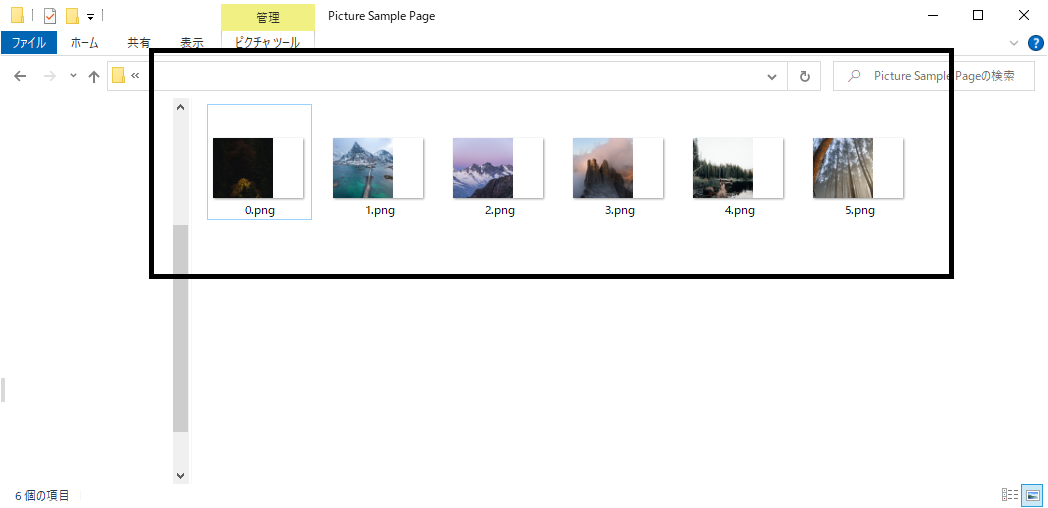
main.pyを実行するとimg/Picture Sample Page内に画像が保存されています!
最後に
今回はcanvas要素にて描かれた画像を保存する方法について書きました!
今後もいろんなことについて書くことが出来ればと思います!