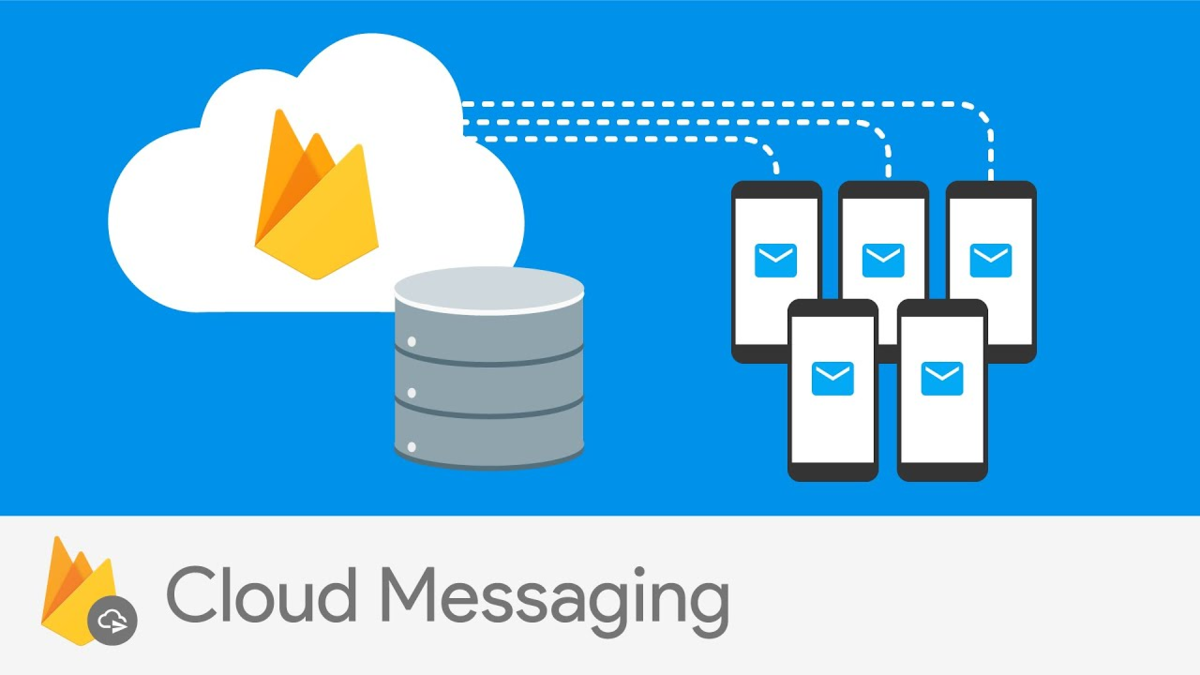
今回は FirebaseCloudMessaging の Topic メッセージという機能を使用して CloudFunctions 経由で全てのユーザに対して Push 通知を送信する実装をしていきたいと思います。
どうやるのか?
FCM のトピックメッセージング
という機能を使用して実装していきます。手順は以下の通りです。
-
クライアントで Topic に登録する
- 今回は Swift(クライアント)で Topic の登録を行いますが、FirebaseAdminSDK を使用してクライアント
で取得したfcm_tokenを使って登録する方法もあるので、詳しくはこちらを見てみてください。
- 今回は Swift(クライアント)で Topic の登録を行いますが、FirebaseAdminSDK を使用してクライアント
-
メッセージを送信するための関数を作成する
- FirebaseCloudFunctions に全体へのプッシュを送信するための HTTP 関数を作成します。
- FirebaseCloudFunctions の導入に関しては過去の記事を参考にしてみてください。
- FirebaseCloudFunctions に全体へのプッシュを送信するための HTTP 関数を作成します。
-
メッセージを送信する
作業開始👨💻
1. クライアントで Topic に登録する
まずは、Swift で Topic に関する通知を受け取れるように、Topic をサブスクライブしていきます。
    func application(_ application: UIApplication, didFinishLaunchingWithOptions launchOptions: [UIApplication.LaunchOptionsKey: Any]?) -> Bool {
        // 省略.....
        initFirebaseMessaging()
        // 省略.....
        return true
    }

    private func subscribeGeneralMessaging() {
        Messaging.messaging().subscribe(toTopic: "general")
    }

    private func initFirebaseMessaging() {
        Messaging.messaging().delegate = self
        InstanceID.instanceID().instanceID {[weak self](result, error) in
            if let result = result {
                self?.subscribeGeneralMessaging()
                // 省略.....
            }
        }
    }

    // MARK: - MessagingDelegate
    func messaging(_ messaging: Messaging, didReceiveRegistrationToken fcmToken: String) {
        subscribeGeneralMessaging()
        // 省略.....
    }
途中からアプリ Push通知が許可されて場合などにも対応できるように、MessagingDelegate の didReceiveRegistrationToken にもサブスクライブ処理を追加しました。
2. メッセージを送信するための関数を作成する
クライアント側で Topic の通知を受け取る準備ができたので、次に Topic メッセージを送信するための CloudFunctions の HTTP 関数を作っていきたいと思います。以前の記事でも触れた導入方法などは今回は割愛します。
exports.push_to_general = functions.https.onRequest((request, response) => {
  try {
    const idToken = getIdToken(request, response);
    admin.auth().verifyIdToken(idToken)
      .then(function(decodedToken){
        if ((request.body.title !== undefined) && (request.body.body !== undefined)) {
          const topic = 'general';
          const message = {
            notification: {
              title: request.body.title,
              body: request.body.body
            },
            topic: topic
          };
          admin.messaging().send(message)
            .then(pushResponse => {
              console.log("Successfully send message:", pushResponse);
              response.status(200).send({ message: 'Successfully send message' });
            })
            .catch(error => {
              console.log("Error sending message:", error);
              response.status(400).send({ message: 'Error sending message' });
            });
        } else {
          response.status(400).send({ message: 'Invalid request method' });
        };
      });
  } catch (error) {
    console.log(error.message);
    response.status(401).send({ message: error.message })
  };
});

function getIdToken(request, response) {
  if (!request.headers.authorization) {
    throw new Error('Not found authentication header')
  }
  const match = request.headers.authorization.match(/^Bearer (.*)$/)
  if (match) {
    const idToken = match[1]
    return idToken
  }
  throw new Error(
    'Unable to get authentication header',
  )
}
関数の認証については、ユーザのアクセストークンを使用して認可を行います。また、今回の内容とはそれますが、2つのトピックのうち片方に登録している場合には通知を送信するなどの条件を付け加えることも下記のようにして可能なので詳しくは公式のドキュメントを参照してみてください。
// Define a condition which will send to devices which are subscribed
// to either the Google stock or the tech industry topics.
var condition = "'stock-GOOG' in topics || 'industry-tech' in topics";

// See documentation on defining a message payload.
var message = {
  notification: {
    title: '$GOOG up 1.43% on the day',
    body: '$GOOG gained 11.80 points to close at 835.67, up 1.43% on the day.'
  },
  condition: condition
};

// Send a message to devices subscribed to the combination of topics
// specified by the provided condition.
admin.messaging().send(message)
  .then((response) => {
    // Response is a message ID string.
    console.log('Successfully sent message:', response);
  })
  .catch((error) => {
    console.log('Error sending message:', error);
  });
3. メッセージを送信する
Topic メッセージを送信する準備が整ったので curl で関数を実行してみます。
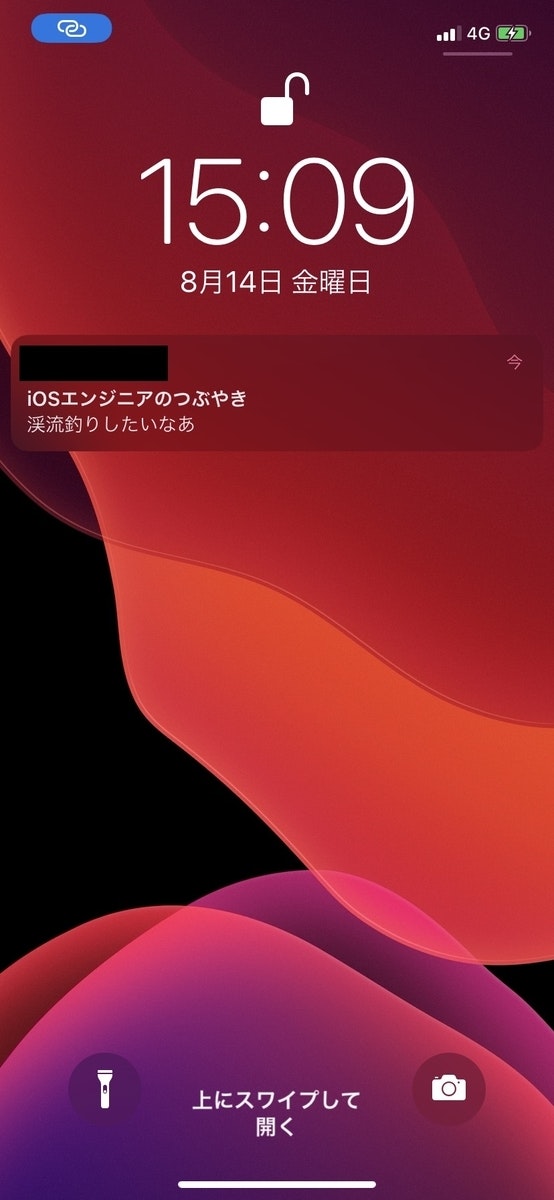
curl -X POST -H "Authorization: Bearer your_id_token" https://hogehoge.cloudfunctions.net/push_to_general -d "title=iOSエンジニアのつぶやき&body=渓流釣りしたいなあ"
下記のように無事トピックメッセージを受け取ることができました🎉

