はじめに
TailwindCSS、Storybookを使用するNext.jsアプリケーションの環境を作成する機会があり、そのときの環境構築の手順の覚え書き📝
バージョン
- Next.js :
13.4.5 - TailwindCSS :
3.3.2 - Storybook :
7.0.20
手順
1. Next.jsアプリを作成
npx create-next-app アプリ名
使用するライブラリなどを対話式で選択していく。(今回はデフォルトのまま)

2. Storybookをインストール
作成したNext.jsアプリのルートディレクトリで下記を実行。
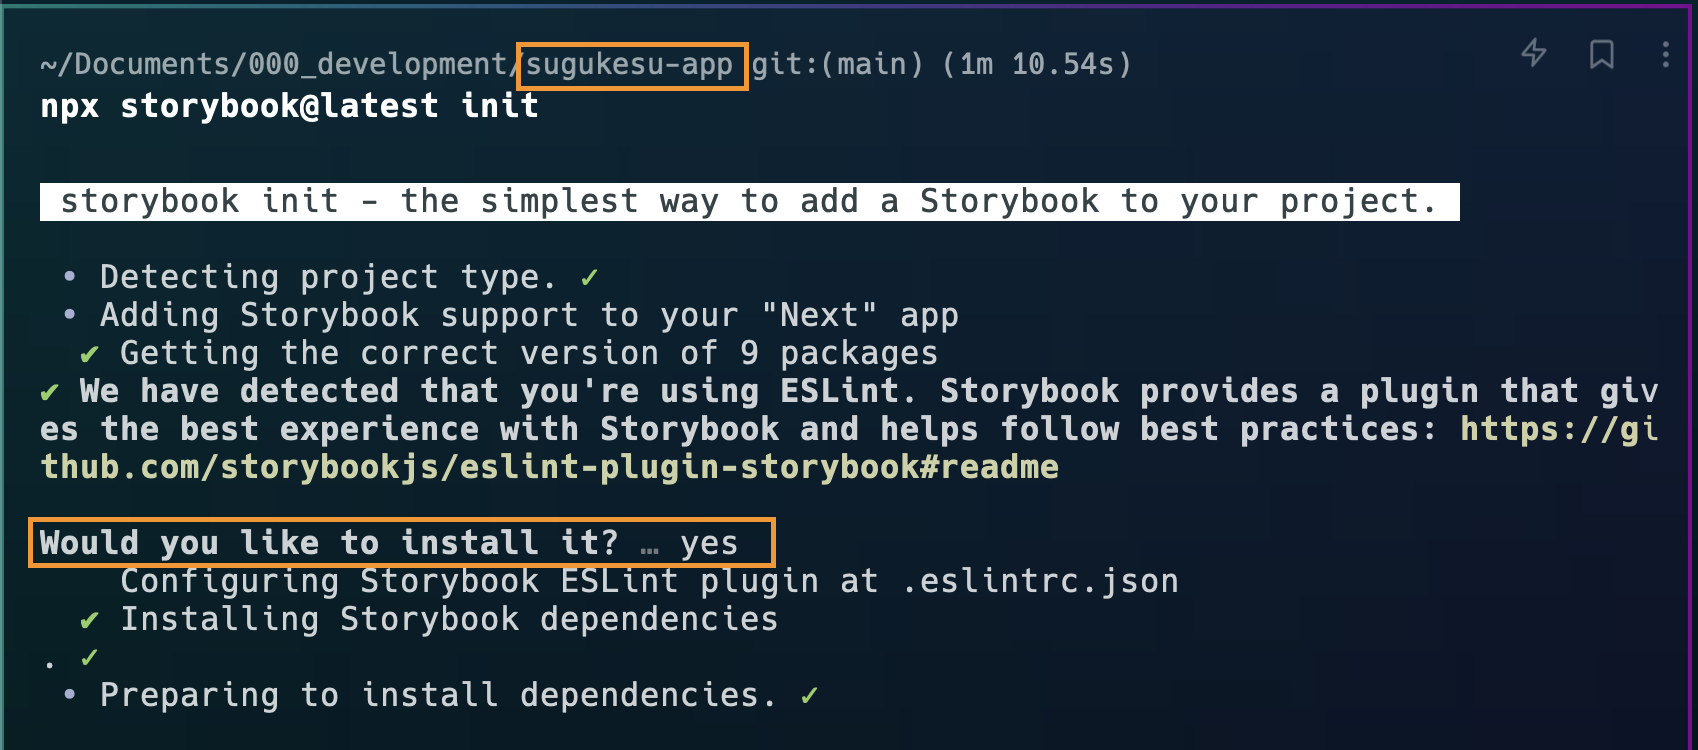
npx storybook@latest init
eslint-plugin-storybookを使用するか?→Yesとする
ここまでで、Next.js上でStorybookを使用することができるようになる。かんたん。
3. TailwindCSS が storybook に反映されるように設定
3-1. @storybook/addon-postcss をインストール
npm install --save-dev @storybook/addon-postcss
3-2. 上記アドオンを使用する設定、静的ファイル置き場のパスを指定
.storybook/main.tsに以下の設定をする
-
addon-postcssを使用する設定 - Storybookで読み込む静的ファイルのディレクトリのリストを設定
import type { StorybookConfig } from "@storybook/nextjs";
const config: StorybookConfig = {
  stories: ["../src/**/*.mdx", "../src/**/*.stories.@(js|jsx|ts|tsx)"],
  addons: [
    "@storybook/addon-links",
    "@storybook/addon-essentials",
    "@storybook/addon-interactions",
+   {
+     name: "@storybook/addon-postcss",
+     options: {
+       postcssLoaderOptions: {
+         implementation: require("postcss"),
+       },
+     },
+   },
  ],
  framework: {
    name: "@storybook/nextjs",
    options: {},
  },
  docs: {
    autodocs: "tag",
  },
+ staticDirs: ["../public"],
};
export default config;
Next.jsのImageコンポーネントなどで/public配下の画像を読み込む記述をしているとき、Storybook上でうまく表示されないっぽいので設定が必要
3-3. TailwindCSSをStorybookに読み込む
.storybook/preview.tsに以下の設定をする
-
/src/app/globals.cssをimportする
import type { Preview } from "@storybook/react";
+ import "../styles/globals.css";

const preview: Preview = {
  parameters: {
    actions: { argTypesRegex: "^on[A-Z].*" },
    controls: {
      matchers: {
        color: /(background|color)$/i,
        date: /Date$/,
      },
    },
  },
};

export default preview;
Storybookでは各*.stories.ts にて、コンポーネントをimportしてStoryを作成する。このとき、このコンポーネント単体ではTailwindCSSのスタイルを読み込んでいないため、全体に適用するための設定が必要っぽい。
(src/app/layout.tsxでやっていることとおなじ感じ?)
4. TailwindCSSを使ってコンポーネントを作成→動作確認
4-1. Buttonコンポーネントの作成
interface ButtonProps {
  primary?: boolean;
  fontSize?: 'sm' | 'base' | 'lg';
  innerText: string;
  onClick: () => void;
}

export const Button = ({
  primary = false,
  fontSize = 'base',
  innerText,
  onClick,
}: ButtonProps) => {
  const buttonColor = primary
    ? 'text-white bg-blue-400'
    : 'text-gray bg-transparent';

  return (
    <button
      type="button"
      className={[
        'font-bold border border-solid border-gray-100 rounded-2xl cursor-pointer inline-block leading-none py-2 px-4 shadow-md',
        `text-${fontSize}`,
        buttonColor,
      ].join(' ')}
      onClick={onClick}
    >
      {innerText}
    </button>
  );
};
4-2. Storybookファイルの作成
import type { Meta, StoryObj } from '@storybook/react';
import { Button } from './Button';

const meta: Meta<typeof Button> = {
  title: 'Atoms/Button',
  component: Button,
  tags: ['autodocs'],
};

export default meta;
type Story = StoryObj<typeof Button>;

export const Primary: Story = {
  args: {
    primary: true,
    innerText: 'Button',
  },
};

export const Secondary: Story = {
  args: {
    innerText: 'Button',
  },
};

export const Large: Story = {
  args: {
    fontSize: 'lg',
    innerText: 'Button',
  },
};

export const Small: Story = {
  args: {
    fontSize: 'sm',
    innerText: 'Button',
  },
};
4-3. 動作確認
npm run storybook
おわりに
- Stroybookの進化はやい。自動でDocsとかできる。すごい。
- 不足していることあるかも。これから開発していくにあたって他に必要なことがあったら追記していきたい。
- 何か間違いなどありましたらご教示お願いいたします。


