はじめに
人生で初めて記事というものを書いてみる
プログラミング学習を始めたばかりで、githubへのpushにだいぶ苦労したので、
具体的な手順をまとめることにした
リポジトリの作成
git init
ターミナルを開いて、任意の名前のディレクトリを作成する。
今回はlessonという名前をつけて、ここにディレクトリを作成する。
git initをタイプしたそのディレクトリで、gitを使えるようになる。
$ mkdir lesson
$ cd lesson
$ git init
Initialized empty Git repository in /home/ec2-user/lesson/.git/
ec2-user:~/lesson (master) $
git add
次に、ディレクトリにファイルを追加する。
touchはファイルを作るコマンド
今回はlessonというファイルを作成
$ touch lesson
このままだと、トラッキング状態ではないので、gitで管理できるようにgit addコマンドをタイプする。
$ git add トラッキング状態にしたいファイル名
なお、ディレクトリ内にある全てのファイルをトラッキング状態にするコマンドもあるよ!
$ git add lesson
$ git add . //そのディレクトリないにあるファイル全部をトラッキング状態にする
コミットするファイルは事前にトラッキング状態にしておく必要がある。
トラッキング状態にするためにはaddコマンドを
トラッキング状態になったファイルは、一時的にステージング領域っていうなんか異空間的なところに保存される。
git commit
リモートリポジトリにソースコードを保存するためには、commitと言われる確定作業が必要になるよ!
-m"コミットメッセージ" メッセージでコミットした理由が他の人にわかるようにしよう
$ git commit -m"lesson commit"
git log
コミットしたデータの確認
$ git log
commit ×× (HEAD -> master)
Author: ”yuki” <”〇〇.com”>
Date:   Wed Aug 19 23:13:43 2020 +0000

    lesson commit
リポジトリの作成
[githubの操作]
github上でリモートリポジトリを作成
push
pushのコマンドは以下の通り
$ git remote add origin git@github.com:アカウント名/リポジトリ名.git
$ git push -u origin master
今回の場合
$ git remote add origin git@github.com:yuktkhs46/lesson.git
$ git push -u origin master
こんな感じの画面がでてきたらOK!
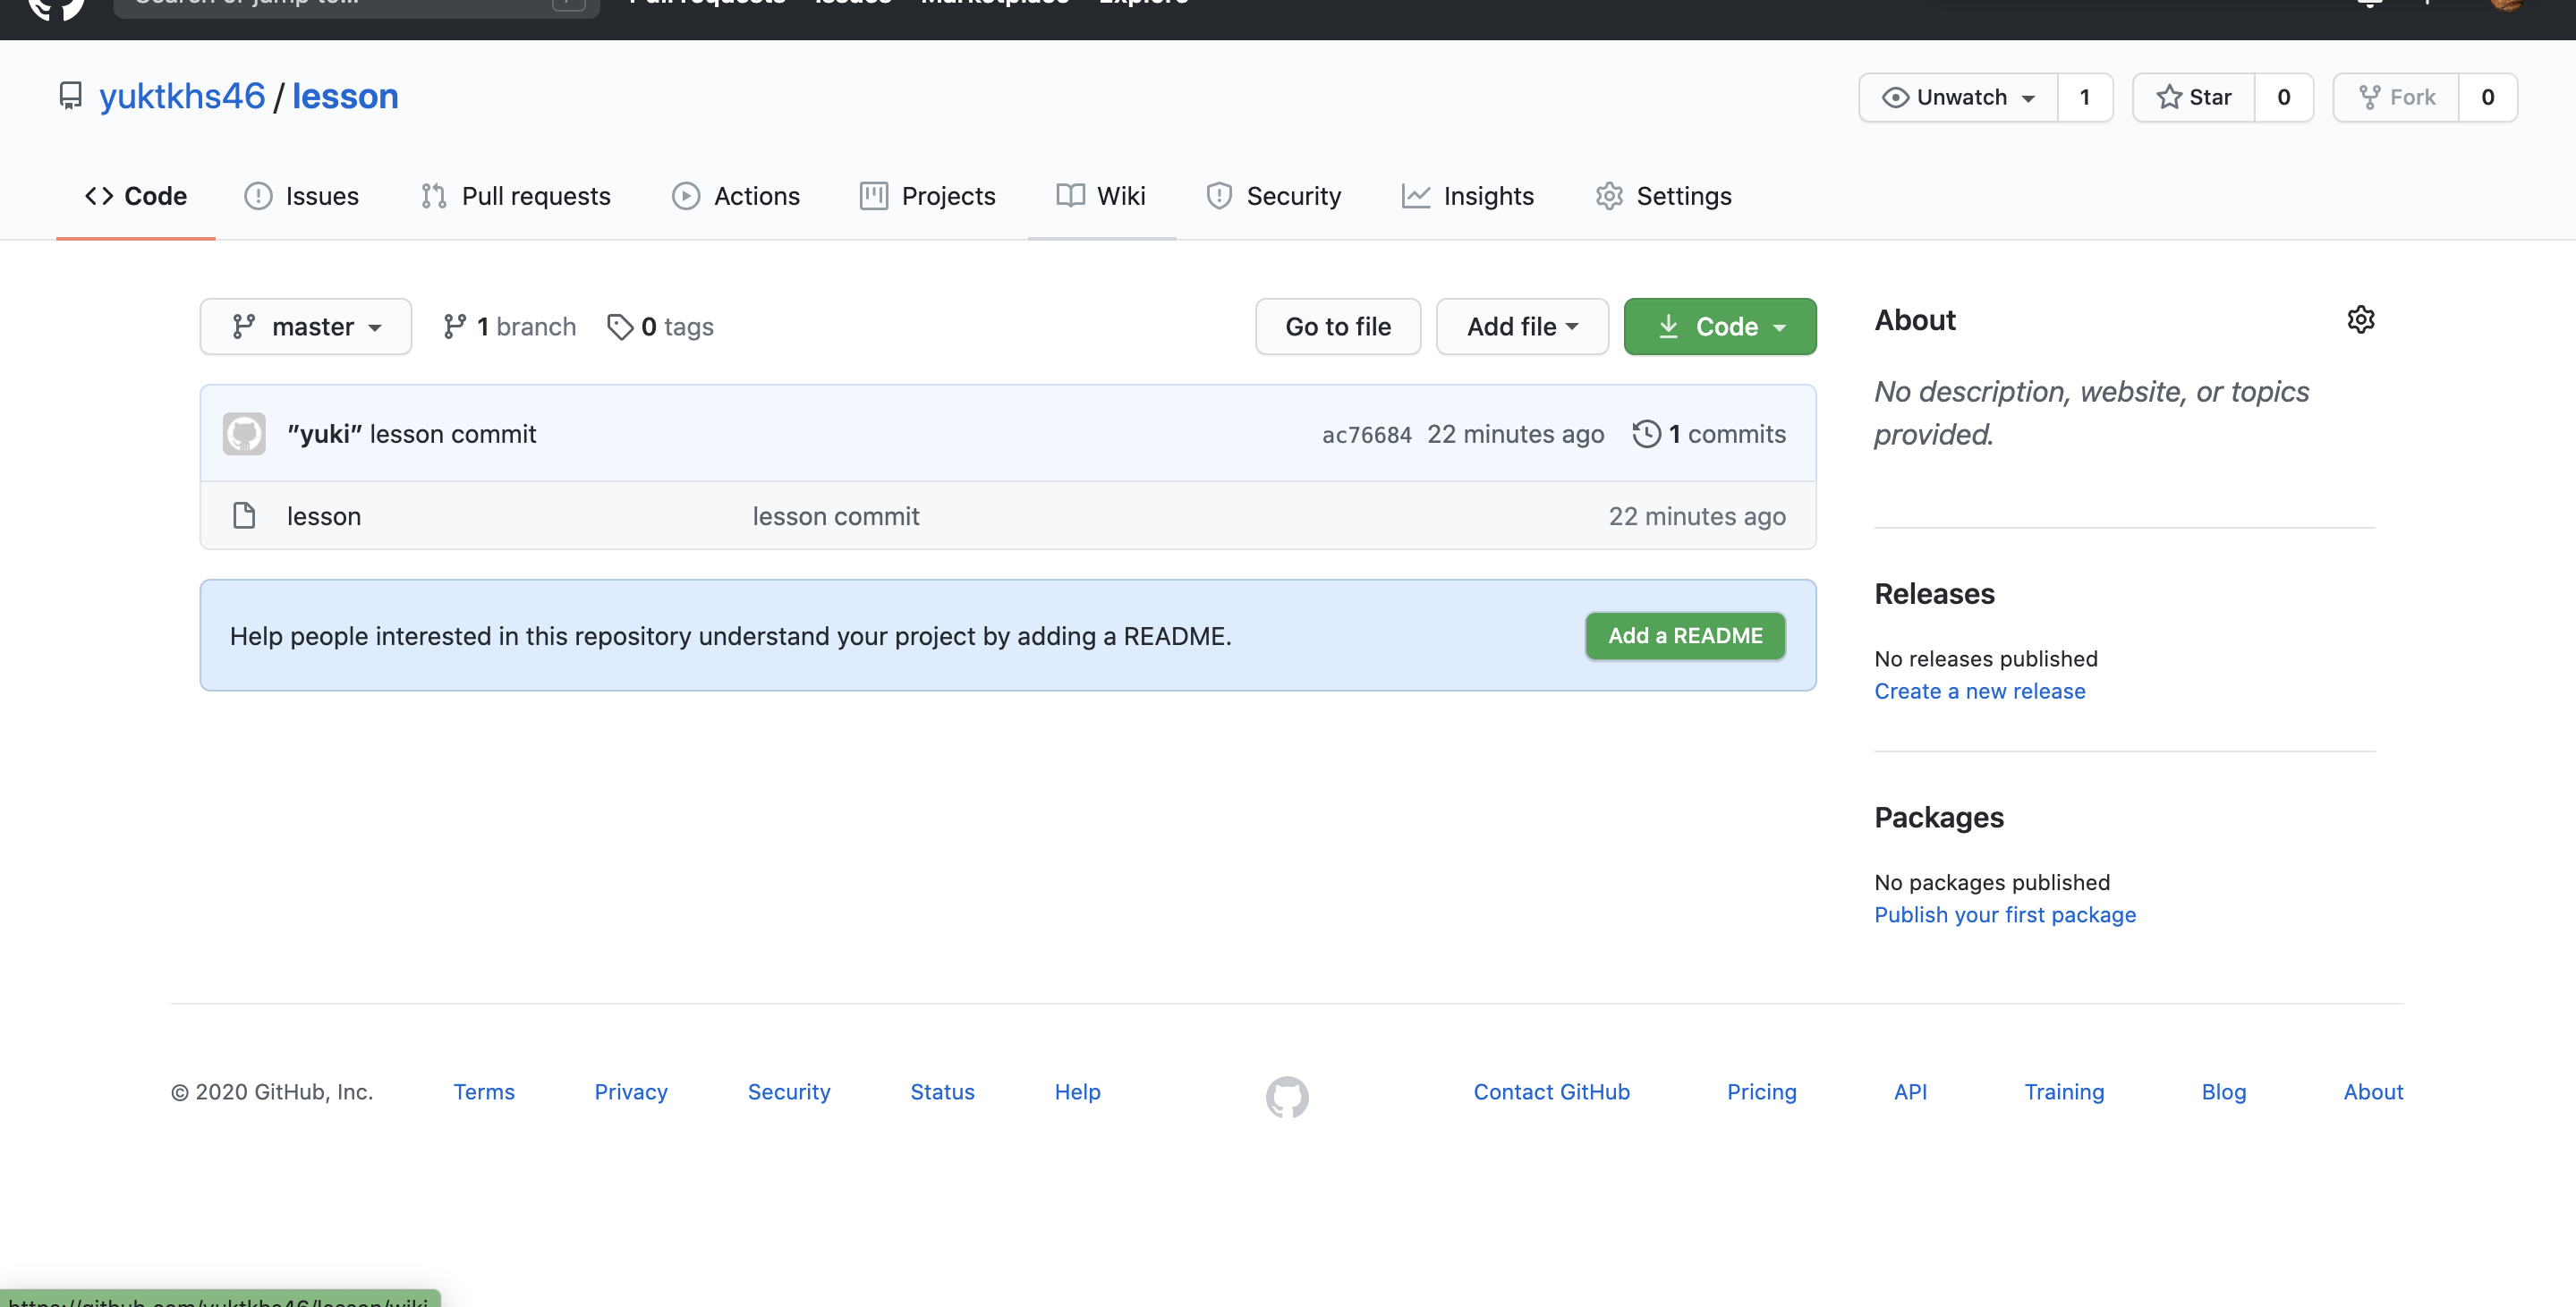
githubのリポジトリを確認してみよう
numerating objects: 3, done.
Counting objects: 100% (3/3), done.
Writing objects: 100% (3/3), 216 bytes | 216.00 KiB/s, done.
Total 3 (delta 0), reused 0 (delta 0)
To github.com:yuktkhs46/lesson.git
 * [new branch]      master -> master
Branch 'master' set up to track remote branch 'master' from 'origin'.
ちゃんとpushできてるね!