WordPress(以下WP)はまだまだ現役だけど、もっさり感がねぇ。
なので、WPは運用者の更新用にして、実際のビュー部分はVue.js(Nuxt.js)でやろうって話です。
WPの準備
インストールは割愛
最近のWPはデフォルトでWP REST APIが入っているので、既存の投稿を使う場合は何もしなくていいです。
カスタムフィールドを追加する場合は、Advanced Custom FieldならAPI化が簡単らしいです。
カスタム投稿をAPI化する
カスタム投稿追加とAPI化のコードをfunctions.phpに追加する。
https://ドメイン/wp/ にWPがインストールされているとして、https://ドメイン/wp/wp-json/wp/v2/samplepost でjson返します。
function create_post_type() {
	$supports = [
	  'title',
	  'editor',
	  'author',
	  'thumbnail',
	  'excerpt',
	  'custom-fields',
	];
	register_post_type( 'samplepost',
	  array(
		// 以下は適当に
		'label' => 'サンプルポスト',
		'public' => true,
		'has_archive' => false,
		'menu_position' => 7,
		'supports' => $supports,
		'show_in_rest' => true,
		'rest_base' => 'samplepost'
	  )
	);
  }
  add_action( 'init', 'create_post_type' );

  function slug_register_cutomposts() {
	  register_rest_field( 'samplepost', //デフォルトの投稿のカスタムフィールドをAPI化する場合はpostsに
		  'data',
		  array(
			  'get_callback'  => function(  $object, $field_name, $request  ) {
				$meta_fields = array( //ここにAPIで呼び出すカスタムフィールドを列挙
					'Customfield01',
					'Customfield02',
					'Customfield03',
				);
				$meta = array();
				foreach ( $meta_fields as $field ) {
				  $meta[ $field ] = get_post_meta( $object[ 'id' ], $field, true );
				}
				return $meta;
			  },
			  'update_callback' => null,
			  'schema'          => null,
		  )
	  );
  }
  add_action( 'rest_api_init', 'slug_register_cutomposts' );
カスタムフィールドは適当に準備してください。
Nuxt.jsの準備
インストール
vueとvue-cliはインストール済みとして。
$ vue init nuxt-community/starter-template projName
$ npm install
$ npm run dev
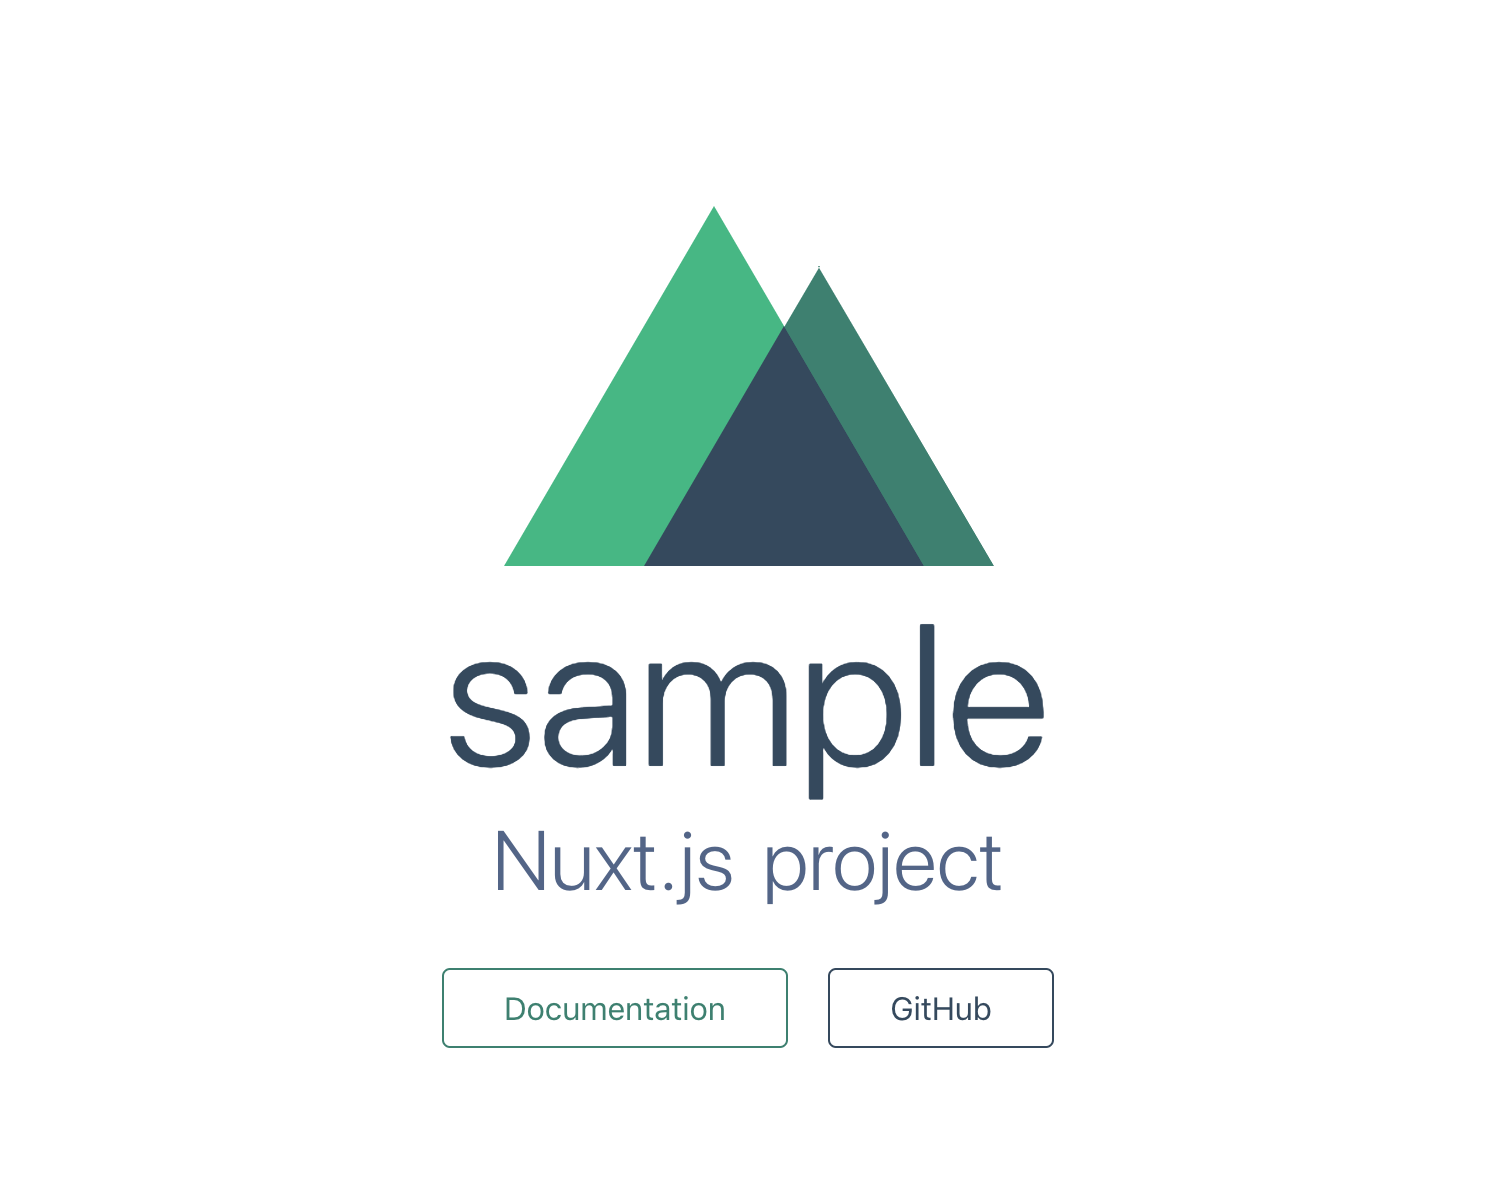
http://localhost:3000/ で以下が表示できていればOK

ページの作成
pagesフォルダにこんな感じでフォルダとvueファイルを作っていきます。
newsはデフォルトのpostsに対応しています。Vueでは、アンダースコアをつけることで動的なルーティングを定義できます。
news/index.vue、samplepost/index.vue がそれぞれのアーカイブページに対応しています。
pages
├── index.vue
├── news
│   ├── _id.vue
│   └── index.vue
└── samplepost
    ├── _id.vue
    └── index.vue
ページを作っていきます。WPの投稿とも紐づけます。
axiosを使用します。
$ npm install --save-dev axios
<template>
<div>
    <PostList :posts="posts" />
</div>
</template>

<script>
import PostList from '~/components/posts/PostList.vue'
import wp from '~/wp'

export default {
    asyncData ({ params }) {
        return wp.posts()
    },
    components: {
        PostList,
    }
}
</script>
<template>
  <ul>
    <li v-for="post in posts" :key="post.id">
        <article>
          <a v-bind:href="'/news/' + post.id">
            <h2 class="subtitle">{{ post.title.rendered }}</h2>
            <div class="info" v-html="post.excerpt.rendered"></div>
          </a>
        </article>
    </li>
  </ul>
</template>

<script>

export default {
  props: ['posts'],
}
</script>
import axios from 'axios'

class WpApi {
  constructor (siteurl) {
    this.apiBase = `${siteurl}/wp-json`
  }
  async posts () {
    try {
          const json = await axios.get(`${this.apiBase}/wp/v2/posts`, {
              params: {
                  page: 1,
                  per_page: 5
              }
          });
          return { posts: json.data };
      }
      catch (e) {
          return { error: e };
      }
  }
  async samplepost () {
    try {
          const json = await axios.get(`${this.apiBase}/wp/v2/samplepost`, {
              params: {
                  page: 1,
                  per_page: 5
              }
          });
          return { samplepost: json.data };
      }
      catch (e) {
          return { error: e };
      }
  }
}
const wp = new WpApi('https://ドメイン/wp/')
export default wp
<template>
  <div>
      <h2>{{ post.id }}</h2>
      <h3 class="subtitle">{{ post.title.rendered }}</h3>
      <div class="info" v-html="post.content.rendered"></div>
  </div>
</template>

<script>
import axios from 'axios'

export default {
  async asyncData ({ params }) {
    //id指定で個別の記事なんで直接書いた
    //WPのパーマリンク設定によってはgetするときのurlが違うかもですので、適宜変更してください。
    const { data: post } = await axios.get(`https://ドメイン/wp/wp-json/wp/v2/posts/${params.id}`)
    return {
      post
    }
  }
};
</script>
サイト公開
//ここでもaxios呼んでおいてください
const axios = require('axios')
const apiUrl = 'https://ドメイン'


中略// nuxt generateの変更


  generate: {
    interval: 1000, //インターバルないとサーバーが落ちます。
    routes () {
      return Promise.all([
        axios.get(`${apiUrl}/wp-json/wp/v2/posts`),
      ]).then((data) => {
        const posts = data[0]
        return posts.data.map((post) => {
          return {
            route: '/news/' + post.id,
            payload: post
          }
        })
      })
    }
  },


以下略
npm run generate でdistフォルダが作成されます。中身を丸っとドメインのルートに入れれば、ページが公開されます。
(未対応)WP更新で自動反映
このままだと、WP側で更新しても、サイトには反映されません。
generateして静的ファイルを生成しなおす必要があります。
そのため、WP更新 → Nuxt generate → 生成ファイルのアップロード を自動化できるとみんなハッピーですね。