ゴール
- API定義が書かれたファイルを自動生成する
- docker-composeでSwagger UIのコンテナを管理する
- ローカル環境のSwagger UIで、API定義の閲覧&リクエスト/レスポンスを行う
環境
Ruby: 2.7.1
Rails: 6.0.3
1. API定義が書かれたファイルを自動生成する
導入
apipie-railsというgemでAPI定義ファイルを生成できそうだったので、こちらを使いました。
Getting startedに従って、Gemfileへの追加やapipieの初期化を行います。
Gemfile
gem "apipie-rails"
$ bundle install
$ rails g apipie:install
apipie.rbの生成、routes.rbにapipieの追加が行われます。
ドキュメントの記入
DSL Reference を元に、各Controllerにあるメソッドの上部にAPI定義を書きます。
(ここは自作...)
以下は実装例
api/v1/users_controller.rb
class Api::V1::UsersController < ApiController

  api :POST, "/api/v1/users/token", "get access token"
  description "ログイン認証をしてトークンを返す"
  formats ["json"]
  param :email, String, desc: "メールアドレス", required: true
  param :password, String, desc: "パスワード", required: true
  returns code: 200, desc: "return user token"
  error code: 401, desc: "Unauthorized"
  example <<-JSON
    {
      detail: "Token Example",
    }
  JSON

  def token
    # 実装略
  end
API定義ファイルを生成
$ rails apipie:static_swagger_json
doc/apidocにschema_swagger_form_data.jsonが生成されます。
2. docker-composeでSwagger UIのコンテナを管理する
docker-composeの設定
docker-compose.yml
services:
  app:
   (略)

  swagger-ui:
    image: swaggerapi/swagger-ui
    ports:
      - "8081:8080"
    volumes:
      - doc/apidoc/schema_swagger_form_data.json:/swagger.json
    environment:
      SWAGGER_JSON: /swagger.json
dockerを起動して localhost:8081にアクセスすると、API定義が読めるようになります。
参考: Swagger EditorとSwagger UIをDockerで動かす
apipie.rbを調整
プロジェクトに依ってディレクトリ構成やポートが異なるため、必要に応じてapipie.rbを調整してください。
こちらも詳細はリファレンス Swagger-Specific Configuration Parameters に載っています。
apipie.rb
-  config.api_base_url            = "/api"
+  config.api_base_url            = ""
+  config.swagger_api_host = "localhost:3100"
調整後はドキュメントの生成をお忘れなく。
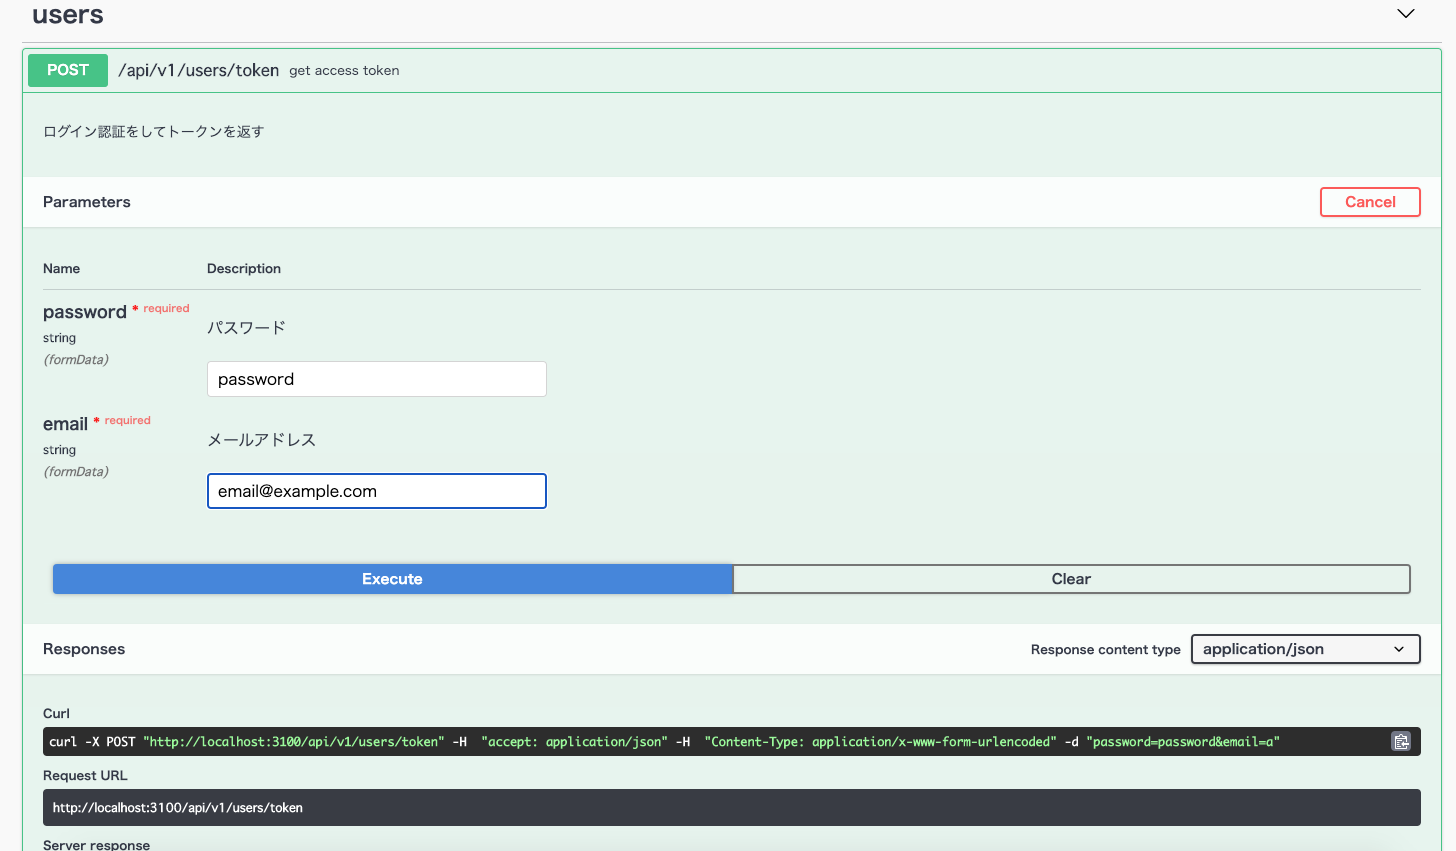
3. ローカル環境のSwagger UIで、API定義の閲覧&リクエスト/レスポンスを行う
現状の設定ではAPIとSwagger UIのコンテナが異なるため、APIリクエスト/レスポンスができません。
解決するためにCORSの設定を行います。
CORS設定
rack-corsのgemを追加し、以下のように設定を追加します。
Gemfile
gem "rack-cors"
config/application.rb
module App
  class Application < Rails::Application
    (中略)

    # 以下を追加
    config.x.request = ActiveSupport::InheritableOptions.new(config_for(:request))

    # Permit cross origin
    config.middleware.insert_before 0, Rack::Cors do
      allow do
        origins Rails.application.config.x.request["domain"]
        resource "*",
        headers: :any,
        methods: [:get, :post, :put, :patch, :delete, :options, :head]
      end
    end
  end
end
config/request.yml
default: &default
  domain:
   - localhost:3100 # appのport
   - localhost:8081 # swagger-uiのport

development:
  <<: *default

test:
  <<: *default

production:
  domain:
書き換えたらappのコンテナをrestartをすれば、Swagger UIからリクエストができるようになります。
参考: