swifty-creatives
swifty-creatives (Swiftライブラリ解説) その1 の続きです
テキストの描画
テキストを描画する方法は2通り用意してあります。
- TextObjectを用いた描画
- TextFactoryを用いた描画
TextObjectを用いた描画
Sketch1.swift
class Sketch1: Sketch {
    var elapsedTime: Float = 0
    let obj = TextObject()
        .setText("Hello", font: NSFont.systemFont(ofSize: 60), color: .white)
        .multiplyScale(6)
        .setColor(f4(1, 1, 1, 1))
    override func draw(encoder: SCEncoder) {
        elapsedTime += deltaTime
        obj.setColor(f4(sin(elapsedTime), 1, 1, 1)) //色は毎フレーム変えることができます
        obj.drawWithCache(encoder: encoder, customMatrix: getCustomMatrix())
    }
}

このように色をアニメーションさせつつ3D空間状にテキストを描画することができました。
Sketch2.swift
class Sketch2: Sketch {
    let obj = TextObject()
        .setDetailedText(
            "Hello, World. Hello, World. Hello, World. Hello, World. Hello, World. Hello, World. Hello, World. Hello, World. Hello, World. Hello, World. Hello, World. Hello, World.",
            font: NSFont.systemFont(ofSize: 60),
            resolution: CGSize(width: 600, height: 600),
            framePath: CGPath(ellipseIn: CGRect(x: 0, y: 0, width: 600, height: 600), transform: nil))
        .multiplyScale(6)
        .setColor(f4.one)
    override func draw(encoder: SCEncoder) {
        obj.drawWithCache(encoder: encoder, customMatrix: getCustomMatrix())
    }
}

ちなみにこのようにCGPathに沿ってテキストを描画することもできます。
TextFactoryを用いた描画
Sketch3.swift
class Sketch3: Sketch {
    //描画する可能性のある文字を全て登録しておきます
    let factory = GeneralTextFactory(font: NSFont.systemFont(ofSize: 60), register: "abcdefg012345")
    override func draw(encoder: SCEncoder) {
        //好きな文字列で描画します
        drawGeneralText(
            encoder: encoder,
            factory: factory,
            text: String("abcdefg012345".randomElement()!) + "123")
    }
}

TextObjectを使うより軽い動作をテキストを変更・アニメーションさせることができます。
PostProcessing
画像に対して後からエフェクトをかけることができます。
標準で用意されているプリセットは今のところCornerRadiusとBloomの2種類です。
CornerRadiusPP (PostProcessing)
画像に角丸を適応します。
Sketch4.swift
class Sketch4: Sketch {
    let postProcessor = CornerRadiusPP()
    let img = Img()
        .load(image: NSImage(named: "sample-image3")!.cgImage(forProposedRect: nil, context: nil, hints: nil)!)
        .multiplyScale(12)
    override init() {
        //角丸を適応
        postProcessor.radius(200).postProcess(texture: img.texture!)
    }
    override func draw(encoder: SCEncoder) {
        img.draw(encoder)
    }
}
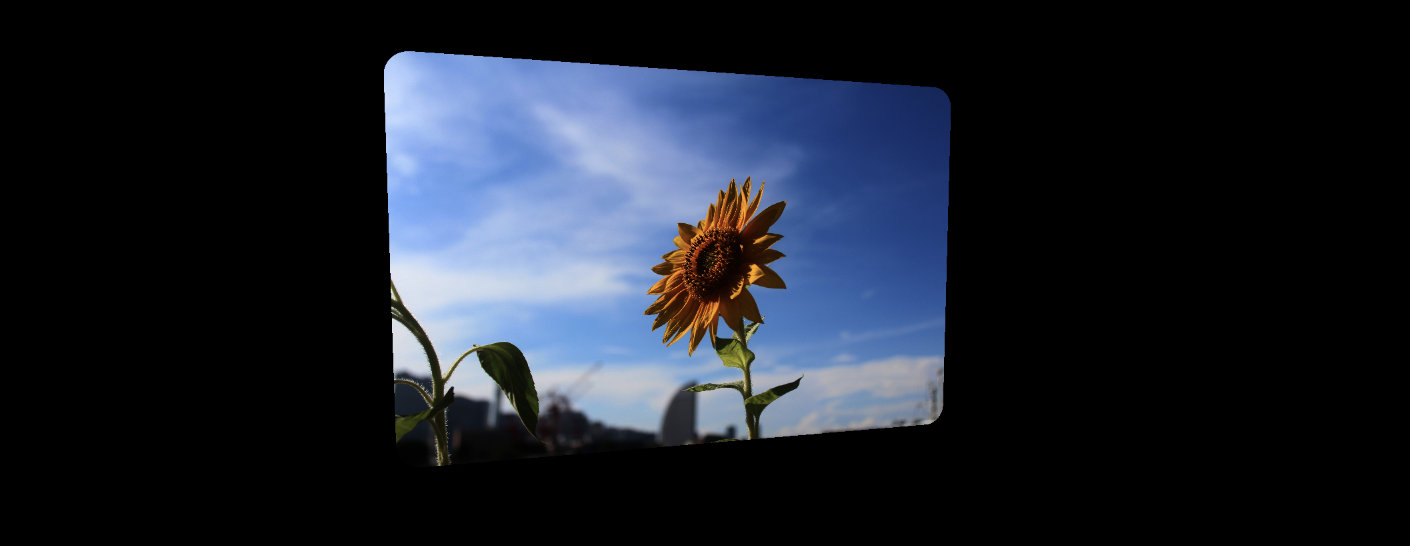
このように角丸を適応させることができます。PostProcessはdraw関数内などどこからでも呼び出せるので、角丸の大きさをアニメーションさせることなども可能です。
BloomPP (Post Processing)
画像にBloom(発光)エフェクトをかけることができます。
Sketch5.swift
class Sketch5: Sketch {
    let postProcessor = BloomPP()
    let img = Img()
        .load(image: NSImage(named: "image")!.cgImage(forProposedRect: nil, context: nil, hints: nil)!)
        .multiplyScale(12)
    let img2 = Img()
        .load(image: NSImage(named: "image")!.cgImage(forProposedRect: nil, context: nil, hints: nil)!)
        .multiplyScale(12)
    override init() {
        postProcessor.postProcess(texture: img.texture!, threshold: 0.5, intensity: 25)
    }
    override func draw(encoder: SCEncoder) {
        translate(-15, 0, 0)
        img.draw(encoder)
        translate(30, 0, 0)
        img2.draw(encoder)
    }
}
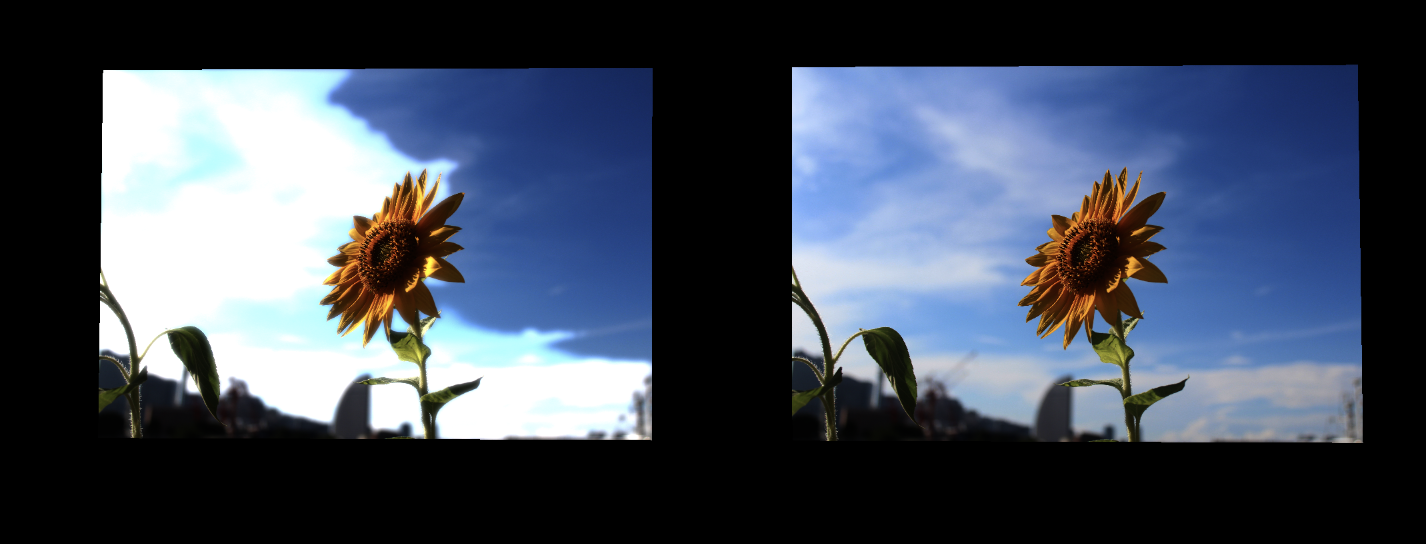
このように少しだけ明るくなっているのがわかると思います。また、PostProcessはImgオブジェクトだけでなくレンダリングスクリーン全体にも適応させることができます。
Sketch6.swift
class Case16: Sketch {
    let postProcessor = BloomPP()
    let box = Box()
        .setScale(f3.one * 3)
        .setColor(f4(1, 1, 0.3, 1))
    override func draw(encoder: SCEncoder) {
        box.draw(encoder)
    }

    //スクリーンにPostProcessをかけたいときはafterDraw()のtextureを使ってください
    override func afterDraw(texture: MTLTexture) {
        postProcessor.postProcess(texture: texture, threshold: 0.5, intensity: 100)
    }
}

自作PostProcessシェーダーの適応
Sketch7.swift
class Sketch7: Sketch {
    //metalシェーダーの名前を設定
    let rgbSwitchPP = PostProcessor(functionName: "rgbSwitchPostProcess", slowFunctionName: "rgbSwitchPostProcess_Slow", bundle: .main)
    let img = Img()
        .load(image: NSImage(named: "image")!.cgImage(forProposedRect: nil, context: nil, hints: nil)!)
        .multiplyScale(12)
    override init() {
        rgbSwitchPP.postProcess(texture: img.texture!)
    }
    override func draw(encoder: SCEncoder) {
        img.draw(encoder)
    }
}
画像のRGBを入れ替えるだけのシェーダーです。
RGBSwitchShader.metal
#include <metal_stdlib>
using namespace metal;

kernel void rgbSwitchPostProcess(texture2d<float, access::read_write> tex [[texture(0)]],
                                const device float* args [[buffer(0)]],
                                ushort2 gid [[thread_position_in_grid]]) {
    float4 color = tex.read(gid);
    tex.write(float4(color.b, color.g, color.r, color.a), gid);
}

kernel void rgbSwitchPostProcess_Slow(texture2d<float, access::read> texRead [[texture(0)]],
                                  texture2d<float, access::write> texWrite [[texture(1)]],
                                  const device float* args [[buffer(0)]],
                                  ushort2 gid [[thread_position_in_grid]]) {
    float4 color = texRead.read(gid);
    texWrite.write(float4(color.b, color.g, color.r, color.a), gid);
}

通常のシェーダーと_Slowをつけたシェーダーの二つが必要な理由は、MTLTexture(Metalで扱う画像の形式)でread_writeに対応しているデバイスと対応していないデバイスで処理を分けるためです。read_writeテクスチャを用いた方がはるかに高速に処理できるため、このような仕様にしています。read_writeテクスチャについて詳しくはこちら。
その他
長くなってしまうのでまた記事を分けさせていただきます。
| まだ紹介していない機能 |
|---|
| 自作クラスでSketchの関数を使う方法(SCPacket) |
| 3Dモデル |
| Cameraのコンフィグ(透視投影・平行投影など) |
| 描画のコンフィグ(フレームレートなど) |
| ブレンドモード |
| UIViewObjectとxibとIBAction |
| Lighting |
| Fog |