目的
Spring-bootによる開発環境STSからフリーのホスティングサービスBitbucketへのPushを行う
環境
- STS(Eclipse)
- Spring-Boot
- Bitbucket
- git
手順
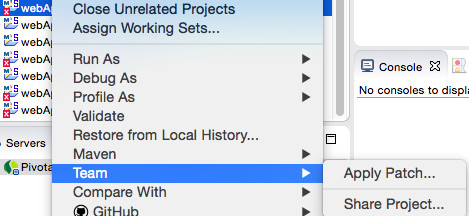
gitの利用開始
プロジェクトを選択し、Share Projectを選択
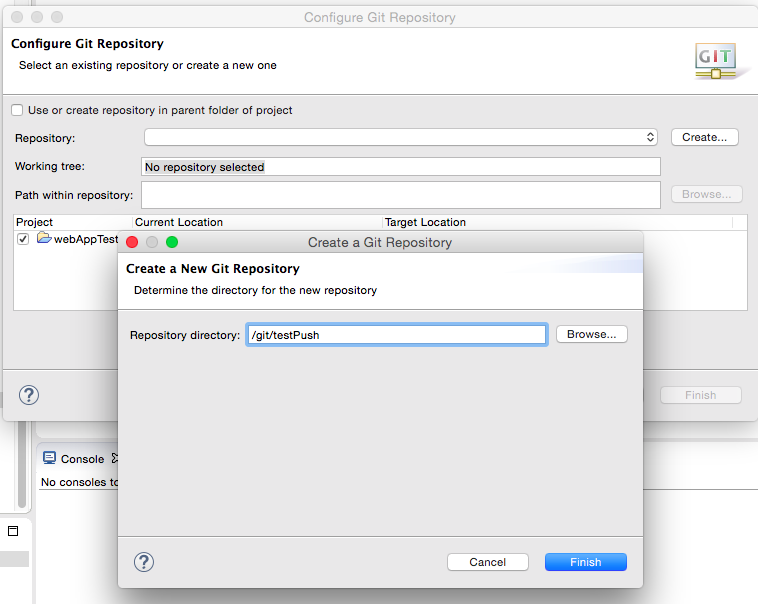
ローカルにリポジトリを新規作成する場合はCreateを選択し、
作成するリポジトリのパスを指定し作成する
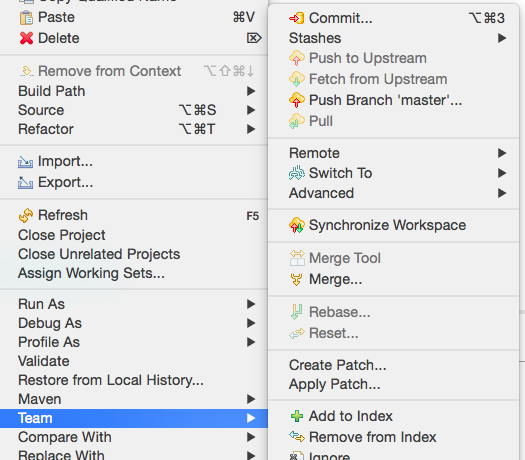
Commitを選択し
最初のコミットを行う
Bitbucket
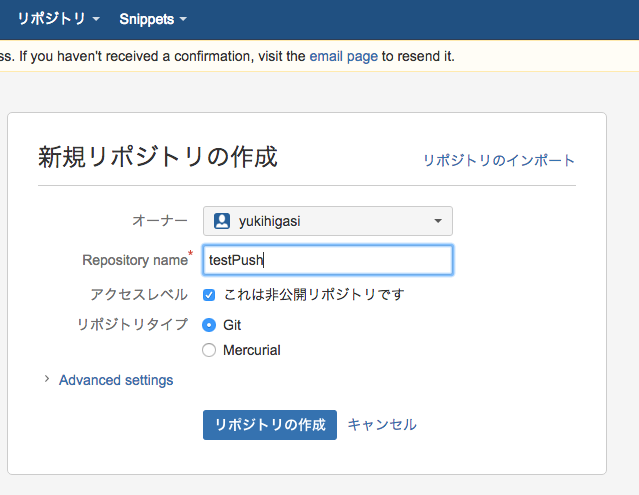
リモートリポジトリを作成する
※ 複数メンバーで共有する場合は、先にチームを作成し、チームの所有するリポジトリとして作成する
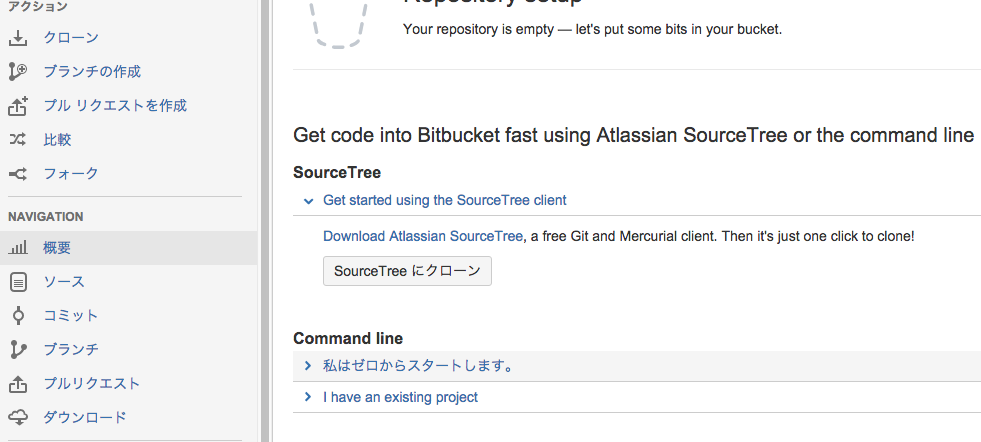
ローカルからソースを受け取る
今回はローカルにプロジェクトがあるため、
I have existing project を選択
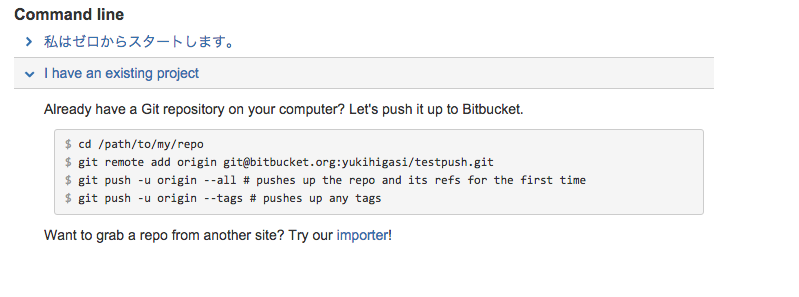
コマンドからプッシュするためのコマンドが表示される。
STSからのPUSH
ただ、今回はSTSからプッシュを行うため、
以下のコマンドの内容と同じ設定で、STSからプッシュを行う
git remote add origin git@bitbucket.org:yukihigasi/testpush.git
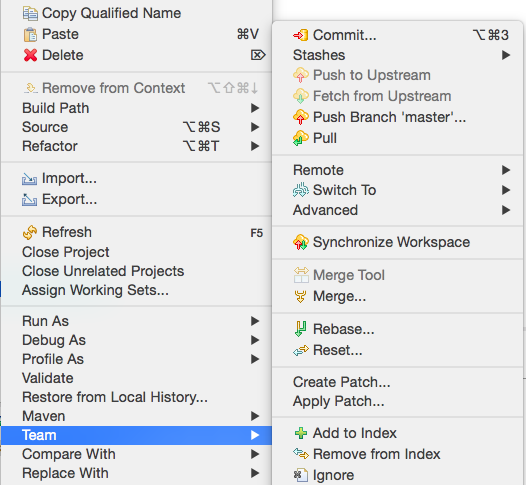
STSより、Team -> push Branch 'master'を選択し 登録画面を開く
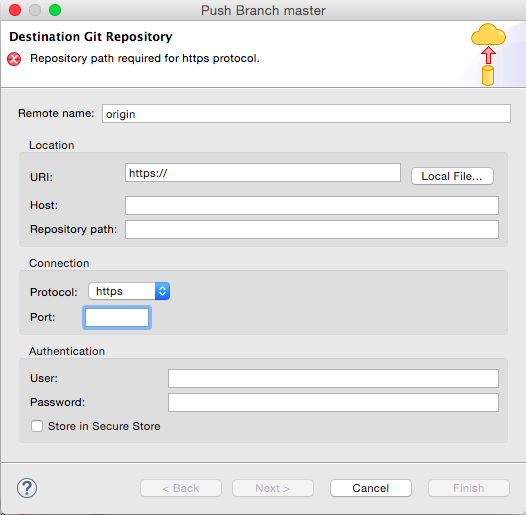
先ほどの内容を設定します
git remote add origin git@bitbucket.org:yukihigasi/testpush.git
ここから
Remote name: origin
Host: bitbucket.org
Repogitory path: yukihigasi/testpush.git
等を読み取り、以下のように設定します
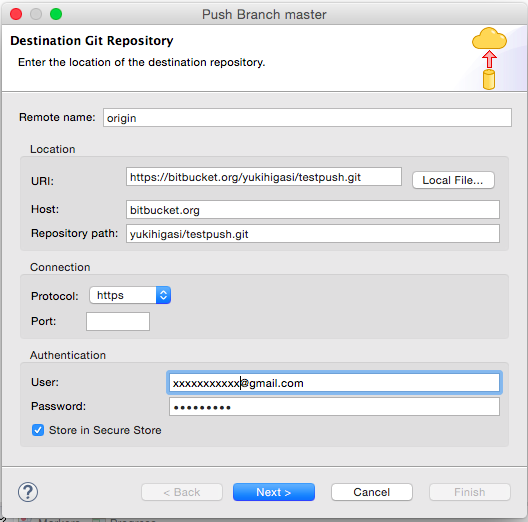
・ protcolはhttpsとして、HOST Repository pathを入力すると、URIは保管される
・ UserとpasswardはBitbucketへ登録したメールアドレスとパスワードを設定する
あとはウィザードに従いNext を選択する
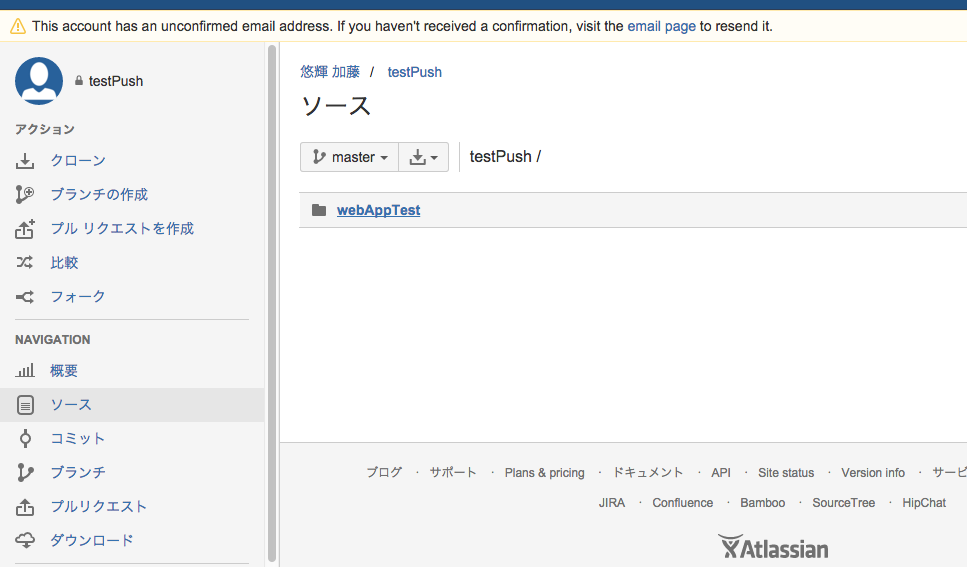
BitBucketからの確認
処理が完了すると、Bitbucketのソースから確認すると、プロジェクトがPushされていることが確認できる