概要
今回はchatgptを組み込んで、文章生成をしてくれるlinebotを作ったので、その作り方をこの記事にまとめました。
今回参考にしたのはこちらの記事。
制作環境
Windows
python3.11
pip24.0
大体の流れ
- OpenAIからキーをゲット
- LINEのBotを作ってキーをゲット
- Lambdaに関数を作る
Openaiからkeyを入手
こちらのリンクから入手できる。
詳しいやり方は
https://qiita.com/kenichiro_ayaki/items/afff43e78e75b0ae8d8a
こちらの記事を参考にしていただきたい。
Lineのプロバイダ、チャネルを作る
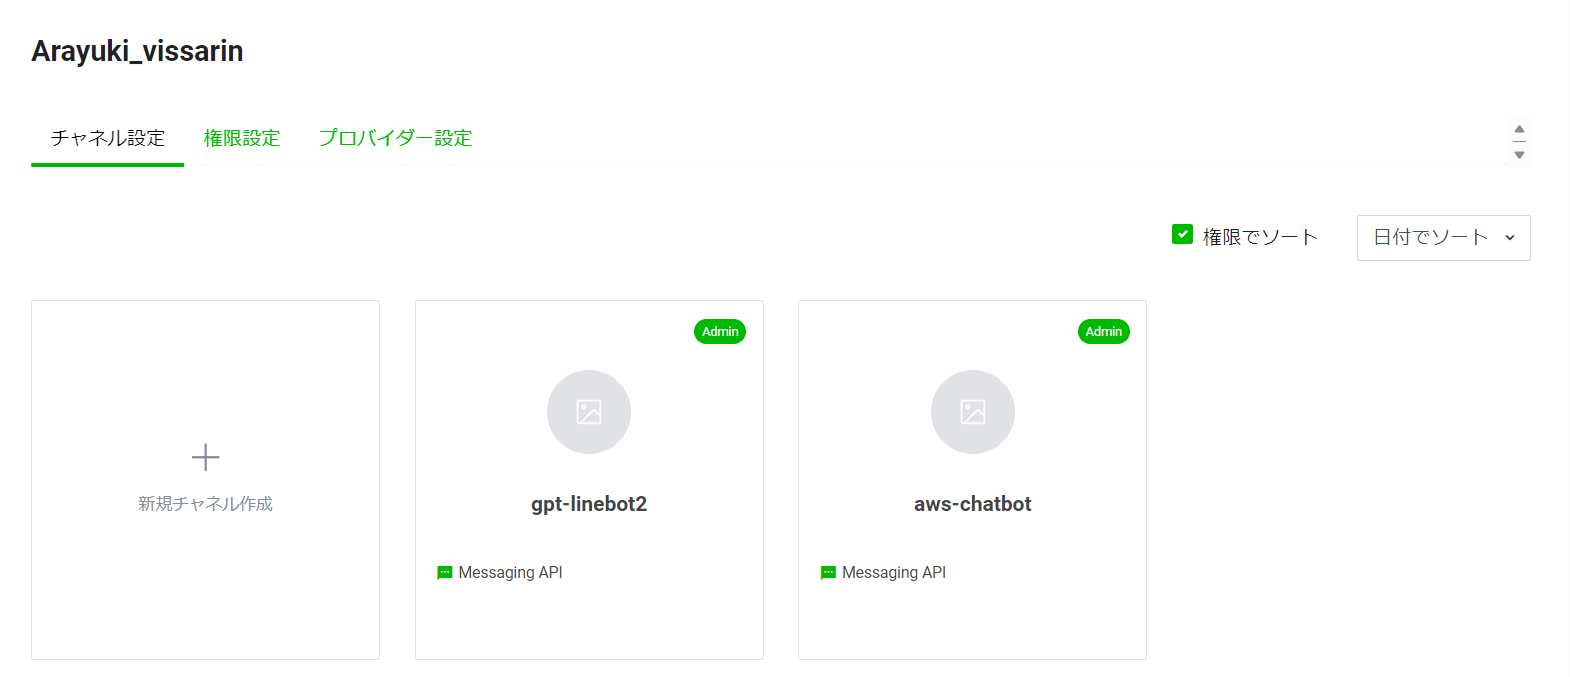
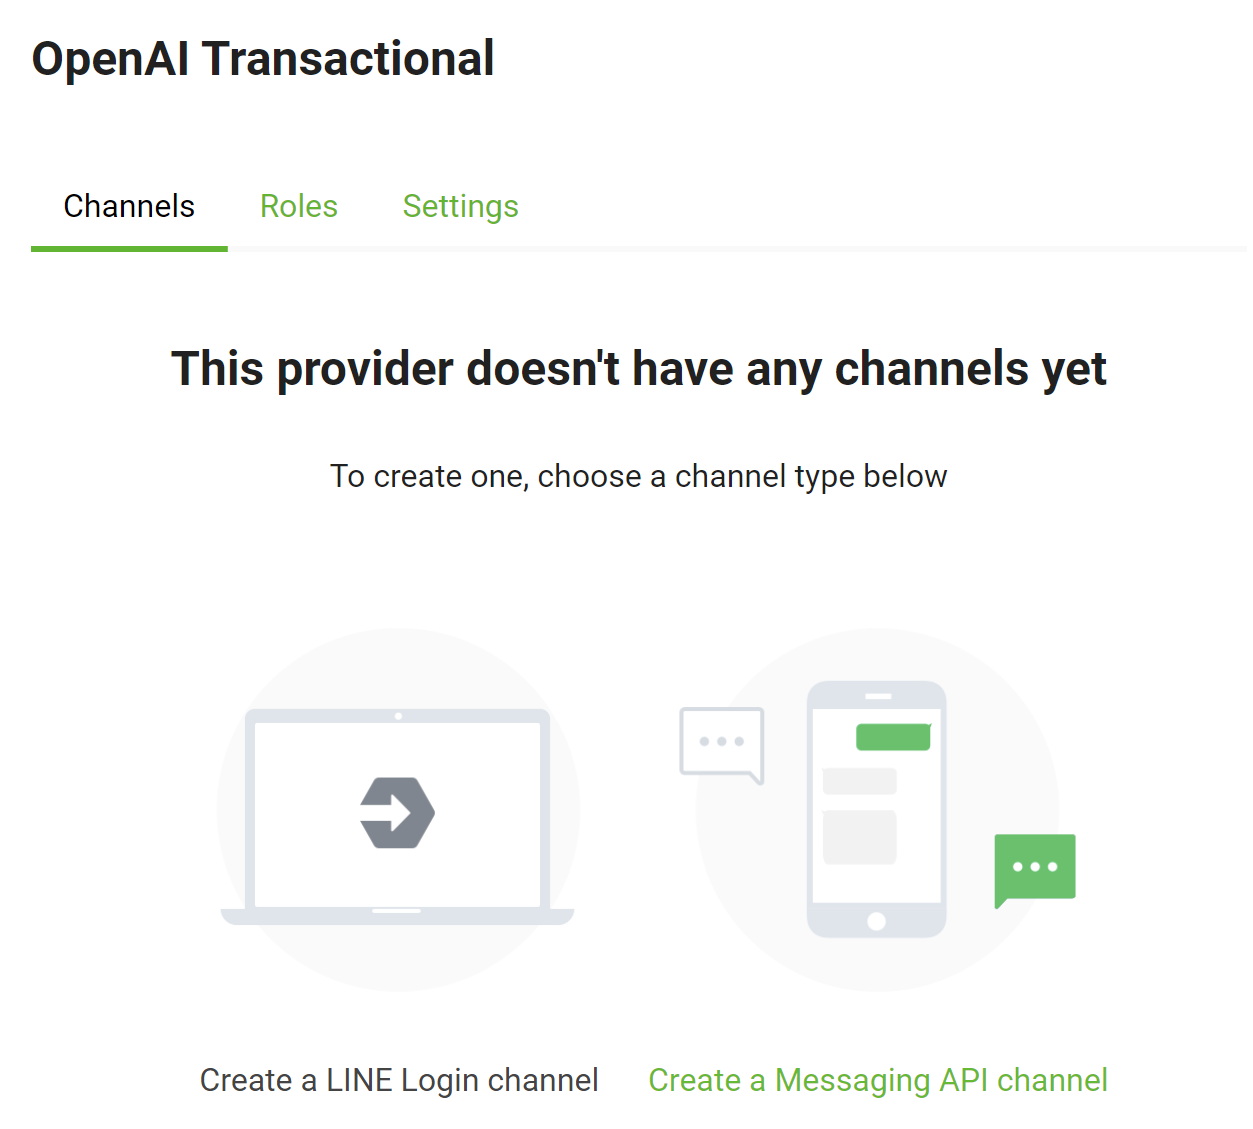
Line Developersを開いてプロバイダを作る。
その後は新規チャネルを作成からbot用のチャネルを作る(今回私が作ったのはgpt-linebot2)
チャネルアクセストークンを取得する
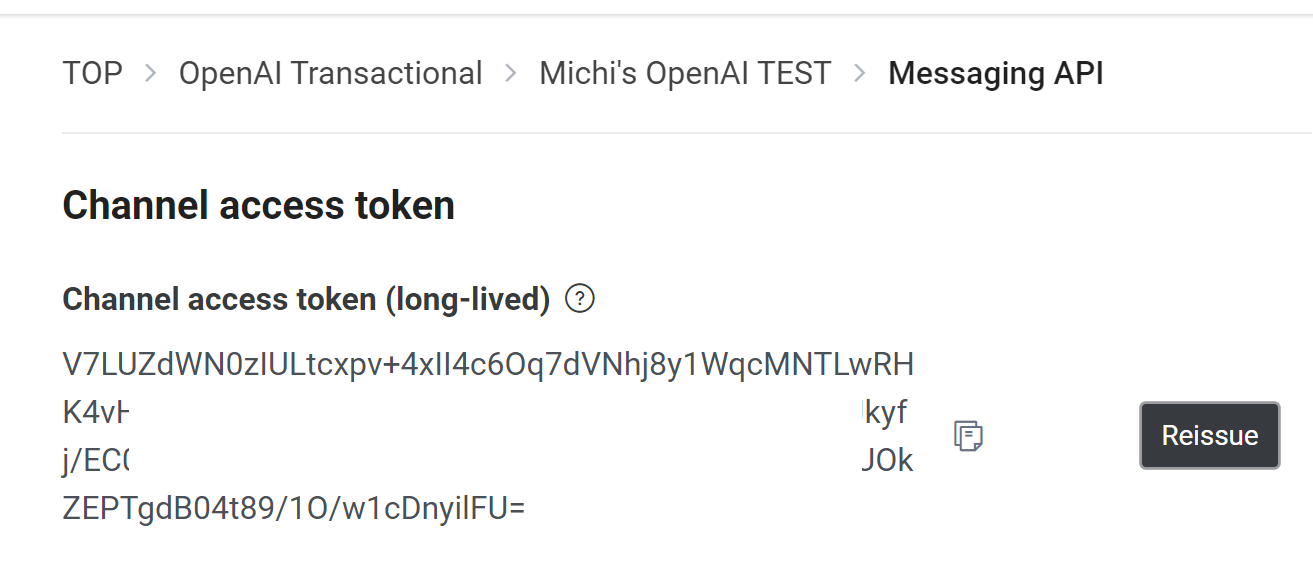
アクセストークンはチャネルを開いてmessaging APIタグから生成できる。
lambda関数の作成、設定
新しいlambda関数を作成する
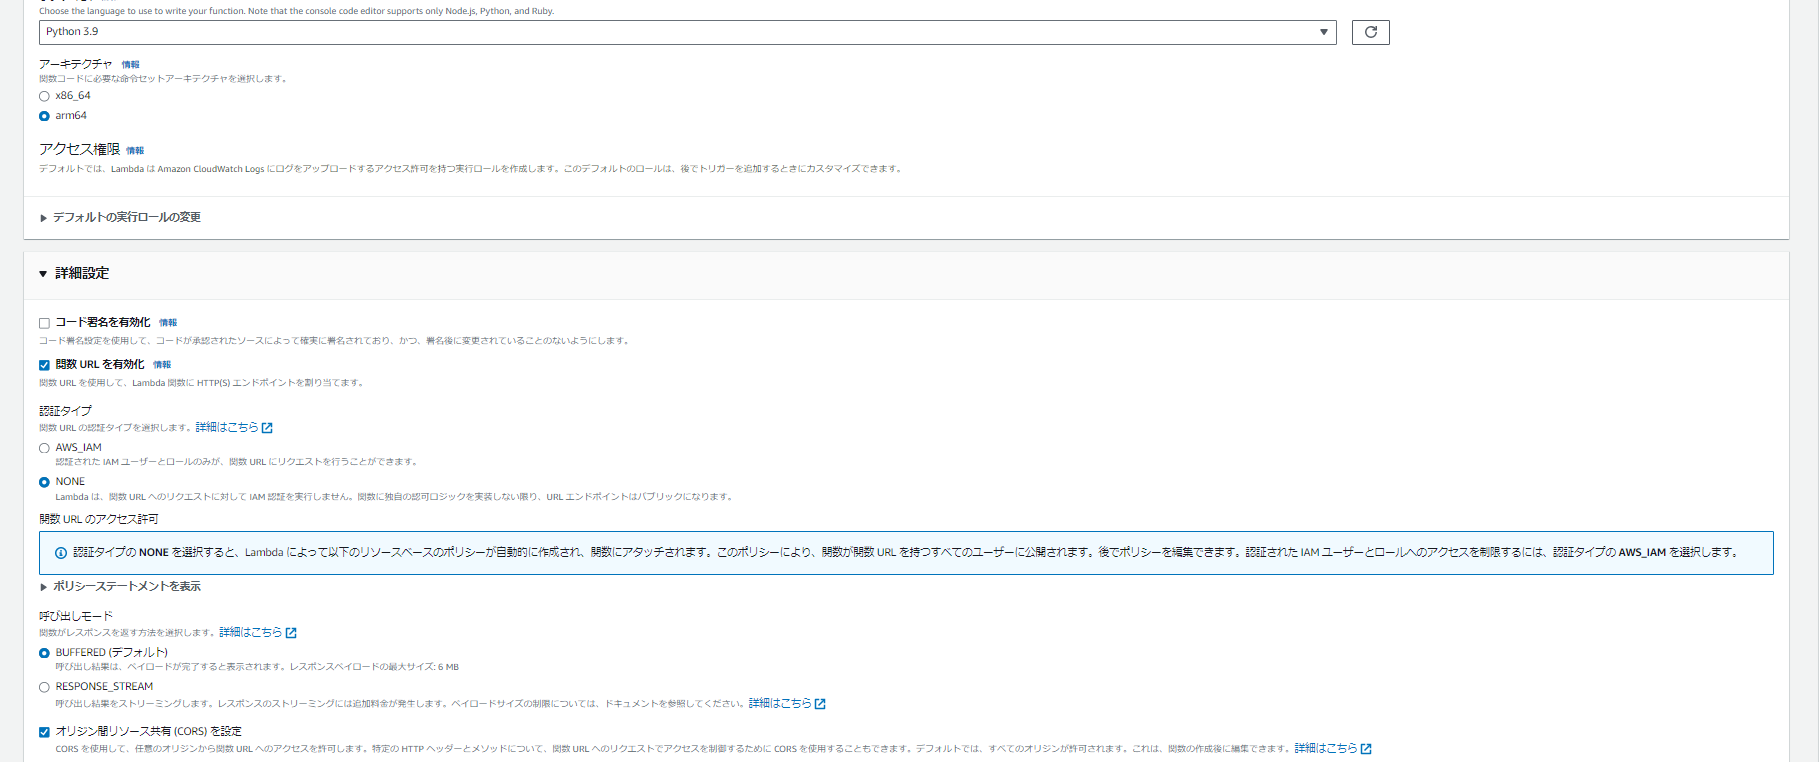
関数名は任意に設定する(今回私はgpt-linebot2とした)
また、関数URLの有効化は必須なのでわすれないように。
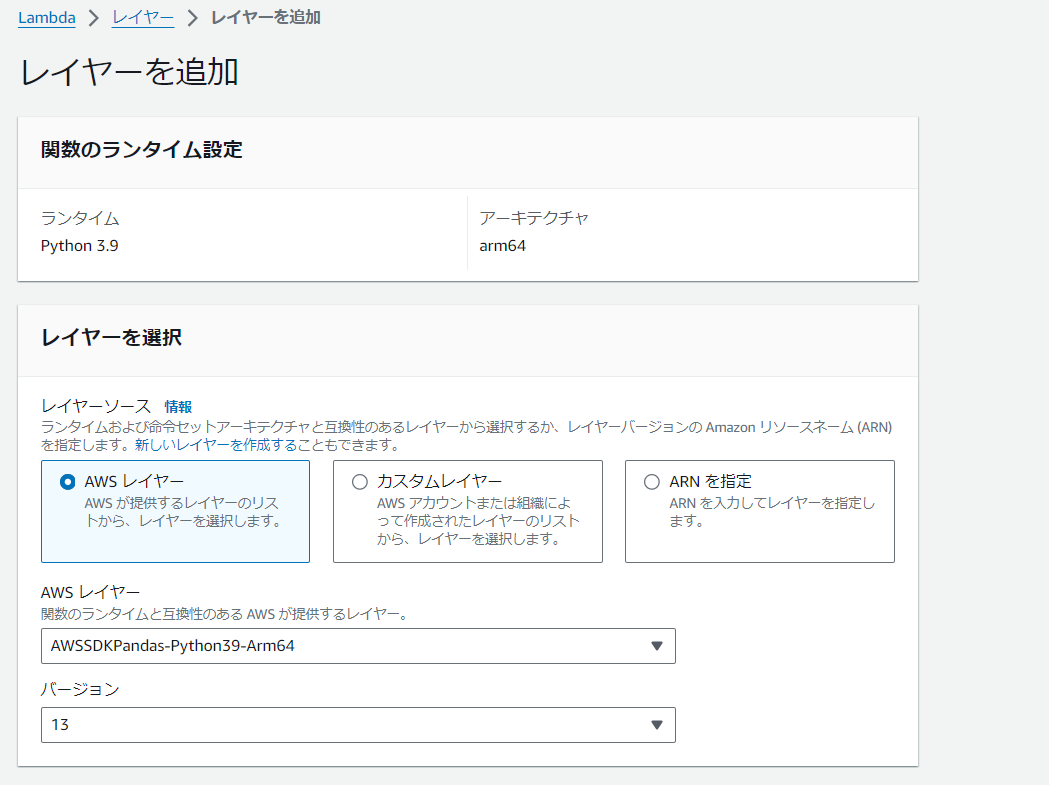
Requestsモジュールを使うためのLayerを追加
関数を開いて、レイヤーの追加を選択すると新しくレイヤーを作成できる。
環境変数の設定
Lambdaの環境変数に下記を設定しておく
・LINE_CHANNEL_ACCESS_TOKEN
・LINE_CHANNEL_SECRET
・LINE_REPLY_ENDPOINT
・OPENAI_API_KEY
・OPENAI_COMPLETIONS_ENDPOINT
LINE側のWebhook URLを設定する
設定の関数URLタグから得られる関数のURLを
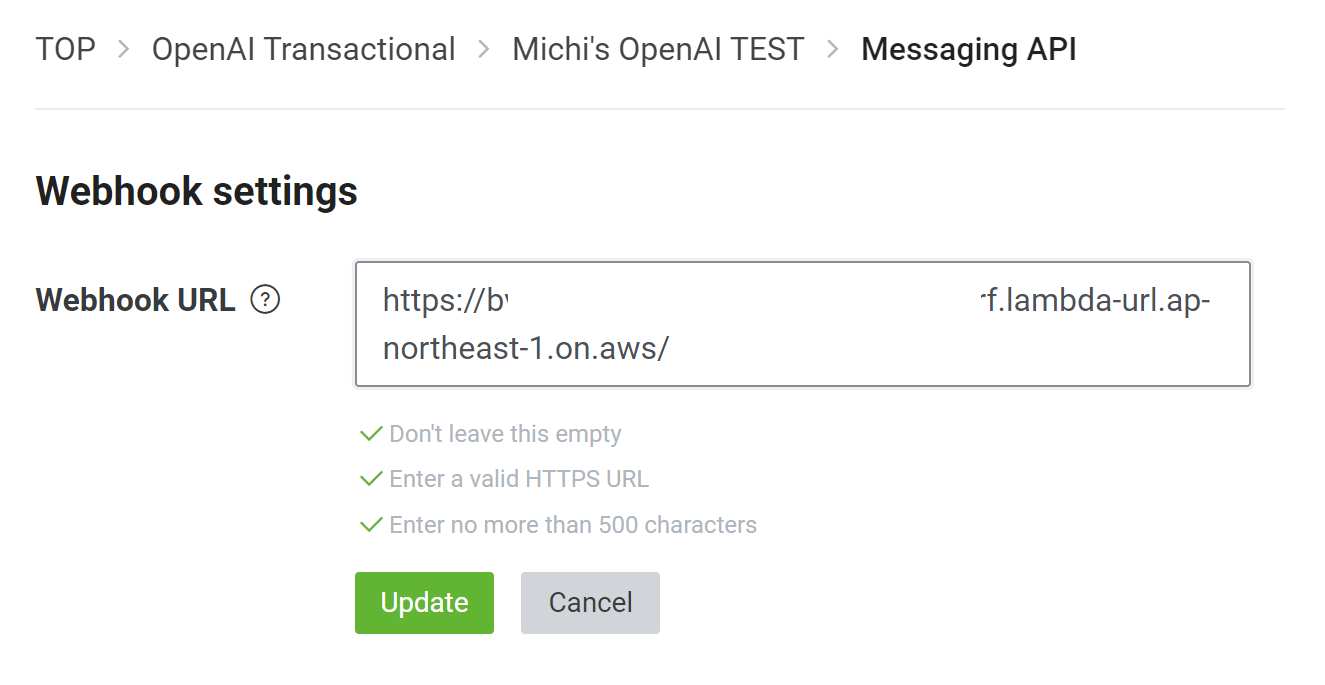
line developersのmessaging APIの所のWebhook URLに張り付ける。
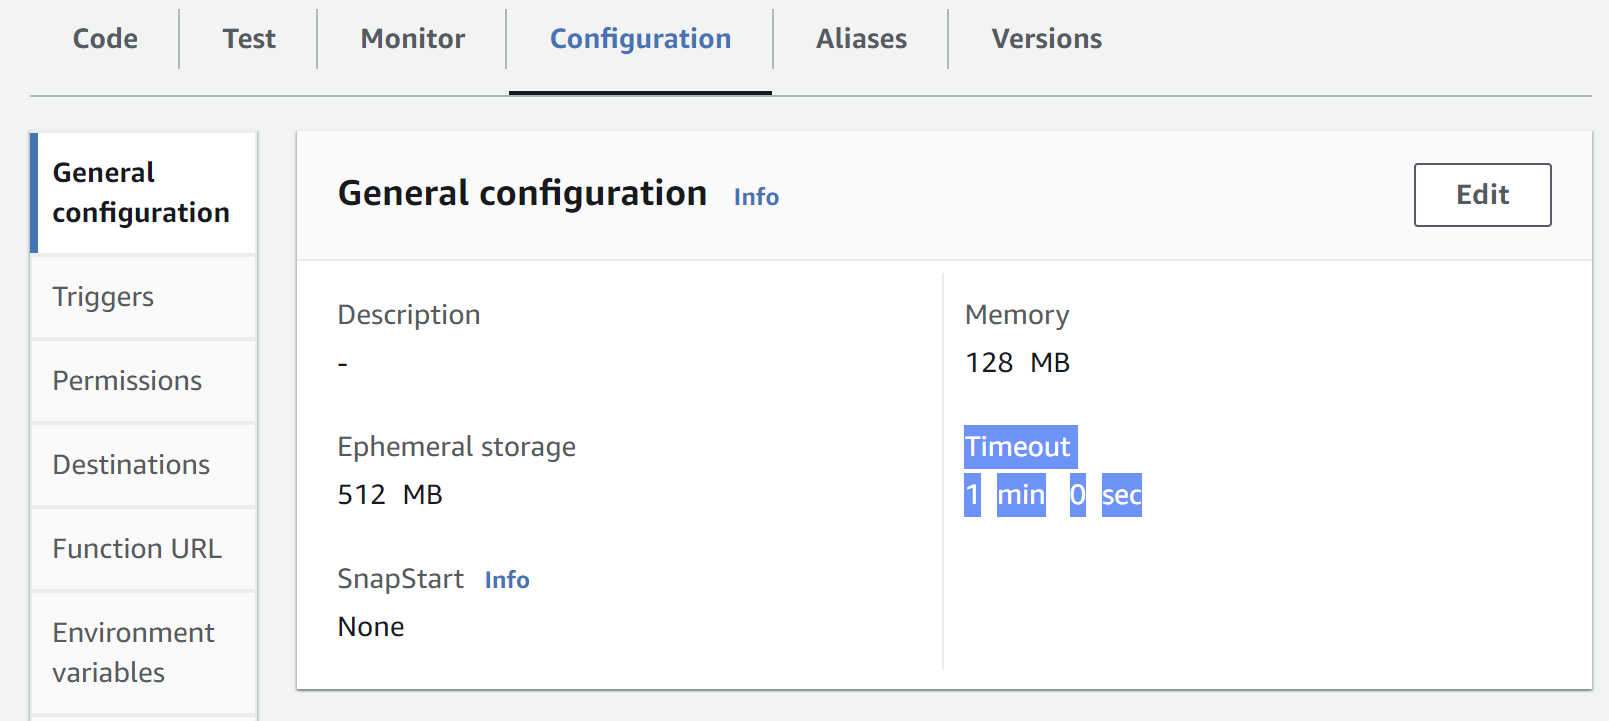
lambdaのタイムアウトを伸ばす
OpenAPIのレスポンスは結構遅いので、とりあえず1分にしておく。
lamndaのコード
以下のコードをlambda_functionに張り付ける
import os
import json
import base64
import requests

LINE_CHANNEL_SECRET = os.getenv('LINE_CHANNEL_SECRET')
LINE_CHANNEL_ACCESS_TOKEN = os.getenv('LINE_CHANNEL_ACCESS_TOKEN')
LINE_REPLY_ENDPOINT = os.getenv('LINE_REPLY_ENDPOINT')
OPENAI_API_KEY = os.getenv('OPENAI_API_KEY')
OPENAI_COMPLETIONS_ENDPOINT = os.getenv('OPENAI_COMPLETIONS_ENDPOINT')

def line_reply(reply_token, response):
    Authorization = 'Bearer {}'.format(LINE_CHANNEL_ACCESS_TOKEN)
    headers = {
        'Content-Type': 'application/json; charset=UTF-8',
        'Authorization': Authorization
    }
    data = {
        "replyToken": reply_token,
        "messages": [{
            "type": "text",
            "text": response
        }]
    }
    print("Request data:", json.dumps(data, indent=2))

    r = requests.post(LINE_REPLY_ENDPOINT, headers=headers, data=json.dumps(data))
    print('LINE response: {}'.format(r.json()))


def openai_completions(prompt):
    headers = {
        'Content-Type': 'application/json',
        'Authorization': 'Bearer {}'.format(OPENAI_API_KEY)
    }
    data = {
        "model": "gpt-3.5-turbo",
        "messages": [{"role": "user", "content": prompt}],
        "max_tokens": 512,
        "top_p": 1,
        "temperature": 0.5,
        "frequency_penalty": 0,
        "presence_penalty": 0
    }

    try:
        print('OpenAI request: {}'.format(prompt))
        openai_response = requests.post(OPENAI_COMPLETIONS_ENDPOINT, headers=headers, data=json.dumps(data))
        print('OpenAI response: {}'.format(openai_response.json()))
        return openai_response.json()['choices'][0]['message']['content']
    except Exception as e:
        print(f'Error:{e}')
        return 'OpenAIが壊れてました😢'

def lambda_handler(event, context):
    try:
        # 'isBase64Encoded'をチェック
        if event.get('isBase64Encoded', False):
            body_str = base64.b64decode(event.get('body', '')).decode('utf-8')
        else:
            body_str = event.get('body', '')

        body = json.loads(body_str) if body_str else {}
        events = body.get('events', [])
        if events:
            message = events[0]['message']['text']
            reply_token = events[0]['replyToken']
            openai_response = openai_completions(message)
            line_reply(reply_token, openai_response)

        return {'statusCode': 200, 'body': json.dumps('Message processed successfully.')}
    except Exception as e:
        print(f"Error processing the event: {e}")
        return {'statusCode': 500, 'body': json.dumps('Internal server error.')}


(引用元:https://github.com/michitomo/openai-line-bot/blob/main/basic_openai_completions.py)
このコードは
1.OpenAIのRequest Bodyのcontent:promptにLINEからのメッセージを与え、OpenAIへのリクエストを生成する
2.レスポンスをLINEに返す
という感じです
OpenAIのAPIは結構よく壊れてるので、エラーハンドリングを入れておく。
(Error出力はcloud watchでprint(f'Error:{e}')の部分を確認する)
実行
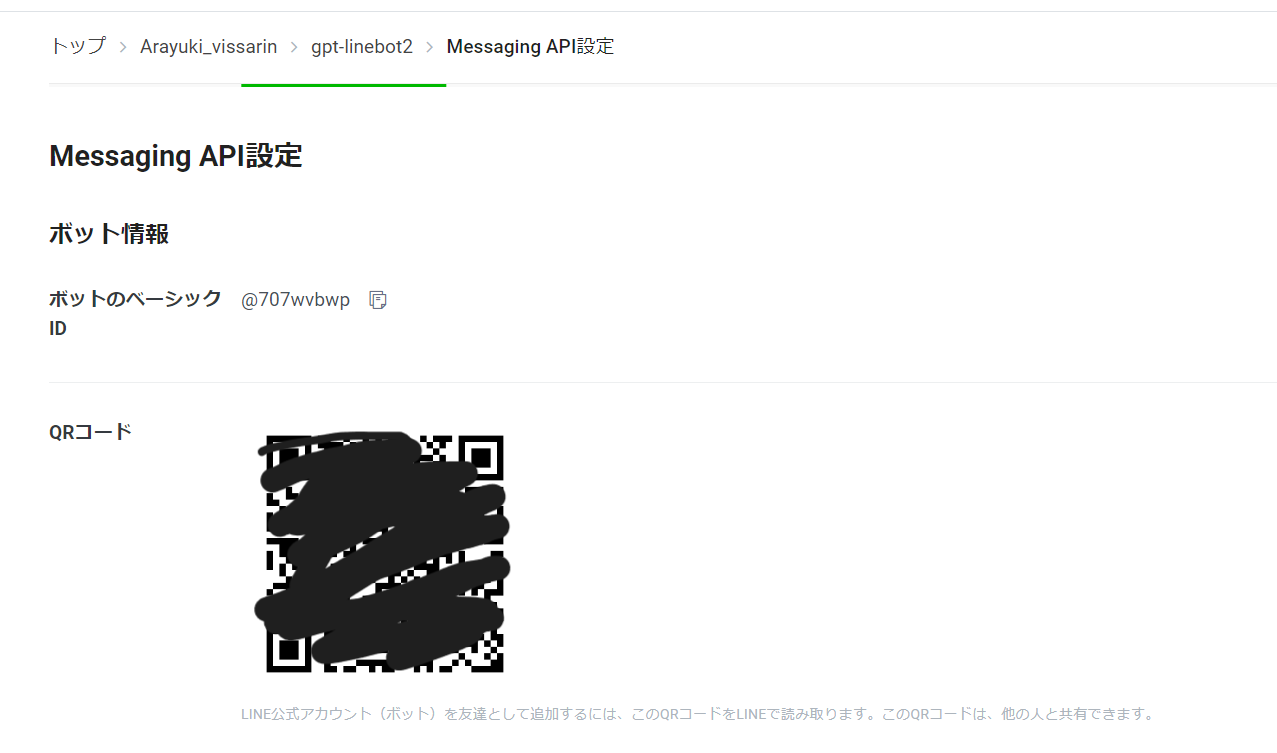
実際にbotを使用するにはチャネルのmessaging apiからQRコードをlineで読み込むとbotを追加できます。
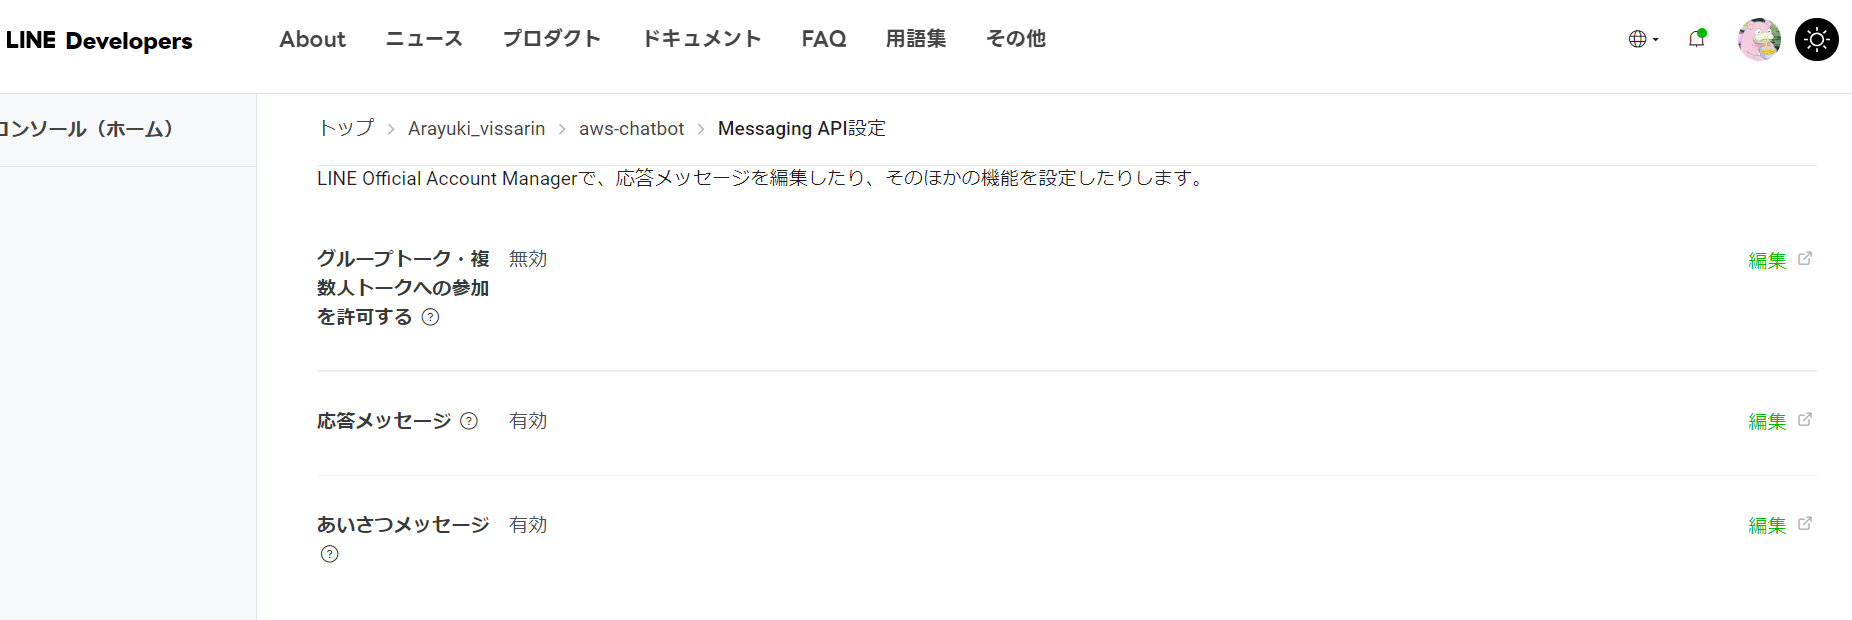
また、メッセージありがとうございます!このアカウントでは・・・
という部分は、line developersのapi message設定から応答メッセージを無効にすることで解決できる。
まとめ
今回はLinebotにchatgptを組み合わせてみた。
どうやらDynamoDBを使うことでよりステートフルに会話を成り立たせることができるらしいので、機会があれば試してみようと思う。
