作ろうとしているもののイメージ
スワイプではなくてボタンをタップして別の画面を表示する
少し違うのはここでは色を切り替えているだけだけど
- 今回は画面を切り替える
- 2画面目では画面内のボタンをタップしてページを切り替える
今回の仕組み
各画面ごとのViewControllerを用意してボタンタップすることでそのViewControllerを切り替える
そのためViewControllerにPageViewControllerを持たせる必要があるのでViewControllerにViewControllerを持たせるためのContainerViewを持たせる
次に各画面用のViewControllerを用意して、PageViewControllerによって画面遷移を行う
ContainerViewとは
ViewControllerの中にViewControllerを配置することができるもの。
xibじゃなくてViewControllerを置きたい!という時に利用する。
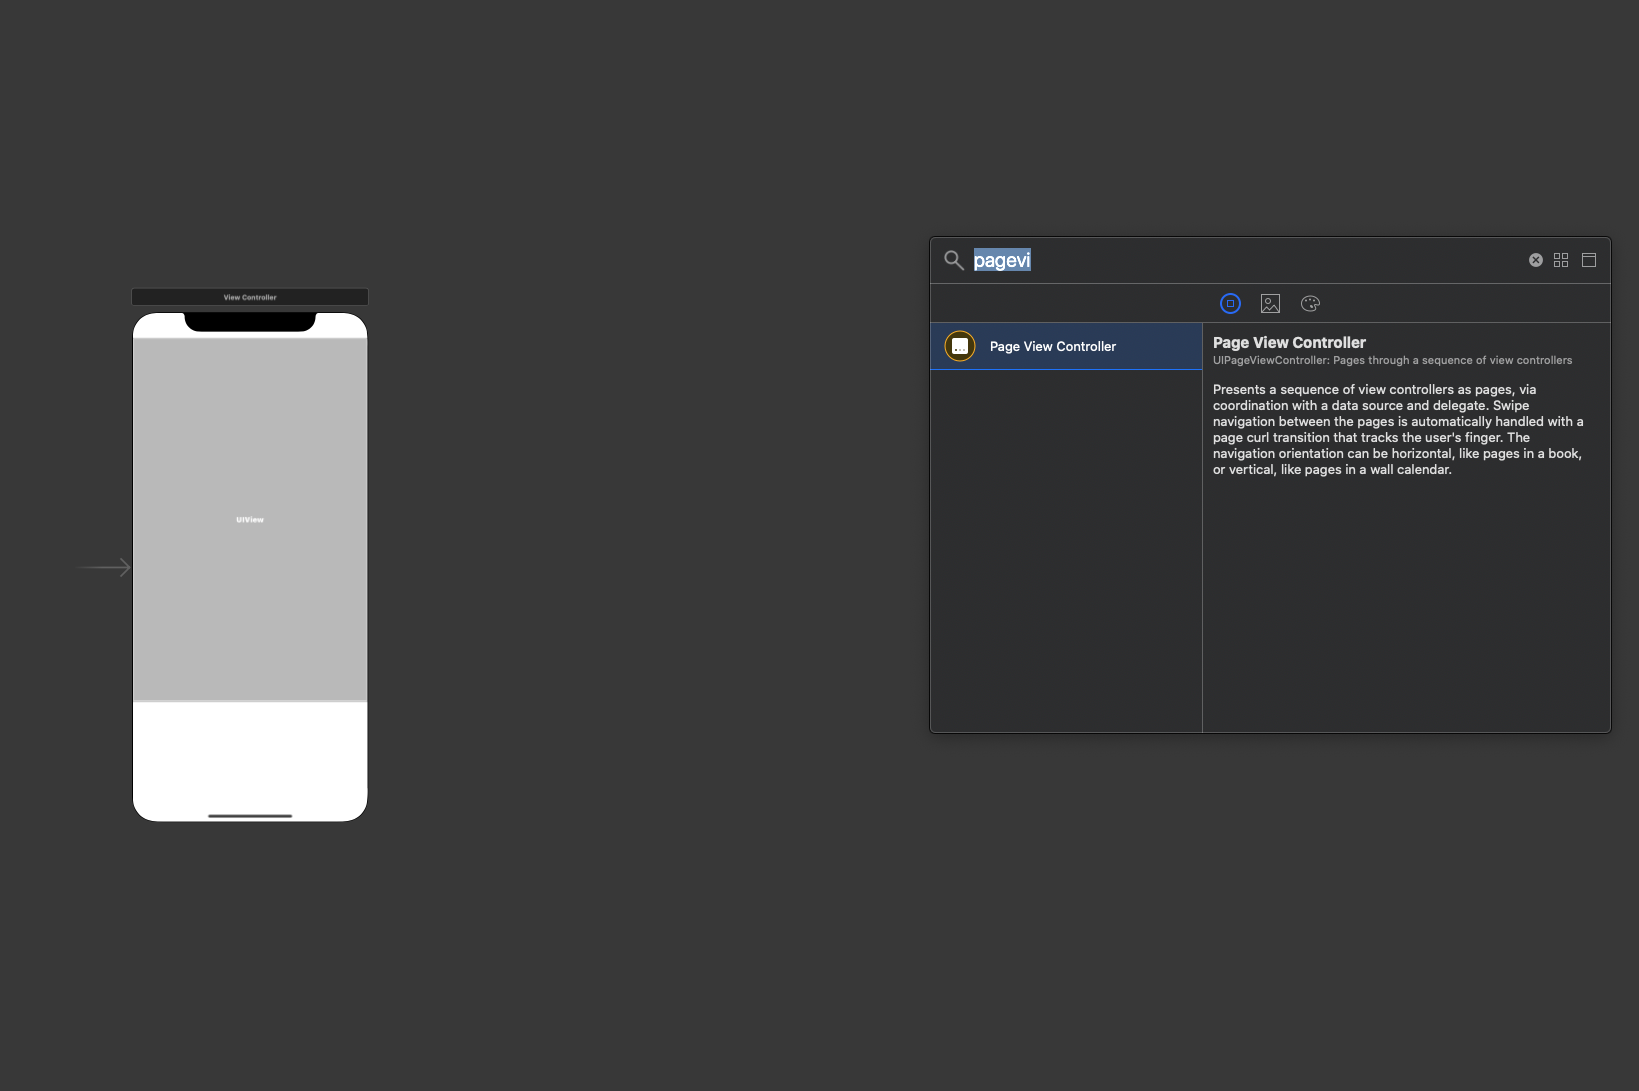
PageViewControllerとは
スワイプで用意したViewControllerに画面遷移ができる
画面遷移時にアニメーションを付けられる
手順1: UIPageViewControlerをViewControllerに持たせる
StoryboardからViewControllerにUIPageViewControlerを持たせます
流れ
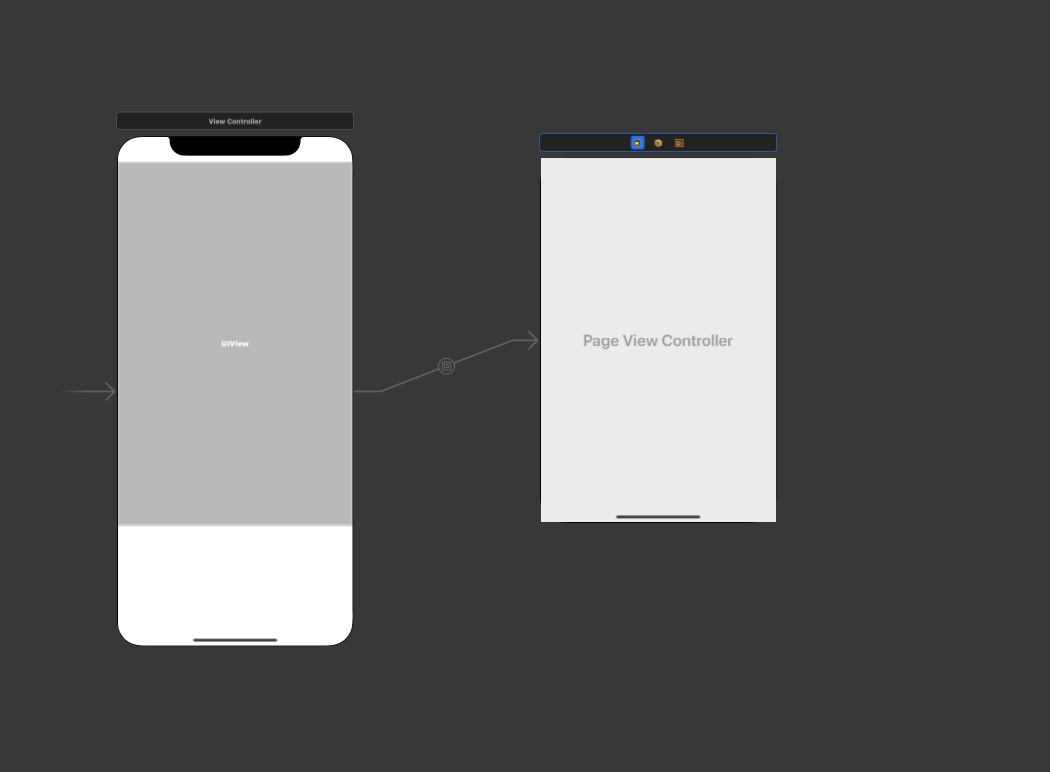
- ContainerViewとしてUIViewをViewControllerに持たせる
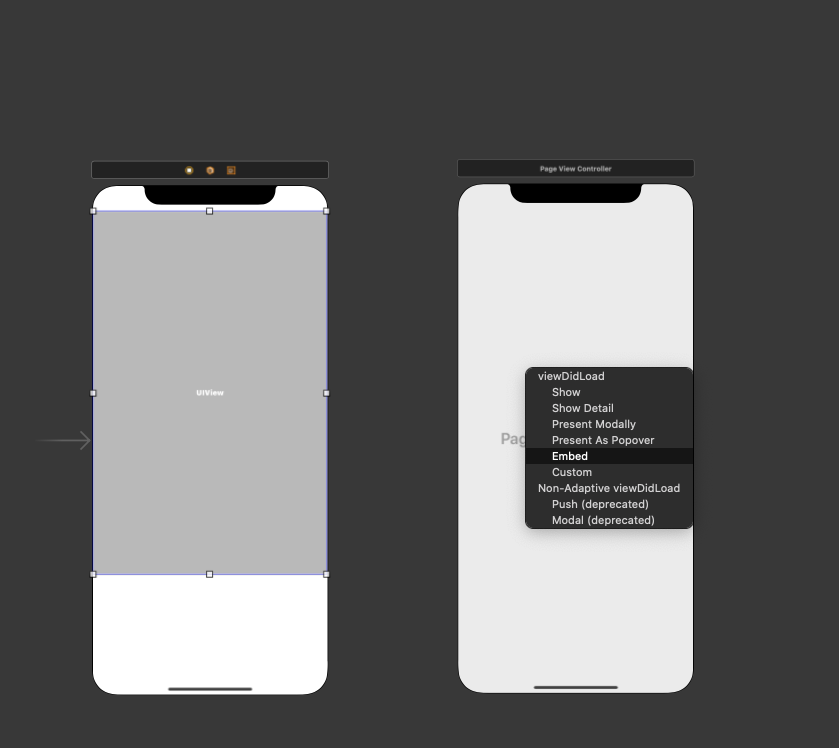
- UIPageViewControllerを作る
- ContainerViewとUIPageViewControllerを繋ぎEmbedを選択する
| UIPageViewControllerを追加 | Embedで繋ぐ | 完成 |
|---|---|---|
 |
 |
 |
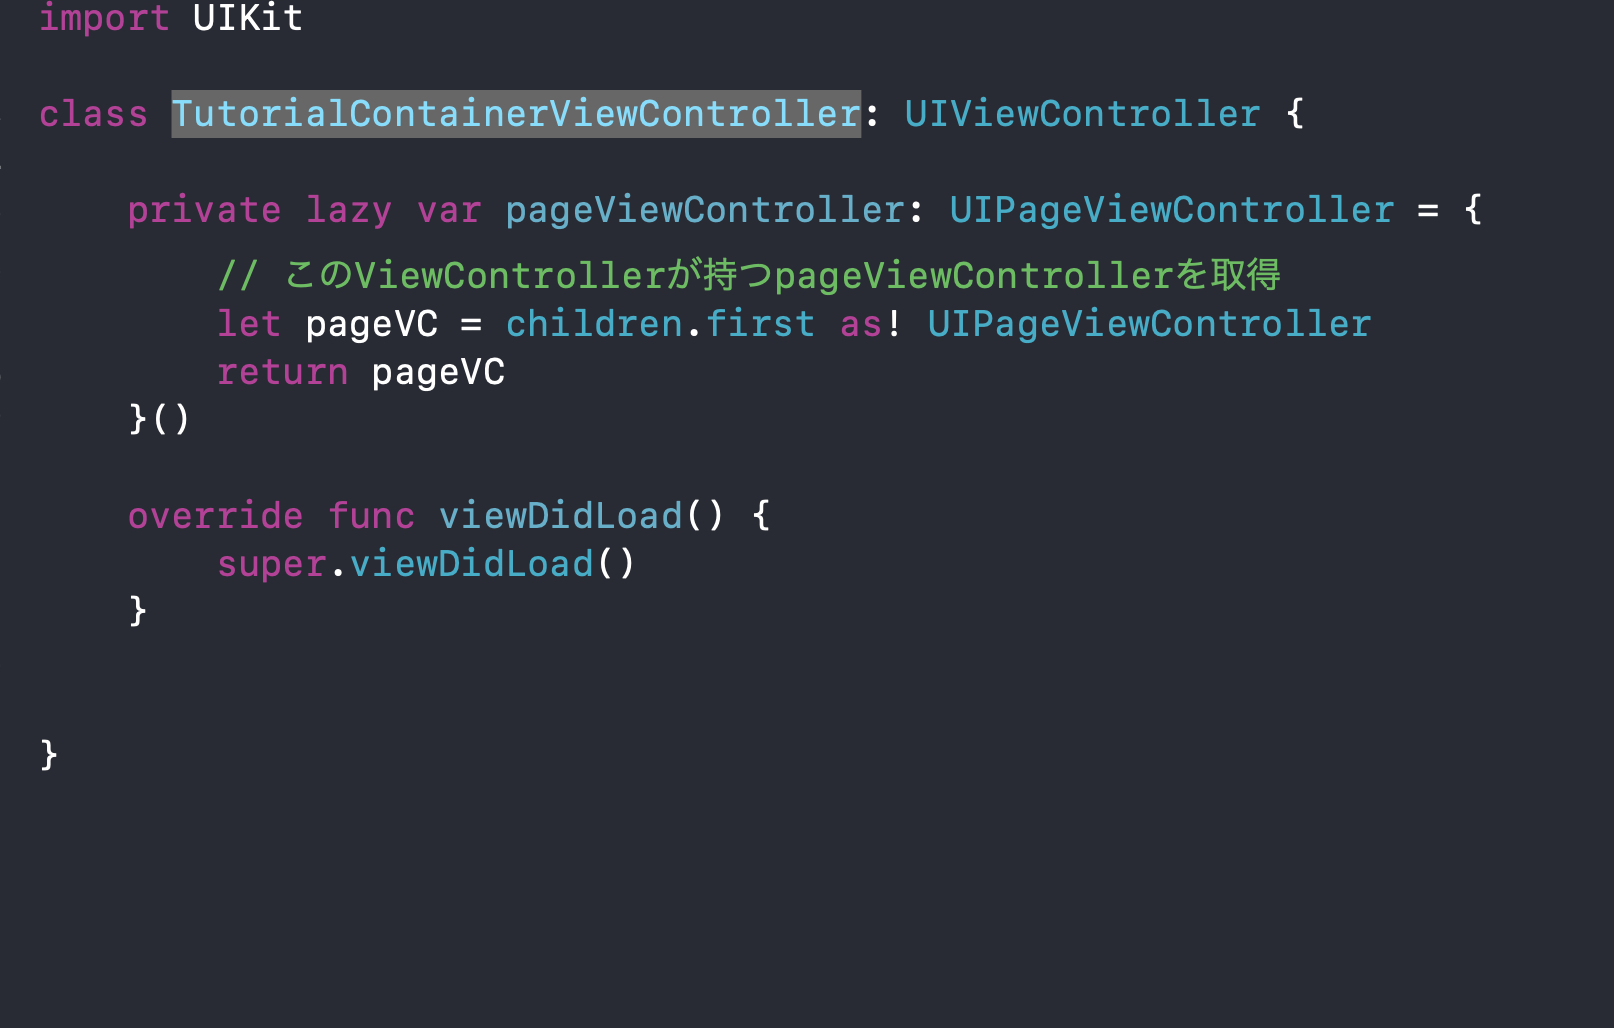
コードでこのPageViewControllerを取得していきます
childrenでそのViewControllerが持つViewControllerの配列を取得できるのでchildren.firstで今回ViewControllerがもつUIPageViewControllerを取得することができます
An array of view controllers that are children of the current view controller.
https://developer.apple.com/documentation/uikit/uiviewcontroller/1621452-children

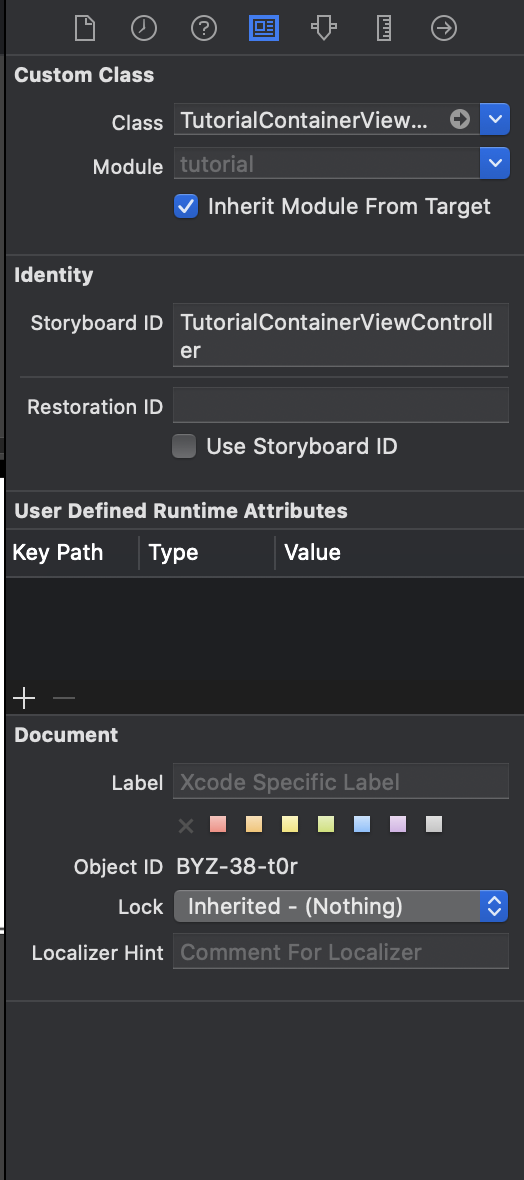
このViewControllerは各画面のコンテナになるので名前を変えて、それと今後どこかでこのViewControllerを取得する可能性もあるのでコードで取得できるようにしておきます
| 名前を変更 | コード取得できるように設定 |
|---|---|
 |
 |
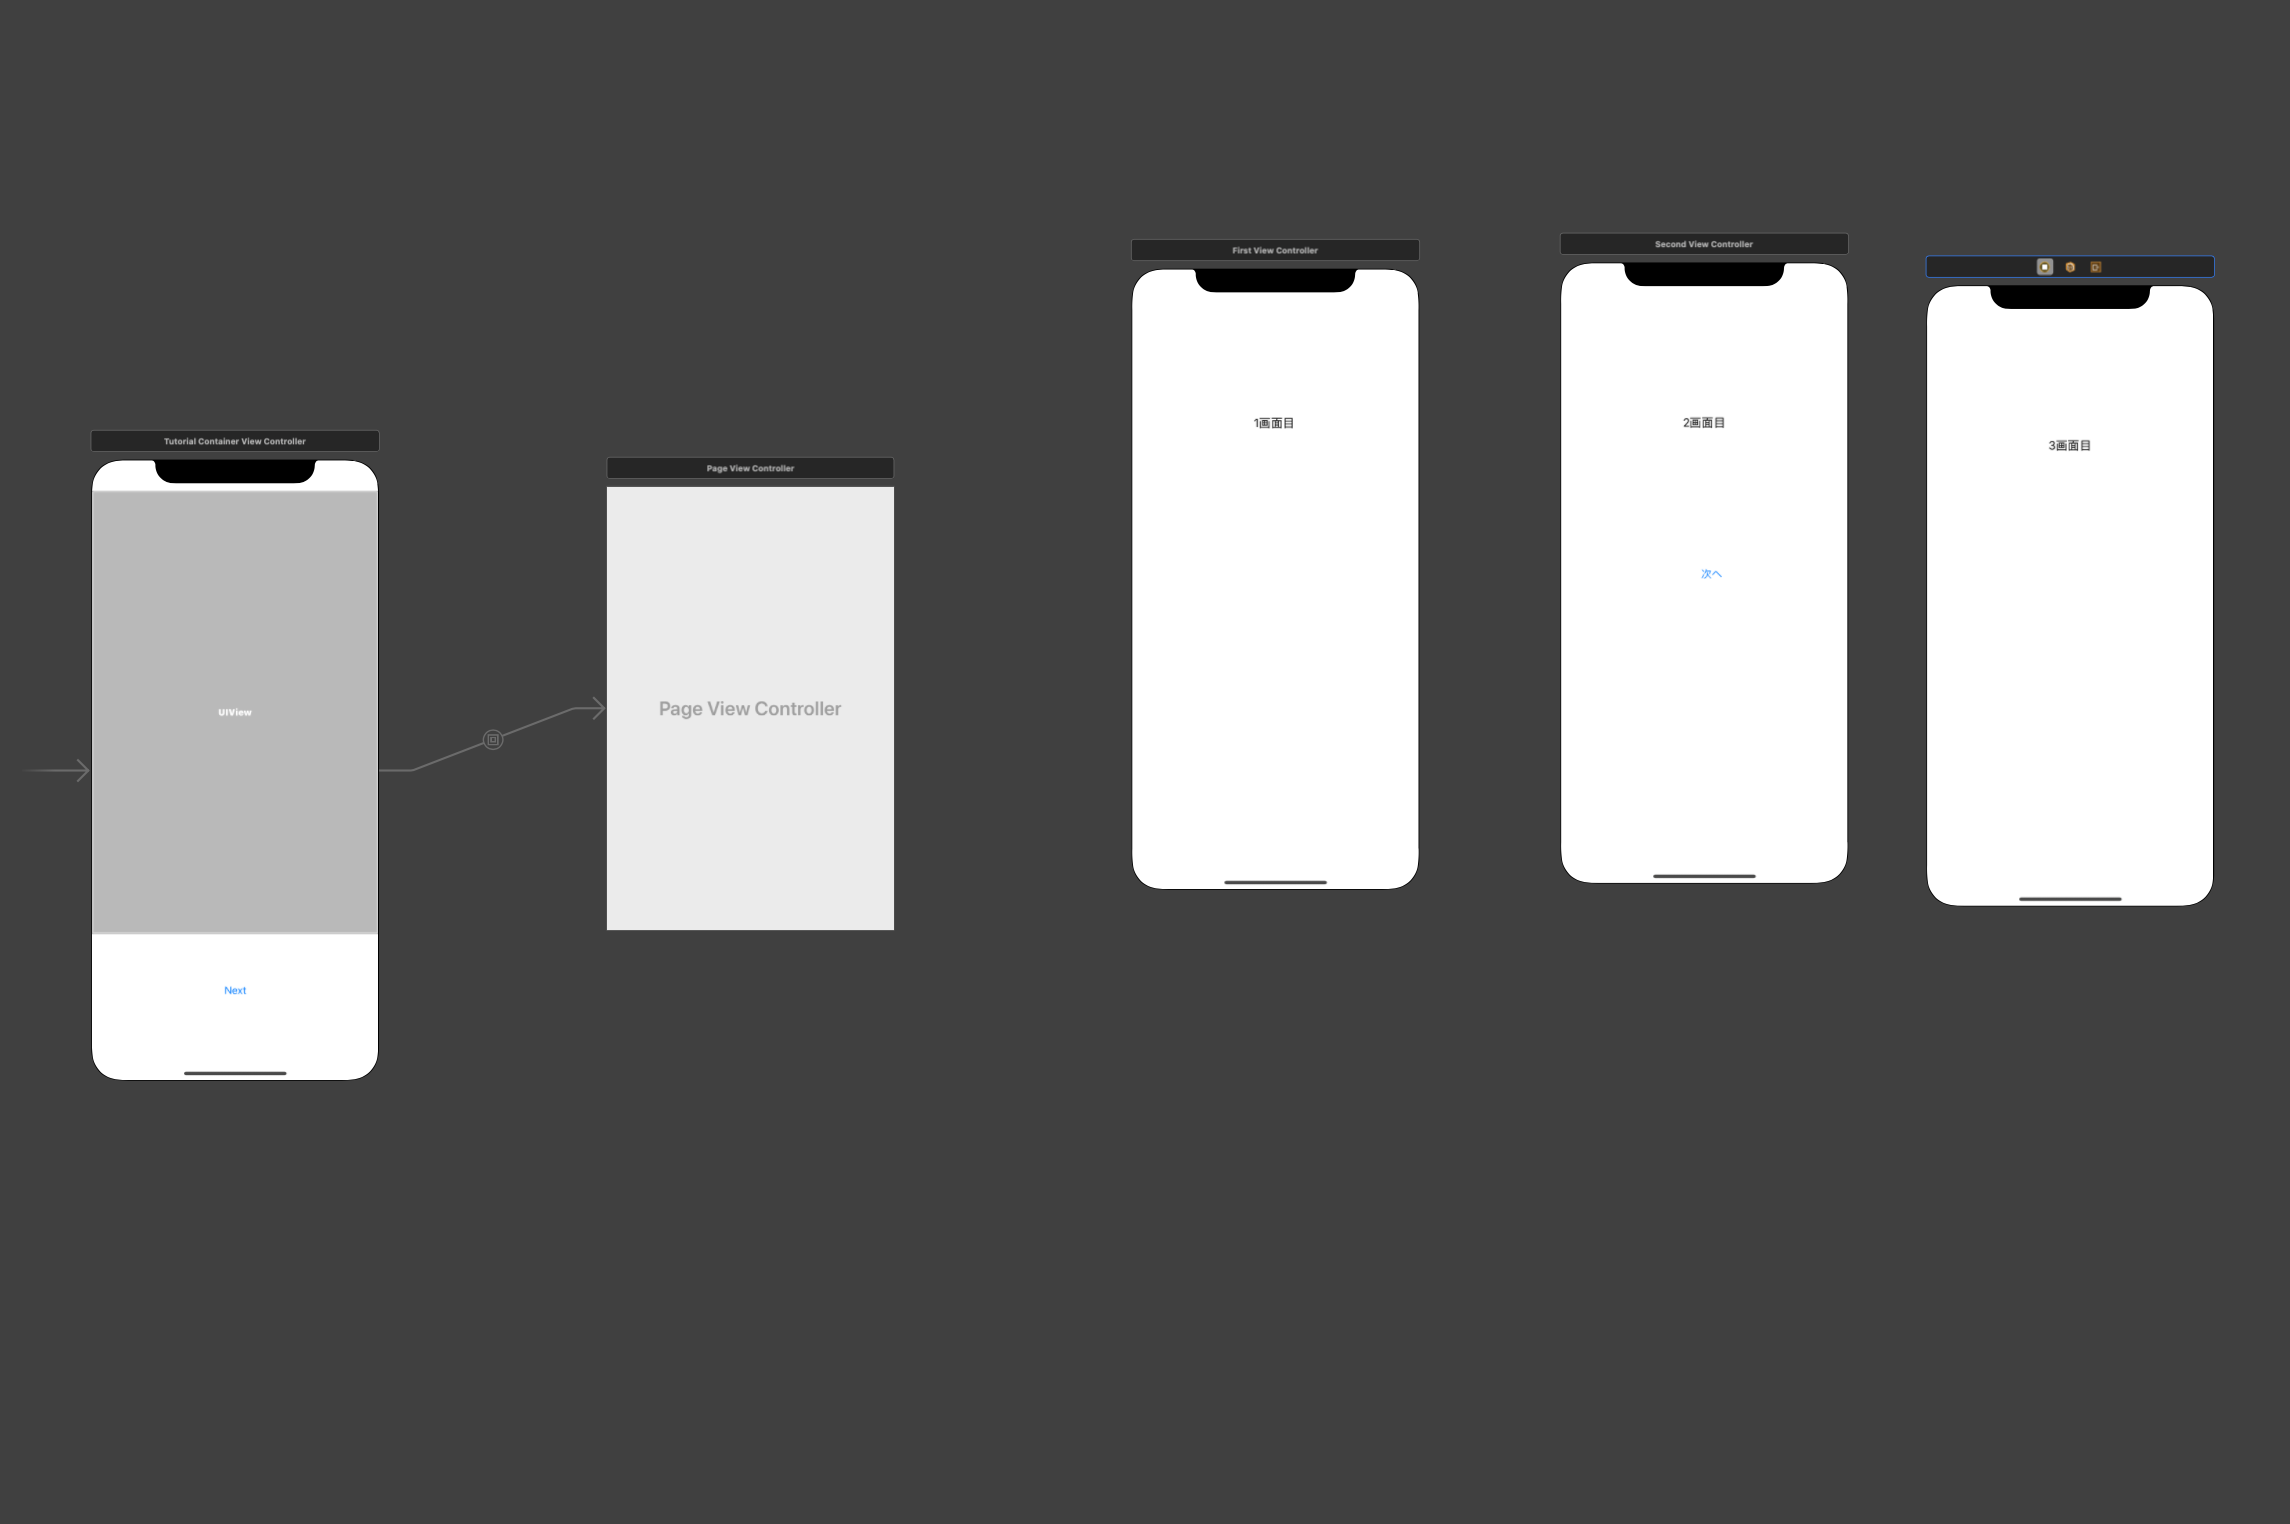
チュートリアルで表示する画面の作成
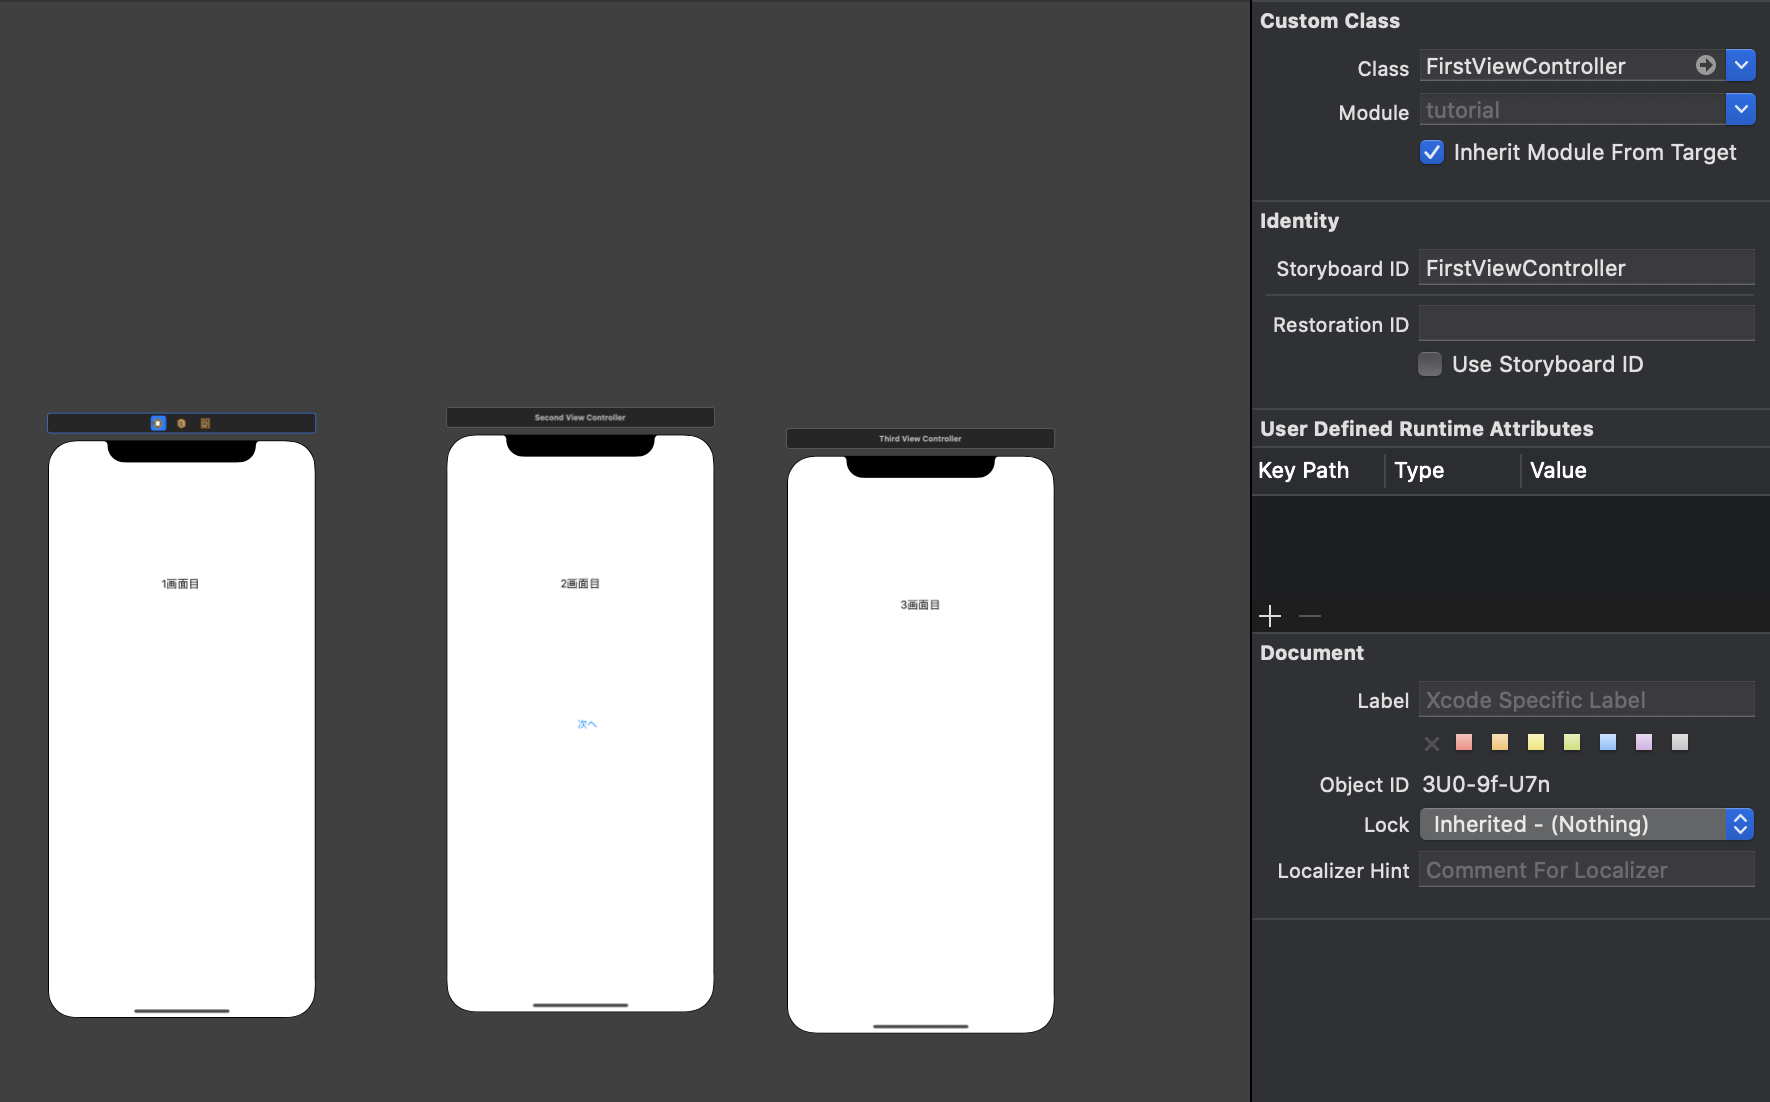
各画面用のViewControllerをファイルとstoryboard両方に作成
TutorialCotainerViewControllerと同じように、storyboardで作成したViewControllerをコードで取得できるようにStoryboard IDを設定しておきます
| FirstVCコード | FirstVC Storyboard |
|---|---|
 |
 |
| SecondVCコード | SecondVC Storyboard |
|---|---|
 |
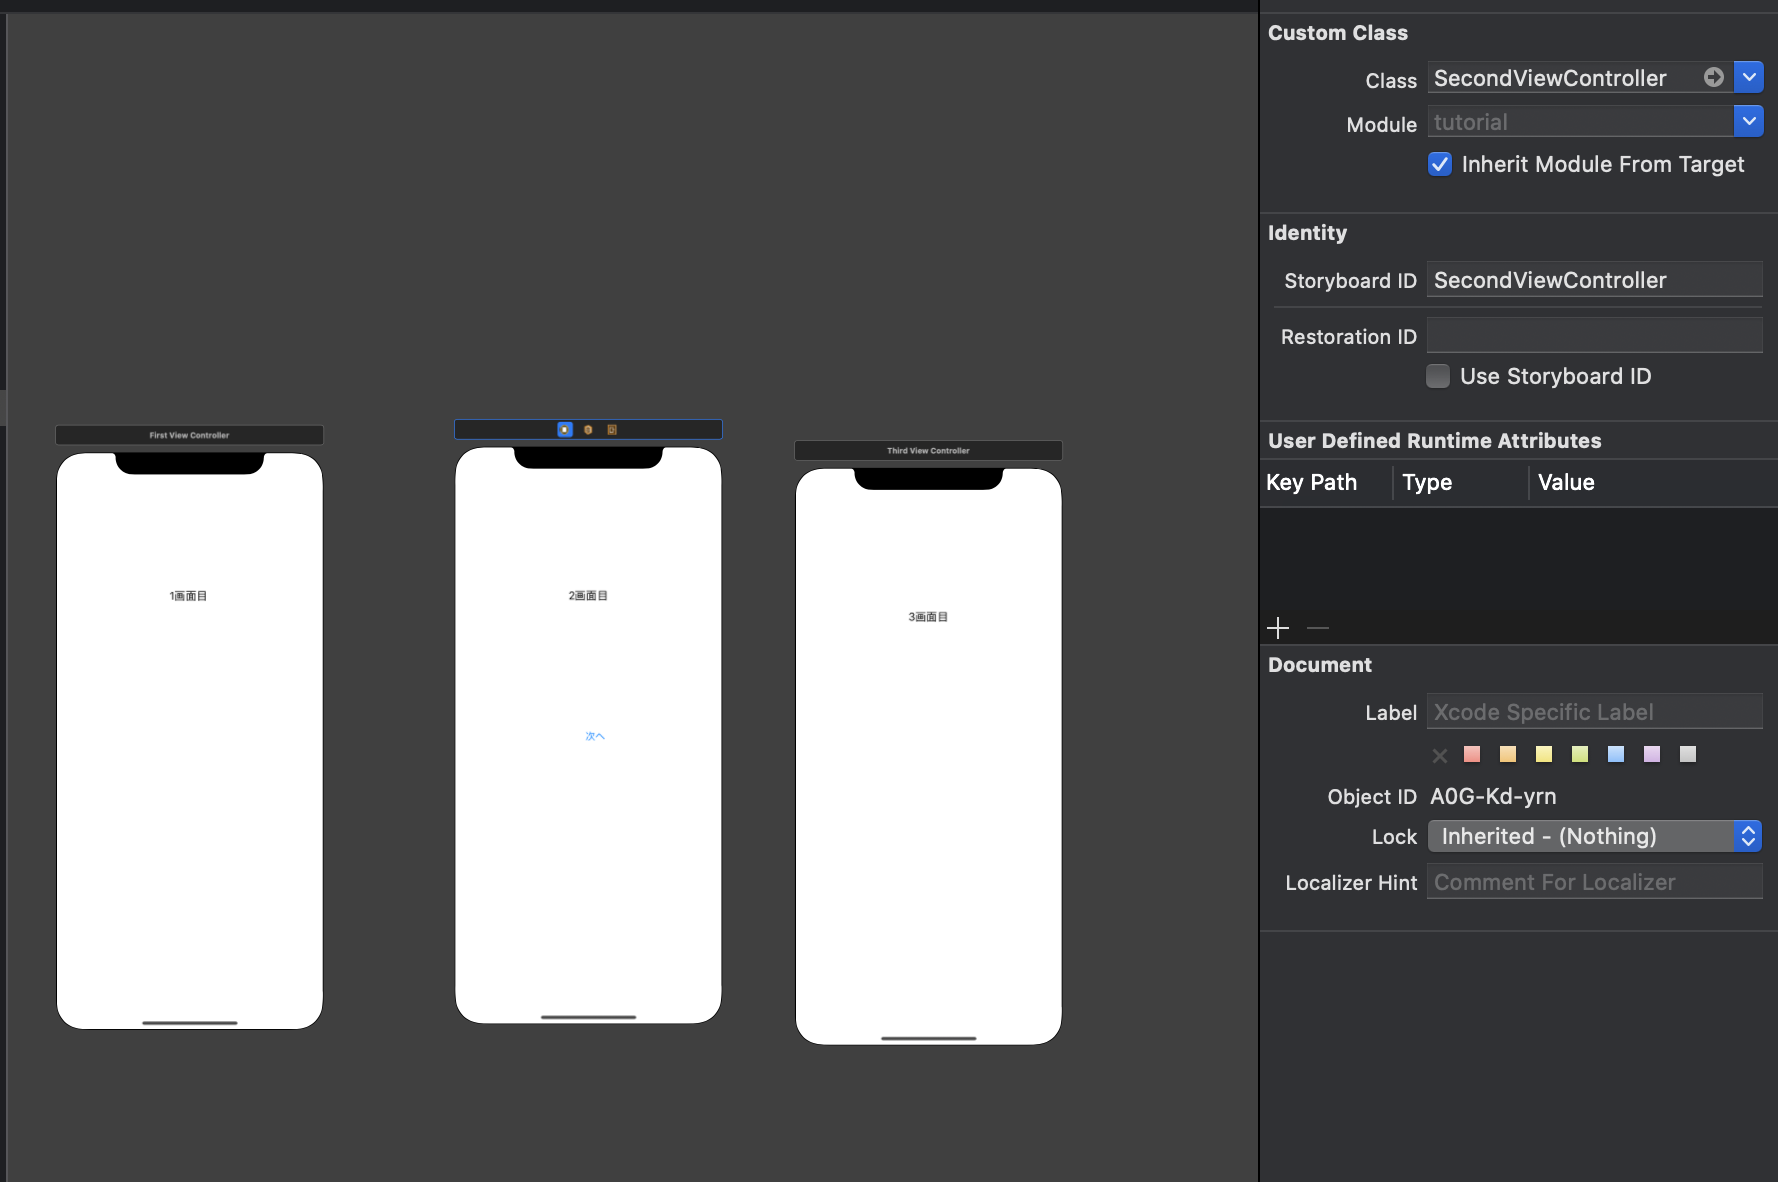 |
| ThirdVCコード | ThirdVC Storyboard |
|---|---|
 |
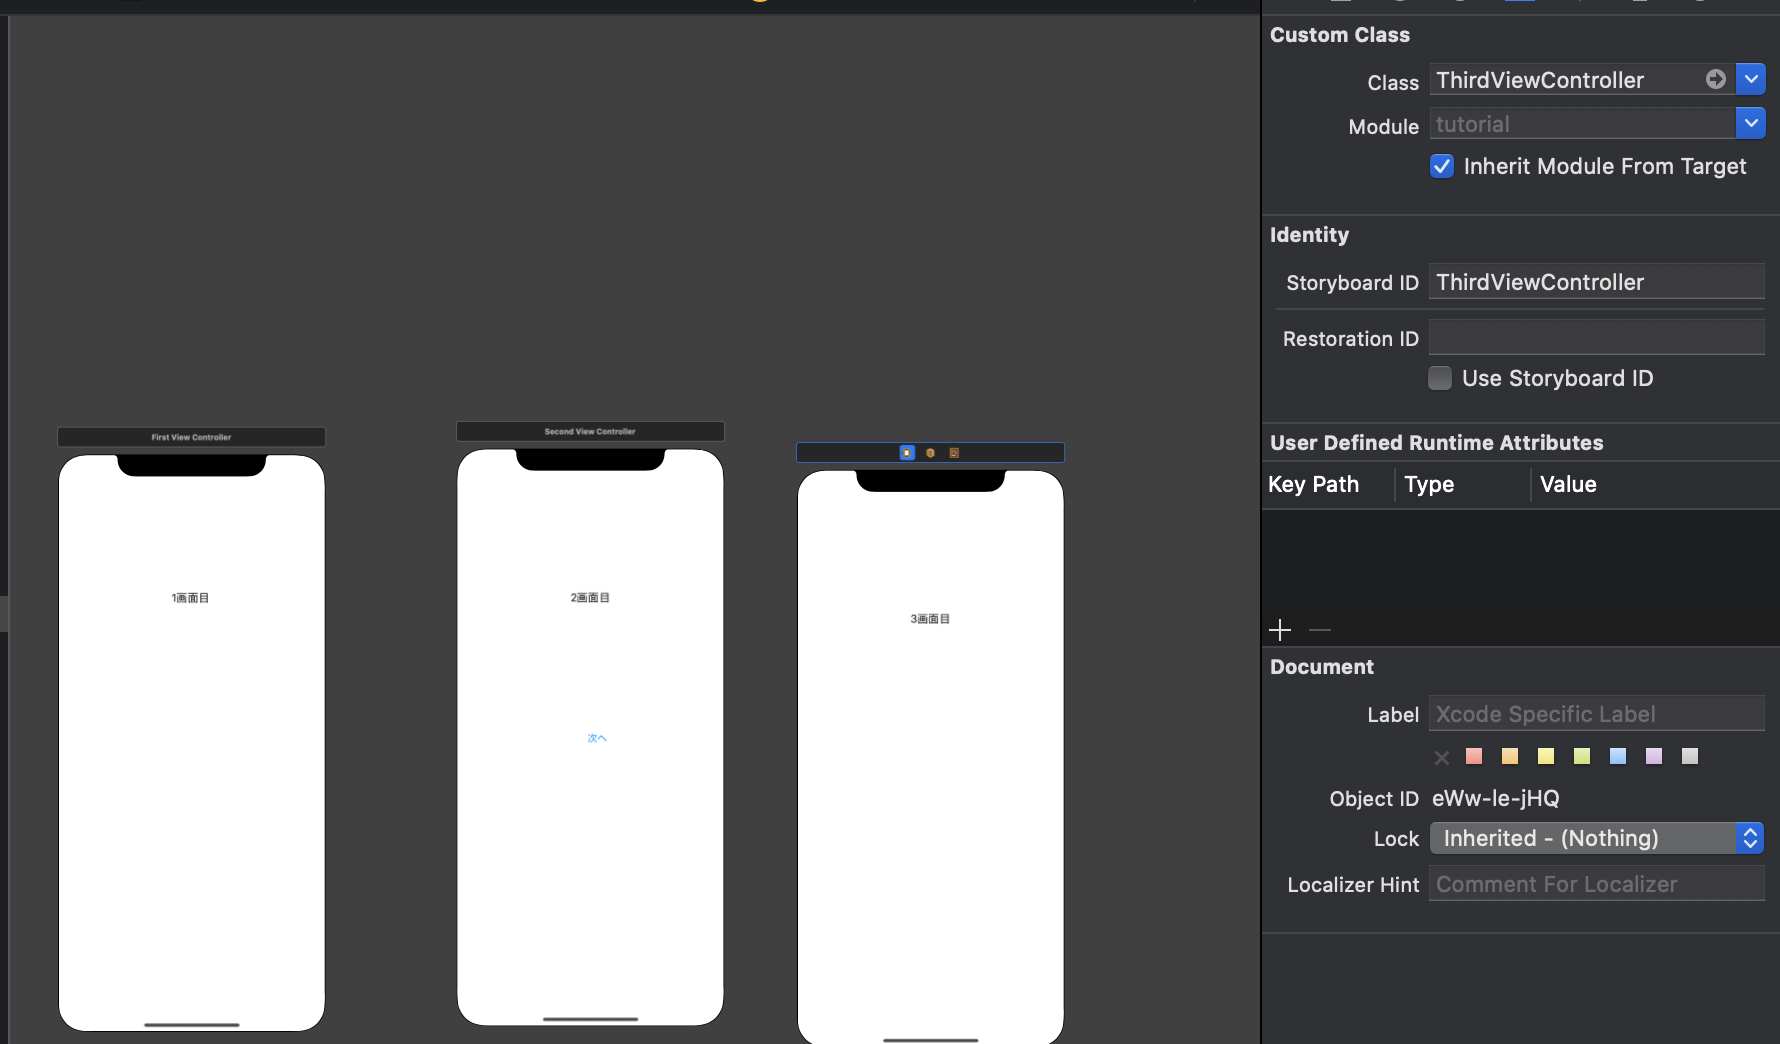 |
完成
完成したコードとstoryboardです
SecondVCの時はNextボタンを非活性にして「次へ」ボタンタップでThirdVCへ遷移するようにしています
遷移自体はTutorialContainerVCが担うので、SecondVCでボタンがタップされたらクロージャーでTutorialVCへ通知して遷移させるようにしています
| Storyboard | TutorialContainerVC コード | FirstVC コード | SecondVC コード | ThirdVC コード |
|-------|
|  |
|
import UIKit

class TutorialContainerViewController: UIViewController {
    enum Page:Int {
        case first
        case second
        case third
    }

    // MARK: - IBOutlet
    @IBOutlet weak var nextButton: UIButton!

    // MARK: - private
    var currentPage = Page.first
    private lazy var pageViewController: UIPageViewController = {
        // このViewControllerが持つpageViewControllerを取得
        let pageVC = children.first as! UIPageViewController
        return pageVC
    }()

    override func viewDidLoad() {
        super.viewDidLoad()
        pageViewController.setViewControllers([getFirst()], direction: .forward, animated: true, completion: nil)
    }

    @IBAction func tappedButton(_ sender: UIButton) {
        if currentPage == .first {
            pageViewController.setViewControllers([getSecond()], direction: .forward, animated: true, completion: nil)
            currentPage = .second
            nextButton.isEnabled = false
            return
        }
    }
}

extension TutorialContainerViewController {
    private func getFirst() -> FirstViewController {
        return storyboard!.instantiateViewController(identifier: "FirstViewController")
    }

    private func getSecond() -> SecondViewController {
        let vc: SecondViewController = storyboard!.instantiateViewController(identifier: "SecondViewController")
        // SecondViewControllerでボタンがタップされた通知が飛んでくる
        // {}の中身はその通知が飛んできた時に呼ばれる内容だから、getSecond()が呼ばれても{}の中身は呼ばれない
        vc.selectedButtonToThird = {
            self.nextButton.isEnabled = true
            self.pageViewController.setViewControllers([self.getThird()], direction: .forward, animated: true, completion: nil)
        }
        return vc
    }

    private func getThird() -> ThirdViewController {
        return storyboard!.instantiateViewController(identifier: "ThirdViewController")
    }
}
import UIKit
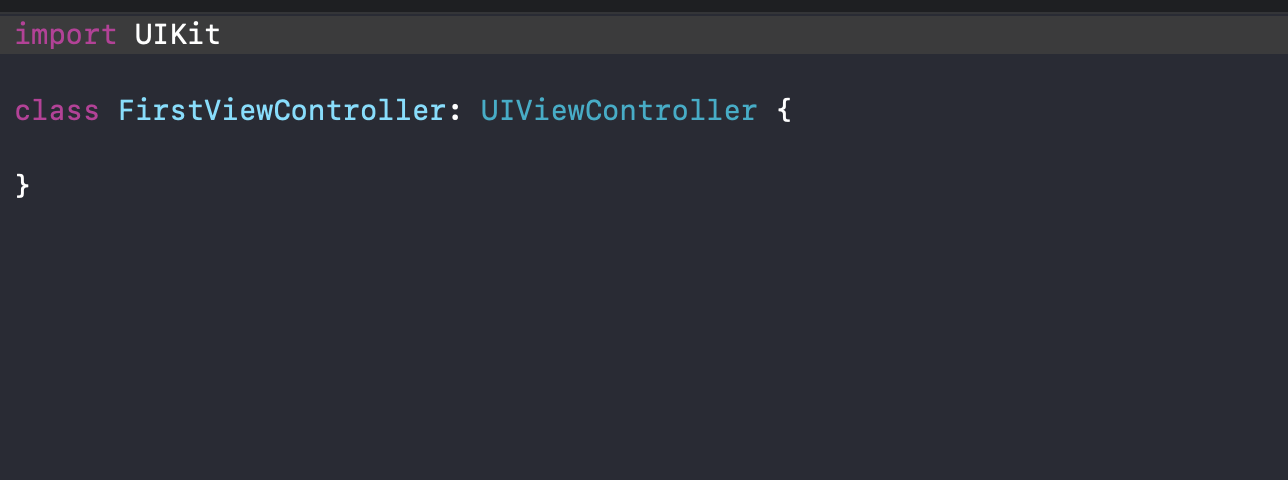
class FirstViewController: UIViewController {
}
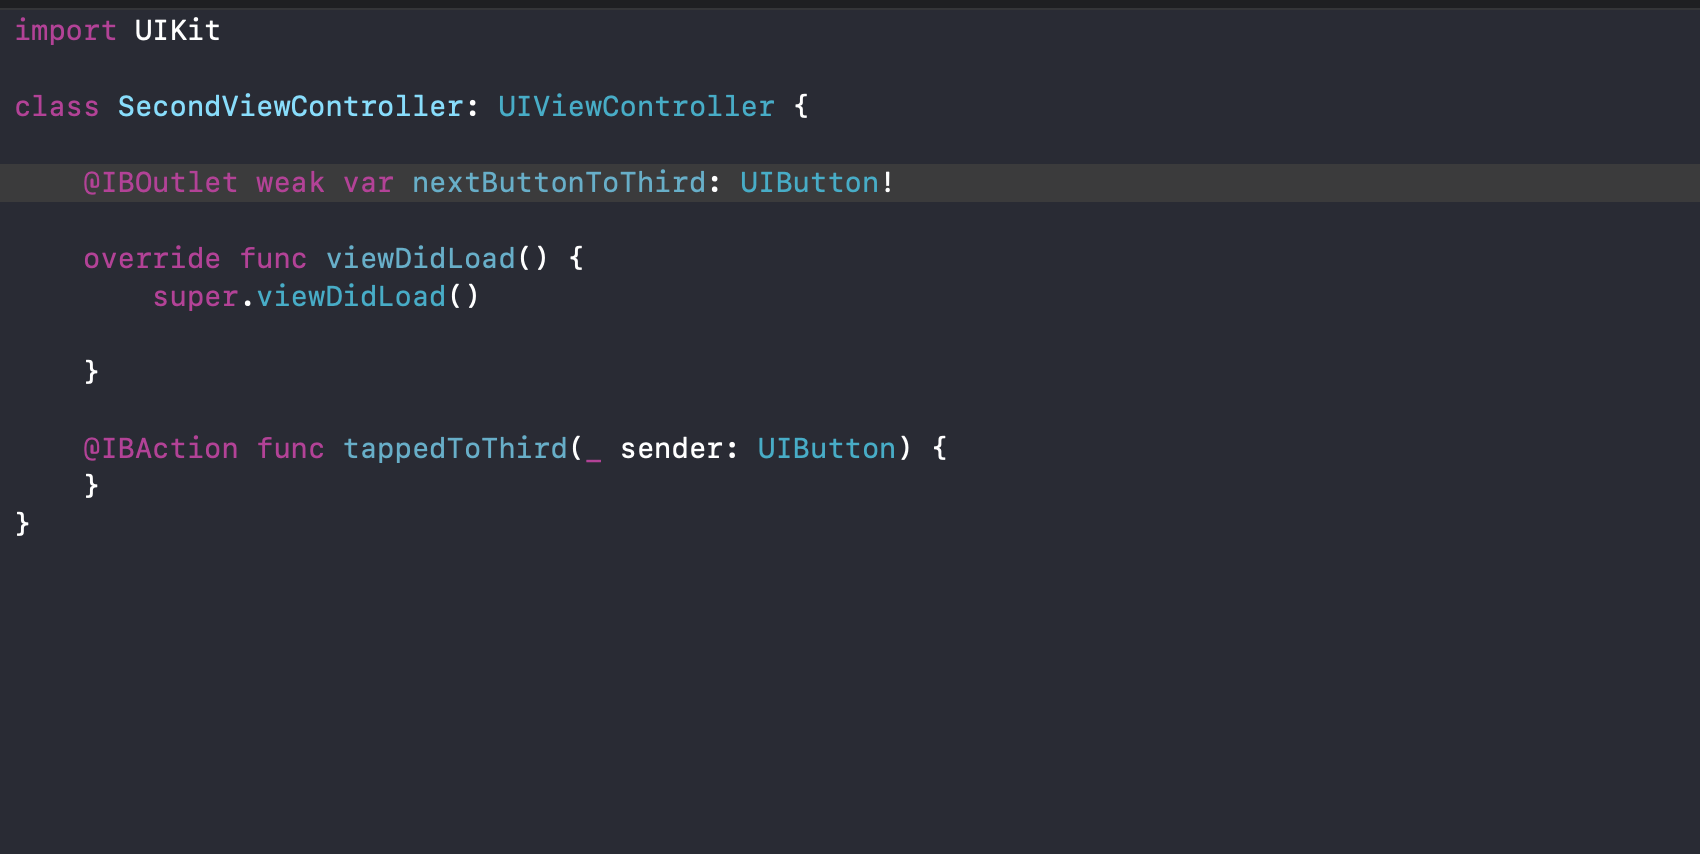
import UIKit

class SecondViewController: UIViewController {

    @IBOutlet weak var nextButtonToThird: UIButton!

    // クロージャーを設定
    var selectedButtonToThird: (() -> ())?

    override func viewDidLoad() {
        super.viewDidLoad()

    }

    @IBAction func tappedToThird(_ sender: UIButton) {
        // ボタンがタップされたらクロージャーで通知がいくようにする
        selectedButtonToThird?()
    }
}
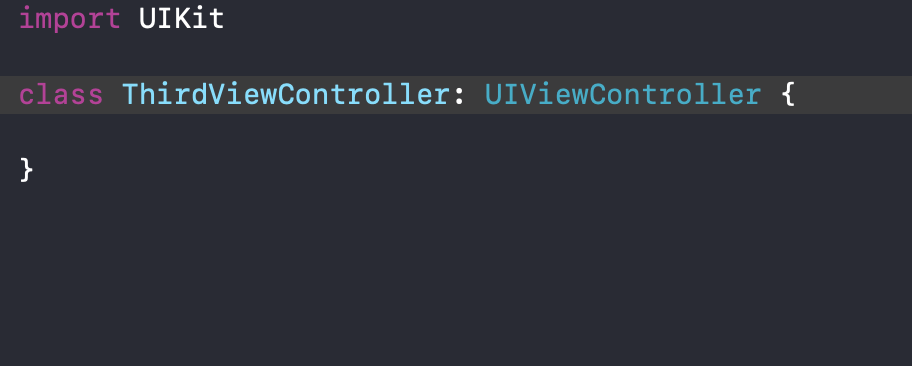
import UIKit

class ThirdViewController: UIViewController {

}
おまけ
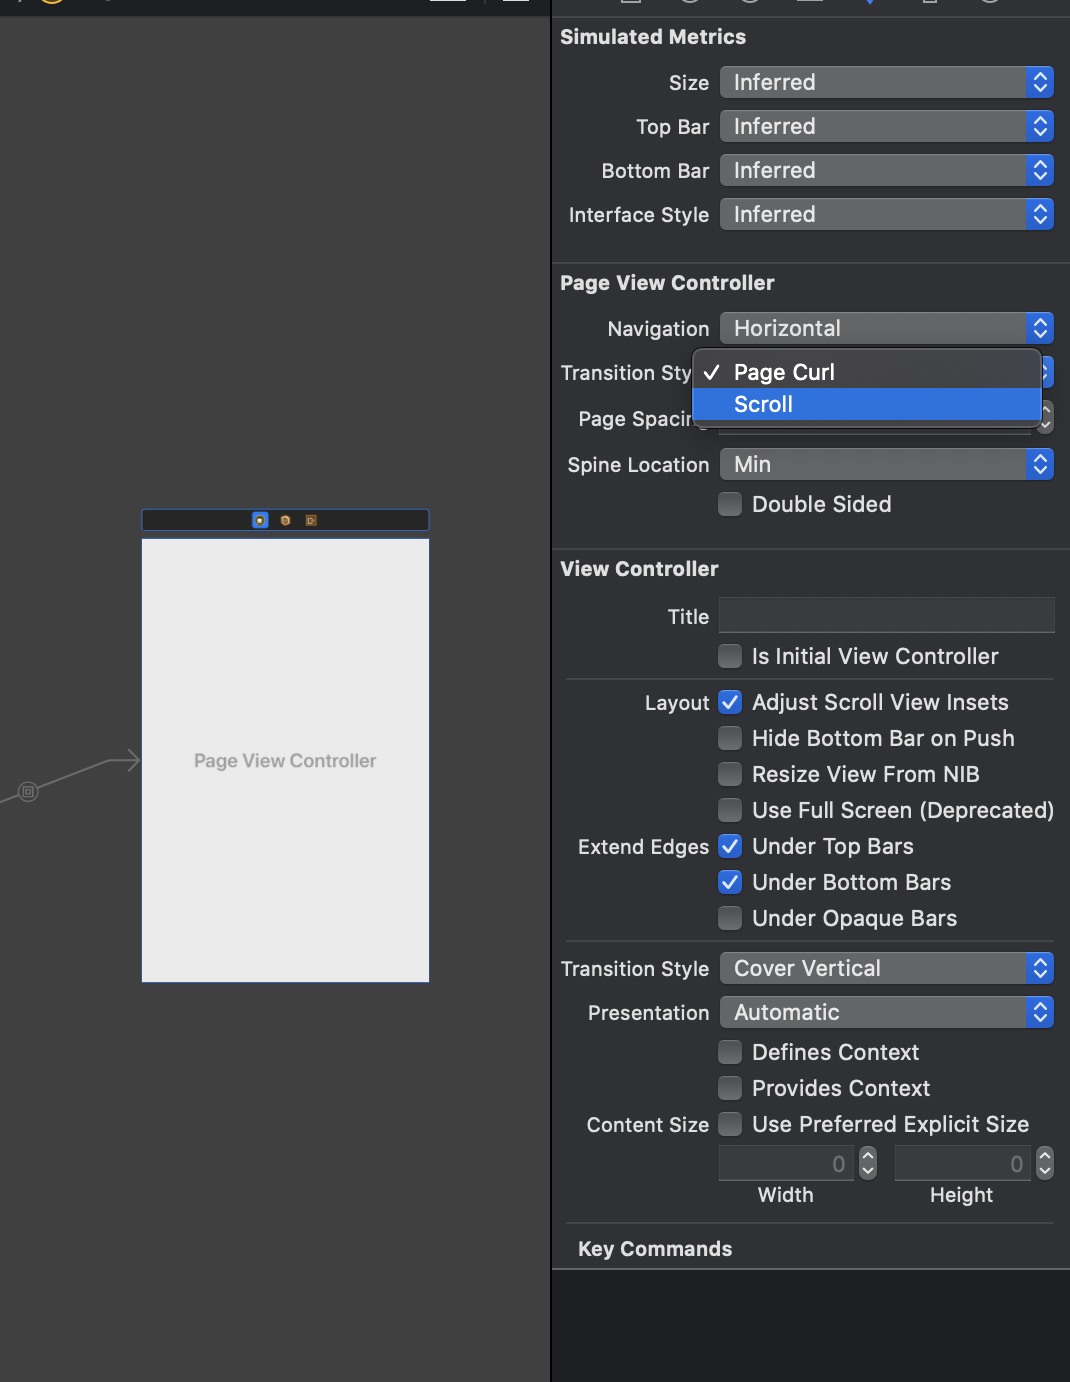
ページのアニメーションを横にスクロールするようなアニメーションにする
デフォルトではページをめくるようなアニメーションになっています
これを横にスクロールするようなアニメーションにする場合にはstoryboardでPageViewcontrollerを選択して
Transition StyleをScrollに変更することで実現できます
RootViewControllerを切り替える
チュートリアル画面を実装するようなアプリの場合初回起動判定で
初回と判定されればアプリ起動時にチュートリアル画面を表示
初回でないと判定されればトップ画面をアプリ起動時に表示とすることが多いです
class AppDelegate: UIResponder, UIApplicationDelegate {

    var window: UIWindow?

    func application(_ application: UIApplication, didFinishLaunchingWithOptions launchOptions: [UIApplication.LaunchOptionsKey: Any]?) -> Bool {
        window = UIWindow(frame: UIScreen.main.bounds)
        window?.rootViewController = makeRootVC()
        window?.makeKeyAndVisible()
        return true
    }

    // 初回起動のところは自分で判定処理を入れてください
    func makeRootVC() -> UIViewController {
        if 初回起動 {
            let tutorialContainerVC = storyboard?.instantiateViewController(identifier: "TutorialContainerViewController")
            // TutorialContainerViewControllerでdidSelectButtonToTopが呼ばれたらここに通知がきて {} 内が実行されrootViewControllerが変わることで画面が切り替わる
            tutorialContainerVC.didSelectButtonToTop = {
                self.window?.rootViewController = トップ画面のVC
            }
            return tutorialContainerVC
        }
        // 初回起動ではない場合
        return トップ画面のVC
    }
}
import UIKit

class TutorialContainerViewController: UIViewController {
    enum Page:Int {
        case first
        case second
        case third
    }

    // MARK: - IBOutlet
    @IBOutlet weak var nextButton: UIButton!

    // MARK: - internal
    var didSelectButtonToHome: (() -> Void)? ← NEW

    // MARK: - private
    var currentPage = Page.first
    private lazy var pageViewController: UIPageViewController = {
        // このViewControllerが持つpageViewControllerを取得
        let pageVC = children.first as! UIPageViewController
        return pageVC
    }()

    override func viewDidLoad() {
        super.viewDidLoad()
        pageViewController.setViewControllers([getFirst()], direction: .forward, animated: true, completion: nil)
    }

    @IBAction func tappedButton(_ sender: UIButton) {
        if currentPage == .first {
            pageViewController.setViewControllers([getSecond()], direction: .forward, animated: true, completion: nil)
            currentPage = .second
            nextButton.isEnabled = false
            return
        }

        if currentPage == .third {
            didSelectButtonToHome?()  ← NEW
        }
    }
}

extension TutorialContainerViewController {
    private func getFirst() -> FirstViewController {
        return storyboard!.instantiateViewController(identifier: "FirstViewController")
    }

    private func getSecond() -> SecondViewController {
        let vc: SecondViewController = storyboard!.instantiateViewController(identifier: "SecondViewController")
        // SecondViewControllerでボタンがタップされた通知が飛んでくる
        // {}の中身はその通知が飛んできた時に呼ばれる内容だから、getSecond()が呼ばれても{}の中身は呼ばれない
        vc.selectedButtonToThird = {
            self.nextButton.isEnabled = true
            self.pageViewController.setViewControllers([self.getThird()], direction: .forward, animated: true, completion: nil)
        }
        return vc
    }

    private func getThird() -> ThirdViewController {
        return storyboard!.instantiateViewController(identifier: "ThirdViewController")
    }
}
ナビゲーションコントローラーを使っている場合
*StoryboardでTutorialContainerViewControllerもトップ画面VCもNavigationControllerと紐づいている、NavigationControllerを持っている場合
class AppDelegate: UIResponder, UIApplicationDelegate {

    var window: UIWindow?

    func application(_ application: UIApplication, didFinishLaunchingWithOptions launchOptions: [UIApplication.LaunchOptionsKey: Any]?) -> Bool {
        window = UIWindow(frame: UIScreen.main.bounds)
        window?.rootViewController = UINavigationController(rootViewController: makeRootVC)
        window?.makeKeyAndVisible()
        return true
    }

    // 初回起動のところは自分で判定処理を入れてください
    func makeRootVC() -> UIViewController {
        if 初回起動 {
            return storyboard?.instantiateViewController(identifier: "TutorialContainerViewController")
        }
        // 初回起動ではない場合
        return トップ画面のVC
    }
}
import UIKit

class TutorialContainerViewController: UIViewController {
    enum Page:Int {
        case first
        case second
        case third
    }

    // MARK: - IBOutlet
    @IBOutlet weak var nextButton: UIButton!

    // MARK: - private
    var currentPage = Page.first
    private lazy var pageViewController: UIPageViewController = {
        // このViewControllerが持つpageViewControllerを取得
        let pageVC = children.first as! UIPageViewController
        return pageVC
    }()

    override func viewDidLoad() {
        super.viewDidLoad()
        pageViewController.setViewControllers([getFirst()], direction: .forward, animated: true, completion: nil)
    }

    @IBAction func tappedButton(_ sender: UIButton) {
        if currentPage == .first {
            pageViewController.setViewControllers([getSecond()], direction: .forward, animated: true, completion: nil)
            currentPage = .second
            nextButton.isEnabled = false
            return
        }

        if currentPage == .third {
            // NavigationControllerによって管理されているViewControllersを引数に渡した特定のViewControllerに置き換える(リセットされる)
            navigationController?.setViewControllers([トップ画面VC], animated: true)
        }
    }
}

extension TutorialContainerViewController {
    private func getFirst() -> FirstViewController {
        return storyboard!.instantiateViewController(identifier: "FirstViewController")
    }

    private func getSecond() -> SecondViewController {
        let vc: SecondViewController = storyboard!.instantiateViewController(identifier: "SecondViewController")
        // SecondViewControllerでボタンがタップされた通知が飛んでくる
        // {}の中身はその通知が飛んできた時に呼ばれる内容だから、getSecond()が呼ばれても{}の中身は呼ばれない
        vc.selectedButtonToThird = {
            self.nextButton.isEnabled = true
            self.pageViewController.setViewControllers([self.getThird()], direction: .forward, animated: true, completion: nil)
        }
        return vc
    }

    private func getThird() -> ThirdViewController {
        return storyboard!.instantiateViewController(identifier: "ThirdViewController")
    }
}
間違いがあったらすみません
参考
https://qiita.com/Motchy_1204/items/5d4c281d7cc1c3c26365
https://qiita.com/ninoko1995/items/5498c1e821ba3e94bdd6
https://qiita.com/Kyoya1123/items/588206357cf9c6492047
https://qiita.com/koji-nishida/items/b901f47255ddcfbaa927