やりたいこと
- 必要な時にのみxdebugをオンというのをVisual Studio Codeでもやりたい
Install
- phpインストール済みであることを前提としています
- VSCode拡張のPHP Debugをインストールする。
- VSCode拡張のPHPUnit Test Explorerをインストールする
php.ini
; php --ini でphp.iniもしくはxdebug.iniを探してください

; ここではコメントアウトで無効化しておいて、実行時にvscode側から有効化します
;zend_extension = "xdebug.so"

; 下記は常時設定しておきます
xdebug.client_host = 127.0.0.1
xdebug.client_port = "9003"
xdebug.mode = debug
xdebug.idekey = "PHPSTORM"
xdebug.start_with_request = yes
VSCode設定 launch.json
-
runtimeExecutableでphpのpathを設定します -
programでphpunitのpathを設定します
{
  // Use IntelliSense to learn about possible attributes.
  // Hover to view descriptions of existing attributes.
  // For more information, visit: https://go.microsoft.com/fwlink/?linkid=830387
  "version": "0.2.0",
  "configurations": [
    {
      "name": "Listen for Xdebug(PHPビルトインサーバ)",
      "type": "php",
      "request": "launch",
      "port": 9003
    },
    {
      "name": "Launch currently open script(PHP CLI)",
      "type": "php",
      "request": "launch",
      "cwd": "${fileDirname}",
      "runtimeExecutable": "${userHome}/.phpenv/shims/php",
      "runtimeArgs": [
        "-dzend_extension=xdebug.so"
      ],
      "program": "${workspaceRoot}/vendor/bin/phpunit",
      "args": [
        "${file}"
      ],
      "port": 9003,
      "log": false,
      "env": {
        "XDEBUG_MODE": "debug,develop",
        "XDEBUG_CONFIG": "client_port=${port}"
      }
    }
  ]
}
PHPUnitを実行する
-
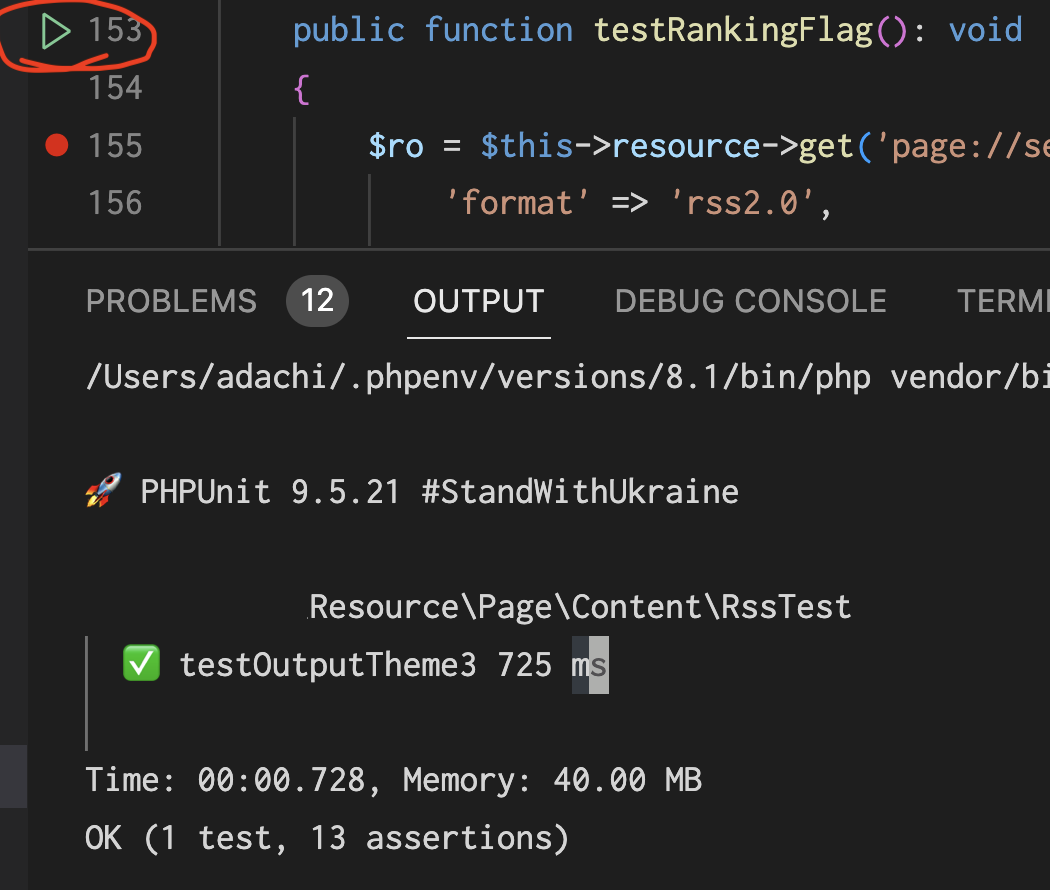
PHPUnit Test Explorerをインストールすると、テスト対象の上に緑の三角形 ▶️ が表示されます。ここでPHPUnitを実行できます。 -
"phpunit.showAfterExecution": "always"で、PHPUnit実行後に結果が出力されます。
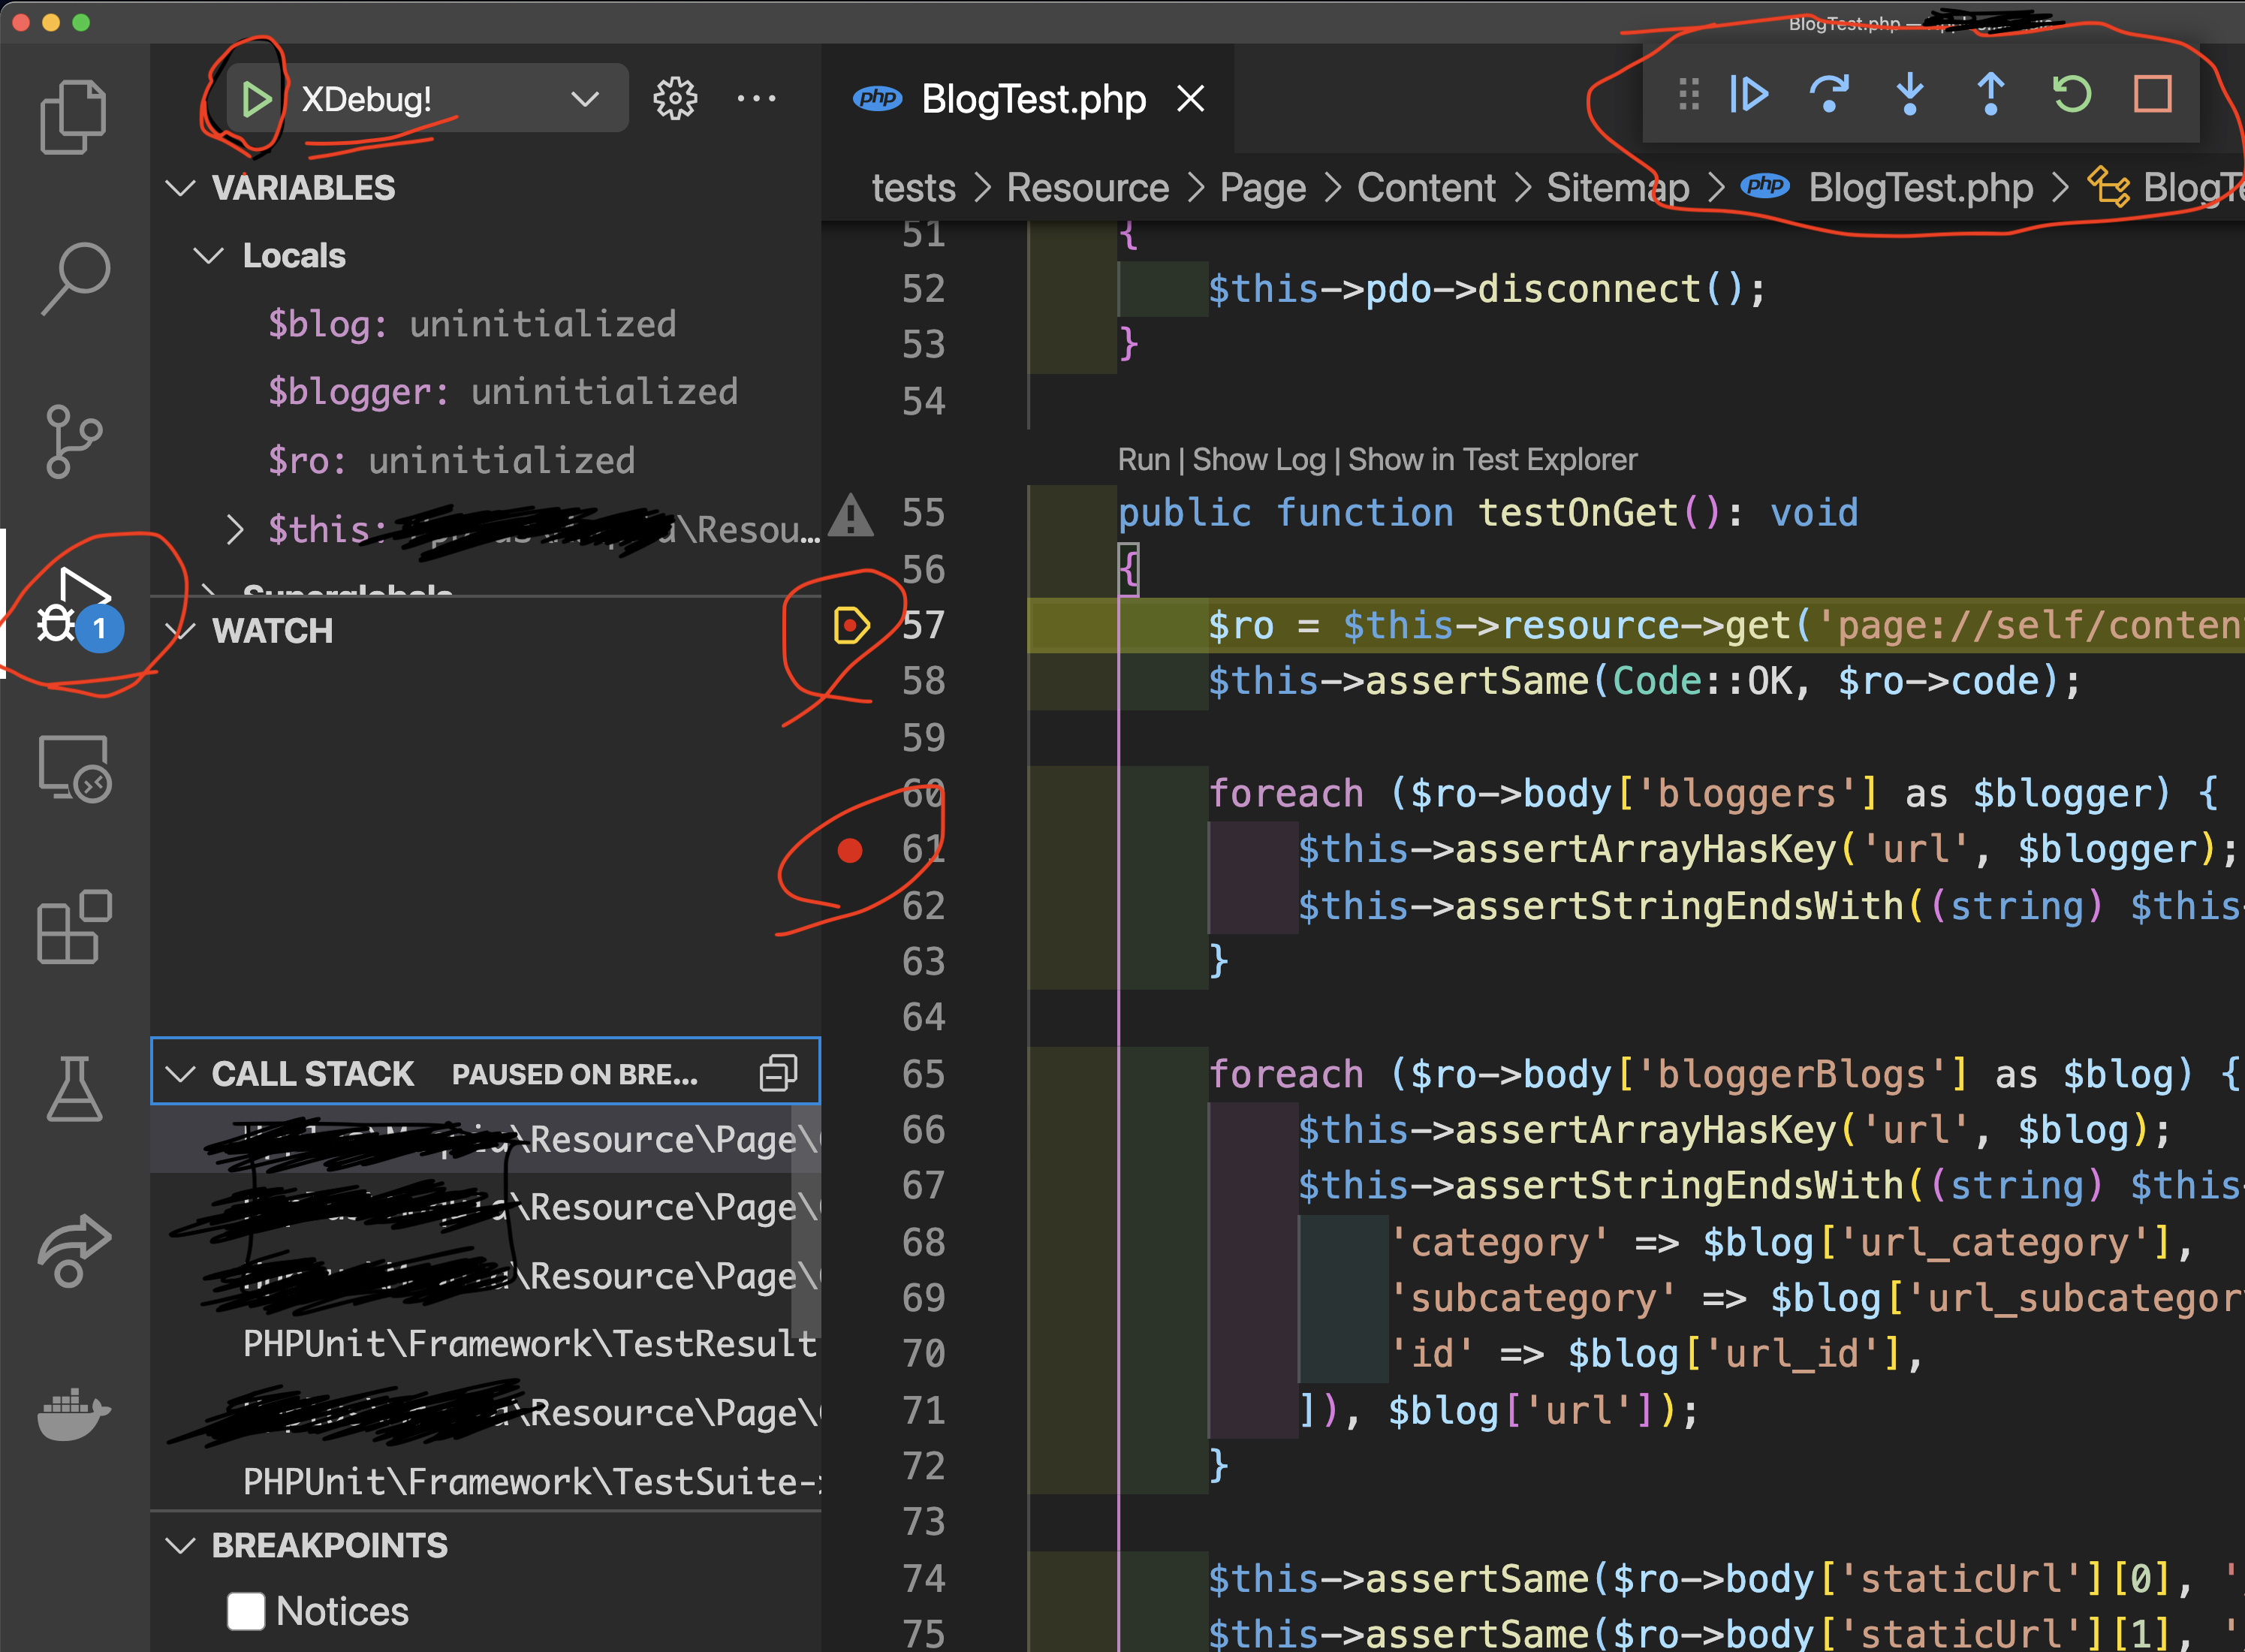
XDebugを使ってデバッグする
- ブレークポイントを設定して、
- launch.jsonで追加した設定を指定してデバッグします