はじめに
GitHub ActionsでGoogle App Engineにデプロイする方法は色々あったようですが、最近はよりスマートになっております。
2021/4/1にリリースされた
google-github-actions/deploy-appengine@v0.3.1
を使います。
v0.2.0系でも同様な感じです。
ただ、実際に行うときにハマることがあったので現在の方法を記載しておきます。
プロジェクトの作成
(Web上で作っても良いかもしれません)
$projectIDは自分のIDを設定してください。
gcloud app create --project $projectID
でGoogle App Engineプロジェクトを作ります。
Please choose the region where you want your App Engine application
located:

 [1] asia-east2    (supports standard and flexible and search_api)
 [2] asia-northeast1 (supports standard and flexible and search_api)
 [3] asia-northeast2 (supports standard and flexible and search_api)

・・・
地域を選びます、料金や他のサービスの連携で選びます。
アプリケーションの作成
適当にGo言語のアプリケーションですが、適当なプログラムを作ります。
package main

import (
	"fmt"
	"net/http"
)

func main() {

	http.HandleFunc("/", func(writer http.ResponseWriter, request *http.Request) {
		fmt.Fprintf(writer, "Hello! GAE")
	})

	http.ListenAndServe(":8080", nil)
}
適当にapp.yamlファイルを作ります
runtime: go115  # or another supported version

instance_class: F2

handlers:
  - url: /.*
    script: auto
GithubActionsのWorkflow
一応pushベースにしてますが、この辺は各自調整してください。
name: ci
on: push

jobs:
  deplay-staging:
    name: GAE deplay
    runs-on: ubuntu-latest
    steps:
      - uses: actions/checkout@v2

      - name: Deploy an App Engine app
        id: deploy-app
        uses: google-github-actions/deploy-appengine@v0.3.1
        with:
          project_id: ${{ secrets.GCP_PROJECT_ID }}
          deliverables: app.yaml
          credentials: ${{ secrets.GCP_SA_KEY }}
          version: v1
を作ります。
app.yaml 以外も上げる場合は このように設定します。
deliverables: app.yaml index.yaml
Google サービスアカウントの設定
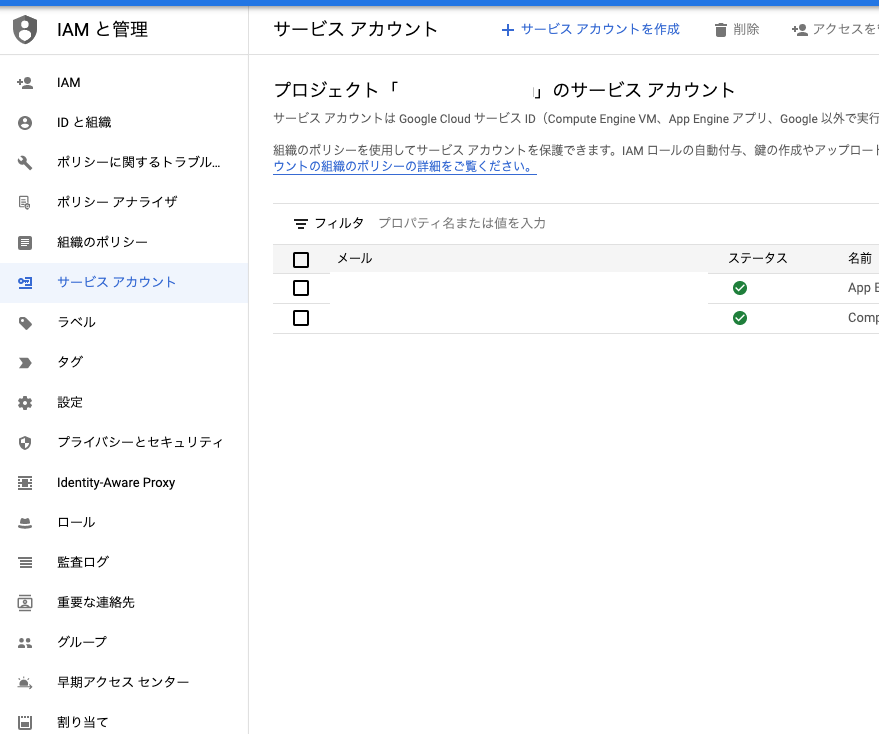
すでにあるアカウントを使っても良いと思いますが、新しくサービスアカウントを作ります。
作ったアカウントのロールは先に以下のロールを設定すると楽です。
App Engine デプロイ担当者
Cloud Build サービス アカウント
Cloud Datastore インデックス管理者
サービス アカウント ユーザー
Storage オブジェクト作成者
Storage オブジェクト閲覧者
index.yamlをアップする場合は、「Cloud Datastore インデックス管理者」も必要です。基本アップするはずなので上に入れています。
(記事の下で設定しなかったときのエラーも紹介します)
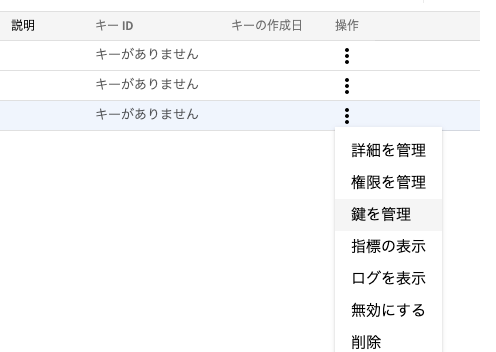
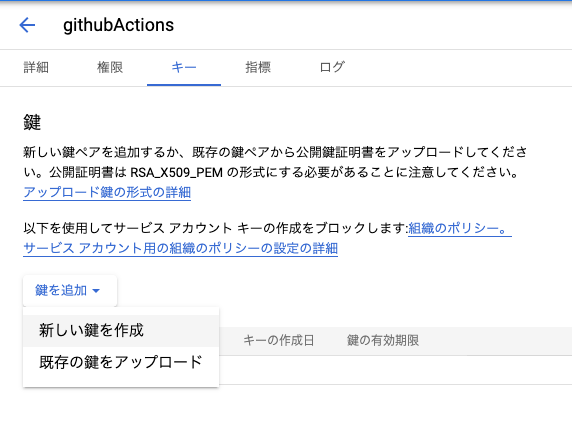
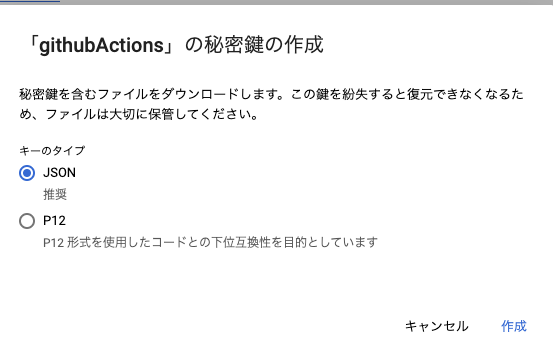
鍵の作成をします
JSONのまま作成を押すとファイルがダウンロードされます。
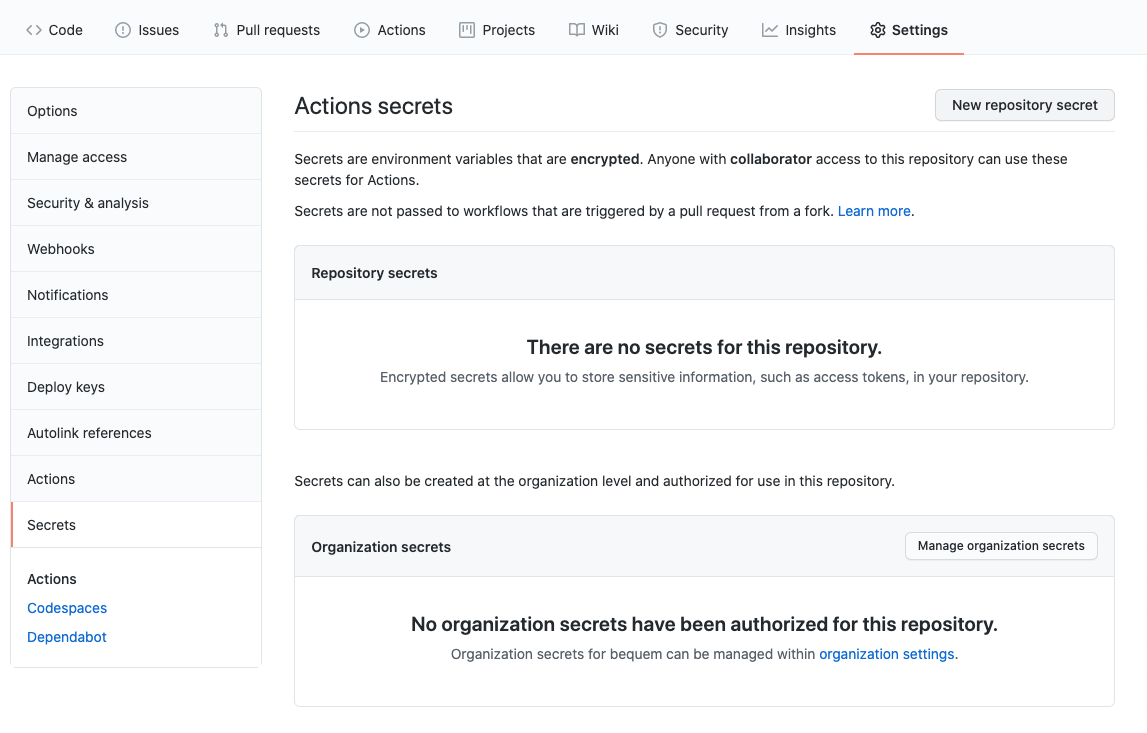
GitHubのActions secretsを設定
ここで、secrets.GCP_PROJECT_ID , secrets.GCP_SA_KEY
を設定しますが、
GCP_PROJECT_IDはプロジェクトIDなのですが、
さきほどのjsonファイルのファイルの中身をそのままGCP_SA_KEYとして登録します。
ちなみにbase64に変換するという記事も見かけますが、
ここのコードによると、どちらでも良いことがわかります。
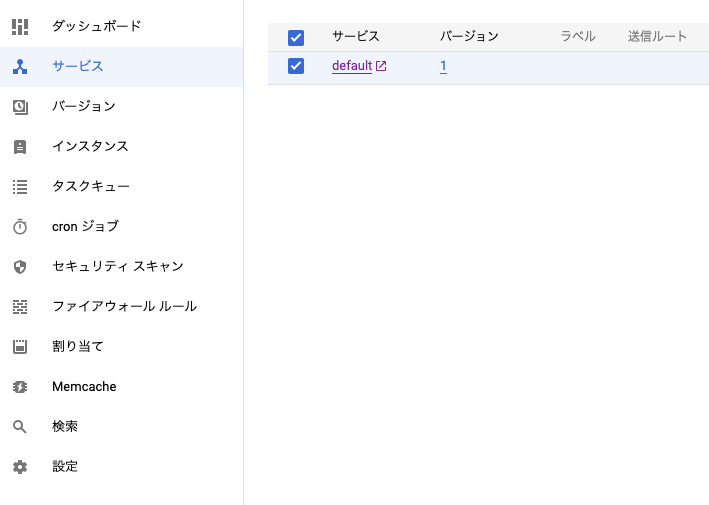
↓一応完成図
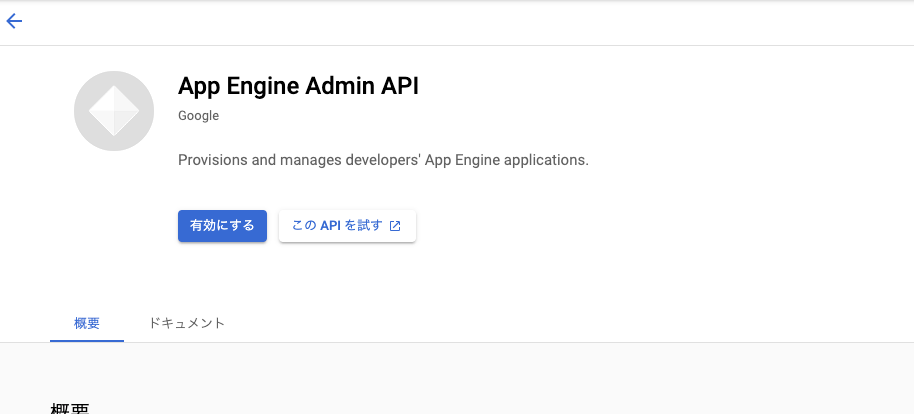
App Engin Admin APIを有効にする
こちらを有効にしないと動作しないようです。
https://console.cloud.google.com/apis/library/appengine.googleapis.com
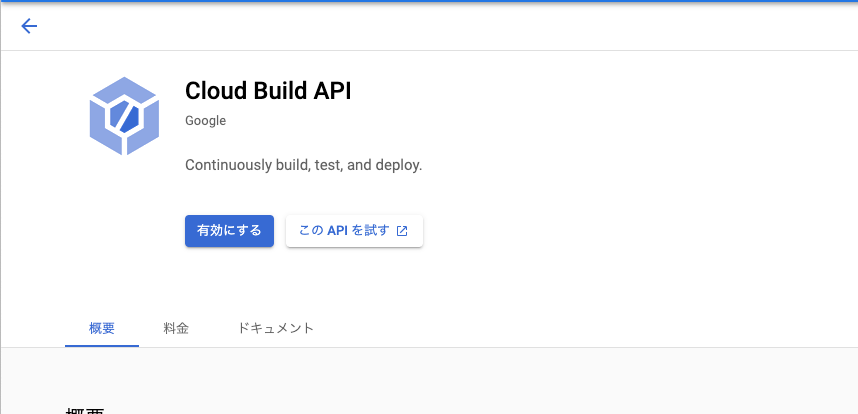
Cloud Build APIを有効にする
こちらも有効にしないと動作しないようです。
https://console.cloud.google.com/apis/library/cloudbuild.googleapis.com
pushしてActionsを動かす
さて先程の3ファイルをcommitしてpushすると
GitHubActionsが動くはずです。
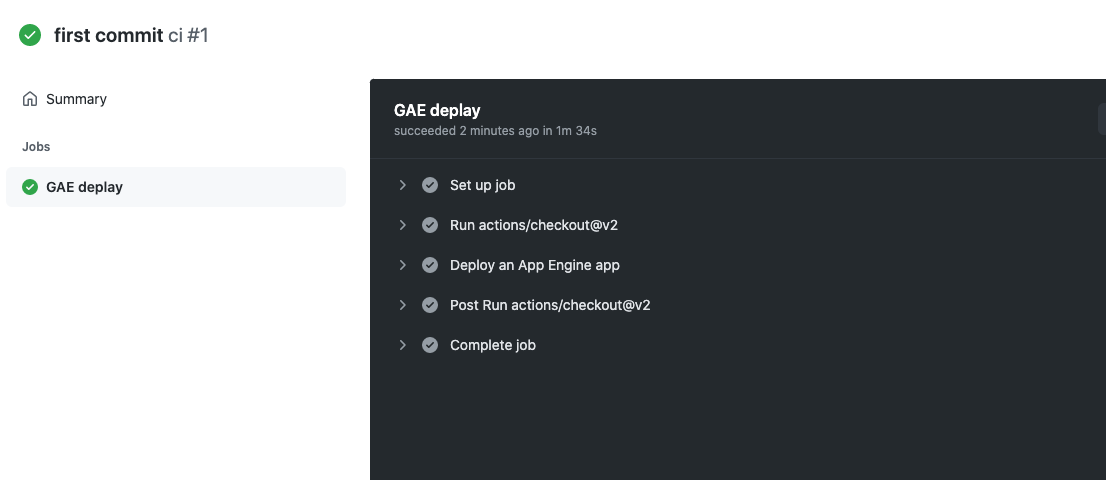
エラーなくできると、グリーンマークが出て
正しくデプロイされるはずです
権限不足のエラー
Google Cloud では権限のプロパティとロールというのは別の概念になります。
ロールを設定しない場合は以下のような出ます。ケース別に紹介します
App Engine Admin API has not been used
ERROR: (gcloud.app.deploy) User [githubactions@***.iam.gserviceaccount.com] does not have permission to access apps instance [***] (or it may not exist): App Engine Admin API has not been used in project 960294636917 before or it is disabled. Enable it by visiting https://console.developers.google.com/apis/api/appengine.googleapis.com/overview?project=960294636917 then retry. If you enabled this API recently, wait a few minutes for the action to propagate to our systems and retry.
- '@type': type.googleapis.com/google.rpc.Help
  links:
  - description: Google developers console API activation
    url: https://console.developers.google.com/apis/api/appengine.googleapis.com/overview?project=960294636917
- '@type': type.googleapis.com/google.rpc.ErrorInfo
  domain: googleapis.com
  metadata:
    consumer: projects/960294636917
    service: appengine.googleapis.com
  reason: SERVICE_DISABLED
Error: The process '/opt/hostedtoolcache/gcloud/334.0.0/x64/bin/gcloud' failed with exit code 1
上の記事の「App Engin Admin APIを有効にする」を有効にしてください。
App Engine Deployer (roles/appengine.deployer) role.
ERROR: (gcloud.app.deploy) Permissions error fetching application [apps/***]. Please make sure that you have permission to view applications on the project and that githubactions@***.iam.gserviceaccount.com has the App Engine Deployer (roles/appengine.deployer) role.
Error: The process '/opt/hostedtoolcache/gcloud/334.0.0/x64/bin/gcloud' failed with exit code 1
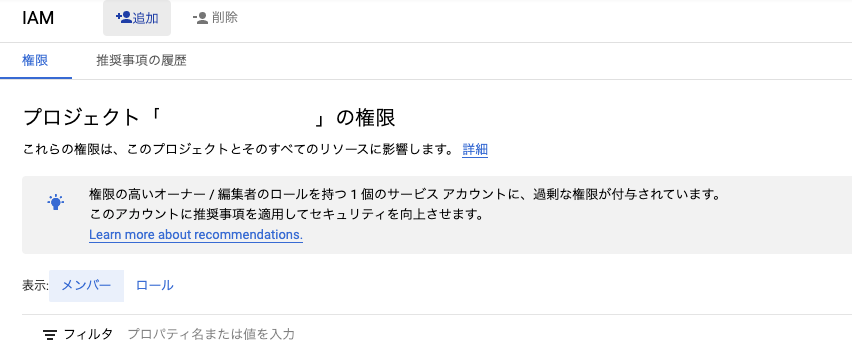
IAM画面から対象のサービスアカウントに権限を追加します。
メンバー一覧に先程追加したサービスアカウントがなければ追加ボタンから追加します
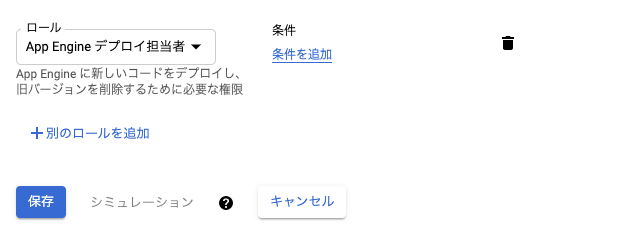
「App Engine デプロイ 担当者」を追加します。
ちなみに、この辺が使いづらいのですが、エラーログにある「roles/appengine.deployer」のプロパティとの対応は
こちらから対応を確認できます
以下、エラーが出たときに、対応するプロパティの権限を付ける作業を繰り返す感じです
storage.objects.list
ERROR: (gcloud.app.deploy) 403 Could not list bucket [staging.***.appspot.com]: githubactions@***.iam.gserviceaccount.com does not have storage.objects.list access to the Google Cloud Storage bucket.
「Storage オブジェクト閲覧者」のロールを追加します。
storage.objects.create
MaxRetrialsException: last_result=(None, (<class 'googlecloudsdk.api_lib.storage.storage_api.UploadError'>, UploadError('403 Could not upload file [/tmp/tmp2v7gw5h5/tmptdnalnkg/app.yaml] to [staging.***.appspot.com/f9c11cf55f7591fe608003007aaae9b371eeaf3c]: githubactions@***.iam.gserviceaccount.com does not have storage.objects.create access to the Google Cloud Storage object.'), <traceback object at 0x7f80a8176100>)), last_retrial=3, time_passed_ms=476,time_to_wait=0
「Storage オブジェクト作成者」のロールを追加します。
ERROR: (gcloud.app.deploy) PERMISSION_DENIED
ERROR: (gcloud.app.deploy) PERMISSION_DENIED: You do not have permission to act as '***@appspot.gserviceaccount.com'
これはだいぶ罠です。
つまり「サービス アカウント ユーザー」のロールを追加します。
参考: https://zenn.dev/catnose99/scraps/87846cb2fdf8ad#comment-848cc591a94d58
Failed to create cloud build
ERROR: (gcloud.app.deploy) Error Response: [7] Failed to create cloud build: Permission denied.
これもだいぶ罠です。
こちらによると「Cloud Build 編集者」のロールを追加します。
このときに上の記事にある「Cloud Build APIを有効にする」もしてください
参考: https://cloud.google.com/appengine/docs/troubleshooting?hl=ja#cloud-build-failed
The caller does not have permission
ERROR: (gcloud.app.deploy) User [〇〇] does not have permission to access projects instance [***] (or it may not exist): The caller does not have permission
これもだいぶ罠です。
ライブラリの開発者にもっとログを出してほしいというissueを出していますが、
index.yamlもデプロイしているときは「Cloud Datastore インデックス管理者」もロールに入れてください。
まとめ
色々罠があったりしますが、GithubActionsでGoogle App Engineにデプロイすることができます
