動機
- Angular(2 or 4)で開発中のプロダクト(SPA)が重い
- JS の肥大化
- 起動が遅い
- パフォーマンスチューンしたい
で、みんないろいろ調べると思うけど…
- AOT コンパイルとか module の最適化とか手段はいろいろあるのはわかった
- が、ブログエントリを読んで今開発中のプロダクトに自分で解決策を注入するのが大変
サマリ
- 対工数効果が高い部分に絞ってパフォーマンスチューンできる、「これさえやればOK!」みたいな進研ゼミ的マニュアルを作った(半ば覚え書きだけど)
- 平均起動時間1は84%減
- 4000msec超 -> 640ms2
- JS ファイルサイズ3は23%減
- 2770kb -> 2153kb (Parsed Size)
- 最適化後の Gziped Size は 393.47kb
前提
- この記事は、AngularClass/angular-starter を使ったプロダクトで実践したメモになっている
- angular/angular-cli 採用プロダクト向けにも役には立つと思われるが、angular-starter 側でカバーしてくれている部分は自前でがんばる必要がある(後述)
webpack による bundle の状況把握
- まずは現状把握から
webpack-bundle-analyzer を入れる
package.json
  "scripts": {

    (..略..)

    "server:dev:analyze": "cross-env ANALYZE=1 npm run server:dev",

    (..略..)

  },
server:dev は npm run webpack-dev-server しているスクリプト。
開発時に analyze したい時だけ analyzer のサーバーを立ち上げるよう、必要に応じて書き換える。
webpack.dev.js (開発環境用設定)
const ANALYZE = process.env.ANALYZE;
const BundleAnalyzerPlugin = require('webpack-bundle-analyzer').BundleAnalyzerPlugin;

(..略..)

plugins: [

  (..略..)

  new BundleAnalyzerPlugin({
    analyzerMode: ANALYZE ? 'server' : 'disabled',
  }),

]
webpack.prod.js (本番用設定)
const BundleAnalyzerPlugin = require('webpack-bundle-analyzer').BundleAnalyzerPlugin;

(..略..)

plugins: [

  (..略..)

  new BundleAnalyzerPlugin({
    analyzerMode: 'static',
    reportFilename: 'report/bundle-analyzer.html',
    openAnalyzer: false,
  }),

]
出力
http://localhost:8888 で公開される
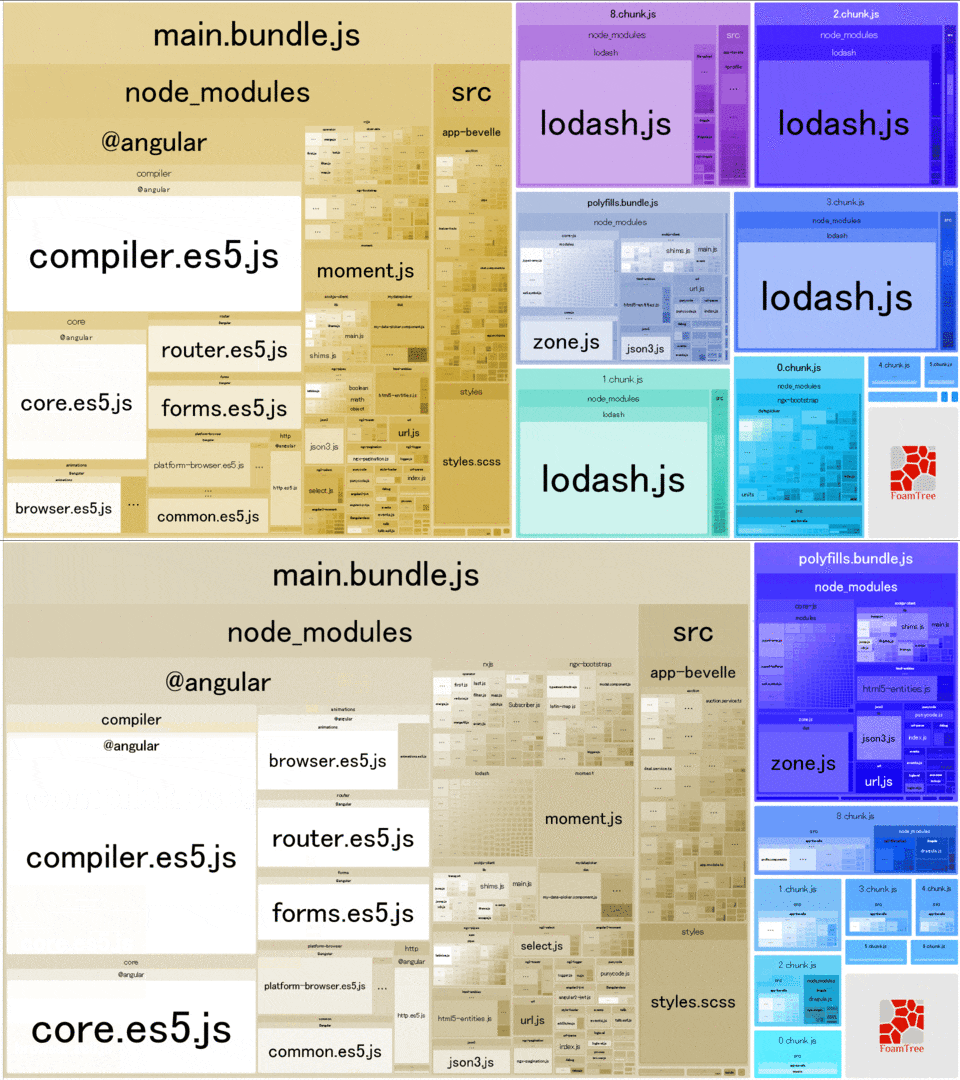
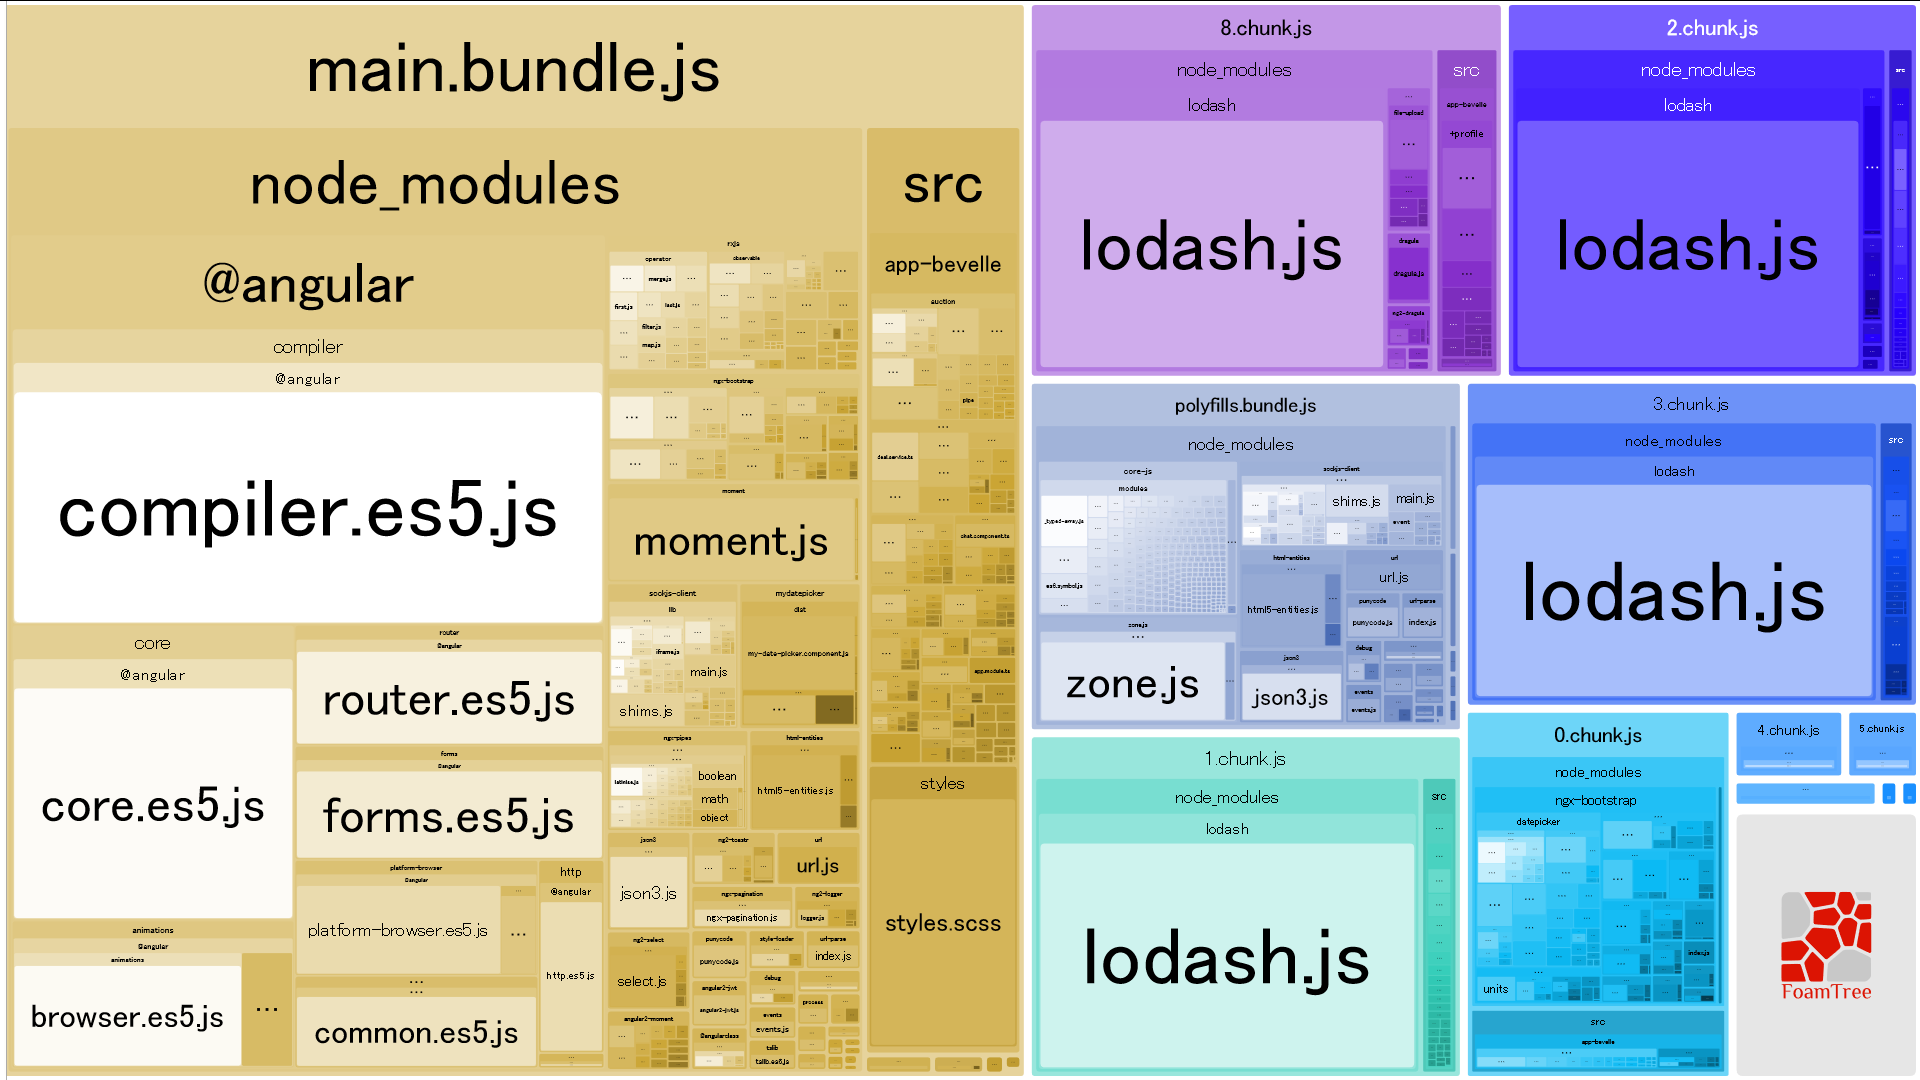
lodash.js が無駄に複数 chunk 内に入り込んでますね。
上記スクリーンショットは rxjs, moment 及びアプリ内もそこそこ綺麗にした後なので既にそんなに目立たなくなってるけど、何も意識せずに開発してるともっと酷い。これはマニュアル後半の「bundle の最適化」でどうにかする。
最適化に着手する
では最短最速でチューンナップする。
まずは AOT コンパイル。
AOT コンパイル
参考
原理を知りたい人は以下で勉強する。
伏兵、循環参照
ngc に AOT コンパイルをやらせると、こんなので進まないことがある
main.bundle.js:22949 Uncaught TypeError: Cannot read property 'prototype' of undefined
    at __extends (main.bundle.js:22949)
    at main.bundle.js:22966
    at Object.<anonymous> (main.bundle.js:22980)
    at __webpack_require__ (inline.bundle.js:53)
    at Object.<anonymous> (main.bundle.js:14103)
    at __webpack_require__ (inline.bundle.js:53)
    at Object.<anonymous> (main.bundle.js:23073)
    at __webpack_require__ (inline.bundle.js:53)
    at Object.<anonymous> (main.bundle.js:14001)
    at __webpack_require__ (inline.bundle.js:53)
-
原因
-
dump 方法
-
共通設定
webpack.common.js(..略..) plugins: [ (..略..) new CircularDependencyPlugin({ // exclude detection of files based on a RegExp exclude: /node_modules/, // add errors to webpack instead of warnings failOnError: true, }), ]
-
対策
- プラグインが出力したエラーを全てつぶす
- 大体、
import { Something } from '../hoge';をimport { Something } from '../hoge/something.component';のように書き換えれば減っていく - きれい好きな人はエラーを見てリファクタ(とかモジュール整理)を進めたくなると思うけど、この時点では AOT コンパイルを通すことを最優先して後回しにするのをおすすめする(bundle 最適化と合わせてやる方が効率いい)
- 大体、
- プラグインが出力したエラーを全てつぶす
モジュール設計がまずい場合は、リファクタしないといけないこともある。具体的には、Lazy Loading Module として設計し、かつ routing も行うようなモジュールの場合にハマりやすい。参考に挙げた Angular Style Guide を読んで理解して進むのが望ましいが、以下の Example のように、コンポーネントを export するモジュールファイルと RouterModule.forChild() を行うモジュールファイルを分けて実装すればなんとかなる。
(..略..)

export const ROUTES: Routes = [

  (..略..)

  { path: 'something', loadChildren: './something#SomethingRoutingModule' },

  (..略..)
import { NgModule } from '@angular/core';
import { RouterModule } from '@angular/router';

import { routes } from './something.routes';
import { SomethingModule } from './something.module';

@NgModule({
  declarations: [],
  imports: [
    RouterModule.forChild(routes),
    SomethingModule
  ]
})
export class SomethingRoutingModule {
  public static routes = routes;
}
import { NgModule } from '@angular/core';
import { CommonModule } from '@angular/common';
import { FormsModule } from '@angular/forms';
import { RouterModule } from '@angular/router';

import { SharedPipeModule } from '../shared/pipe';

import { Something1Component } from './something1.component';
import { Something2Component } from './something2.component';
import { Something3Component } from './something3.component';

consts components:any[] = [
  Something1Component,
  Something2Component,
  Something3Component,
];

@NgModule({
  declarations: components,
  imports: [
    // import Angular's modules
    CommonModule,
    FormsModule,
    RouterModule,
    // import third-party modules
    (..略..)
    // import Application modules
    SharedPipeModule,
  ],
  providers: components
})
export class SomethingModule {
}
コンパイル成功までの道のり
- 循環参照さえ解決すれば、基本的には参考に挙げた2つのエントリで紹介されている内容をこつこつやっていけばよい
- コンパイラが出すエラーメッセージは重要なのでちゃんと読みましょう
- 因みに AngularClass/angular-starter を採用したプロダクトでは、sass(scss) 周りで苦労しなくて済む
- おそらく ExtractTextPlugin で include するようになっている ため(自信なし)
AOT コンパイル成功まで漕ぎ着ければ、この時点で起動時のコンポーネント初期化処理に関しては劇的に改善されているはず。
ただし各 chunk js ファイルには重複してライブラリが入っていたりするので、今度はそれを最適化する。
webpack による bundle の最適化
参考
Example:rxjs
import 'rxjs/add/observable/forkJoin';
import 'rxjs/add/observable/timer';
import 'rxjs/...その他、アプリケーショングローバルに使いたいものだけ限定的に'
(..略..)
import './shared/rxjs';
(..略..)
更に、他のチームメンバーが import { Observable } from 'rxjs' のようなコードを書かないように
(..略..)
"rules": {
  (..略..)
  "import-blacklist": [
    true,
    "rxjs",
    "rxjs/Rx",
  ],
Example:lodash
個々人の好みだが、以下はアプリケーショングローバルに使いたいものだけ限定的に import し、限定的に export する Example。
import cloneDeep from 'lodash/cloneDeep';
import includes from 'lodash/includes';
import pull from 'lodash/pull';
import find from 'lodash/find';
import remove from 'lodash/remove';

export {
  cloneDeep,
  includes,
  pull,
  find,
  remove,
};
(..略..)
import './shared/lodash';
(..略..)
そして使う側。
import * as _ from '../shared/lodash';

const hogeCloned: Hoge = _.cloneDeep(this.hoge);
更に、他のチームメンバーが import { Observable } from 'rxjs' のようなコードを書かないように
(..略..)
"rules": {
  (..略..)
  "import-blacklist": [
    true,
    "lodash",
  ],
プラクティス:moment の locale
(..略..)

plugins: [

  (..略..)

  // omit moment/locale/*.js
  new ContextReplacementPlugin(/moment[\/\\]locale$/, /ja/),

]
最適化後
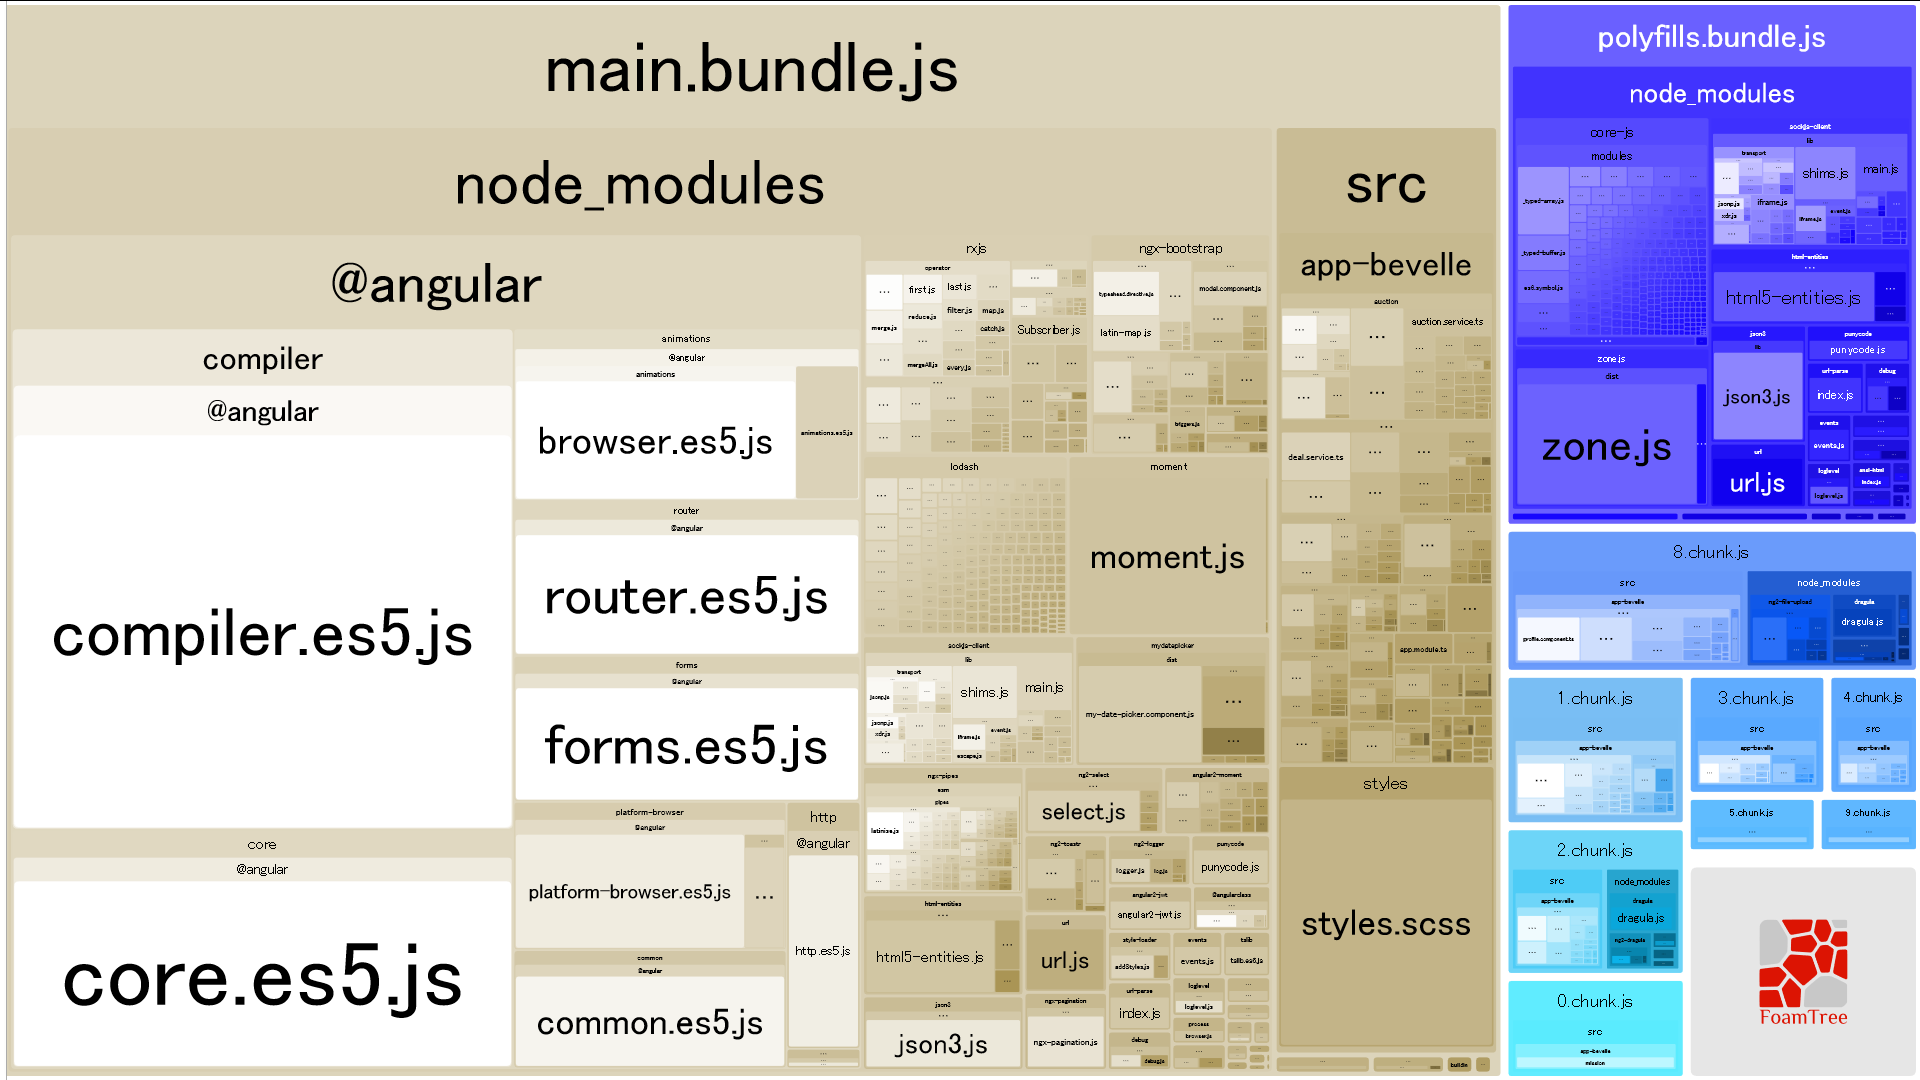
lodash、目立たなくなりましたね。
因みにこれは開発環境での出力なので、本番用(AOTコンパイル)だと @angular/compiler はいなくなる。
この記事で扱わなかった分野
shared modules
アプリケーショングローバルに利用する pipe なんかは shared module にしている。これは循環参照解決のセクションで書いた something/something.module.ts っぽく実装していけばいいと思う。チーム内からの「記事書け」圧力が強くなったら書くかも。
style sheet の最適化
今回は1つの styles.scss でいいか、というプロダクトだったので手を付けていない。
Server Side Rendering (SSR)
SSR は SEO という側面も強いが、クライアント(ブラウザ)上での表示時の User eXperience を「パフォーマンス」に含むとすれば、パフォーマンスチューンの側面もなくはない。そのうちやりたい。


