HTML.CSSのコピーアンドペースト手順の備忘録です。
大枠な流れ・Bootstrap使い方まとめ
- リンク先コピー:CSSのみ
- headerコピー:Components の Alerts
- ボタンコピー:Components の Buttons
- 全体の中央寄せ:Layout の container
- ボタン真ん中寄せ:Utilities の Flex
- スペースのバランスを整える:Utilities の Spacing「Exaples」
Step1 フォルダを作る
HTML.CSSを書いていくフォルダを作ります。
~$ mkdir test
Step2 "html5boilerplate"フォルダをダウンロード&コピー
- html5boilerplate ダウンロード
- ダウンロードフォルダの中へ移動
- html5boilerplateフォルダを開く
- index.htmlのみコピー

- 最初に作ったtestフォルダの中に貼り付ける
Step3 HTML.CSS実行
-
テストフォルダのindex.htmlをエディタで開く
-
<body></body>で囲まれている中身を消す -
ダウンロード又は下の方にある
CSSのみと書いてある所のコードを全部コピー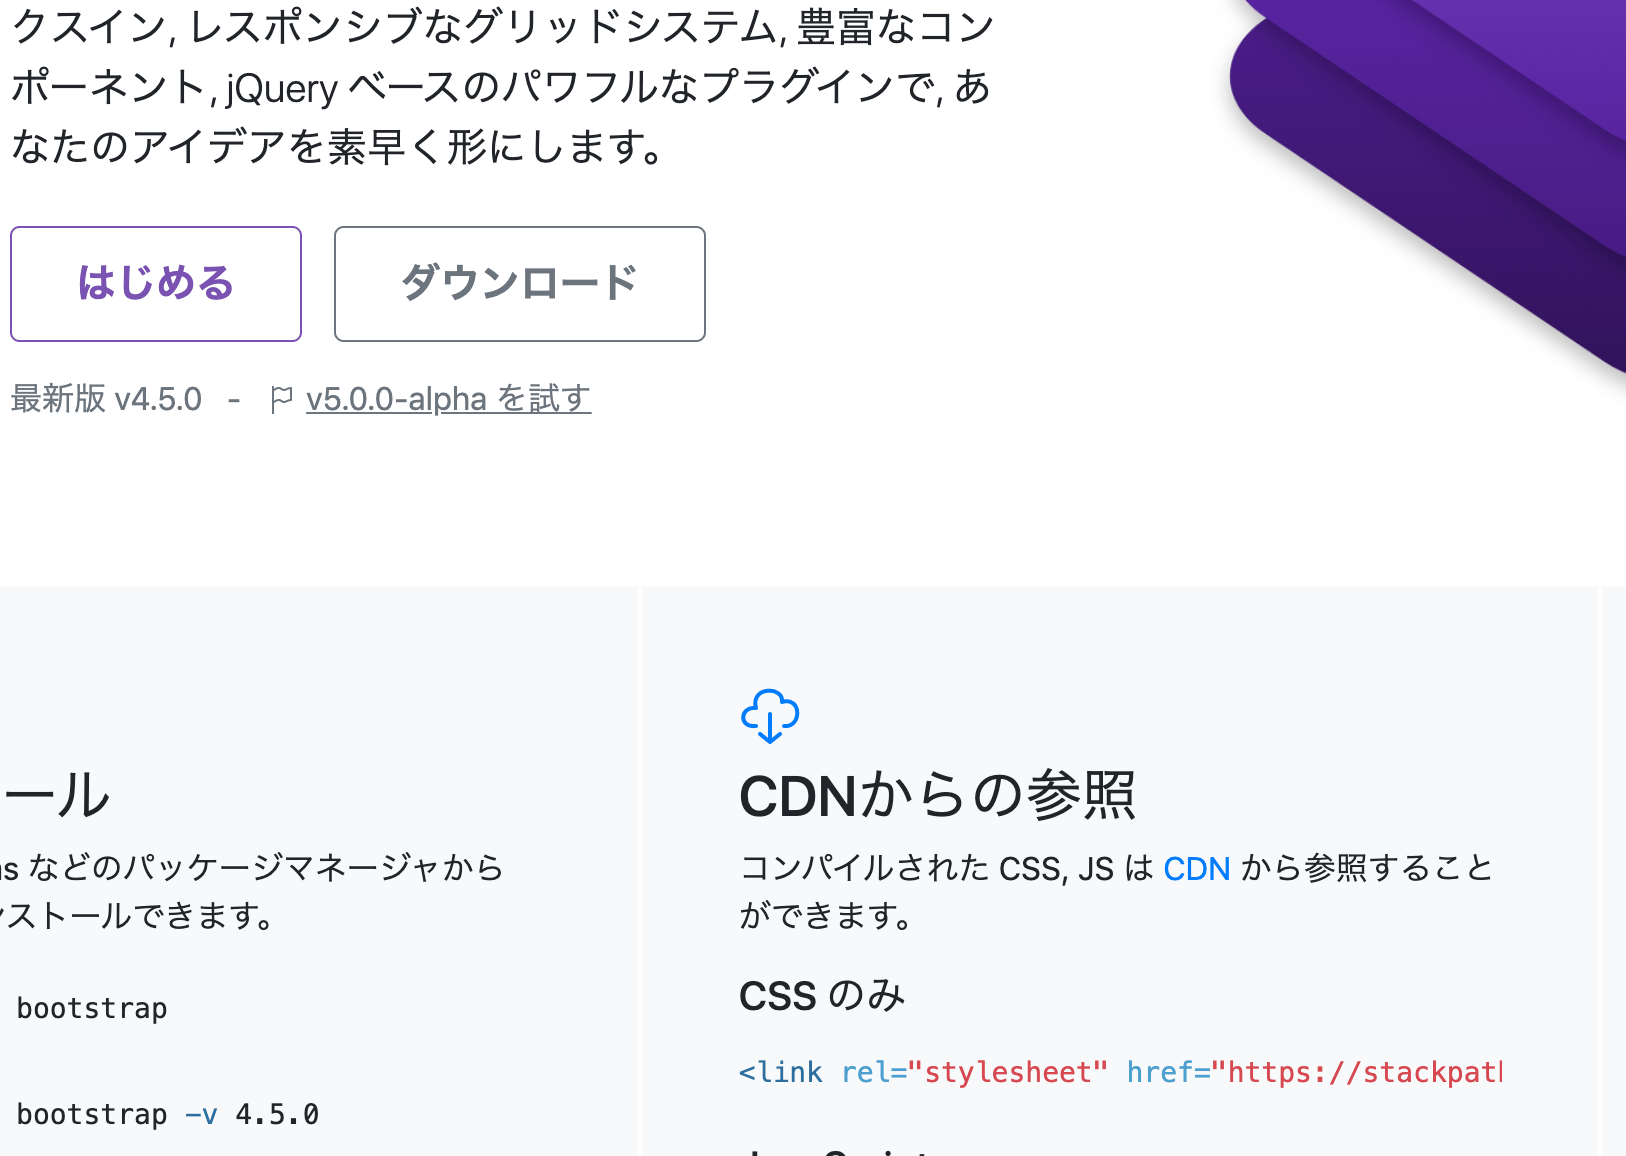
-
<head></head>の19行目あたりに貼り付け
-
index.htmlファイルを検索タブにドラック&ドロップしてタブに表示する(CSSのコードの結果が見れる)
Step4 headerをつける
-
Bootstrapの
ドキュメントをクリック - 左側メニューの
Componentsをクリック -
Alertsをクリックし好きなコードをコピー
- index.htmlファイル
<body>のなかに貼り付け
Step5 ボタンをつける
- Buttonsをクリック
- 好きなボタンコードをコピー

- index.htmlファイル
<body>内の<div class="alert alert-info" role="alert">A simple info alert—check it out!</div>の下あたりに貼り付け - 4つ同じコードを打つ

Step6 全体を中央に寄せる
- Layoutをクリックする
- コンテナーコピー

- index.htmlファイルの
<Body>タグすぐ下に貼り付けて、</div>の部分のみ</Body>のすぐ上に移動させる
例
<body>
 <div class="container">
    <!-- Content here -->

    <div class="mt-3 alert alert-info" role="alert">
    A simple info alert—check it out!
    </div>
      <button type="button" class="ml-1 btn btn-secondary">Secondary</button>
      <button type="button" class="ml-1 btn btn-secondary">Secondary</button>
      <button type="button" class="ml-1 btn btn-secondary">Secondary</button>
      <button type="button" class="ml-1 btn btn-secondary">Secondary</button>

 </div>
</body>
Step7 ボタンを真ん中に寄せる
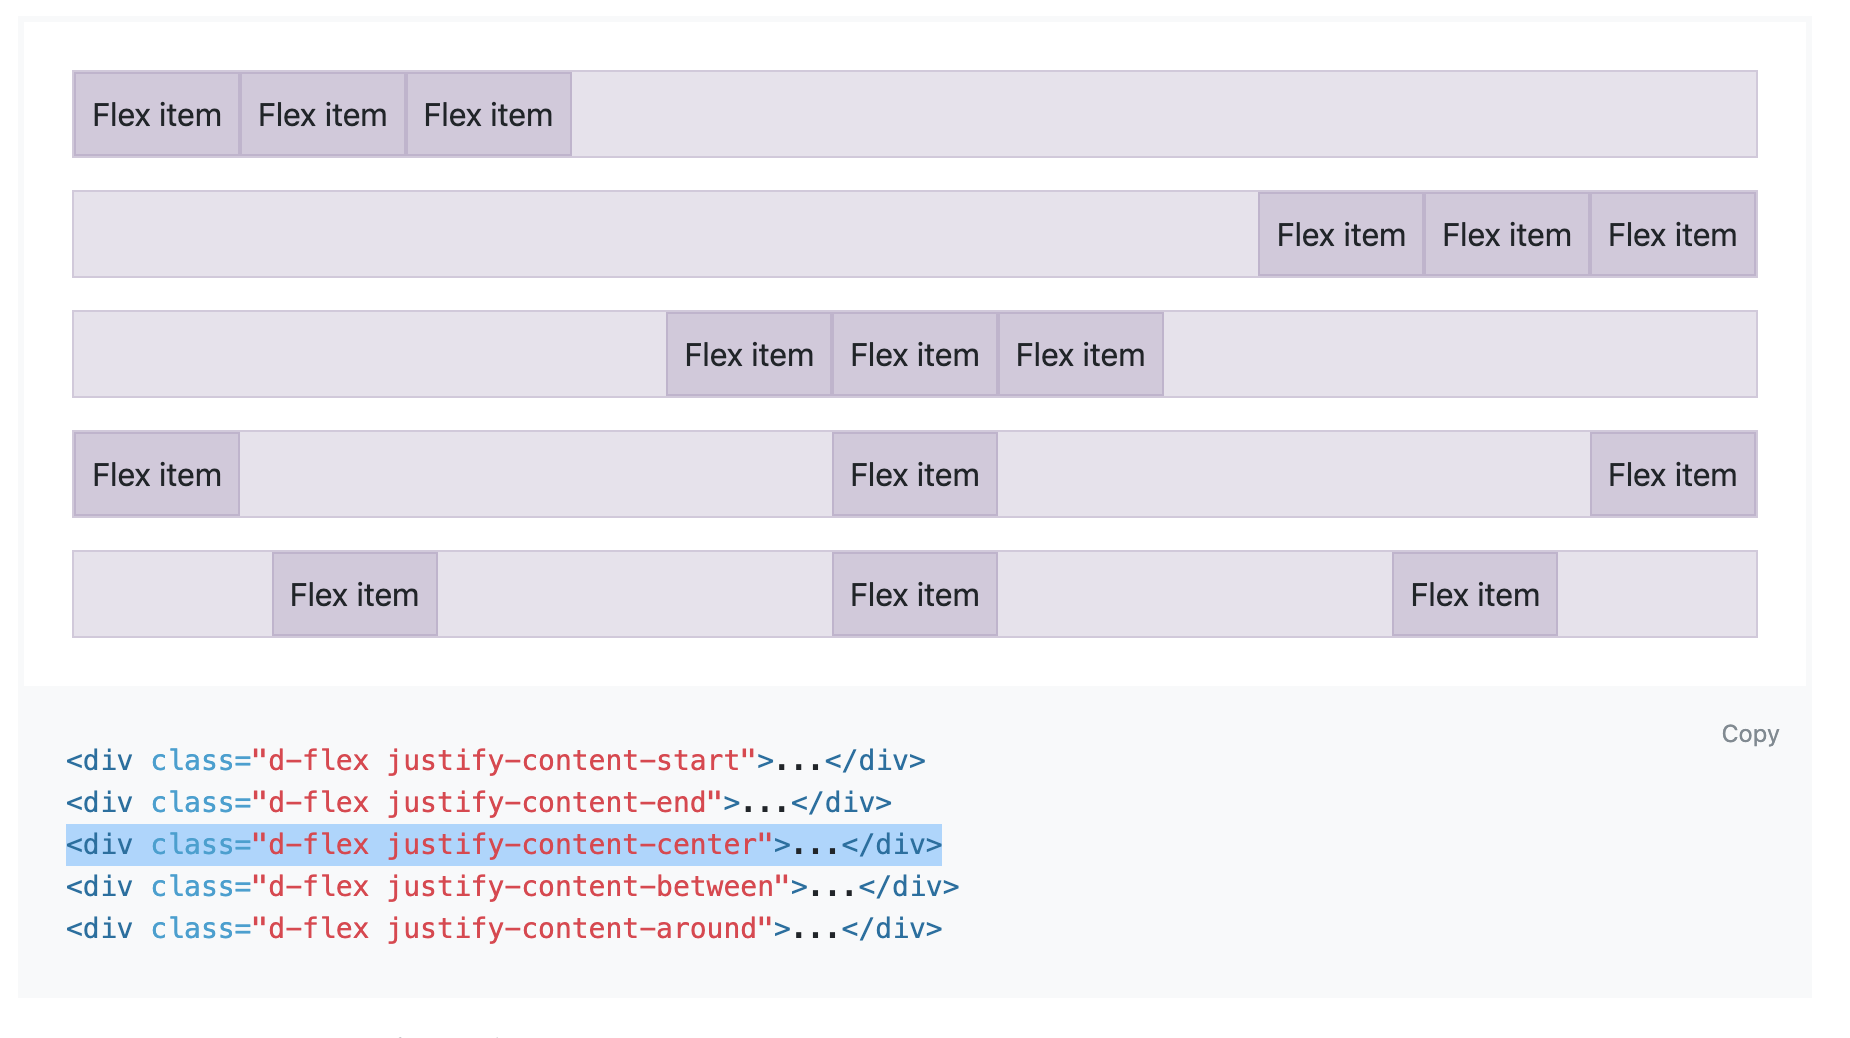
例
<div class="d-flex justify-content-center">
      <button type="button" class="ml-1 btn btn-secondary">Secondary</button>
      <button type="button" class="ml-1 btn btn-secondary">Secondary</button>
      <button type="button" class="ml-1 btn btn-secondary">Secondary</button>
      <button type="button" class="ml-1 btn btn-secondary">Secondary</button>
</div>
- index.htmlタブをリロードして確認
Step 7 スペースのバランスを整える
- Spacingをクリック
- スクロールをし「Exaples」の
ml-1をコピー - index.htmlファイルの
<Body>内<button>のclass内に入れていく
- alartにも同様に入れていく

- index.htmlタブをリロードして確認(色は異なる場合があります)

完成です。参考になれば幸いです。