みなさんこんにちは。
あかつきゆいとです。
さて、今回はですね、ぼくのゴミ個人サイトに使われている、Spotifyの再生状況を表示してくれるやつの作り方を解説してみようと思います。
この記事は2つに分かれています。
分割した理由は最後に書いてます。
https://qiita.com/yuito_it_/items/465362aff49a1c0bc3d2
私がAppsRouterばっかり使っているので、PagesRouterの方法は今回は書いていません。
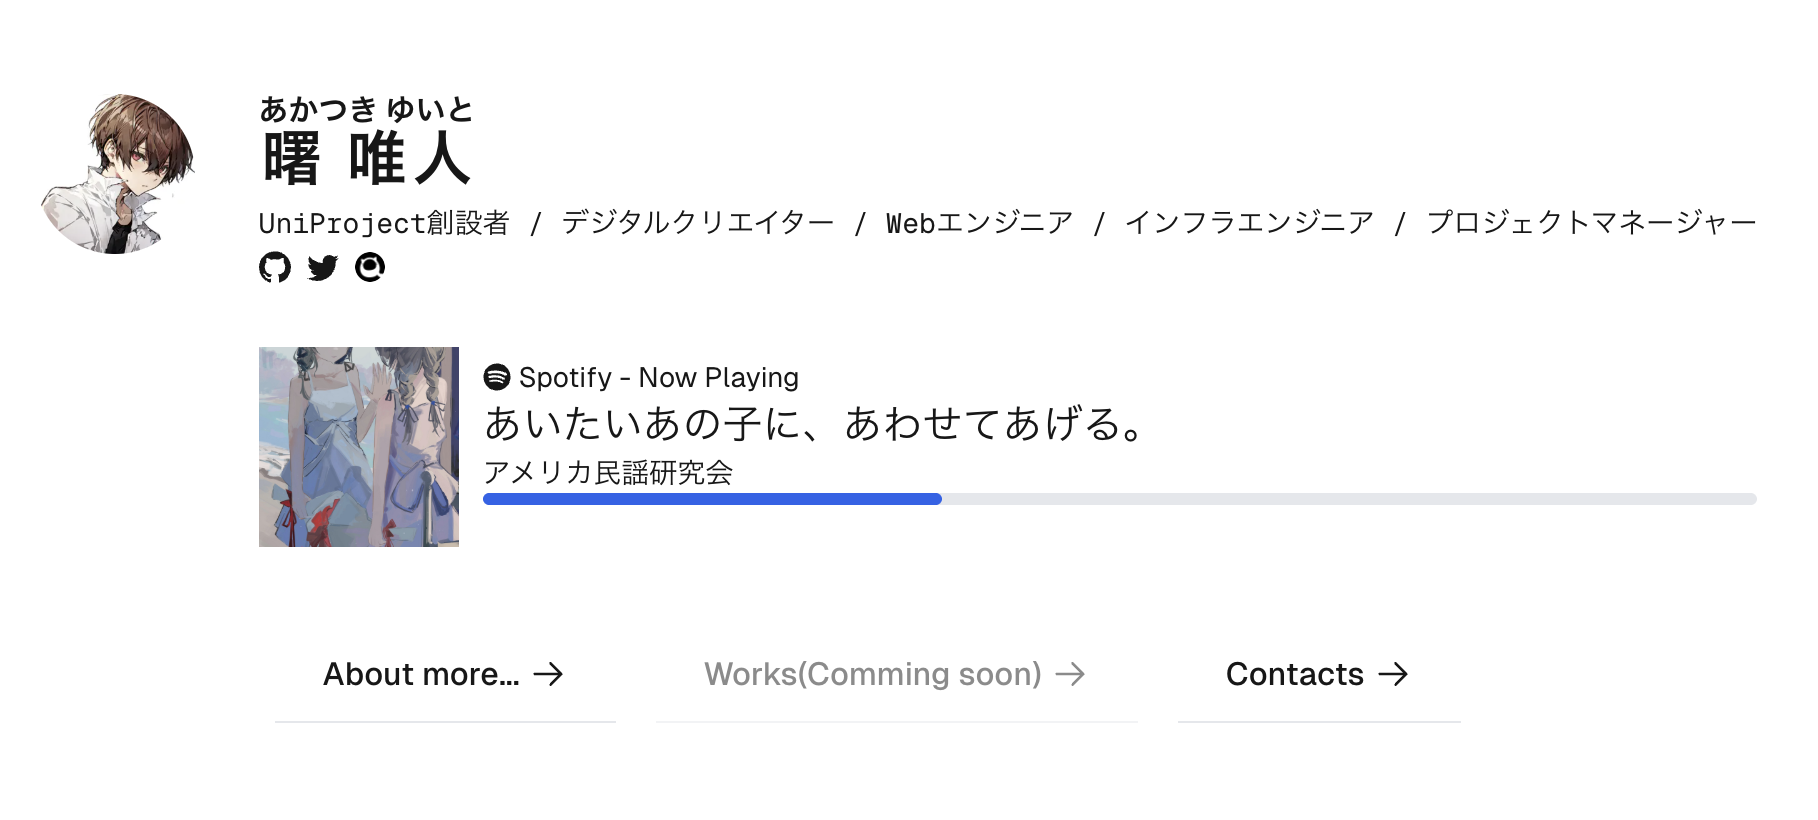
完成図
最終的には、ぼくのサイトに使われているこれ(画像)になります。
SpotifyAPIの準備をする
まずは、SpotifyAPIの準備をします。
SpotifyDevelopersのダッシュボードへアクセスします。
私はDeveloperとしてすでに使っているのでわかりませんが、もしかするとDeveloperの登録が必要かもしれません。
次に、CreateAppを選び、下の通りに入力します。

注意すべきなのは、RedirectURIsとWhich API/SDKs are you planning to use?です。
RedirectURIsには、認証完了後にデータが送られるURIを入力します。
今回は、開発環境用にhttps://localhost:3000/callbackを指定しています。
本番環境で使う時は、ドメインを置き換えて追加するなりしてください。
Which API/SDKs are you planning to use?
これは、どういうAPI使うつもりでいるんや?って聞かれているわけですが、今回はWebAPIのみで大丈夫です。
最後にガイドラインや利用規約の同意にチェックを入れて作成します。
お次に、ClientIDとClientSecretをメモります。
Settings->View ClientSecretから見ることができます。
ClientSecretは絶対に外部に漏らしてはいけません。
Next.jsのCallbackエンドポイントを作る
次に、認証の時に必要な、RedirectURIsに指定したエンドポイントを作成します。
通信用ライブラリの作成
私はlibファイルを作成し、それをコンポーネントや、コールバック関数から参照する形をとっています。
まず、/src/lib/spotify.tsを作成します。
// /src/lib/spotify.ts

import axios from "axios";
import qs from "qs";
import fs from "fs";
import path from "path";

const client_id = process.env.SPOTIFY_CLIENT_ID;
const client_secret = process.env.SPOTIFY_CLIENT_SECRET;
const authorization_code = process.env.SPOTIFY_AUTHORIZATION_CODE;
const redirect_uri = process.env.SPOTIFY_REDIRECT_URI;

const tokensPath = path.join(process.cwd(), "tmp", "tokens.json");
const nowPlayingPath = path.join(process.cwd(), "tmp", "nowPlaying.json");
if (!fs.existsSync(path.dirname(tokensPath))) {
  fs.mkdirSync(path.dirname(tokensPath), { recursive: true });
}

let access_token: string;
let refresh_token: string;
if (fs.existsSync(tokensPath)) {
  ({ access_token, refresh_token } = JSON.parse(
    fs.readFileSync(tokensPath, "utf8")
  ));
}

const basic_authorization = Buffer.from(
  `${client_id}:${client_secret}`
).toString("base64");

export async function getFirstAccessTokenToSpotify(code = authorization_code) {
  const headers = { Authorization: "Basic " + basic_authorization };
  const payload = qs.stringify({
    grant_type: "authorization_code",
    code: code,
    redirect_uri: redirect_uri,
  });

  try {
    const response = await axios.post(
      "https://accounts.spotify.com/api/token",
      payload,
      { headers }
    );
    const data = response.data;
    access_token = data.access_token;
    refresh_token = data.refresh_token;
    console.log("Access token:", access_token);
    console.log("Refresh token:", refresh_token);
    const tokens = JSON.stringify(
      {
        access_token: access_token,
        refresh_token: refresh_token,
      },
      null,
      " "
    );
    fs.writeFileSync(tokensPath, tokens);
    console.log("Tokens saved to:", tokensPath);
  } catch (error) {
    console.error(
      "Error getting access token:",
      (error as any).response?.data || (error as any).message
    );
  }
}
プログラムを開設すると、まず、環境変数からClientIDなどを取得。
次に、データを保存するディレクトリを指定しています。
const client_id = process.env.SPOTIFY_CLIENT_ID;
const client_secret = process.env.SPOTIFY_CLIENT_SECRET;
const authorization_code = process.env.SPOTIFY_AUTHORIZATION_CODE;
const redirect_uri = process.env.SPOTIFY_REDIRECT_URI;

const tokensPath = path.join(process.cwd(), "tmp", "tokens.json");
const nowPlayingPath = path.join(process.cwd(), "tmp", "nowPlaying.json");
if (!fs.existsSync(path.dirname(tokensPath))) {
  fs.mkdirSync(path.dirname(tokensPath), { recursive: true });
}

let access_token: string;
let refresh_token: string;
if (fs.existsSync(tokensPath)) {
  ({ access_token, refresh_token } = JSON.parse(
    fs.readFileSync(tokensPath, "utf8")
  ));
}
次に、アクセストークンを取得するSpotifyAPIのエンドポイントへアクセスする際に必要となる、ClientIDとSecretをbase64エンコーディングしたものを用意します。
const basic_authorization = Buffer.from(
  `${client_id}:${client_secret}`
).toString("base64");
さて、ここから、AccessTokenとRefreshTokenを取得します。
実は、AccessTokenの有効期限は短く、有効期限が切れたとエラーが出れば、有効期限が長いRefreshTokenで更新します。
ちなみに、どちらも有効期限が切れたり、RefleshTokenを無くしたときは、再度ユーザーに認証してもらわなければならないので少々面倒です。
/api/tokenにトークンを要求するためのpayloadを送ると、JSON形式でデータが返ってきます。
なお、このcodeも有効期限が非常に短いので注意が必要です。
export async function getFirstAccessTokenToSpotify(code = authorization_code) {
  const headers = { Authorization: "Basic " + basic_authorization };
  const payload = qs.stringify({
    grant_type: "authorization_code",
    code: code,
    redirect_uri: redirect_uri,
  });

  try {
    const response = await axios.post(
      "https://accounts.spotify.com/api/token",
      payload,
      { headers }
    );
    const data = response.data;
    access_token = data.access_token;
    refresh_token = data.refresh_token;
    console.log("Access token:", access_token);
    console.log("Refresh token:", refresh_token);
    const tokens = JSON.stringify(
      {
        access_token: access_token,
        refresh_token: refresh_token,
      },
      null,
      " "
    );
    fs.writeFileSync(tokensPath, tokens);
    console.log("Tokens saved to:", tokensPath);
  } catch (error) {
    console.error(
      "Error getting access token:",
      (error as any).response?.data || (error as any).message
    );
  }
}
エンドポイント側
Next.jsのエンドポイント側の実装をします。
/src/apps/callback/routes.tsを作成します。
// /src/apps/callback/routes.ts
import { type NextRequest } from 'next/server'
import { getFirstAccessTokenToSpotify } from "@/lib/spotify";

export function GET(request: NextRequest) {
    const searchParams = request.nextUrl.searchParams
    const code = searchParams.get('code') ?? undefined; // => "hello"
    getFirstAccessTokenToSpotify(code);
    return Response.json({ status: "OK" });
}
これはそのままですね。
アクセスされた時に、codeというパラメータを取得し、そのまま通信用ライブラリに横流ししています。
routes.tsというのは、NextjsでAPIエンドポイントを実装するためによく使います。
tokenをいざ取得!!
さて、実際にtokenを取得してみましょう。
Nextjsを起動した上で、以下のURLにアクセスしてみましょう。
https://accounts.spotify.com/authorize?client_id=<clientID>&response_type=code&redirect_uri=<callbackURI>&scope=user-read-playback-state
ClientIDとcallbackURIはそれぞれ置き換えてください。
これで、{status:OK}と表示され、/tmp/tokens.jsonにtokenが保存されていればOKです。
さて、お次は実際に表示してみましょう。
今回は少し長くなってしまったのと、自分が少し疲れたので続きは次の日のアドカレで...
実は分割するのにはちゃんとした理由もあって、今回はSpotifyAPIの認証の話をしましたが、次はがっつりNextjsの話をします。
というのも、NextjsのSSRの説明をするので、内容がガラリと変わるのですよ...
質問等あればコメントへ!
いつでもお待ちしております!!
ではでは...