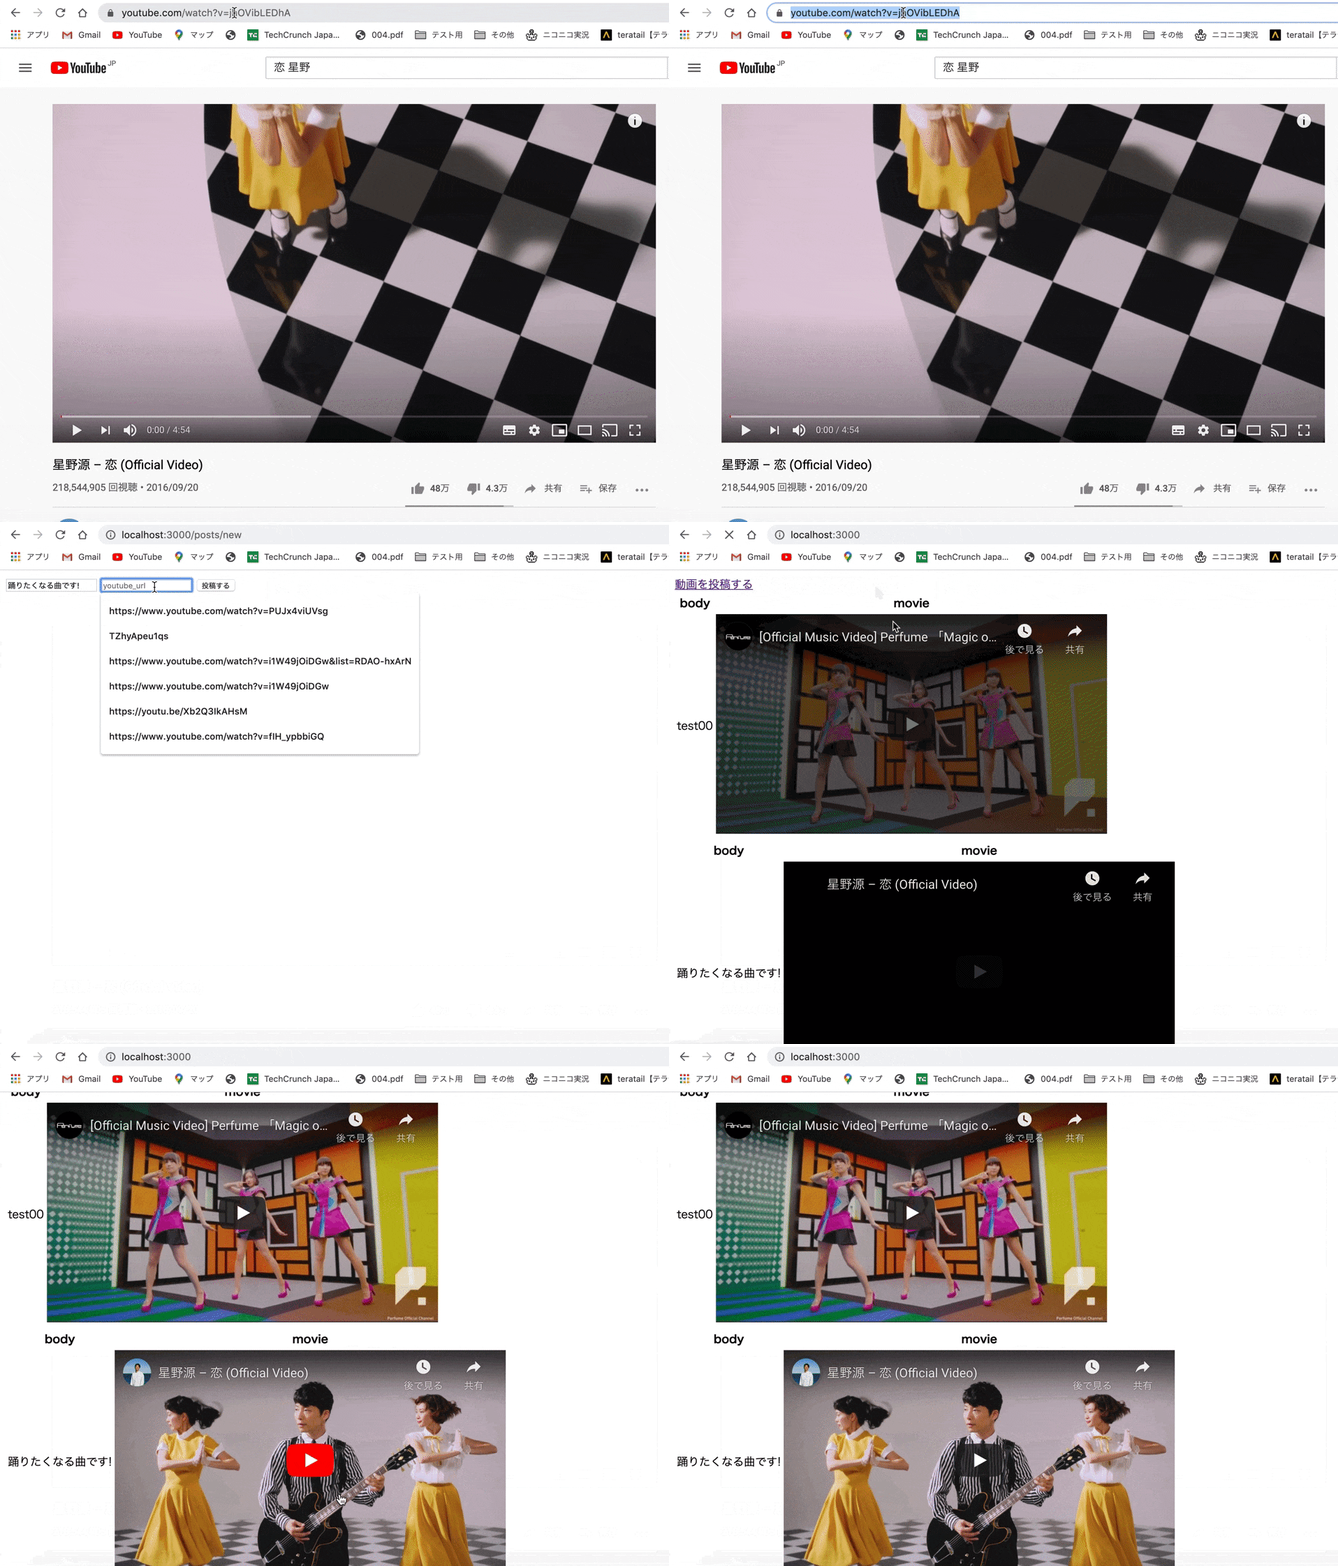
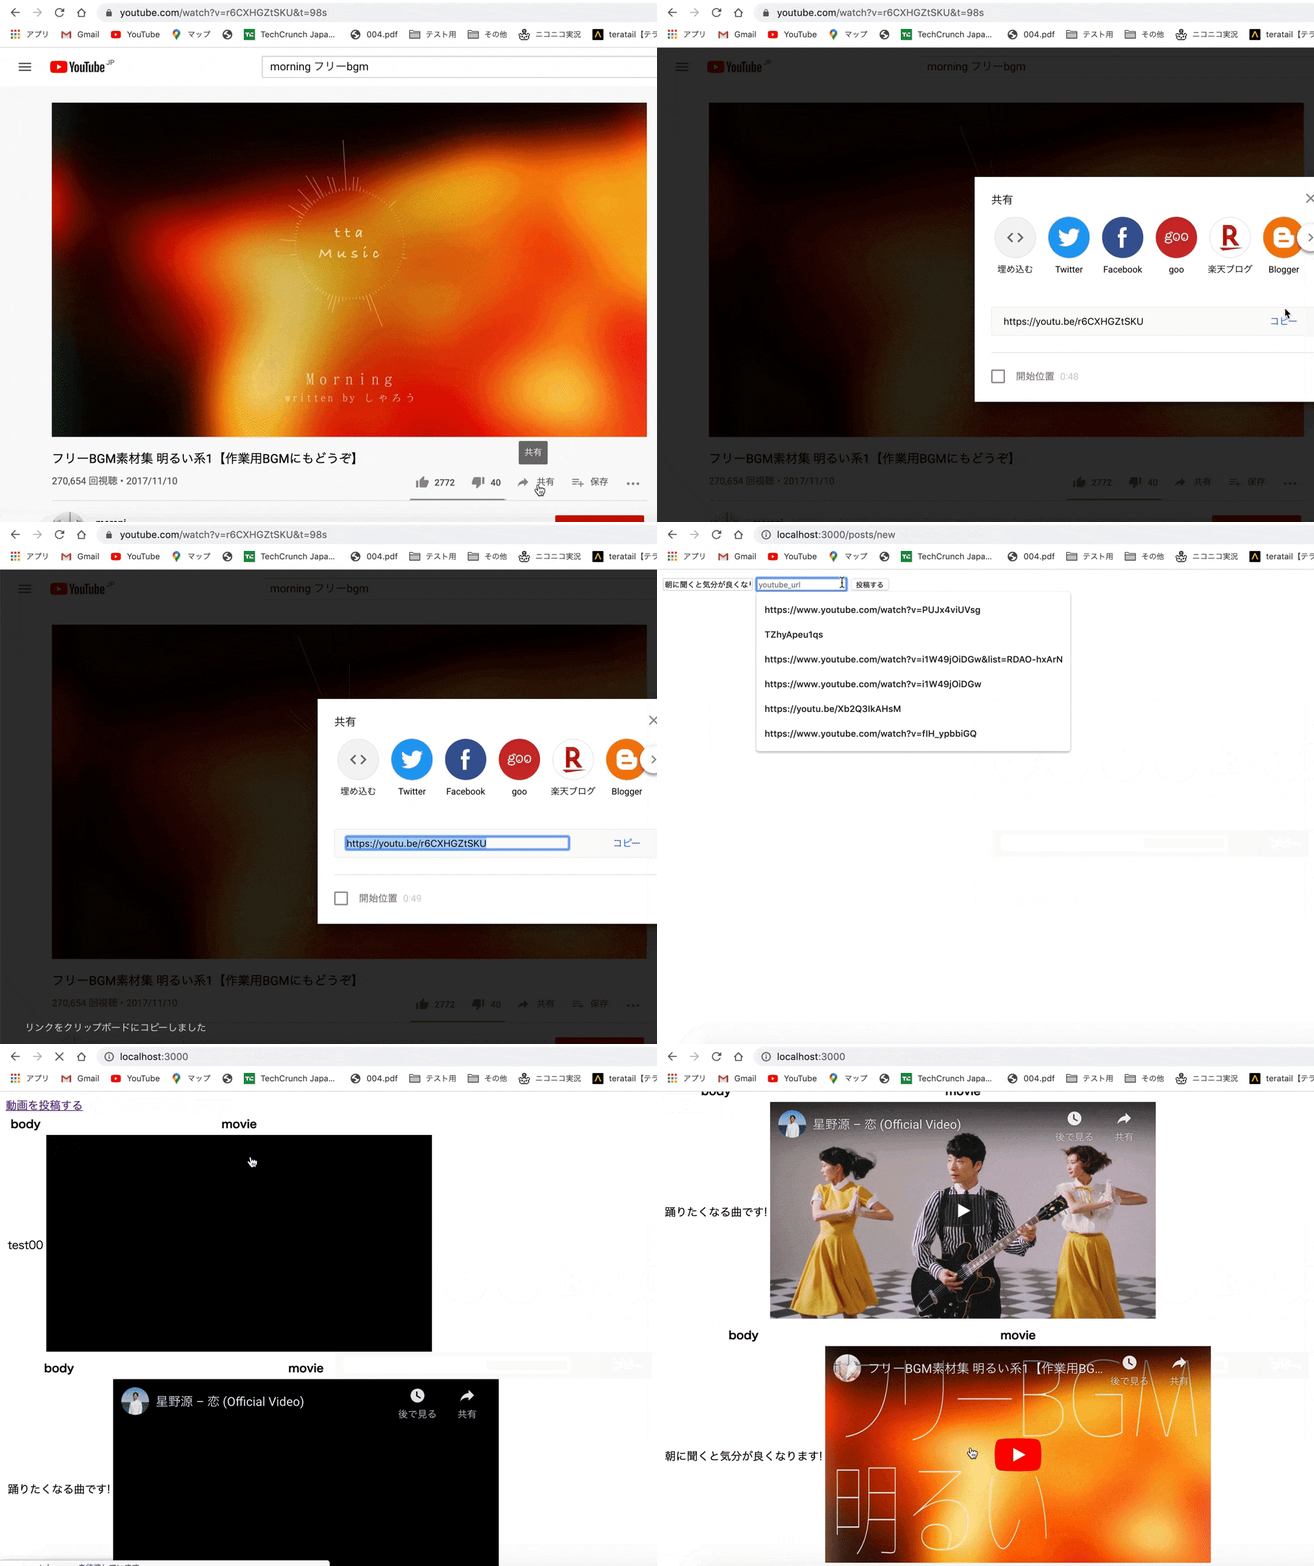
こんな感じで作りたい
1 概要
Youtubeにアップロードされた動画をRailsアプリで投稿したいという方に向けたものです。
この記事を通して「ああ、こんな感じなんだな」と理解してもらえれば幸いです!
あと初めてQiitaの記事を書きますので、色々ご不明点あるかもしれませんがよろぴく。
動画の貼り付け方は難しそうなイメージを持っているのではないかと思います。自分もそうでした。
なので今回はRailsアプリでYoutubeの動画を投稿する方法を説明していきます。
1.1 どうやって実装するか
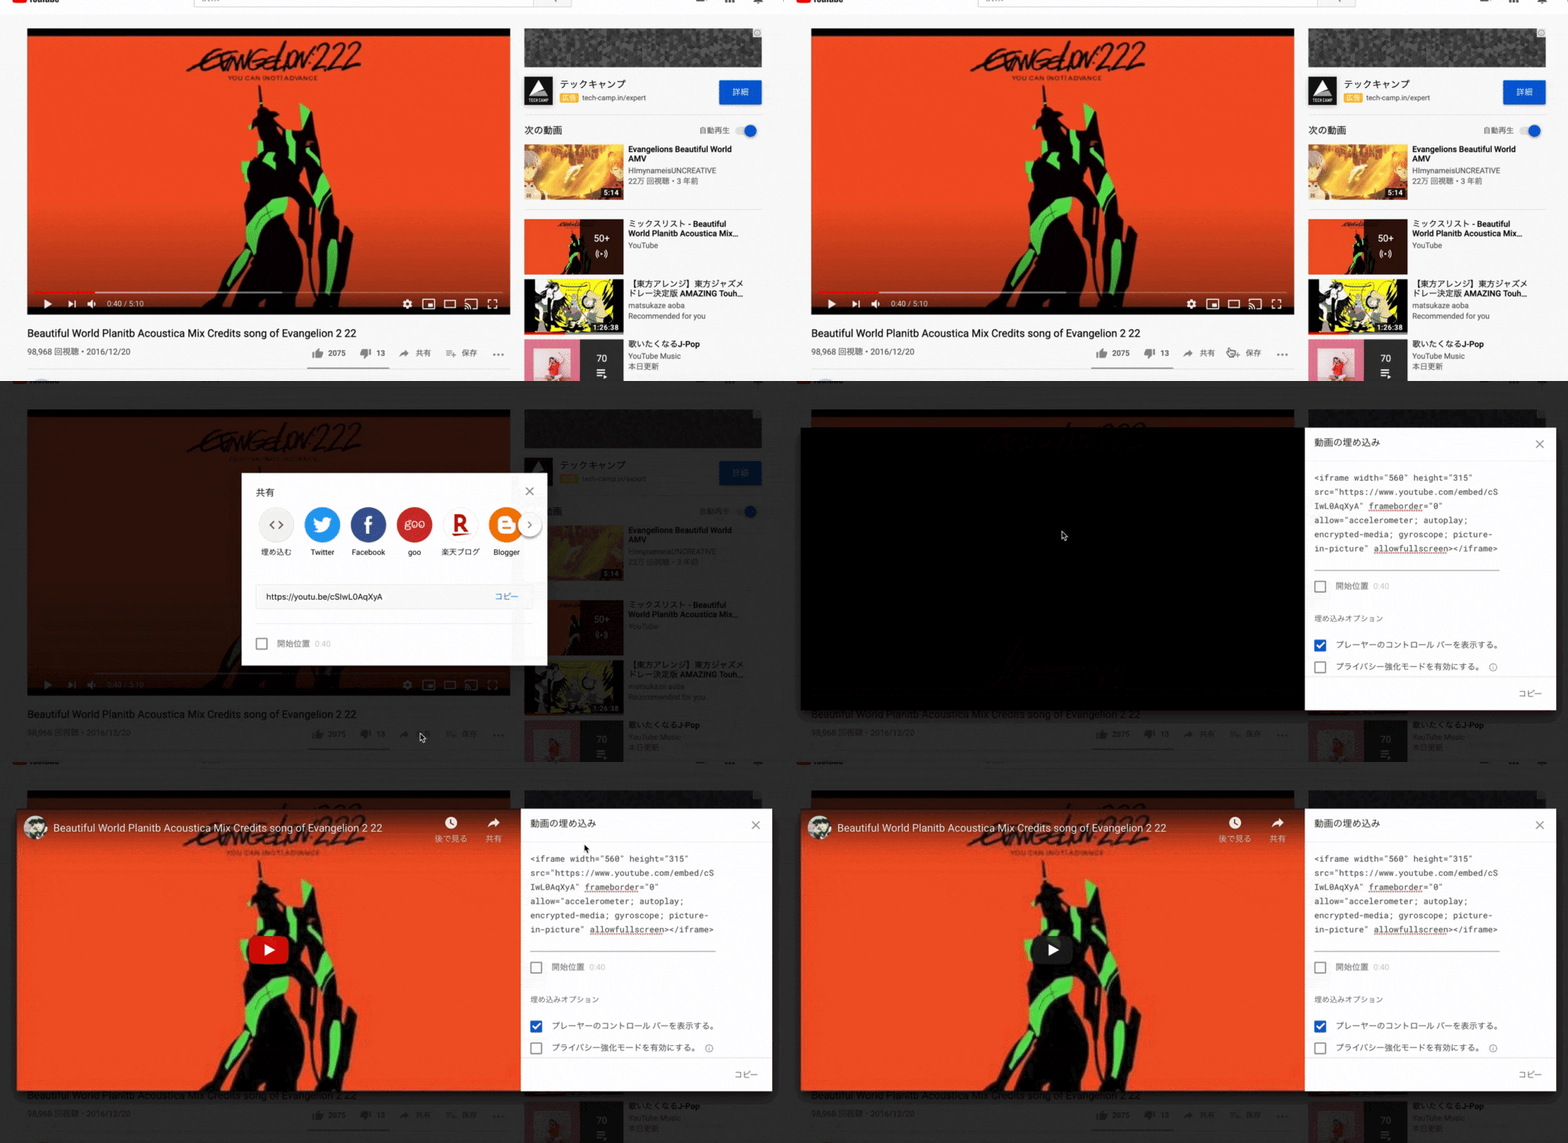
通常はYoutubeの動画をWebページに表示する場合は、gifのように埋め込みのコードをコピーしてページに貼り付ければ簡単に表示できます。
ただ、今回の場合はyoutubeの動画を投稿して表示したい場合です。
youtubeの個々の動画のURLに共通してあるのは、下11桁のコードが存在してあることです。youtubeではこれをvideo_idを呼びます。(ニコニコ動画で言えばsm<7桁>または<8桁>)

なのでHTMLで用意されたiframeタグに直接反映させれば動画が再生されるのではと考えました。
1.2 前提
- VSCode,Ruby,Railsを中心に使用します。
- htmlはhamlを使用しています。
- scafoldは使用しないです。
- JavaScript,jQueryは使用しません。あくまで初学者でもわかるように説明します。
2 実装
さくっとやりましょう!
2.1 新規ファイルを作成
今回はMYSQLを使用します。バージョン指定したい場合は'rails 5.2.3 new YoutubeTest -d mysql'って感じで打ってください!
$ cd ~/projects // ディレクトリは各自用意
$ rails new YoutubeTest -d mysql
アプリ用のデータベースを作成します。
$ cd YoutubeTest // 新規作成したアプリのディレクトリへ移動
$ rails db:create // データベースを作成します

# 以下のような表示がされれば成功
Created database 'YoutubeTest_development'
Created database 'YoutubeTest_test'
サーバーを起動します。
$ rails s
あとはサーバー立ち上げることができたか確認します。
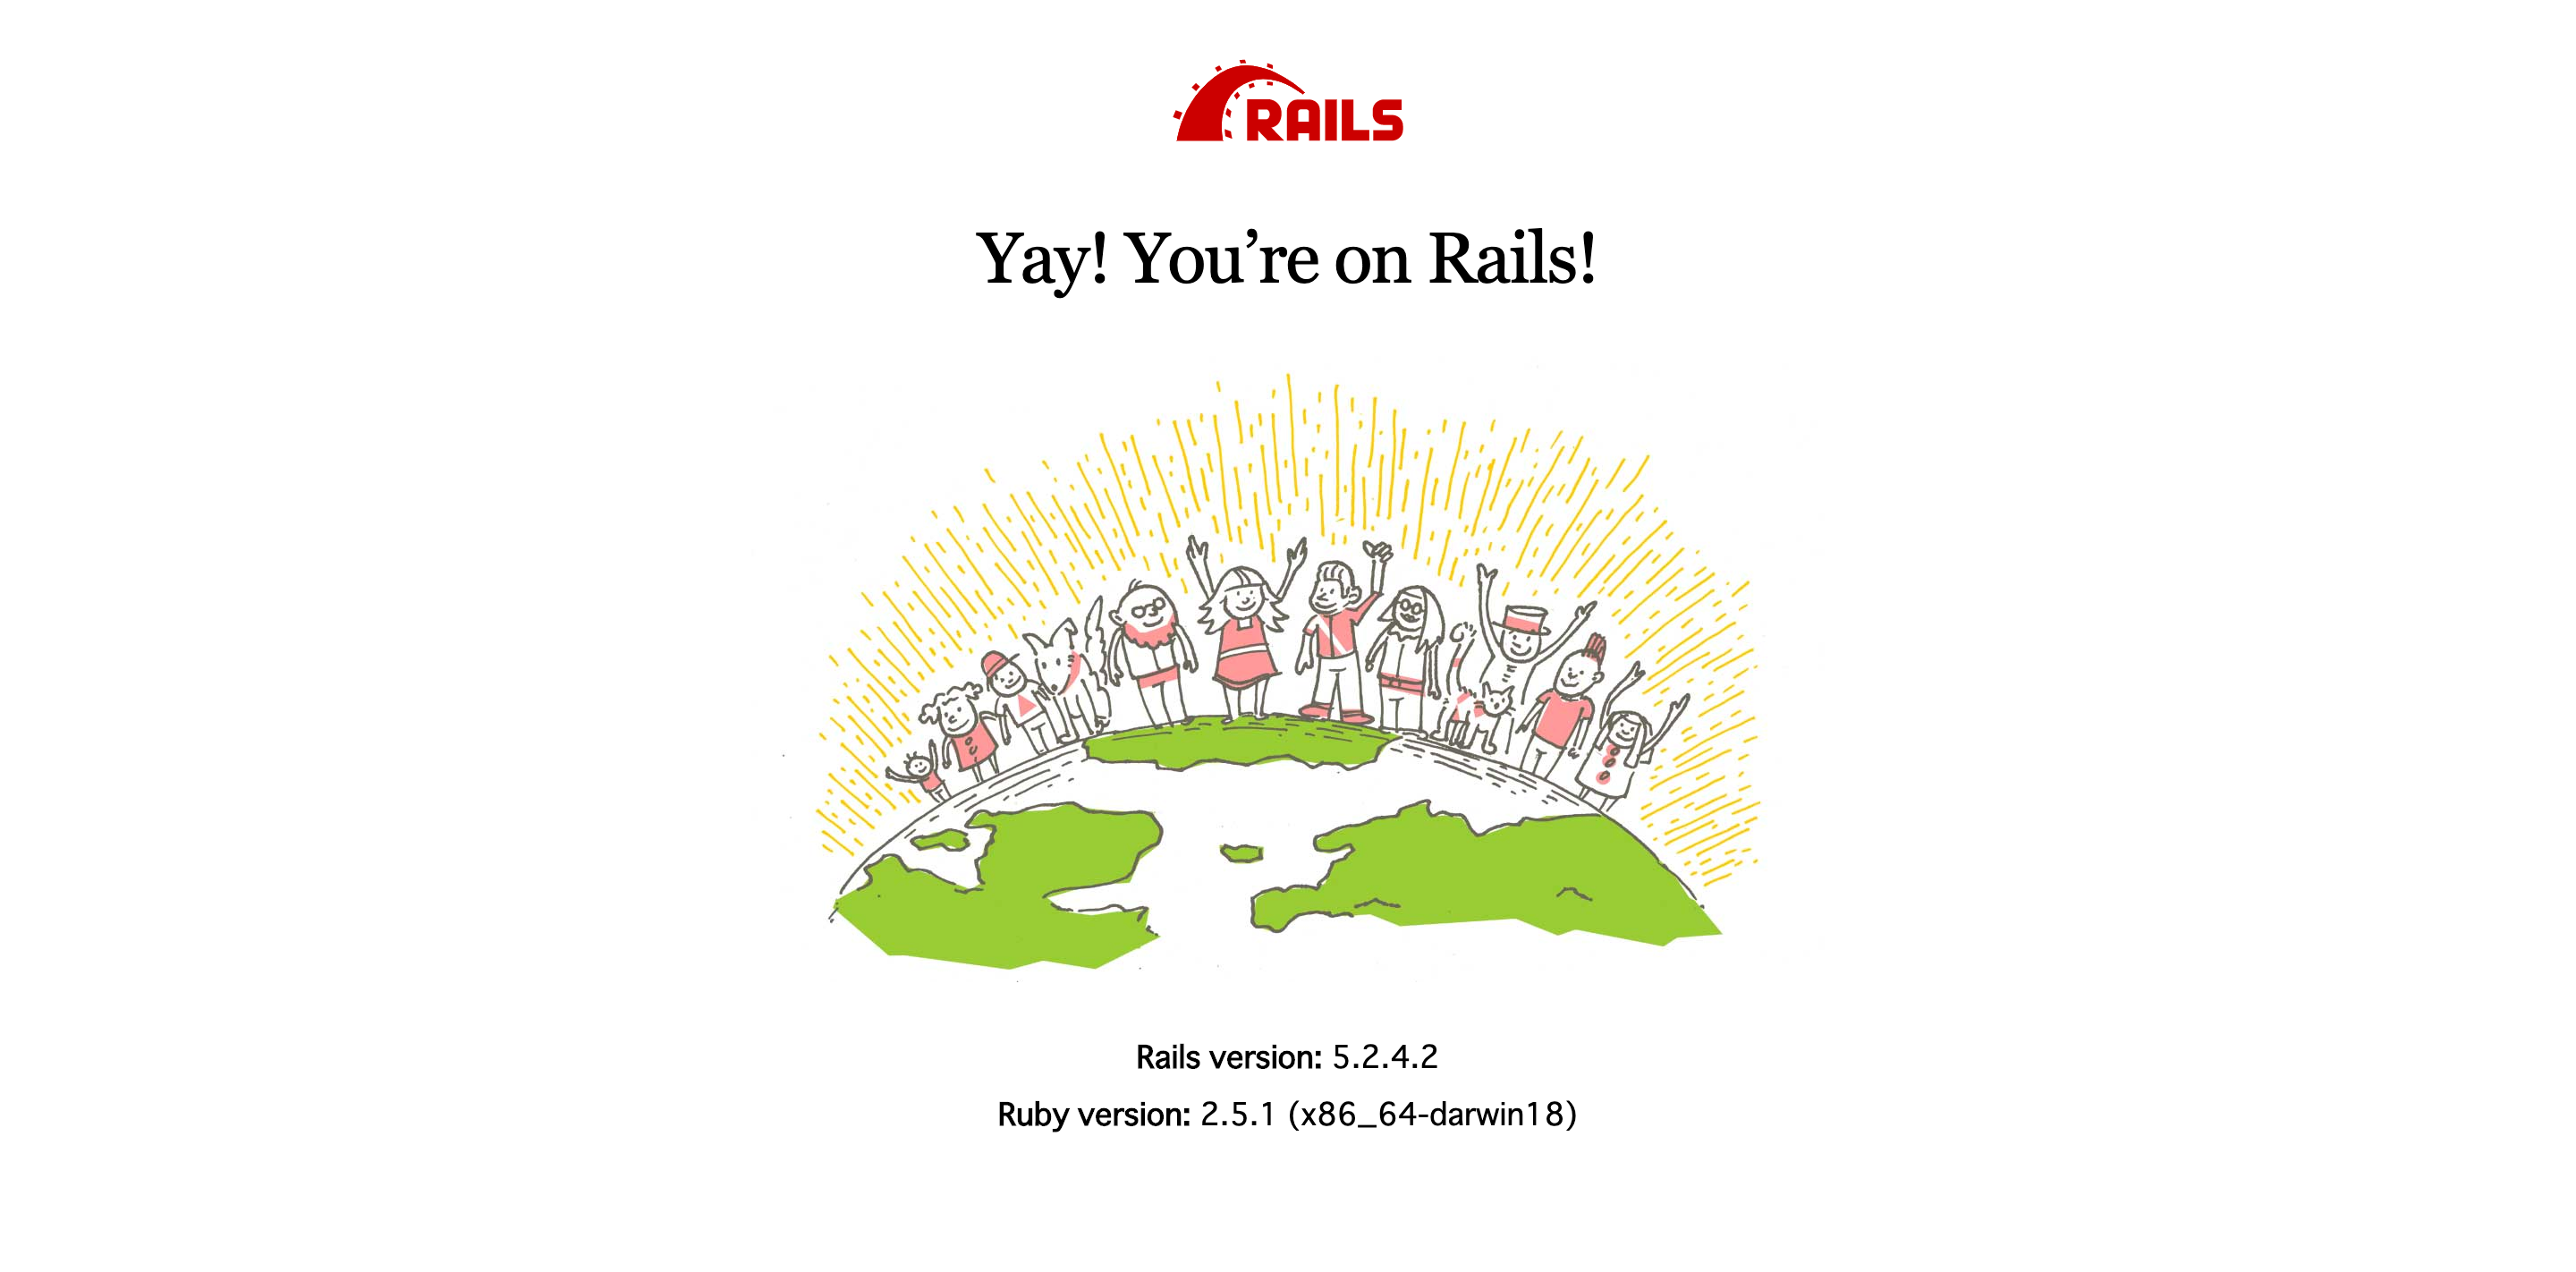
http://localhost:3000 にアクセスするとRailsのデフォルト画面が出ればOKです!
2.2 Gem導入
続いてはテキストエディタの出番ですね。
テキストエディタを開き、command + Oで先ほど作成したYoutubeTestディレクトリを選択。
Gemfileに一番最後の行に以下のgemを追加してください。
gem 'haml-rails'
gem 'erb2haml'
あとはbundle installをぶち込みます。
'bundle'でも可能なので、僕は気軽にインストールしたい時はこれをやってます。
ターミナルでcommand + tを押すとタブが作成されるので、そこでbundleします。
あるいはcontrol + cでサーバーを一旦停止してそこでbundleしてもOKです。
$ bundle
2.3 ファイル作成
はじめに、ルーティングを設定します。
Rails.application.routes.draw do
  root to: 'posts#index'
  resources :posts, only: [:index, :new, :create]
end
コントローラーを作成します
$ rails g controller posts
postsコントローラーに以下を追記してください。
class PostsController < ApplicationController
  def index
    @posts = Post.all
  end

  def new
    @post = Post.new
  end

  def create
    Post.create(post_params)
    redirect_to root_path
  end

  private
  def post_params
    params.require(:post).permit(:body, :youtube_url)
  end
end
モデルを作成します
$ rails g model post
マイグレーションファイルに以下のように追加
class CreatePosts < ActiveRecord::Migration[5.2]
  def change
    create_table :posts do |t|
      t.text :body # 追加
      t.string :youtube_url # 追加
      t.timestamps
    end
  end
end
あとは忘れずマイグレートしましょう。
$ rails db:migrate
いよいよ本題ですね!
トップ画面のビューファイルを作ります
views/posts配下に新たにindex.html.hamlファイルを作りましょう。
作成後に以下の内容をまるまる入れてください!
.contents
  = link_to '動画を投稿する', new_post_path
  .contents__content
    - @posts.each do |post|
      .contents__content
      %table
        %tr
          %th
            body
          %th
            movie
        %tr
          %td
            = post.body
          %td
            %iframe{allow: "accelerometer; autoplay; encrypted-media; gyroscope; picture-in-picture", allowfullscreen: "", frameborder: "0", height: "315", src: "https://www.youtube.com/embed/#{post.youtube_url.last(11)}", width: "560"}
一番最後のiframeタグにhttps://www.youtube.com/embed/#{post.youtube_url.last(11)}のvideo_idの部分に#{post.youtube_url.last(11)}と入ってあるのは、簡単に説明すると「youtube_urlのurlの下11桁を取得します!」ということです。
lastメソッドを使って文字列の最後を取得するようにします。(この場合last(11)なので、文字列の下11桁を取得することになります。)
続いて投稿画面のビューファイルを作成します。
これも同じくviews/postsディレクトリ配下に新規のビューファイルを作ります。
.new-contents
  .new-contents__content
    = form_for [@post] do |f|
      = f.text_field :body, placeholder: 'body'
      = f.text_field :youtube_url, placeholder: 'youtube_url'
      = f.submit '投稿する'
最後は一旦サーバーを停止して、再度rails sを起動してください。
あとはhttp://localhost:3000/ へアクセスして動画を送ってみましょう!
これで完成です!
ね?簡単でしょ?
こんな感じで、動画投稿の実装までできたらこっちのもんです!
以上です。ありがとうございました。
参考サイト


