概要
本書ではCentOS8にgsutilをインストールし、Google Cloud Storage(以下、「GCS」と称する)にファイルをアップロードします。また特定のディレクトリをGCSにバックアップするスクリプトを作成します。
0. 前提条件
- GCPのアカウントを作成していること。
- 本書では下記に記載しますCentOS8やgsutilのバージョンを使用しました。
# cat /etc/redhat-release
CentOS Linux release 8.2.2004 (Core)
# gsutil version
gsutil version: 4.52
1. gsutilのインストール
-
Google Cloud SDKをインストールする。
# curl https://sdk.cloud.google.com | bash -
インストール中に下記のようにインストールディレクトリ先を指定するように求められるので、インストールディレクトリ先に指定がなければ何も入力せずにEnterを押下する。
Installation directory (this will create a google-cloud-sdk subdirectory) (/root): -
インストール中に下記のようにGoogle Cloud SDKの改善に協力するか求められるので、yかNを入力しEnterを押下する。
Do you want to help improve the Google Cloud SDK (y/N)? -
インストール中に下記のようにプロファイルを変更して$PATHを更新しシェルコマンドを有効にするか求められるので、yを入力しEnterを押下する。
Modify profile to update your $PATH and enable shell command
completion?
Do you want to continue (Y/n)?
````
-
更新するrcのパスについて求められるので、指定がなければ何も入力せずにEnterを押下する。
Enter a path to an rc file to update, or leave blank to use [/root/.bashrc]: -
下記のようなメッセージが表示されたことを確認する。
==> Start a new shell for the changes to take effect.
For more information on how to get started, please visit:
https://cloud.google.com/sdk/docs/quickstarts
```
-
シェルを再起動する。
# exec -l $SHELL -
gcloud環境を初期化する。
# gcloud init -
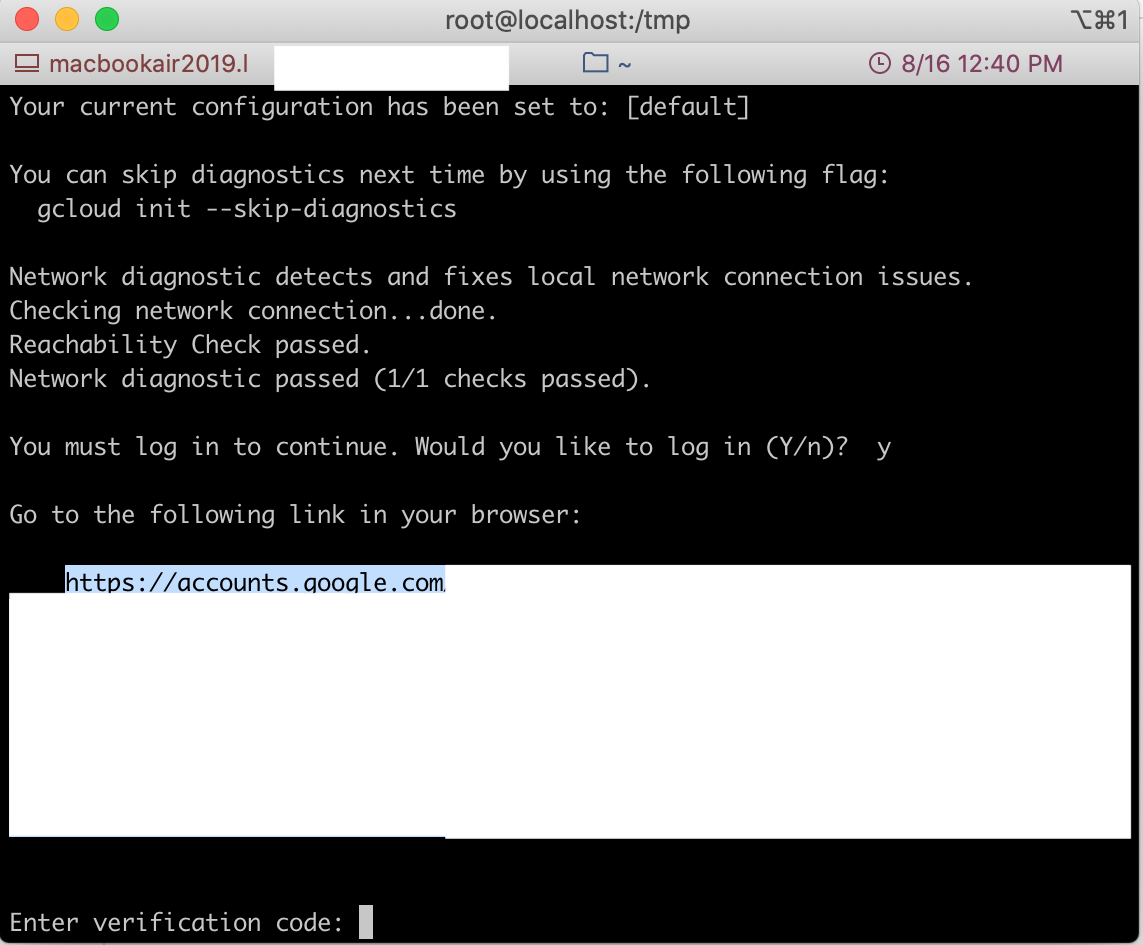
下記のようにログインするように求められますので、yを入力しEnterを押下します。
You must log in to continue. Would you like to log in (Y/n)? -
下記のようにターミナルに記載されているURLに移動し、ブラウザ上からGCPにログインします。
-
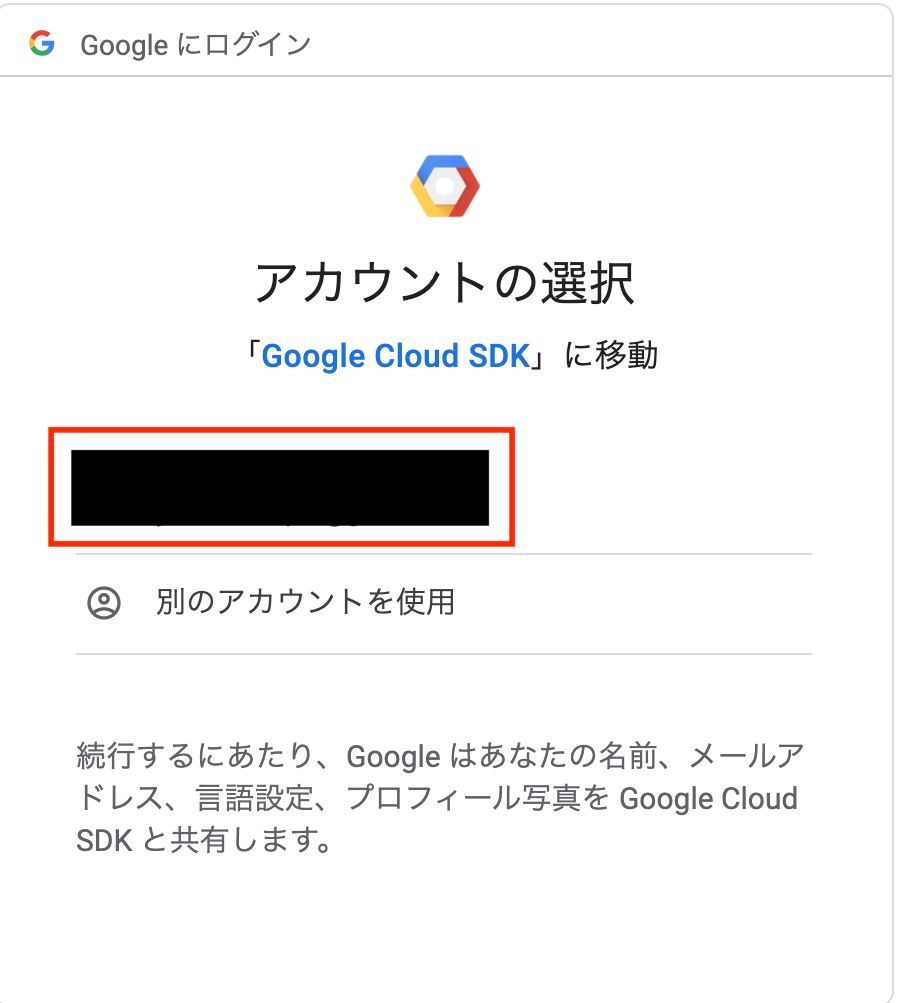
ログインするアカウントを選択します。
-
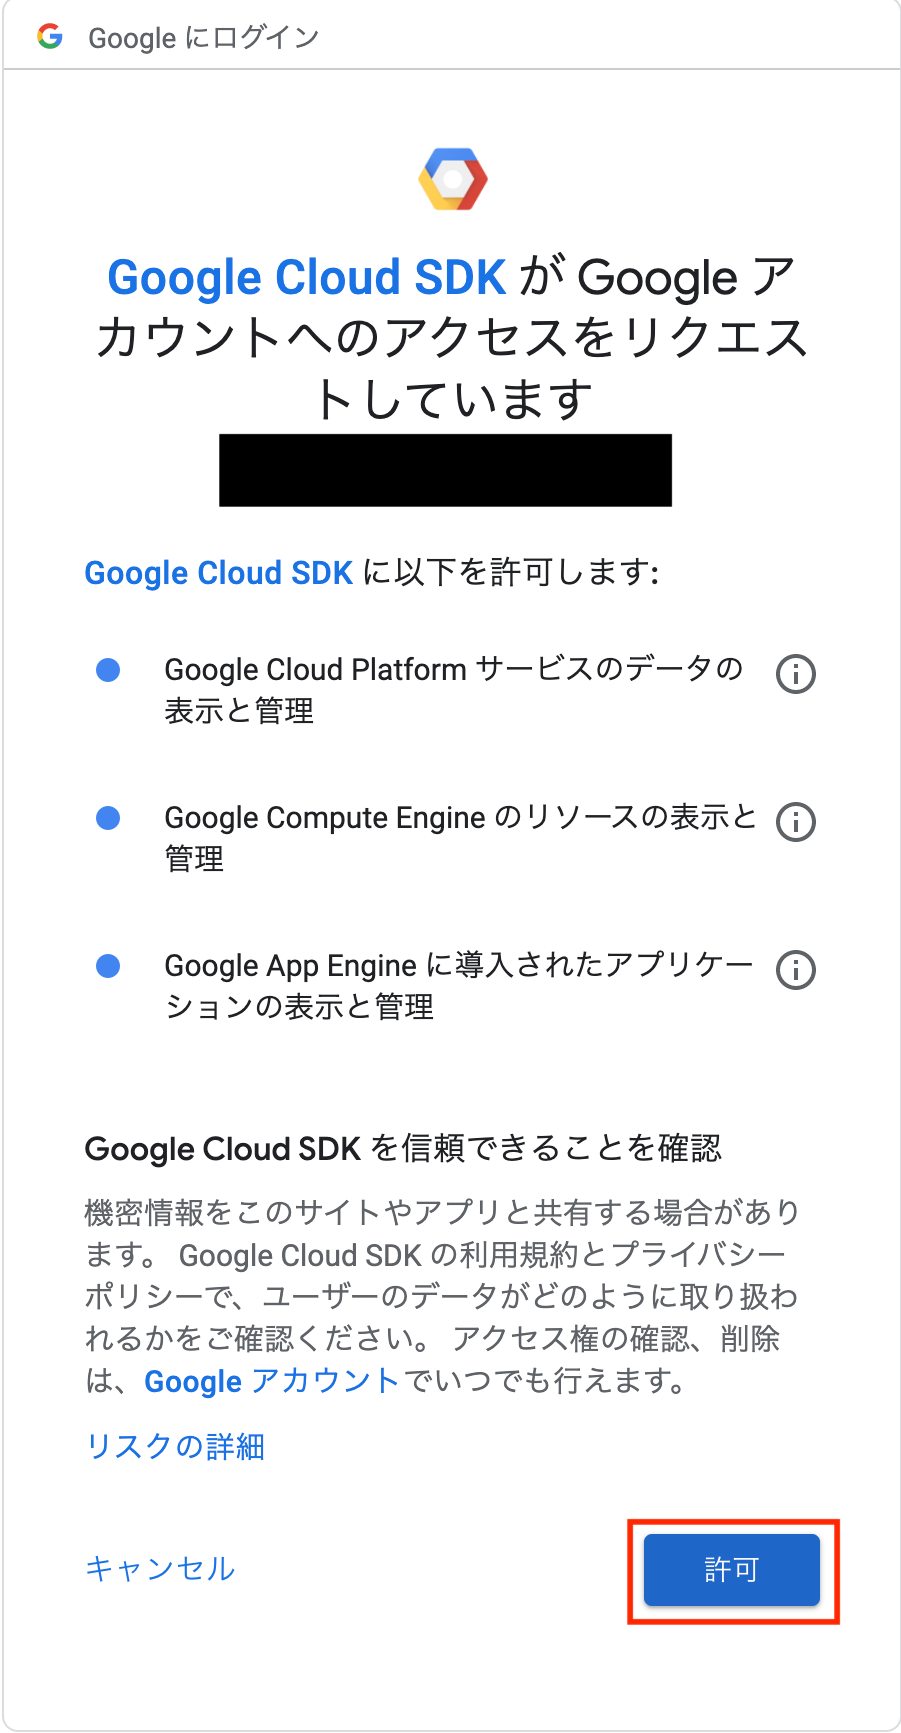
許可する内容を確認後、「許可」をクリックします。
-
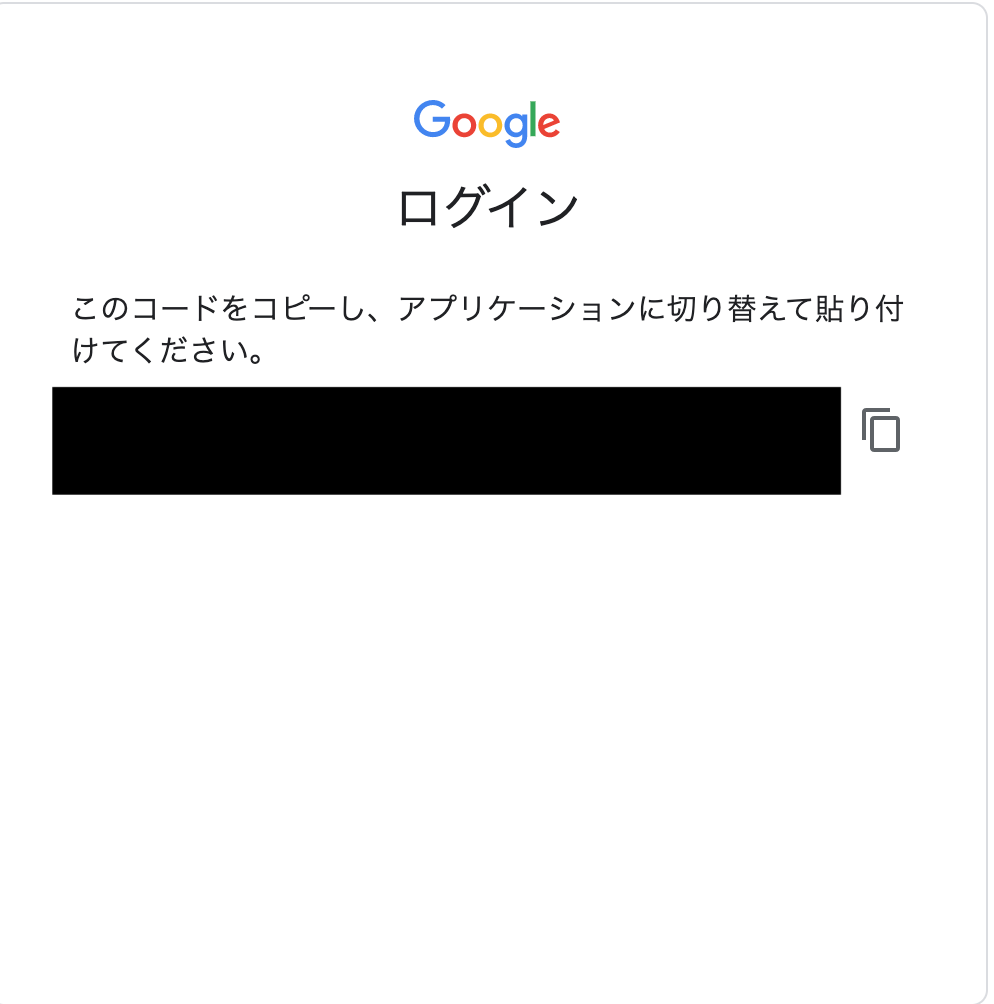
認証コードが発行されたことを確認し、コードをコピーする。
-
ターミナルに戻り、
Enter verification code:にコピーしたコードを貼り付けてEnterを押下する。 -
下記のように既存のGCPのプロジェクトを使用するか、または新しくプロジェクトを作成するか求められる。プロジェクトを新規に作成しない場合は既存のプロジェクトが表示されている番号を入力しEnterを押下する。
Pick cloud project to use:
[1] xxxxxxxxxxxxxxxxxxx
[2] Create a new project
Please enter numeric choice or text value (must exactly match list
item):
```
16. 下記のようにデフォルトのリージョンやゾーンを構成するか求められるので、yを入力しEnterを押下する。
```
Do you want to configure a default Compute Region and Zone? (Y/n)?
```
-
どのリージョンとゾーンを構成するか求められるので、対応する番号を入力しEnterを押下する。
Which Google Compute Engine zone would you like to use as project
default?
If you do not specify a zone via a command line flag while working
with Compute Engine resources, the default is assumed.
[1] us-east1-b
[2] us-east1-c
(中略)
[49] asia-northeast2-c
[50] asia-northeast3-a
Did not print [24] options.
Too many options [74]. Enter "list" at prompt to print choices fully.
Please enter numeric choice or text value (must exactly match list
item):
```
-
エラーなくインストールが完了したことを確認する。
-
動作確認のため、gsutilのバージョンを表示させる。
# gsutil version
2. ファイルをアップロードする。
-
GCSのバケットを作成する。ストレージクラスの種類はGCP公式サイトを参照すること。
# gsutil mb -p [プロジェクトID] -c [ストレージクラス] -l [リージョン] gs://[バケット名] Creating gs://xxxxxxxxx/... -
バケットが作成されたことを確認する。
# gsutil ls gs://xxxxxxxxx/ -
ローカルにあるファイルをGCSにコピーする。
# gsutil cp [ローカルファイル(フルパスで記載)] gs://[バケット名] Copying file:///xxxxxx [Content-Type=text/plain]... / [0 files][ 0.0 B/ 13.0 B] / [1 files][ 13.0 B/ 13.0 B] Operation completed over 1 objects/13.0 B. -
ローカルファイルがGCSにアップロードされたことを確認する。
# gsutil ls gs://[バケット名]
gs://xxxxxxxxx/xxxxx
3. バックアップスクリプトの作成
a. 作成例
# !/bin/sh

<< COMMENTOUT
gsutil_backup.sh(CentOS8)
Copyright (c) 2020 yuichi1992_west
This software is released under the MIT License.
http://opensource.org/licenses/mit-license.php
COMMENTOUT

# Specify the directory to back up.
backup_directory='[バックアップディレクトリ]'

# Specify the directory destination that compresses the temporarily specified backup source directory into tar.gz.
compresses_directory='[バックアップディレクトリをtar.gzに固める作業用ディレクトリ]'

# Specify the backup google cloud storage bucket.
backup_gcs='gs://[バケット名]'

# Generate a date to perform backup.
backup_date=`date "+%Y%m%d"`

# Specify the log file directory.
backup_log='[ログファイル出力ディレクトリ]'

# Harden the local backup source directory into a tar.gz file
tar -zcvf "${compresses_directory}"/backup-"${backup_date}".tar.gz -P "${backup_directory}" &>> "${backup_log}"/backuplog-"${backup_date}".log

# Upload the backup source tar.gz to the google cloud storage bucket.
gsutil mv "${compresses_directory}"/backup-"${backup_date}".tar.gz "${backup_gcs}" &>> "${backup_log}"/backuplog-"${backup_date}".log

# Check the directory of the uploaded google cloud storage bucket
gsutil ls "${backup_gcs}" &>> "${backup_log}"/backuplog-"${backup_date}".log

exit 0
b. 実行結果(ログ)
/test/
/test/test.txt
/test/test2.txt
/test/test3.txt
Copying file:///tmp/backup-20200815.tar.gz [Content-Type=application/x-tar]...
Removing file:///tmp/backup-20200815.tar.gz...

Operation completed over 1 objects/254.0 B.
gs://xxxxxxxxxxxxxxxx/backup-20200815.tar.gz
c.動作について
-
バックアップ先を変数として定義する。
backup_directory='[バックアップディレクトリ先]' -
バックアップ対象のディレクトリをtar.gz形式に圧縮する作業用ディレクトリを変数として定義する。
compresses_directory='[バックアップディレクトリをtar.gzに固める作業ディレクトリ先]' -
バケット名を変数として定義する。
backup_gcs='gs://[バケット名]' -
バックアップ日時を変数として定義する。
backup_date=`date "+%Y%m%d"` -
ログファイル出力先のディレクトリを変数として定義する。
backup_log='[ログファイル出力ディレクトリ]' -
指定したバックアップ対象のディレクトリをtar.gz形式に圧縮する。
tar -zcvf "${compresses_directory}"/backup-"${backup_date}".tar.gz -P "${backup_directory}" &>> "${backup_log}"/backuplog-"${backup_date}".log -
tar.gzファイルをGCSに移動する。
gsutil mv "${compresses_directory}"/backup-"${backup_date}".tar.gz "${backup_gcs}" &>> "${backup_log}"/backuplog-"${backup_date}".log -
GCSにバックアップファイルがアップロードされたことを確認する。
gsutil ls "${backup_gcs}" &>> "${backup_log}"/backuplog-"${backup_date}".log
最後に
gsutilによってGCSにファイルをアップロードすることができます。これによりバックアップスクリプトを使用してGCSにバックアップファイルを保管したり、crontabを使用して定期的に特定のファイルをGCSにアップロードすることができます。