概要
本書ではWndowsServer2019とWindows10を利用してActiveDiretoryを構成します。
0. 本書で使用する環境
WindowsServer2019 , Windows10 Pro (Hyper-V上にインストール)
1. ActiveDirectoryの機能を有効化する
-
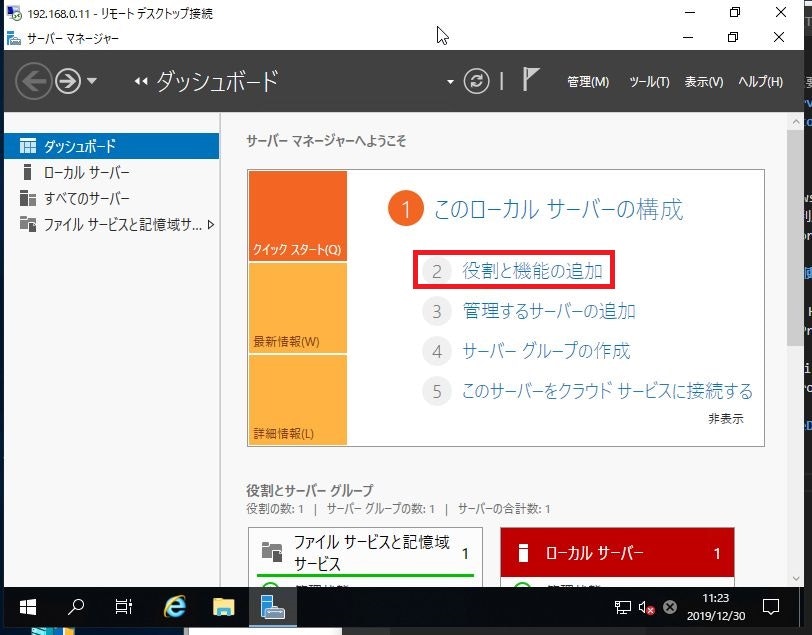
WindowsServer2019上から「サーバーマネージャー」を開き、「役割と機能の追加」をクリックする。
-
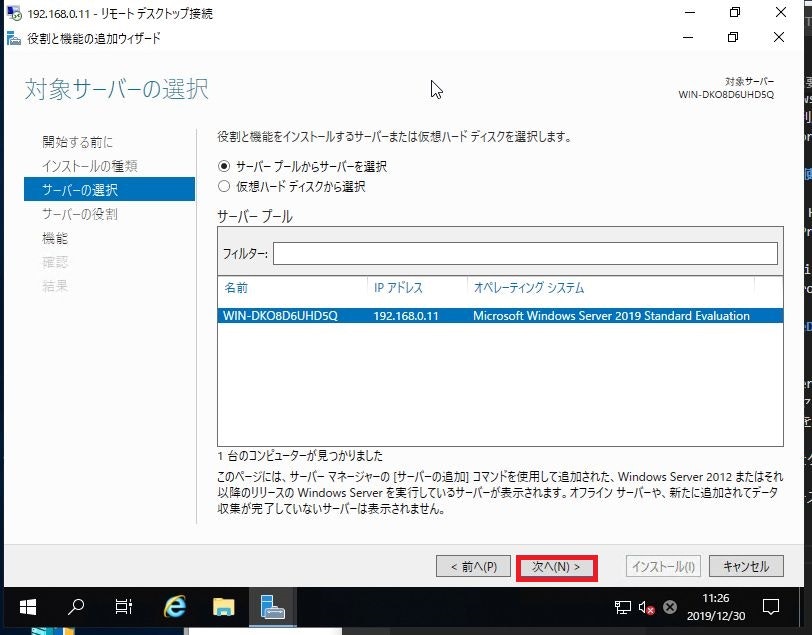
「次へ」をクリックする。

-
「次へ」をクリックする。

-
「次へ」をクリックする。
-
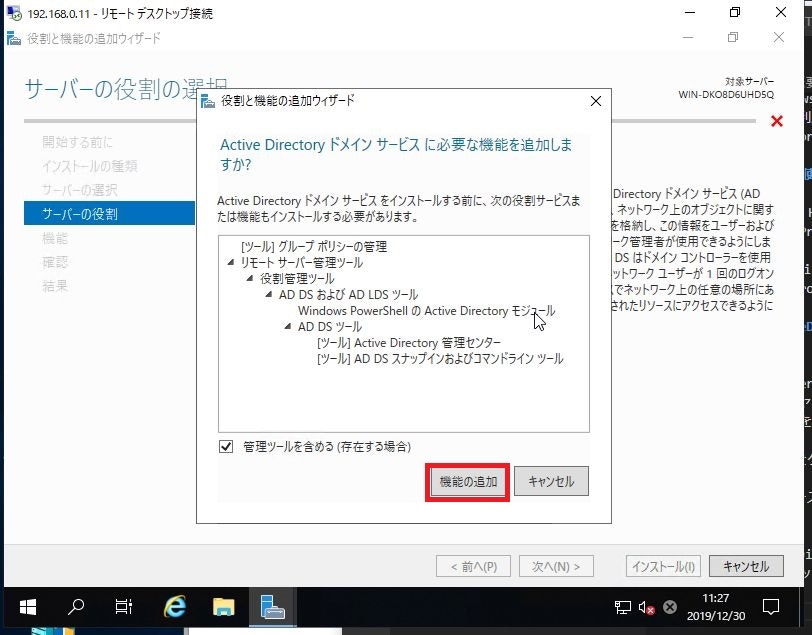
「ActiveDirectoryドメインサービス」にチェックを入れる。

-
「機能の追加」をクリックする。
-
「次へ」をクリックする。

-
「次へ」をクリックする。

-
「次へ」をクリックする。

-
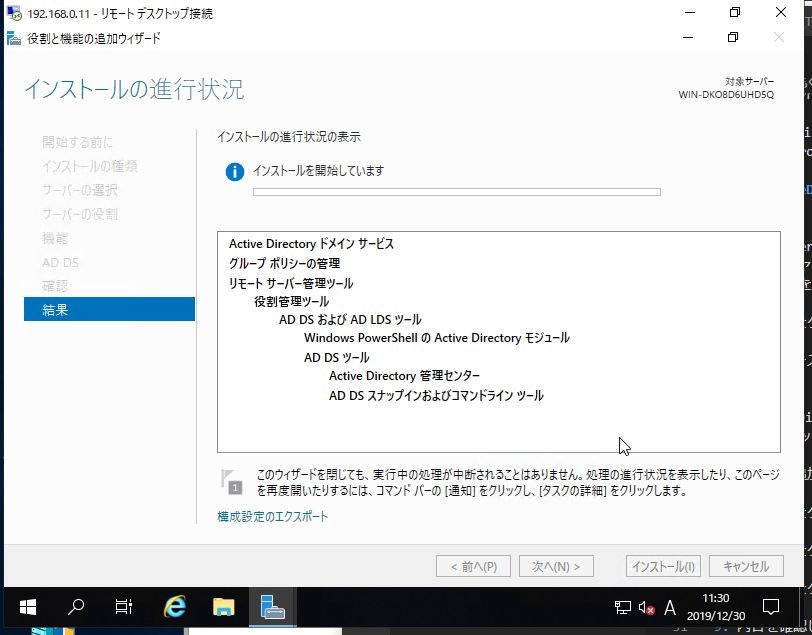
内容を確認し「インストール」をクリックする。

-
インストールしているので待機する。
-
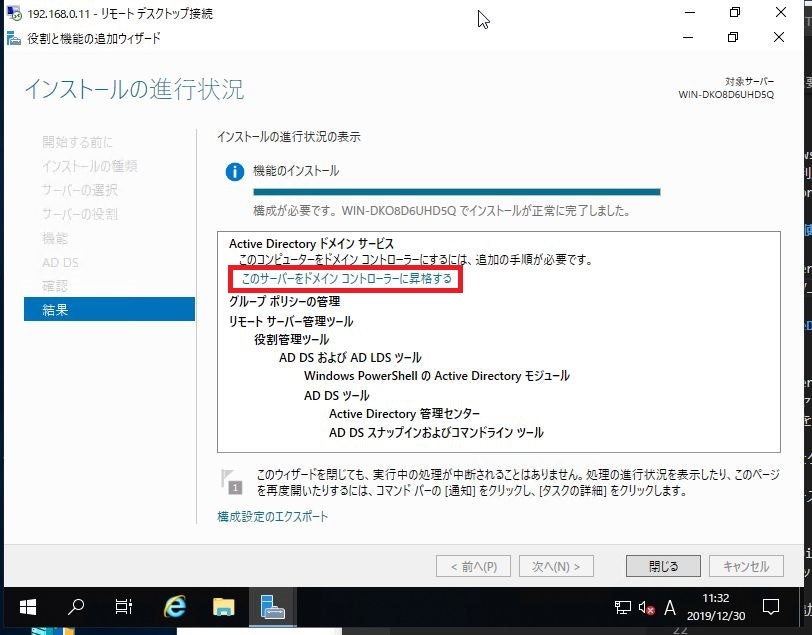
インストールが完了したら「このサーバーをドメインコントローラーに昇格する」をクリックする。
-
下記の内容を入力し「次へ」をクリックする。
- 配置操作を選択してください : 新しいフォレストを追加する
- ルートドメイン名 : (任意の名前を入力)

- 下記の内容を入力し「次へ」をクリックする。
- フォレストの機能レベル : 2016
(ただし古いWindowsのOSが搭載されているPCをActiveDirectoryに追加する場合は2008や2012を選択する) - ドメインの機能レベル : 同上
- ドメインコントローラーの機能を選択してください : ドメインネームシステム(DNS)サーバー
- ディレクトリサービス復元サービス(DSRM)のパスワードを入力してください : (任意のパスワードを入力)

-
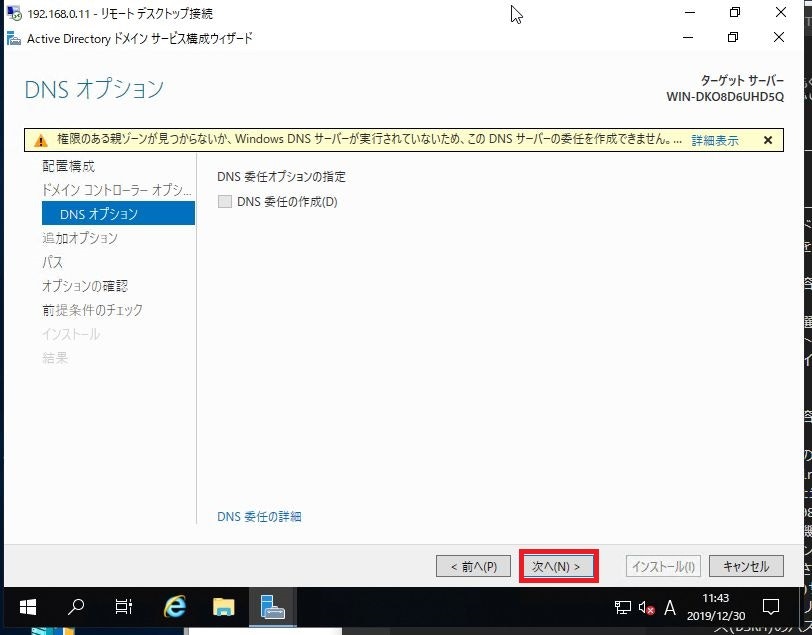
DNS委任しない場合は「次へ」をクリックする。
-
NetBIOS名を確認し「次へ」をクリックする。

-
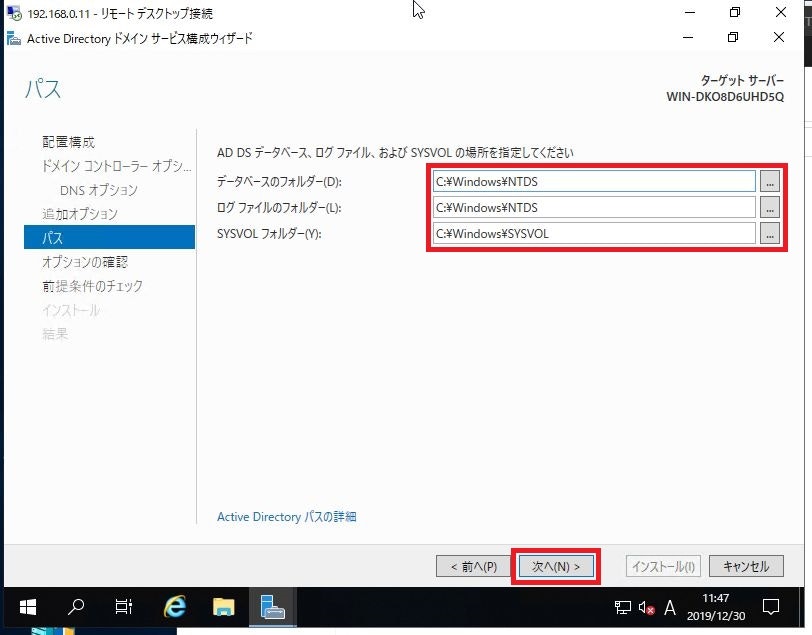
「データベースのフォルダー」「ログファイルのフォルダー」「SYSVOLフォルダー」の場所を確認し「次へ」をクリックする。
-
インストールする内容を確認し「次へ」をクリックする。

-
前提条件に合格したことを確認し「インストール」をクリックする。

-
インストールしているので待機する。

-
インストール後、自動的に再起動する。
2. ActiveDirectoryにてユーザーの作成
a. ユーザーとコンピューター
-
WindowsServer2019上から「サーバーマネージャー」を開き、「ツール」→「ActiveDirectory ユーザーとコンピューター」をクリックする。

-
ドメイン名を展開し、「Users」をクリックする。

b. ユーザーの作成
-
「Users」を右クリックし、「新規作成」→「ユーザー」をクリックする。

-
下記の内容を入力し「次へ」をクリックする。
- 姓
- 名
- フルネーム
- ユーザーログイン名

-
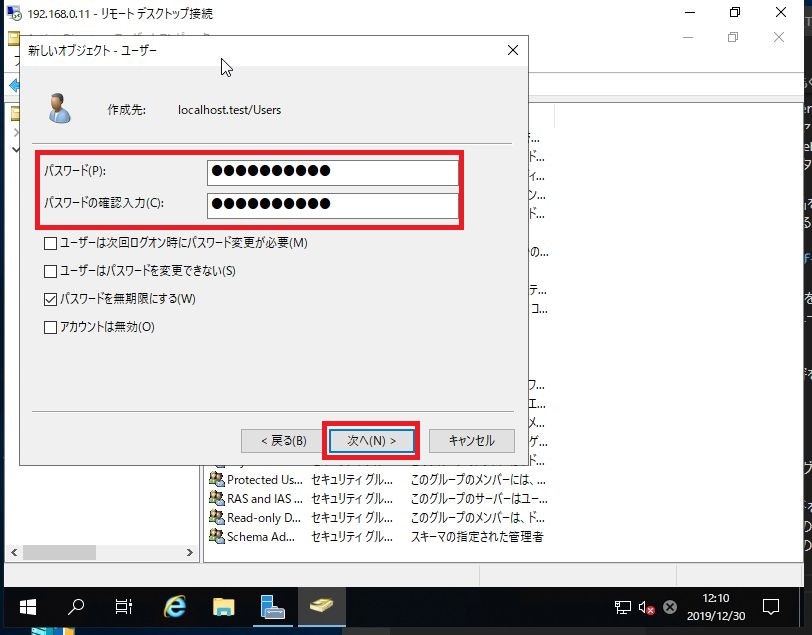
パスワードを入力し、用途によってパスワードのオプションにチェックを入れる。その後、「次へ」をクリックする。
-
内容を確認し「完了」をクリックする。

-
ユーザーが作成されたことを確認する。

c. グループの作成
-
「Users」を右クリックし、「新規作成」→「グループ」をクリックする。

-
下記の内容を入力し、「OK」をクリックする。
- グループ名
- グループのスコープ : グローバル
- グループの種類 : セキュリティ

-
グループが作成されたことを確認する。

-
グループをダブルクリックし、「メンバー」タブから「追加」をクリックする。

-
グループに追加したいユーザ名を入力し、「名前の確認」をクリックする。その後、正しいユーザー名が表示されたら「OK」をクリックする。

-
メンバーに追加されたら「OK」をクリックする。

3. Windows10端末をActiveDirectoryに追加する。
-
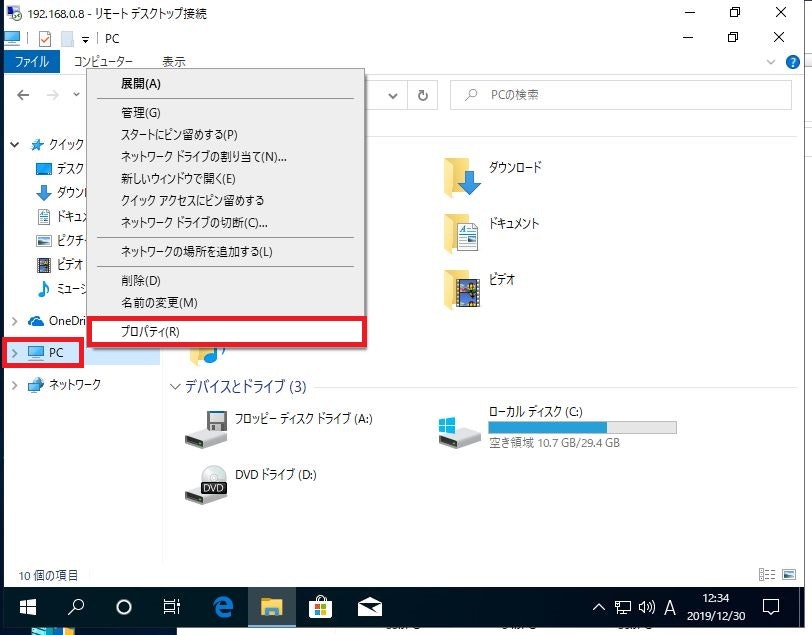
Windows10上から「エクスプローラー」を開き、「PC」を右クリックし「プロパティ」をクリックする。
-
「設定の変更」をクリックする。

-
「変更」をクリックする。

-
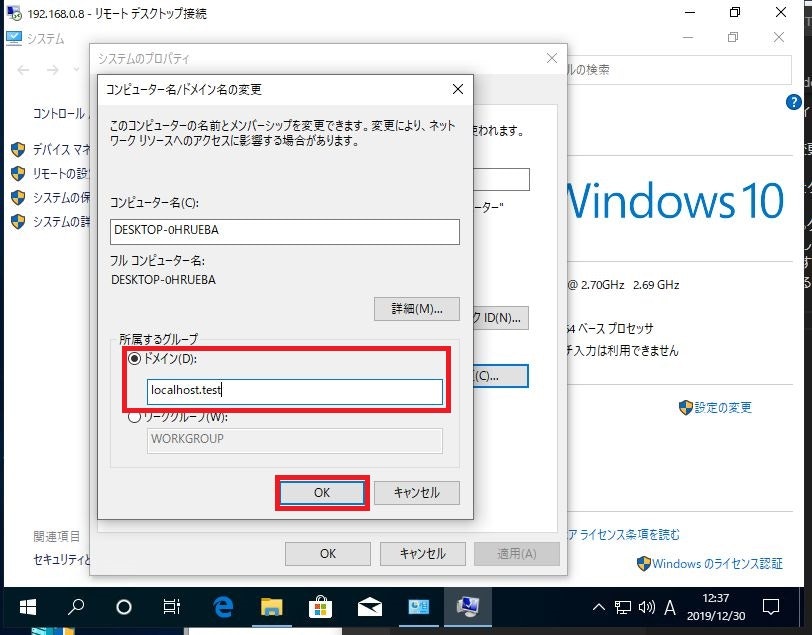
「所属するグループ」にて「ドメイン」を選択し、1章で作成したドメイン名を入力する。その後、「OK」をクリックする。
-
ActiveDirectoryに登録されているユーザー名とパスワードを入力し、「OK」をクリックする。

-
「(ドメイン名)ドメインにようこそ」と表示されたことを確認し「OK」をクリックする。

-
再起動が促されるメッセージが表示されるので、再起動を実施する。
-
再起動後、ログイン画面にて「他のユーザー」をクリックする。サインイン先に1章で作成したドメイン名が表示されていることを確認する。その後、2章で作成した「ユーザー名」「パスワード」を入力しEnterを押下する。

-
2章で作成したユーザにてログインできたことを確認する。


最後に
WindowsServer2019でActiveDirectoryを作成することで組織のアカウントを一元管理することができます。またグループポリシーの設定を実施することでアカウントごとに機能制限をすることができます。