0. 動機
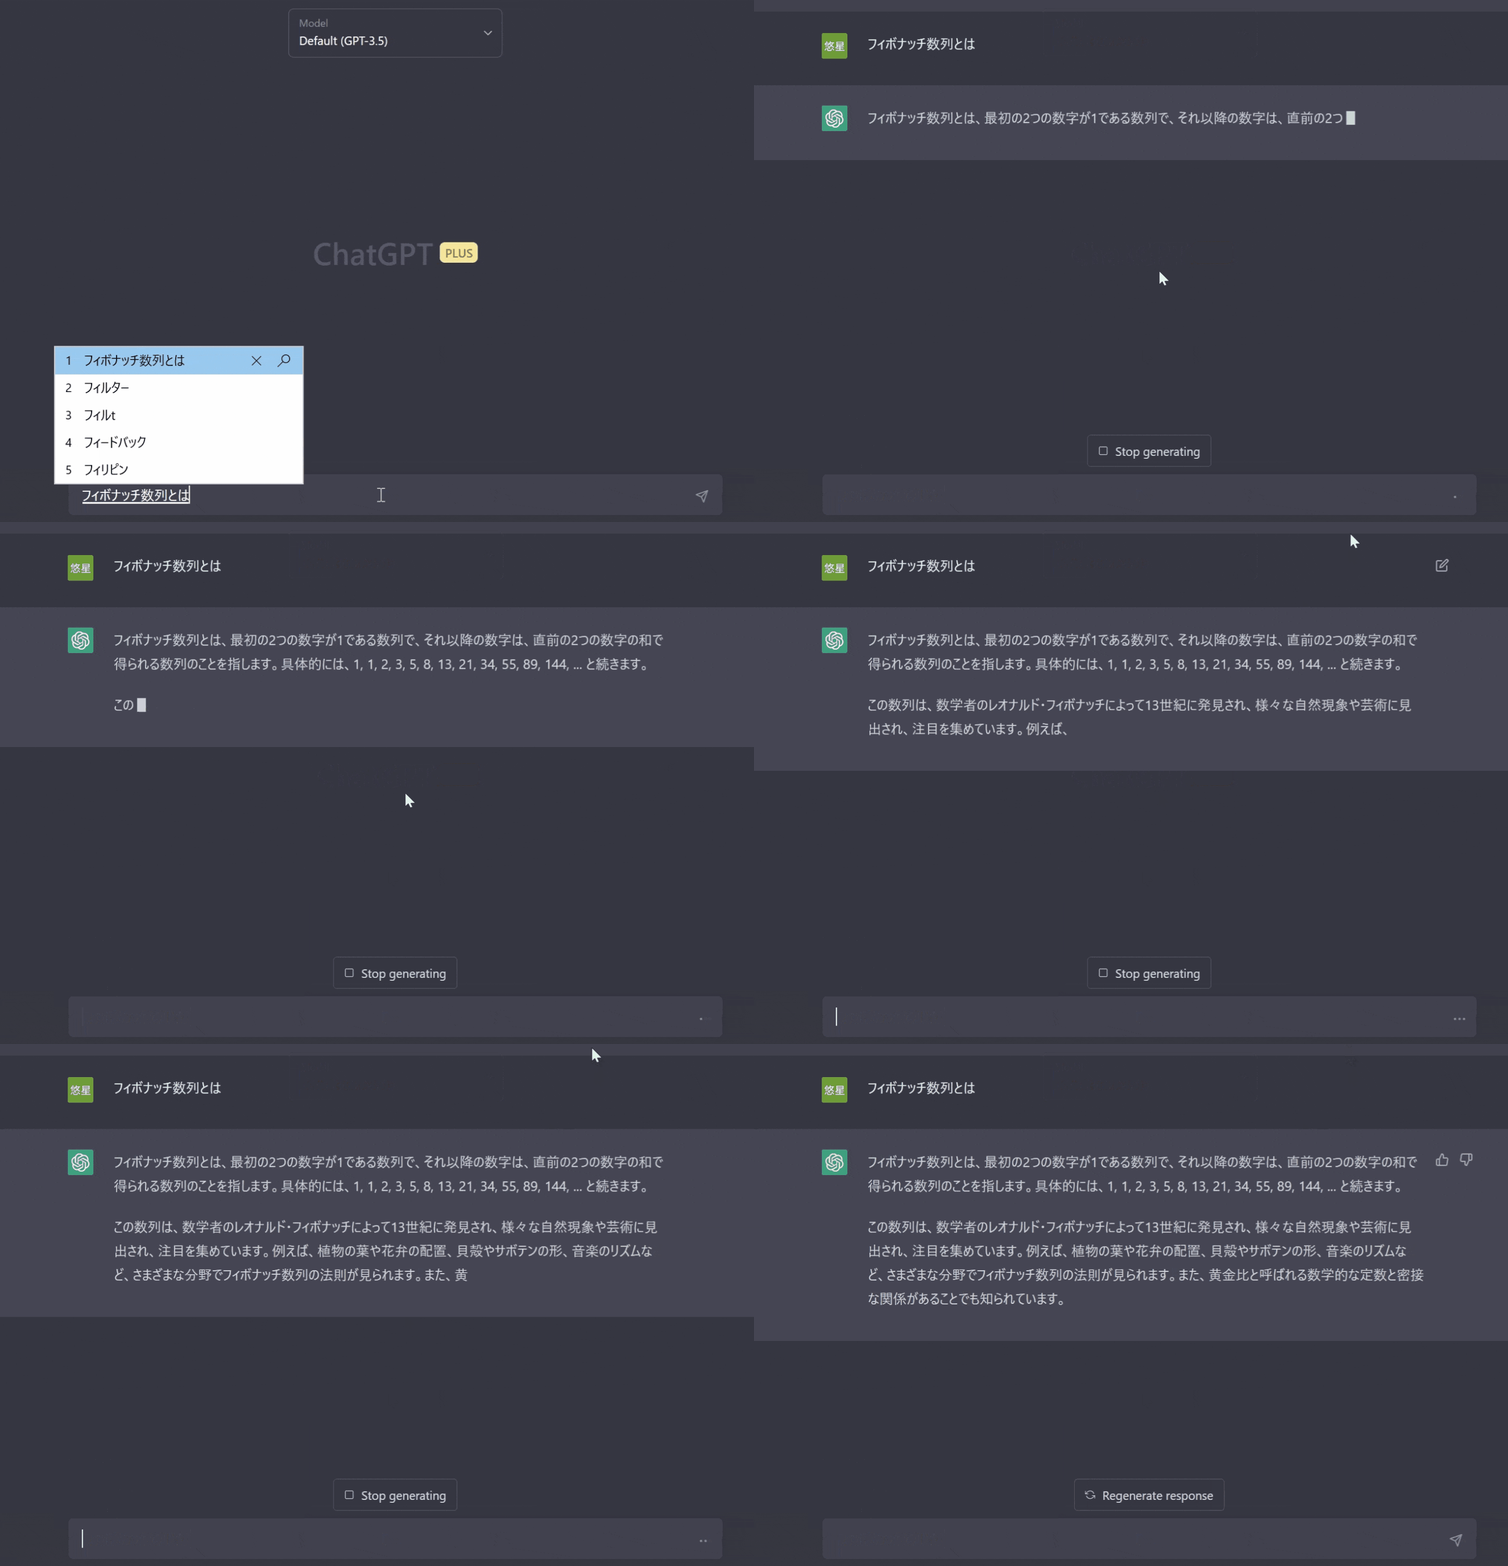
- openAIの提供するChatGPTを利用した際に、メッセージが少しずつ出てくる処理が「AIが考えている感」を表現していて、このUIを実現したいと思ったため
- ストリーム処理によるリアルタイムなレスポンスがBotに適していると感じたため
- 以下は本家ChatGPTのUI
1. 目標
- ChatGPTのAPIを利用する
- websocketを利用し、本家ChatGPTのようにつらつらと流れるようにレスポンスを表示する
2. 事前準備
- openaiキー発行方法を参考にAPIキーを作成
- 以下のpythonライブラリを用います。事前に
pip installしておきます。- uvicorn
- fastapi
- openai>=0.27.0
3. 構築
3.1 【バックエンド】fastapiでwebsocketの受け口を作成
response.pyというファイル名で以下のように、バックエンド側のサーバファイルを作成します。####の部分は事前準備にて取得したAPIキーの値に差し替えてください。
response.py
import uvicorn
from fastapi import FastAPI
import asyncio
import openai

openai.api_key="#####"

app = FastAPI()

@app.get("/")
def get_start():
    return {'msg':'backend response'}


async def stream_generator(prompt:str):
    response = openai.ChatCompletion.create(
        model = "gpt-3.5-turbo",
        stream = True,
        messages=[
                {"role": "user", "content": prompt}
            ]
    )
    for i, item in enumerate(response):
        try:
            content = item['choices'][0]['delta']['content']
        except:
            content = ""
        yield str(content).encode()
        await asyncio.sleep(0.1)


@app.websocket("/ws")
async def websocket_endpoint(websocket: WebSocket):
    await websocket.accept()
    text = await websocket.receive_text()
    async for data in stream_generator(text):
        await websocket.send_text(data.decode())


if __name__ == '__main__':
    uvicorn.run(app=app)
3.2 【フロントエンド】htmlで簡易的なプロンプト投稿UIを作成
index.htmlというファイル名で、以下のhtmlファイルを作成します。
index.html
<!DOCTYPE html>
<html>
  <head>
    <script>
      document.addEventListener("DOMContentLoaded", () => {
        const output = document.getElementById("output");
        const input = document.getElementById("input");
        const button = document.getElementById("send_button");

        let socket;

        // Send message to WebSocket server
        button.addEventListener("click", () => {
          if (!socket || socket.readyState !== WebSocket.OPEN) {
            socket = new WebSocket("ws://localhost:3000/ws");

            socket.addEventListener("open", (event) => {
              output.innerHTML += "<p>Connected to WebSocket server.</p>";
              button.textContent = "Send";
            });

            socket.addEventListener("message", (event) => {
              output.innerHTML += event.data;
            });

            socket.addEventListener("close", (event) => {
              output.innerHTML += "<p>Disconnected from WebSocket server.</p>";
              button.textContent = "Connect";
            });
          } else {
            const message = input.value;
            if (message) {
              socket.send(message);
              input.value = "";
            }
          }
        });

        // Close WebSocket connection on window close
        window.addEventListener("beforeunload", () => {
          socket.close();
        });
      });
    </script>
  </head>
  <body>
    <h1>Simple Chatbot</h1>
    <input
      id="input"
      type="text"
      placeholder="Enter message"
      style="width: 500px; height: 100px"
    />
    <button id="send_button">Connect</button>
    <div id="output"></div>
  </body>
</html>
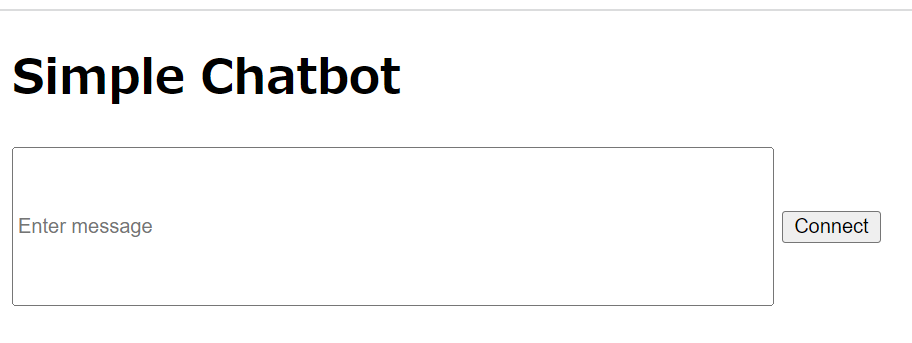
作成したindex.htmlを開くと、以下のようなUIが表示されます。
4. 実行
4.1 バックエンドサーバー立ち上げ
response.pyを保存したディレクトリ内で、以下のコマンドを実行しバックエンドサーバーを立ち上げます。
uvicorn response:app --host 0.0.0.0 --port 3000 --reload
localhostの3000番ポートにバックエンドサーバーが立ち上がります。
http://localhost:3000/docs にアクセスすると、バックエンドサーバーが立ち上がっていることが分かります。
4.2 フロントエンド立ち上げ
作成したindex.htmlを開くだけでokです。Connectボタンでwebsocket通信を確立した後、SendボタンでchatgptAPIにプロンプトを投げます。


