待ちに待った割にはすっかり忘れていたのですが、Let's EncryptがBetaで始まっていたので試しに使ってみました。
clone
公式ドキュメントにしたがってやってみました。
$ git clone https://github.com/letsencrypt/letsencrypt
証明書の作成
上記ドキュメントによると「Apache HTTP Server」が「最近のDebian系OS」で動いている場合は
$ cd letsencrypt
$ ./letsencrypt-auto --apache
だけでいいようなのですが…。
The apache plugin is not working; there may be problems with your existing configuration.
The error was: PluginError('Unable to parse runtime variables',)
と言われてしまったので諦めました…。
正直に必要なことを指定して実行します。
./letsencrypt-auto certonly \
           -d hal.mu \
           --webroot \
           -w /home/xx/www/hal.mu \
           -m info@hal.mu
すると、規約の承認画面が表示され、
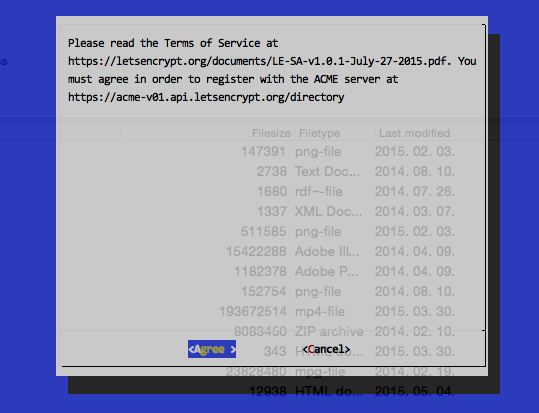
Agreeすると
IMPORTANT NOTES:
- If you lose your account credentials, you can recover through
e-mails sent to info@hal.mu.
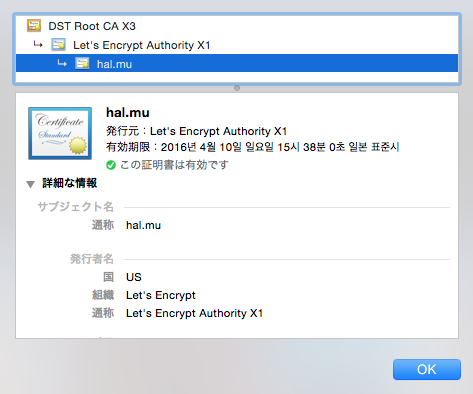
- Congratulations! Your certificate and chain have been saved at
/etc/letsencrypt/live/hal.mu/fullchain.pem. Your cert will expire
on 2016-04-10. To obtain a new version of the certificate in the
future, simply run Let's Encrypt again.
- Your account credentials have been saved in your Let's Encrypt
configuration directory at /etc/letsencrypt. You should make a
secure backup of this folder now. This configuration directory will
also contain certificates and private keys obtained by Let's
Encrypt so making regular backups of this folder is ideal.
- If you like Let's Encrypt, please consider supporting our work by:
Donating to ISRG / Let's Encrypt: https://letsencrypt.org/donate
Donating to EFF: https://eff.org/donate-le
と表示され
ls /etc/letsencrypt/live/hal.mu/
cert.pem  chain.pem  fullchain.pem  privkey.pem
のように無事作成されました。
Apacheへの設定
後はお決まり、Apacheの設定。httpd.confは使用していないので/etc/apache2/sites-available/default-ssl
に
/etc/apache2/sites-available/default-ssl
        SSLEngine on
        SSLCertificateFile    /etc/letsencrypt/live/hal.mu/cert.pem
        SSLCertificateKeyFile /etc/letsencrypt/live/hal.mu/privkey.pem
        SSLCertificateChainFile /etc/letsencrypt/live/hal.mu/chain.pem
のように設定。あとはapacheを再起動してあげると無事に接続できました。
このドメインで証明書が作成できたので、各種フォームをGoogleDriveから内製に移行しようと思います。$›