はじめに
本記事では、Flaskにおけるバリデーション機能の実装を体験します。
フォームに値を入力し、記述通りに処理が実行されるかを確認します。
前提
- Flaskオブジェクトを生成できる
- リクエストを受け取る方法を知っている
バリデーションとは
バリデーションとは、データの入力に制限を付加する機能のことです。
例えば、サイトの会員登録フォームに入力するパスワードに英数字大文字の使用が必須であったとします。
このフォームに全て小文字のアルファベットでパスワードを入力をした場合、条件を満たしていないことを警告するメッセージが表示されて送信が中断するはずです。
このときに実行される、条件を満たしているかどうかの確認処理がバリデーションです。
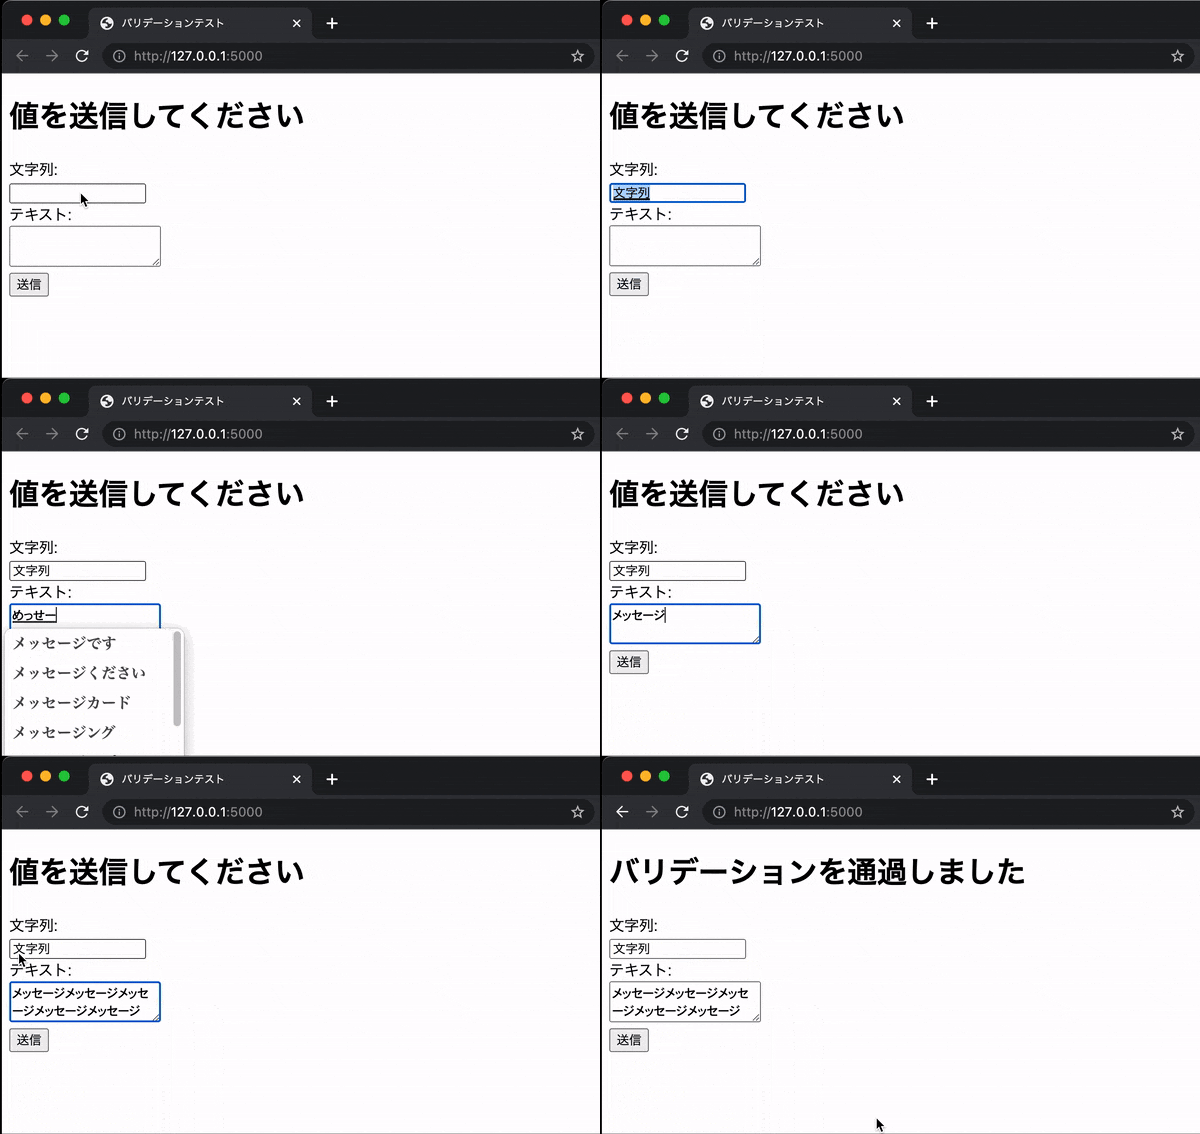
作成アプリイメージ
作成アプリでは、文字列とテキストの入力フォームを用意し、それぞれに入力制限を実装していきます。
実践
フォルダ構成
今回作成するアプリのフォルダ構成を確認します。
.
├── app.py
├── form.py
└── templates
    └── index.html
- 「app.py」
- ルーティングを記述します。
- 「form.py」
- ブラウザに表示するフォーム、バリデーションの処理を記述します。
- 「index.html」
- ブラウザに表示する内容を記述します。
ライブラリインストール
以下コマンドでライブラリをインストールします。
pip install Flask Flask-WTF WTForms
-
Flask-WTF
- Flaskアプリで、ブラウザのフォームとバリデーションを実装するための機能を提供するライブラリ
-
WTForms
- バリデーションの中で使用する部品を提供するライブラリ
各ライブラリの違いを一言で説明することは難しいのですが、本記事内ではこのような使い分けをします。
ファイル作成
form.py
以下を記述します。
from flask_wtf import FlaskForm
from wtforms import StringField, TextAreaField, ValidationError

class Form(FlaskForm):
    string = StringField('文字列')
    text = TextAreaField('テキスト')

    def validate_string(self, string):
        '''
        - 未入力 禁止
        - 文字数9文字以上 禁止
        - 「-」 禁止
        '''
        if string.data == '':
            raise ValidationError('値を入力してください。')

        if len(string.data) > 8:
            raise ValidationError('値を8文字以内で入力してください。')

        if '-' in string.data:
            raise ValidationError('「-」の入力は禁止されています。')

    def validate_text(self, text):
        '''
        - 未入力 禁止
        - 文字数20文字未満 禁止
        '''
        if text.data == '':
            raise ValidationError('値を入力してください。')

        if len(text.data) < 20:
            raise ValidationError('値を20文字以上入力してください。')
説明
from flask_wtf import FlaskForm
-
FlaskForm
- Formクラスに継承するオブジェクトです。
- FlaskFormオブジェクトを継承したクラスは、バリデーションの機能が有効になります。
from wtforms import StringField, TextAreaField, ValidationError
-
StringField, TextAreaField
- バリデーションの機能を持つ入力領域を定義します。
- 他にも、IntegerField, RadioFieldなどがあります。
-
ValidationError
- バリデーションNGのときに発生させる例外です。
- 例外が発生することが予想される場合、raise文でValidationErrorを発生させることで、引数にしていした値をブラウザ画面に表示させます。
class Form(FlaskForm):
    string = StringField('文字列')
    text = TextAreaField('テキスト')
フォームを構成する入力フィールドを定義します。
各Fieldオブジェクトの引数に指定した値は、ブラウザ画面に入力項目名として使用できます。
def validate_string(self, string):
    if string.data == '':
        raise ValidationError('値を入力してください。')
入力フィールドstringのバリデーションです。
バリデーションの関数名は「validate_*」である必要があります。
バリデーションは、「入力フィールド名 + data」に対しての条件を記述する形で設定します。
バリデーションでTrueだった場合、つまり、制限された入力をした場合、ValidationErrorを発生させます。
ValidationErrorの引数に指定した値は、ブラウザ画面で表示させることができます。
app.py
以下を記述します。
from flask import Flask, request, render_template
from form import Form

app = Flask(__name__)
app.config['SECRET_KEY'] = 'secret_key'

@app.route('/', methods=['GET', 'POST'])
def index():
    form = Form()
    if request.method == 'GET':
        title = '値を送信してください'
        return render_template('index.html', form=form, title=title)

    if request.method == 'POST':
        if form.validate_on_submit():
            title = 'バリデーションを通過しました'
            return render_template('index.html', form=form, title=title)
        else:
            title = 'バリデーションを通過できませんでした'
            return render_template('index.html', form=form, title=title)

if __name__ == '__main__':
    app.run(debug=True)
説明
from form import Form
バリデーションを設定したFormクラスをインポートします。
if request.method == 'POST':
    if form.validate_on_submit():
        title = 'バリデーションを通過しました'
        return render_template('index.html', form=form, title=title)
    else:
        title = 'バリデーションを通過できませんでした'
        return render_template('index.html', form=form, title=title)
-
validate_on_submit()
- バリデーションの確認をします。
- 問題なくバリデーションを通過できれば、Trueを返します。
また、Formクラスをインスタンス化したformオブジェクトをindex.htmlに渡しています。
index.html
以下を記述します。
<!DOCTYPE html>
<html lang="ja">

<head>
    <meta charset="UTF-8">
    <title>バリデーションテスト</title>
</head>

<body>
    <h1>{{ title }}</h1>
    <form action="" method="POST">
        {{ form.hidden_tag() }}

        {{ form.string.label }}:
        <div>
            {{ form.string }}

            {% for error in form.string.errors %}
            <span style="color: red">{{ error }}</span>
            {% endfor %}
        </div>

        {{ form.text.label }}:
        <div>
            {{ form.text }}

            {% for error in form.text.errors %}
            <span style="color: red">{{ error }}</span>
            {% endfor %}
        </div>

        <input type="submit" value="送信">
    </form>
</body>

</html>
説明
-
hidden_tag()
- FlaskFormを継承したFormクラスをブラウザ画面に表示します。
-
form.string.label
- 入力フィールドstringの項目名を表示します。
- この値は、form.pyのクラス定義の中で、StringFieldの引数に指定した値です。
-
form.string
- stringの入力フィールドを表示します。
{% for error in form.string.errors %}
<span style="color: red">{{ error }}</span>
{% endfor %}
form.pyで発生させたエラーの内容を表示します。
終わりに
意外と簡単にバリデーションを実装できました。
他の入力フィールドについても試してみたいです。

