この記事はカバー株式会社 Advent Calendar 2023 18日目の記事になります。
前回の記事は @mo-cover さんによるUnityではしごの昇り降りを実装するでした。こちらの記事もぜひご覧ください。
カバー株式会社でタレントが配信に使用する「ホロライブアプリ」の開発に携わっているTと申します!
また、昨年には「カラオケアプリ」の開発を行い、現在運用中になります。今回はその「カラオケアプリ」開発中に得た知見を共有いたします。(内容的にはN番煎じかと思います。)
UnityでC++DLLのインポート
Unityで開発しているとC++を利用したいことが適宜あると思います。高速化を図りたい、Cなどで書かれた外部ライブラリの流用をしたいなどなど…
今回そのあたりの記事を書くに当たって電卓的な処理を実装してみました。
関数
C#でDLL内のC++関数を利用する場合、DLL内に宣言されているエントリーポイントからC#の関数に変換してやる必要があります。
- C++コード
#pragma once

#ifdef __cplusplus
#define DLLEXPORT extern "C" __declspec(dllexport)
#else
#define DLLEXPORT __declspec(dllExport)
#endif
#pragma once
#include "dllDefine.h"

namespace Cover
{
	DLLEXPORT __int32 incrementFixed32(__int32 a, __int32 b);

	DLLEXPORT __int16 incrementFixed16(__int16 a, __int16 b);

	DLLEXPORT float incrementFloat16(float a, float b);
}
#include "increment.h"

__int32 Cover::incrementFixed32(__int32 a, __int32 b)
{
	return a + b;
}

__int16 Cover::incrementFixed16(__int16 a, __int16 b)
{
	return a + b;
}

float Cover::incrementFloat16(float a, float b)
{
	return a + b;
}
- C#コード
using System;
using System.Collections;
using System.Collections.Generic;
using System.Runtime.InteropServices;
using UnityEngine.EventSystems;

namespace Cover
{
    public static class IncrementFuncs
    {
        [DllImport("AdventCallender2023Dll", EntryPoint = "incrementFixed32", CallingConvention = CallingConvention.StdCall)]
        public static extern Int32 incrementFixed32(Int32 a, Int32 b);

        [DllImport("AdventCallender2023Dll", EntryPoint = "incrementFixed16", CallingConvention = CallingConvention.StdCall)]
        public static extern Int16 incrementFixed16(Int16 a, Int16 b);

        [DllImport("AdventCallender2023Dll", EntryPoint = "incrementFloat16", CallingConvention = CallingConvention.StdCall)]
        public static extern float incrementFloat16(float a, float b);
    }
...
- C++コード
-
__declspec(dllexport)- DLLにて関数を外部公開する際の記法
- extern "C"
- C++で定義された関数について、DLLに展開される際の名前変更を避けるための記法
-
- C#コード
-
DllImport- コンパイラにDLL内の関数の位置を知らせるための属性
-
DllImport([DLLファイル名], EntryPoint = [DLL関数名])が基本
-
- 型について
- C++からC#に変換する際に必ず型情報を合わせる必要があります。簡単に言うとC++で返り値が
intの関数はC#側でもintにしてやる、ということです。 - こちらのページにまとめられているので参考にしてください
- C++からC#に変換する際に必ず型情報を合わせる必要があります。簡単に言うとC++で返り値が
クラス
今回の本題です。
以下のC++クラスオブジェクトをC#に渡したいとします。
処理的には電卓のMemory機能です。
class Calculator
{
private:
	__int32 _memoryFixed32 = 0;
public:
	Calculator();
	void memoryAdd(__int32 value);
	void memoryClear();
	__int32 getMemory();
};
#include "calculator.h"
Calculator::Calculator()
	:_memoryFixed32(0)
{}

void Calculator::memoryAdd(__int32 value)
{
	_memoryFixed32 += value;
}

void Calculator::memoryClear()
{
	_memoryFixed32 = 0;
}

__int32 Calculator::getMemory()
{
	return _memoryFixed32;
}
基本的にC++DLLにてC#側にクラスオブジェクトを渡す場合、クラスオブジェクトを渡す関数を記述する必要があります。例えば以下のような形です。
DLLEXPORT Calculator getCalculator();
Calculator getCalculator()
{
	return Calculator();
}
ただ、上記の記述方法だと以下の課題が発生します。
- C#側からC++クラスオブジェクトの定義がわからない
- C++クラスオブジェクトのサイズが分からない
- C#側でクラスオブジェクト分のメモリ確保を行えない
- 組み込み型のみを利用するのであれば概算とかできるかもしれないですが、だとしてもDLL側の定義が変わるたびに弄る必要があるため保守性が低い
これを解消するために今回以下の方式を取りました。
- C++側ではヒープに生成したクラスオブジェクトのポインタのポインタを渡す。
- C#側ではIntPtrの参照を受け取る
これによりC#側ではC++クラスオブジェクトの定義やサイズを意識せずに済むため、保守性が上がります。
DLLEXPORT void createCalculator(void** funcObject);

DLLEXPORT void memoryAdd(__int32 value, void* funcObject);

DLLEXPORT void memoryClear(void* funcObject);

DLLEXPORT __int32 getMemory(void* funcObject);

DLLEXPORT void deleteCalculator(void** funcObject);
void createCalculator(void** funcObject)
{
	*funcObject = new CoverCalculator::Calculator();
}

void memoryAdd(__int32 value, void* funcObject)
{
	((CoverCalculator::Calculator*)funcObject)->memoryAdd(value);
}

void memoryClear(void* funcObject)
{
	((CoverCalculator::Calculator*)funcObject)->memoryClear();
}

__int32 getMemory(void* funcObject)
{
	return ((CoverCalculator::Calculator*)funcObject)->getMemory();
}

void deleteCalculator(void** funcObject)
{
	delete* funcObject;
}
public static class Calc
{
    [DllImport("AdventCalender2023Dll", EntryPoint = "createCalculator")]
    public static extern void createCalculator(ref IntPtr funcObject);

    [DllImport("AdventCalender2023Dll", EntryPoint = "memoryAdd")]
    public static extern void memoryAdd(Int32 value, IntPtr funcObject);

    [DllImport("AdventCalender2023Dll", EntryPoint = "memoryClear")]
    public static extern void memoryClear(IntPtr funcObject);

    [DllImport("AdventCalender2023Dll", EntryPoint = "getMemory")]
    public static extern Int32 getMemory(IntPtr funcObject);

    [DllImport("AdventCalender2023Dll", EntryPoint = "deleteCalculator")]
    public static extern void deleteCalculator(ref IntPtr funcObject);
}

public class CalculatorFuncs : IDisposable
{
    private IntPtr _calculator = IntPtr.Zero;
    public CalculatorFuncs()
    {
        _calculator = new IntPtr();
        Calc.createCalculator(ref _calculator);
    }

    public void MemoryAdd(Int32 value)
    {
        if (_calculator == IntPtr.Zero) return;
        Calc.memoryAdd(value, _calculator);
    }

    public void MemoryClear()
    {
        if (_calculator == IntPtr.Zero) return;
        Calc.memoryClear(_calculator);
    }

    public Int32 GetMemory()
    {
        if (_calculator == IntPtr.Zero) return -1;
        return Calc.getMemory(_calculator);
    }

    public void Dispose()
    {
        Calc.deleteCalculator(ref _calculator);
    }
}
※ただしこの方式をもちいた場合、必ずdll側のdelete処理を実装してC#側で実行をしてください。確実にメモリリークします。
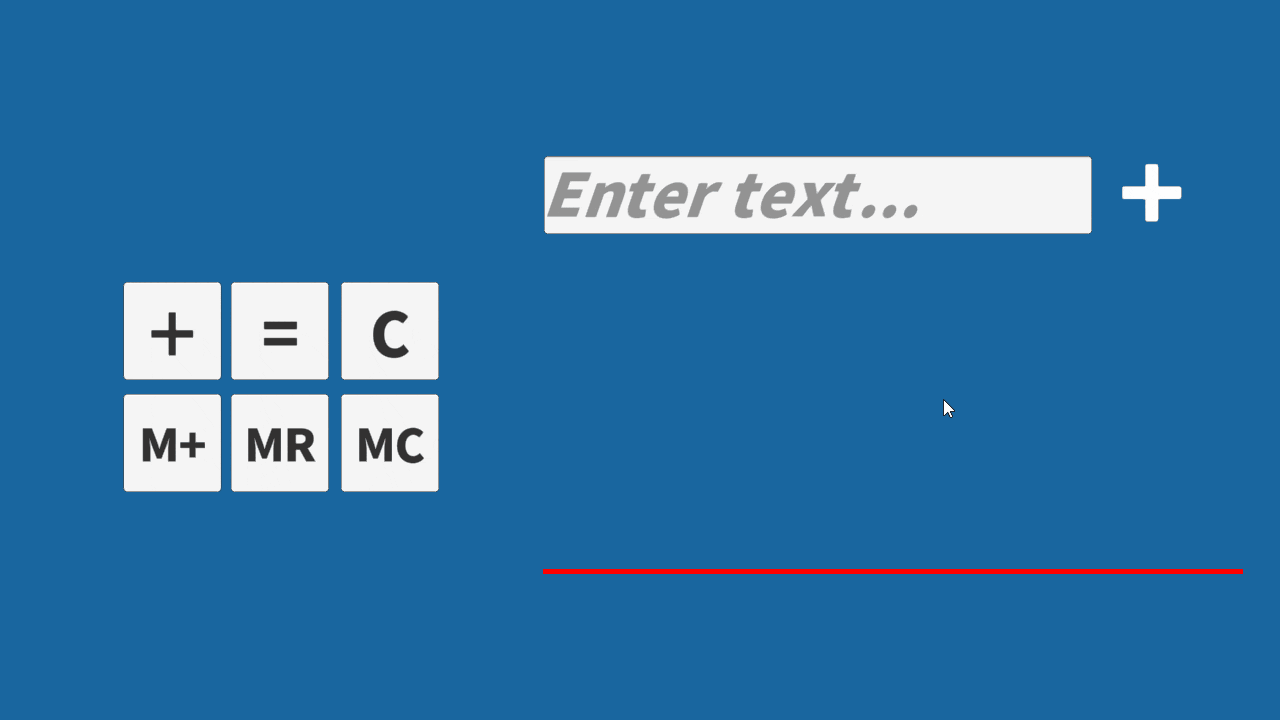
今回のコードを用いた電卓アプリのgifを以下に置いときます。上記のコードを用いて簡単な処理を実装してます。
おわりに
以上です。
今回は簡単なアプリを用いての紹介になりますが、実際はカラオケアプリでは音声のデコード処理などの毎フレーム処理にて今回のようなDLLを利用しておりました。これらの話がどなたかに役立てばと思います。
次回は @kura_cvr さんの「ホロライブアプリのアーキテクチャ その3」です。