1. 概要
この記事では、FlaskでWebアプリを開発するために、バックエンドデータベースとしてPostgreSQLを導入する手順をまとめます。
2. PostgreSQLのインストーラーをダウンロード
1. 以下のリンクからインストールして下さい!
👉 https://www.enterprisedb.com/downloads/postgres-postgresql-downloads
2. Windows を選択
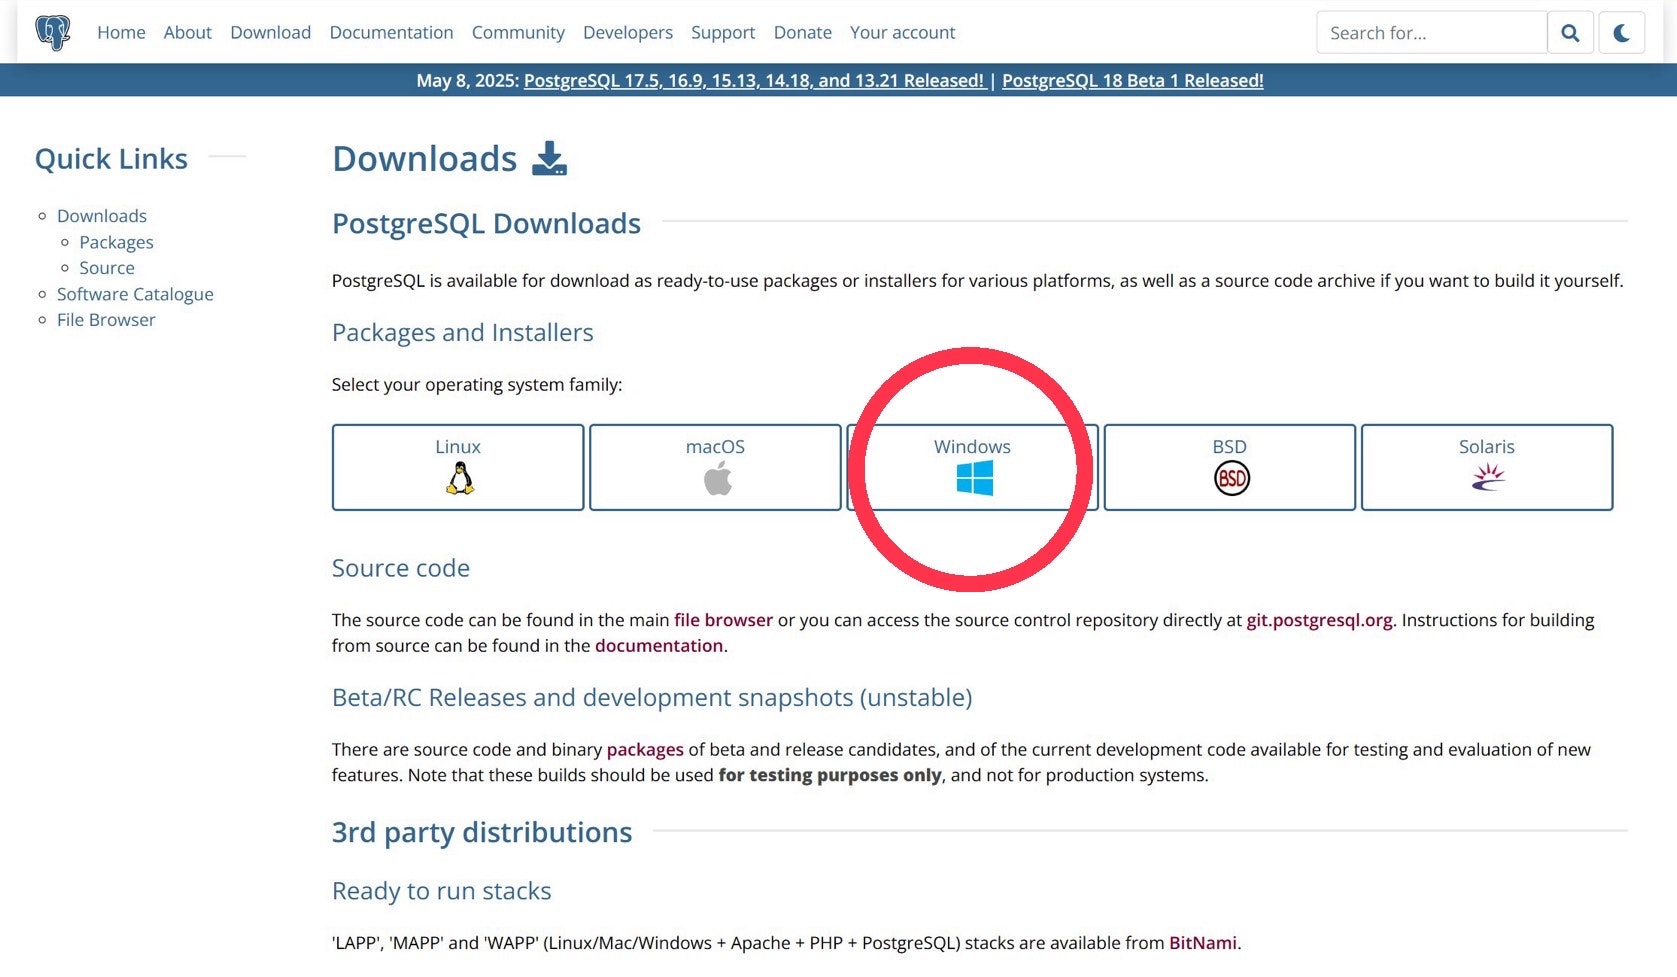
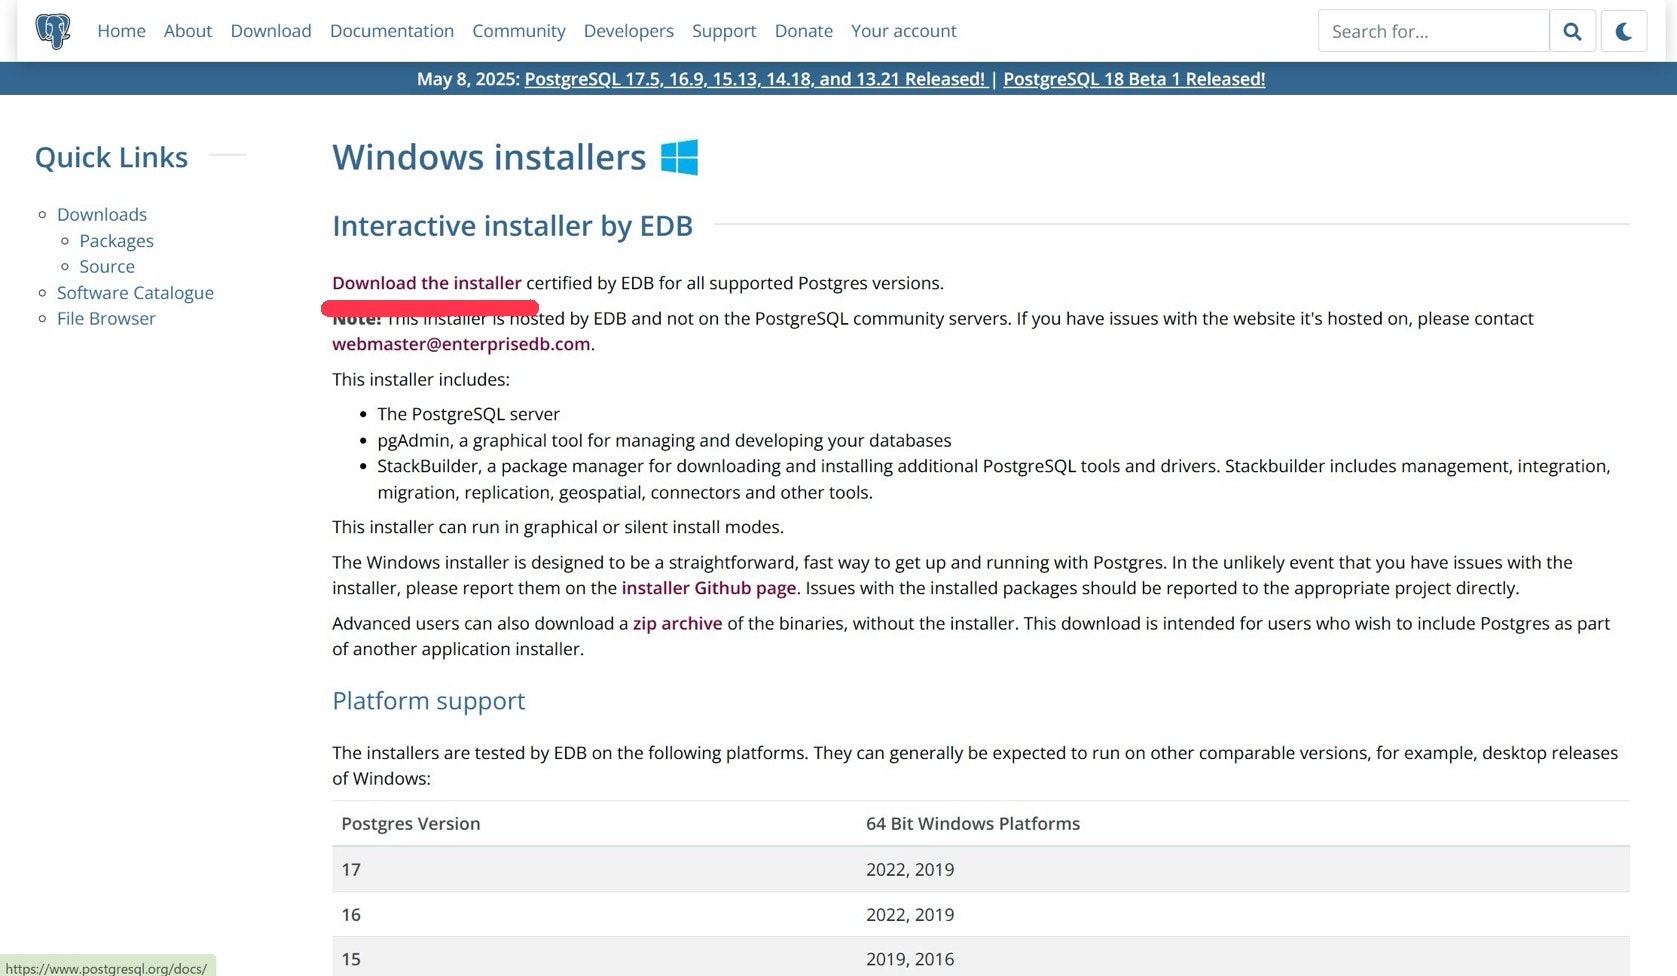
3. Download the installer をクリック
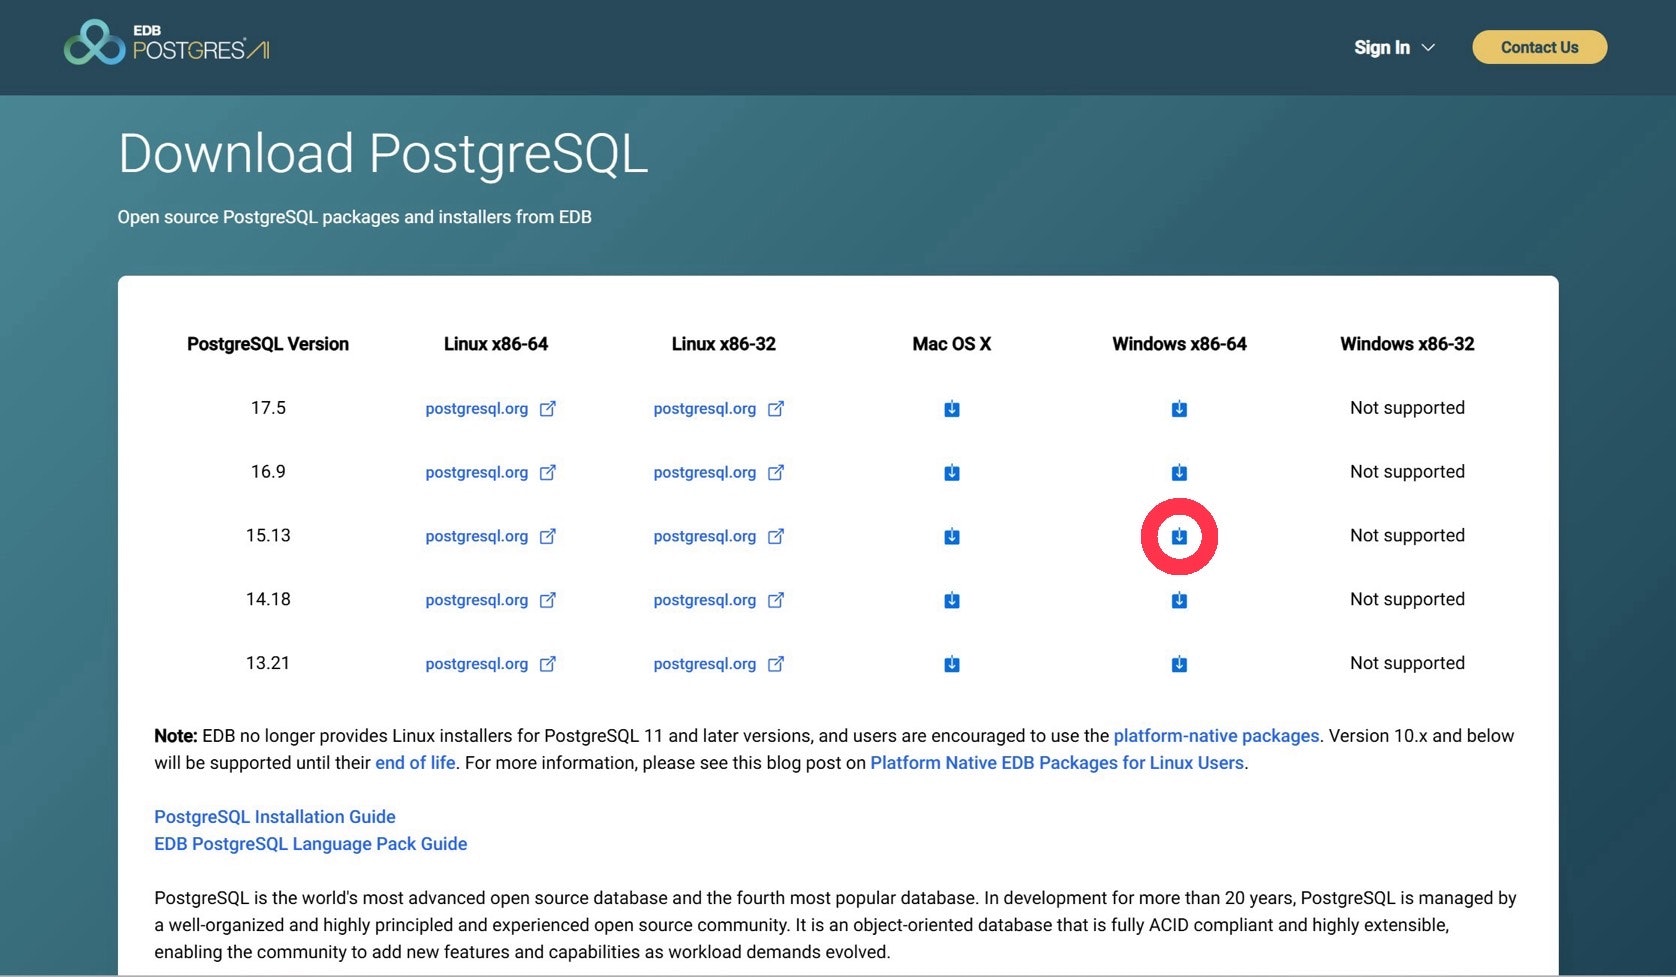
4. バージョン15.13 Windows x86-64 のインストーラーを選んでください!
次はPostgreSQLをインストールしていきます!
3. PostgreSQLをインストール
- インストール先はデフォルトでOK
- パスワード: postgres
- ポート番号はデフォルトの 5432
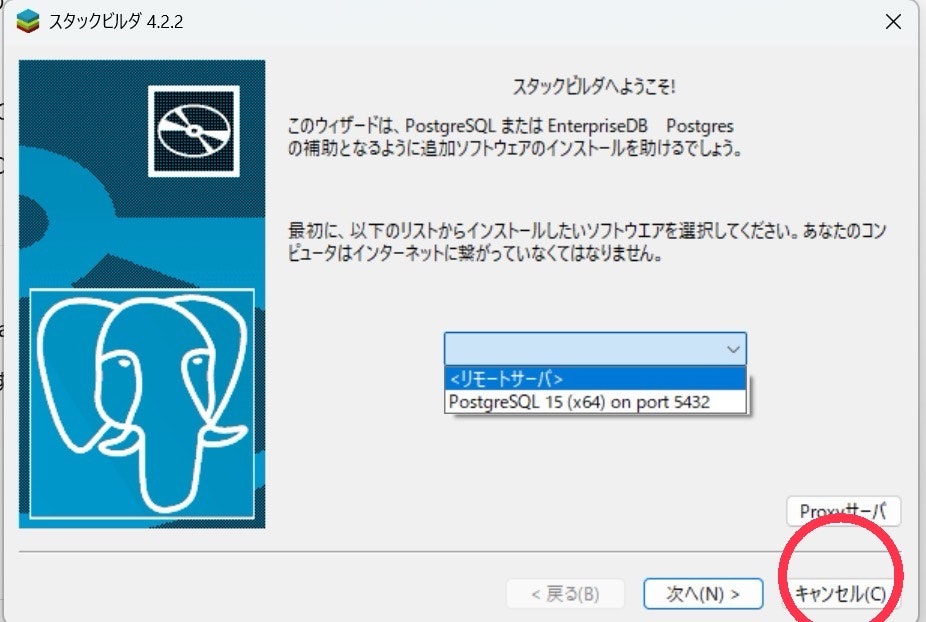
- StackBuilder:今回はキャンセルして下さい!
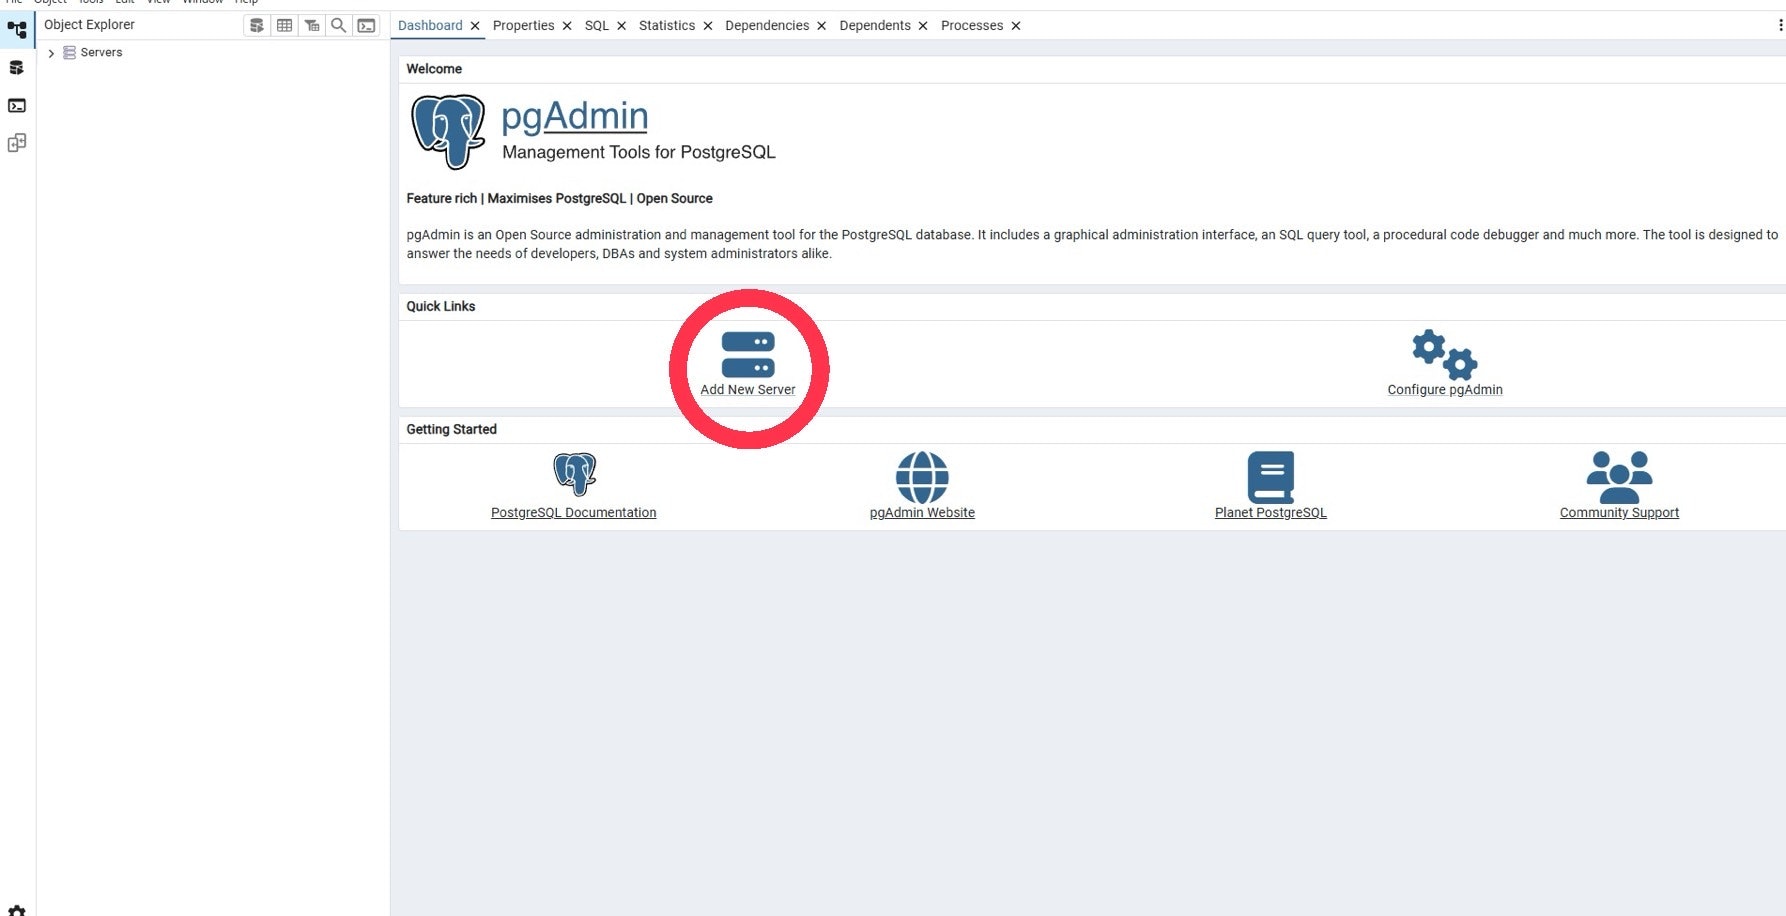
4. pgAdmin4 で DB & テーブルを作成
1. Add New Server をクリック
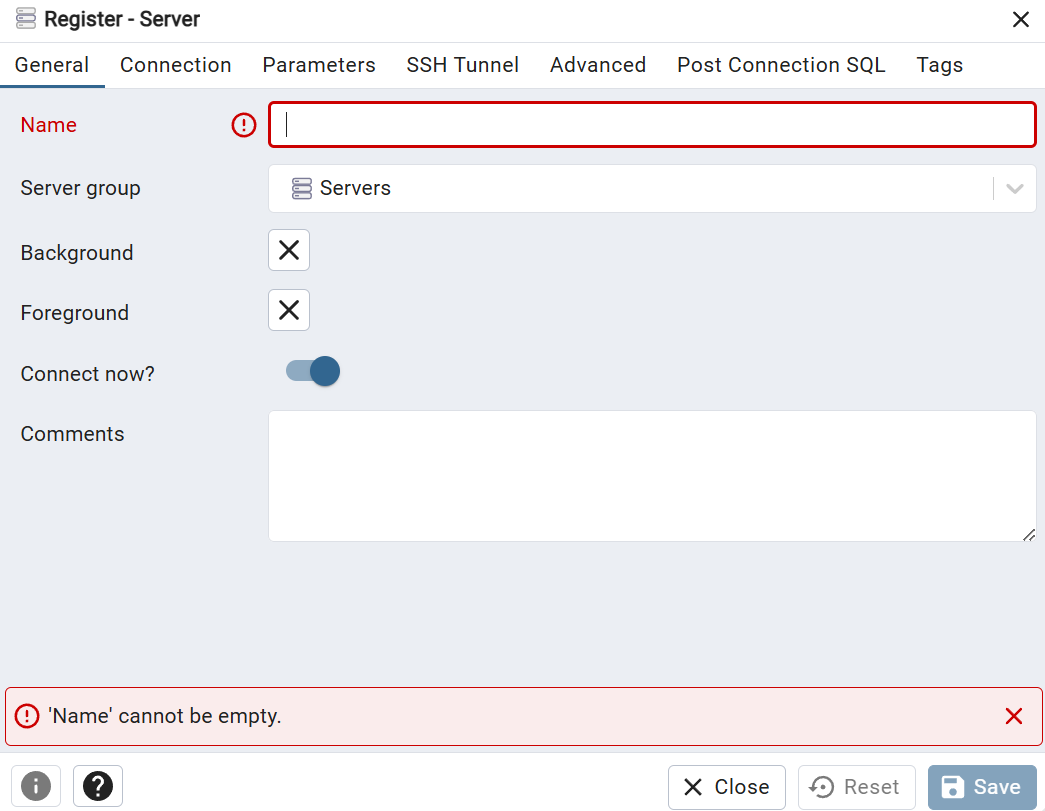
2. 名前を 「アプリ名」 にする(以降dbnameと記載)
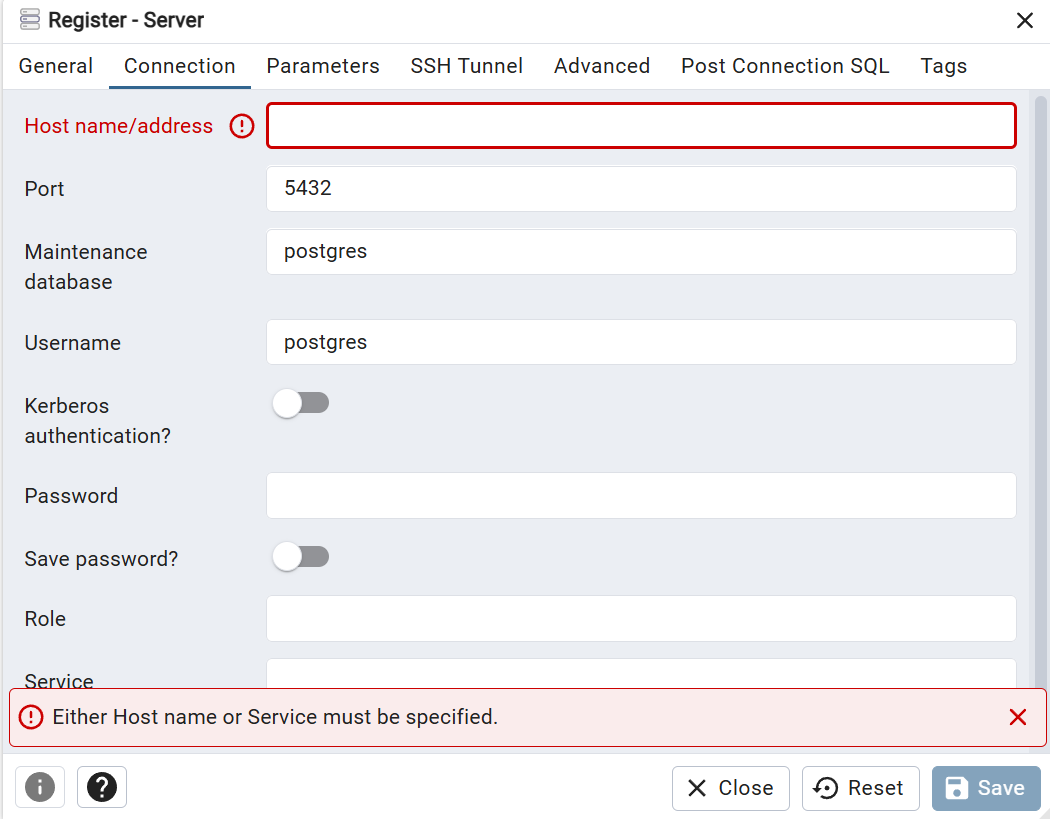
3. Connection を記入する
- Host name/address:
localhost - Password:
postgres -
Save passwordをチェック
4. サーバーに接続
- 左メニュー「Servers > PostgreSQL 15」右クリック →
Connect Server - パスワードは
postgres(初期設定)を入力
5. データベース「postgres」を確認
Servers > PostgreSQL 15 > Databases > (dbname) が表示されていればOK。
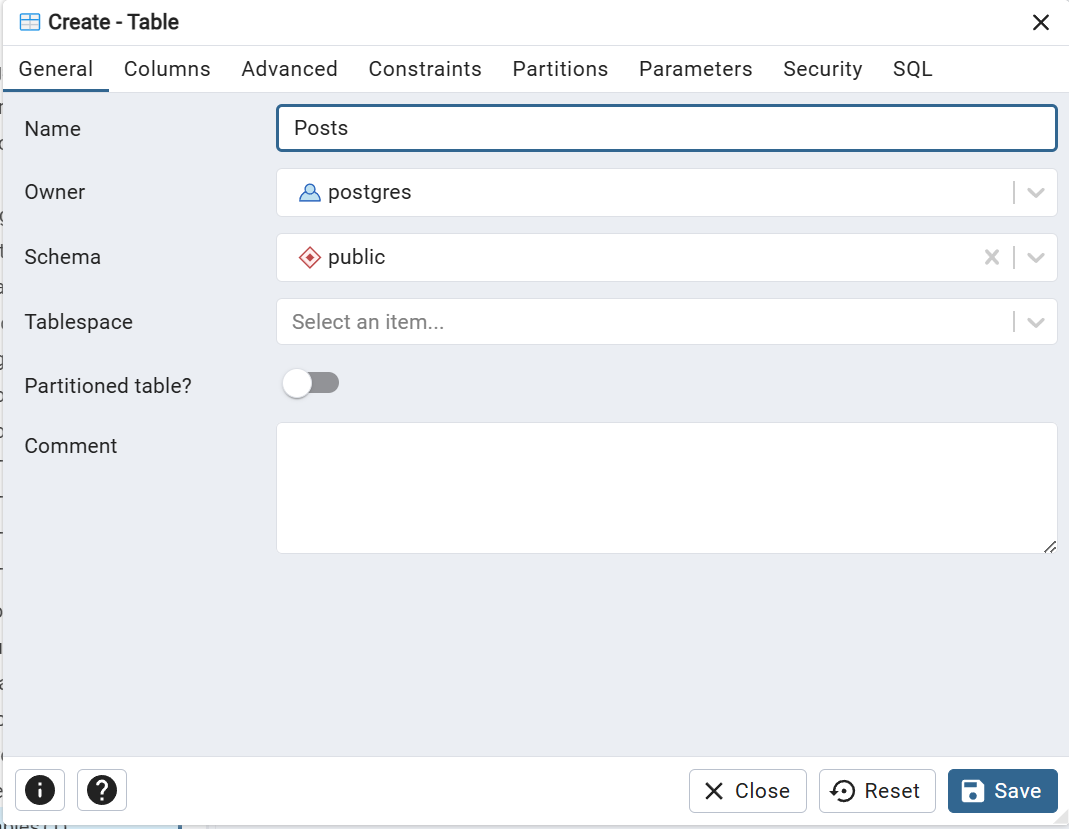
6. テーブル作成
-
(dbname)→Schemas→public→Tables右クリック → Create → Table

- 設定画面で以下を入力:
- Name:(好きな名前)
- 「Columns」タブに移動して以下を設定:
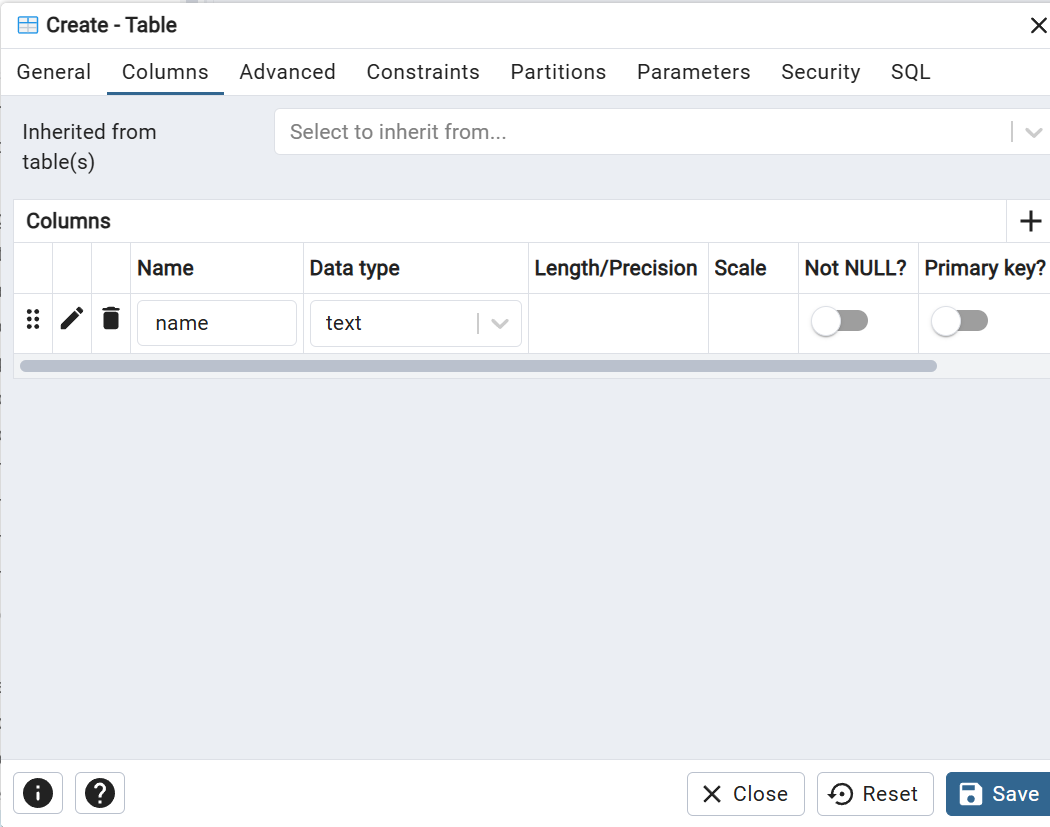
※ 自分が保存したいデータの分だけ追加してね!
7. pgAdminでテーブルにデータが入るか確認
- (作成したデーブル名) を右クリック → View/Edit Data → All Rows
- データ一覧画面が出る
- 最初は空欄でOK(あとでFlaskからINSERT)
5. ライブラリのインストール
コマンドプロンプト
pip install psycopg2-binary
pip install python-dotenv
6.app.pyの編集
1. DBと接続
app.py
from flask import g
import psycopg2
from dotenv import load_dotenv
import os
load_dotenv()

app = Flask(__name__)
app.secret_key = os.getenv("SECRET_KEY")

# DB接続を取得(1リクエストごと)
def get_db():
    if 'conn' not in g:
        g.conn = psycopg2.connect(
            dbname=os.getenv("DB_NAME"),
            user=os.getenv("DB_USER"),
            password=os.getenv("DB_PASSWORD"),
            host=os.getenv("DB_HOST"),
            port=os.getenv("DB_PORT")
        )
    return g.conn

# リクエスト終了時に接続を閉じる
@app.teardown_appcontext
def close_connection(exception):
    conn = g.pop('conn', None)
    if conn is not None:
        conn.close()
2. .env ファイルを作成
app.pyと同じ階層に .env ファイルを作成し、以下のコードを記述してください。
.env
DB_NAME=(dbname) # ここだけ自分の作成した名前に変更してね
DB_USER=postgres
DB_PASSWORD=postgres
DB_HOST=localhost
DB_PORT=5432
SECRET_KEY=your-secret-key
3. gitignore ファイルを作成
app.pyと同じ階層に .gitignore ファイルを作成し、以下のコードを記述してください。
.gitignore
.env
__pycache__/
*.pyc
4. POST時にデータをINSERT
app.py
if request.method == "POST":
    値1 = request.form["フォームの名前1"]
    値2 = request.form["フォームの名前2"]

    # 処理

    try:
        conn = get_db()
        with conn.cursor() as cur:
            cur.execute("INSERT INTO 作成したテーブル名 (カラム1, カラム2) VALUES (%s, %s)", (値1, 値2))
            conn.commit()
    except Exception as e:
        conn.rollback()
        flash("データの保存に失敗しました。")
※カラムの個数分追加してね!
5. GET時にデータを取得
app.py
try:
    conn = get_db()
    with conn.cursor() as cur:
        cur.execute("SELECT * FROM 作成したテーブル名 ORDER BY created_at DESC")
        rows = cur.fetchall()
    if not rows:
        flash("データが存在しません。")
except Exception as e:
    flash("データの取得に失敗しました。")