はじめに
Cybershoesを使ってUnityで歩く方法です。
「Unity Cybershoes」でググると某サンプルプロジェクトが出てくるのですが、不要な物が多いプロジェクトなので、なるべく最小構成での実装方法をまとめました。
開発環境
Windows10
Unity2019.4.11f1
Cybershoes
SteamVR Plugin 2.6.1
Oculus Rift(CV1)
SteamVR Pluginをインポート
基本的には公式サイトのクイックスタートに従って進めていきます。
https://valvesoftware.github.io/steamvr_unity_plugin/articles/Quickstart.html
アセットストアからSteamVR Pluginをインポートします。
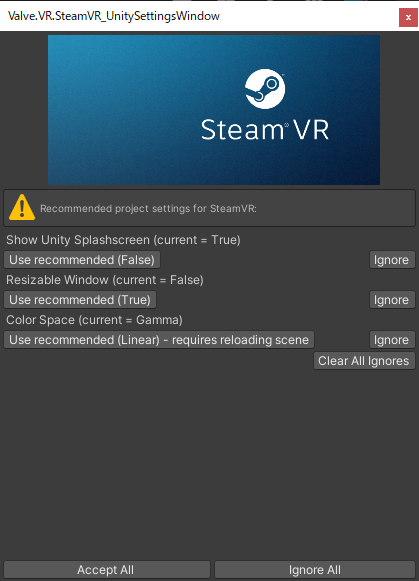
すると以下のようなダイアログが表示されるので「Accept All」を選択します。
「OK」で閉じます。
Unityのメニューから「Window」→「SteamVR Input」を選択します。
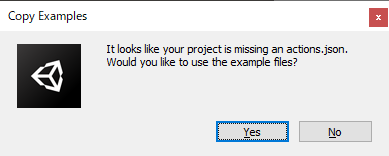
上記のようなダイアログが表示されるので「Yes」を選択します。
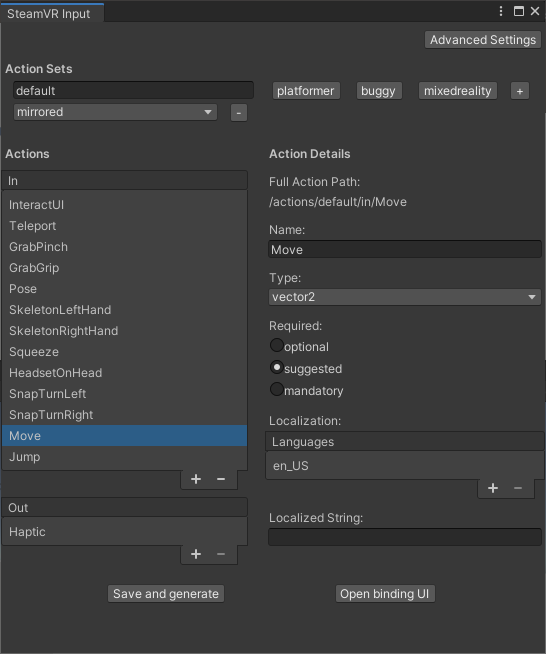
「Actions」の下にある「+」ボタンを2回押し、1つはNameを「Move」、Typeを「vector2」で追加し、2つめはNameを「Jump」、Typeを「boolean」で追加し、「Save and generate」を押します。
Assets/SteamVR/InteractionSystem/Samples/Interactions_Example
というサンプルシーンがあるので、再生して正常に動くか確認をします。
正常に動いていればこれでSteamVRのインポートは完了です。
バインディングの設定
Unityのメニューから「Window」→「SteamVR Input」を選択します。
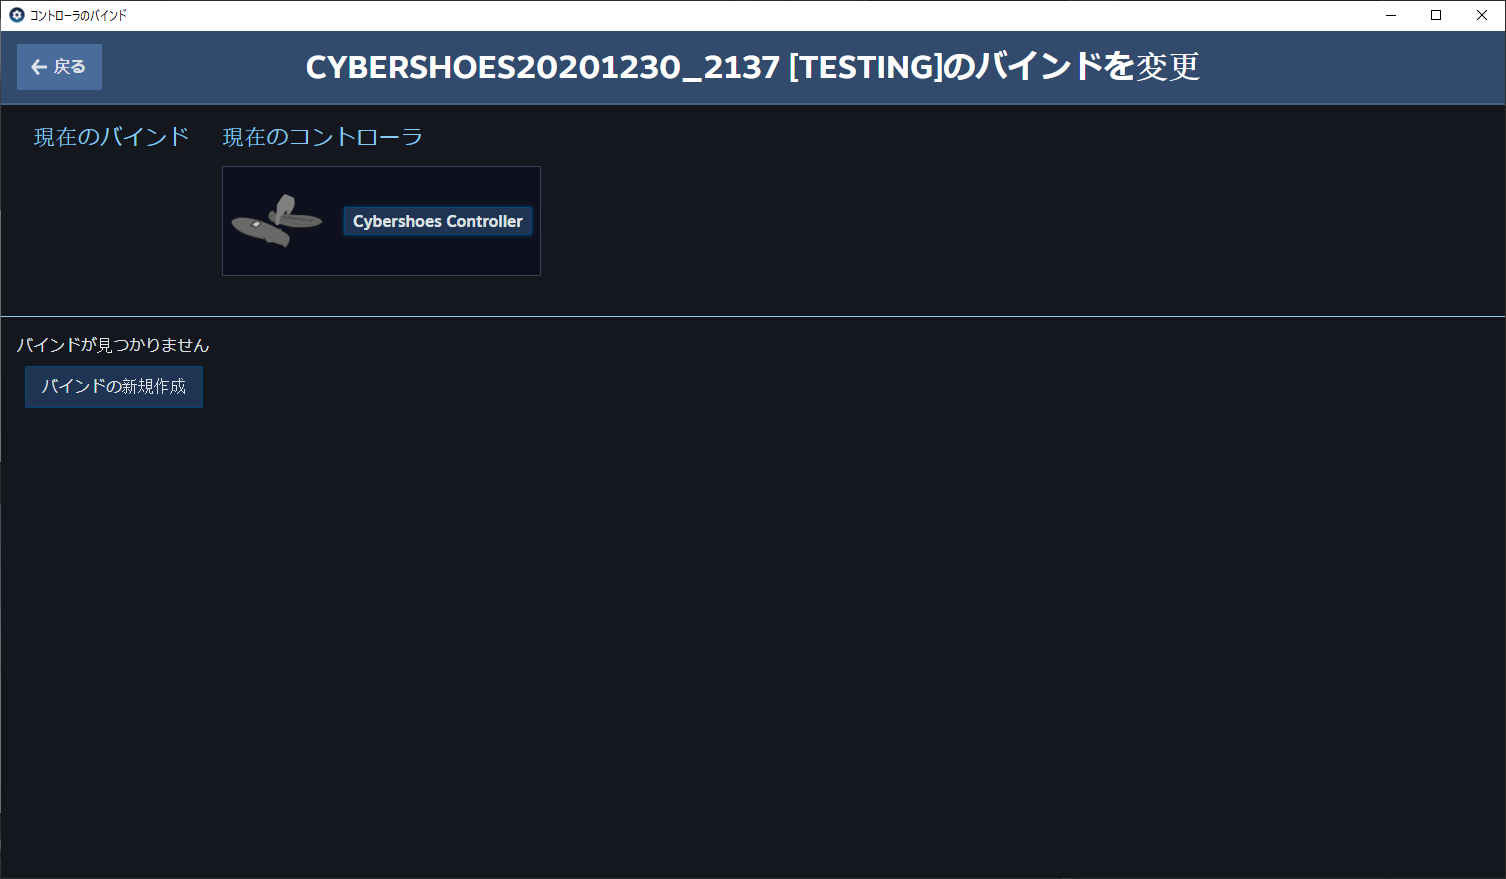
「Open binding UI」を押し、コントローラのバインドウィンドウを開き、「バインドの新規作成」を押します。
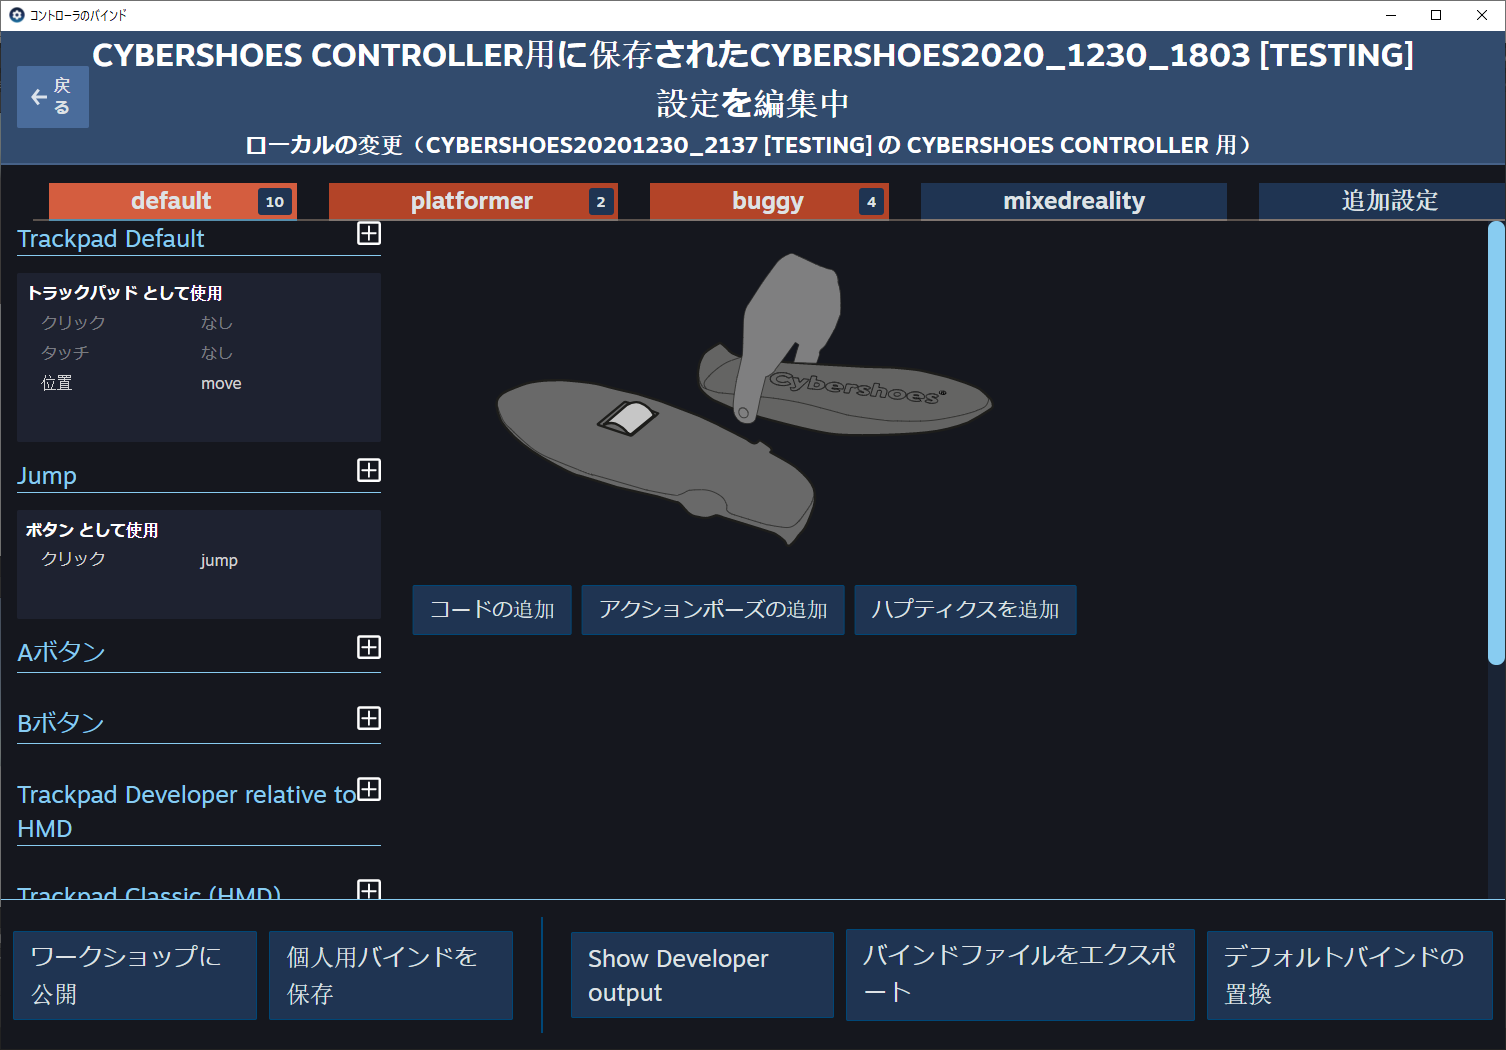
「default」のタブが選択されている事を確認し、「トラックパッドとして使用」の「位置」に「move」を設定し、Jumpの個所に「jump」を設定し、「個人用バインドを保存」を押して保存してからウィンドウを閉じます。
CyberShoesの移動処理
新規でシーンを作成し、適当な3Dオブジェクトで足場を作成します。
プレイヤーには以下のような構成でCapsuleにカメラとスクリプトをアタッチします。
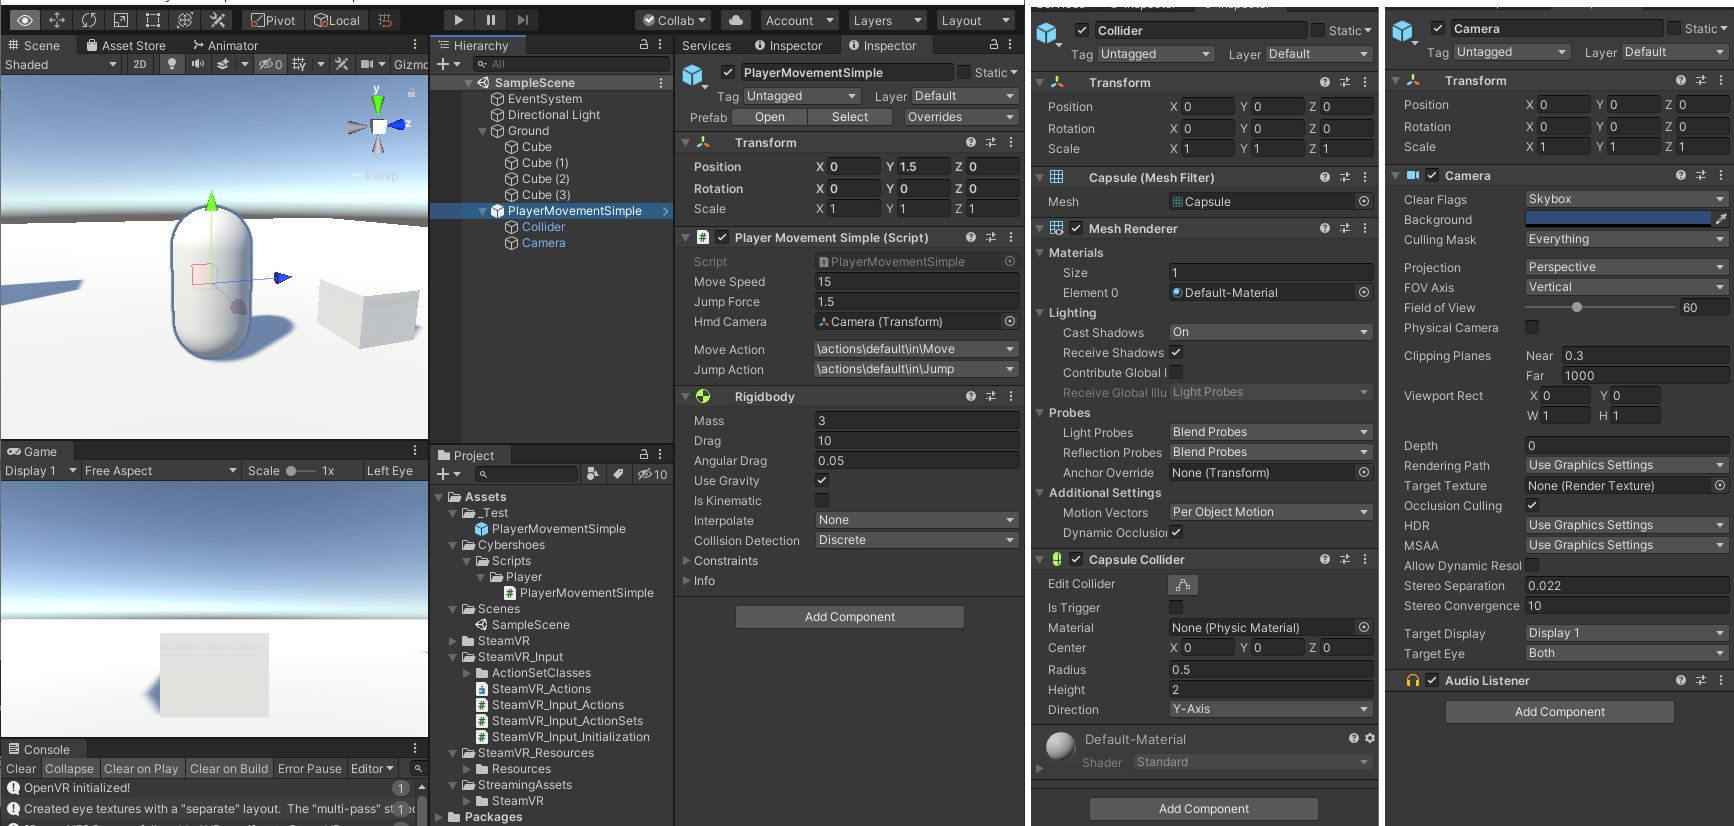
PlayerMovementSimpleクラスは以下のような内容になっています。
接地しているかどうかの判定を省略しているため、空中でもジャンプができるようになっています。
using UnityEngine;
using Valve.VR;
public class PlayerMovementSimple : MonoBehaviour
{
    [SerializeField] float moveSpeed;
    [SerializeField] float jumpForce;
    [SerializeField] Transform hmdCamera;
    [SerializeField] SteamVR_Action_Vector2 moveAction;
    [SerializeField] SteamVR_Action_Boolean jumpAction;
    private Rigidbody rb;

    void Start()
    {
        SteamVR.Initialize();
        rb = GetComponent<Rigidbody>();
    }

    private void Update()
    {
        if (jumpAction.GetState(SteamVR_Input_Sources.Treadmill))
        {
            rb.AddForce(Vector3.up * jumpForce, ForceMode.Impulse);
        }
    }

    void FixedUpdate()
    {
        float forwardInput = moveAction.GetAxis(SteamVR_Input_Sources.Treadmill).y;
        float sidewaysInput = moveAction.GetAxis(SteamVR_Input_Sources.Treadmill).x;
        Vector3 hmdDirectionForward = hmdCamera.forward - new Vector3(0, hmdCamera.forward.y, 0);
        Vector3 hmdDirectionRight = hmdCamera.right - new Vector3(0, hmdCamera.right.y, 0);
        Vector3 newVelocity = hmdDirectionForward * forwardInput + hmdDirectionRight * sidewaysInput;
        newVelocity *= moveSpeed;
        newVelocity.y = rb.velocity.y;
        rb.velocity = newVelocity;
    }
}
補足
原因は不明ですが設定が正しいプロジェクトでもCyberShoesが反応しない事が何度もありました。
その場合はSteamVRを再起動すると正常に動作するようになりました。
動作確認用にCyberShoesが動くことが確認できるプロジェクトを用意しておくと、プロジェクト依存なのか、ハードウェア依存なのかの原因の切り分けができて楽です。
UnityのTreadmillやCybershoes関連の情報があまりなかったため、情報が間違っていたらコメントなどでご指摘いただけるとありがたいです。
調べると情報はあったのですが、引用していいのか迷うソース(CyberRunnnerのプロジェクト丸ごと)だったので、引用はしませんでしたが参考にさせていただきました。