Unityのエディタ拡張は、開発中にデバッグ用に設定を変更したりとかよく使われるかと思います。
簡単に作れて便利なのですが意外と作ったことがない人が多い(弊社比w)ようでしたのでまとめてみました。
最初の一歩
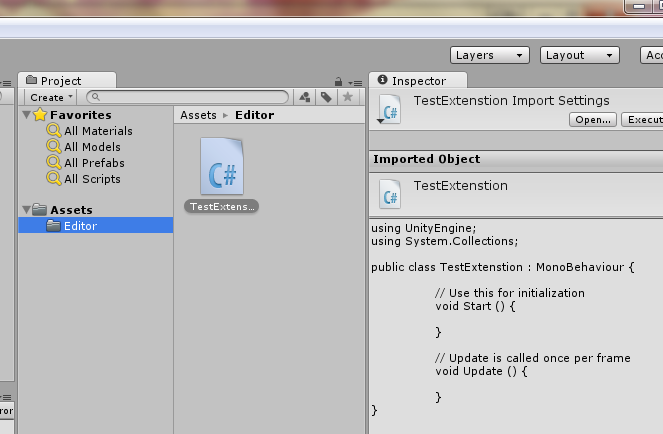
最初にAssetsの下にEditorという名前のフォルダを作ります。
フォルダ名は必ずEditorである必要がありますがAssets直下で無くてもかまいません。
例えばAssets/MyTools/Editorでも大丈夫ですが必ずEditorでなくてはいけません。
Project内で右クリックをして[create]-[C# Script]を選択してTestExtention.csというC#のファイルを作ります。
Editor拡張を作る
MonoBehaviourを継承したいつものファイルが生成されたはずですが以下のように書き換えください。
using UnityEngine;
using UnityEditor;
using System.Collections;

public class TestExtention : EditorWindow
{
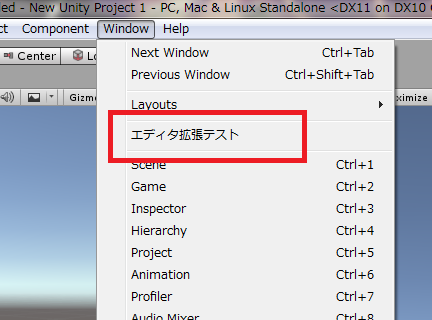
	[MenuItem ("Window/エディタ拡張テスト")]
	public static void  ShowWindow () {
		EditorWindow.GetWindow(typeof(TestExtention));
	}

	void OnGUI () {
	}
}
保存するとUnityエディタに反映されます。
※Unity4はビルドが必要かもしれない
メニューはWindowだけでなく自由に指定できます。
たとえば
[MenuItem ("Window/エディタ拡張テスト")]
の行を
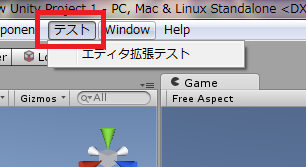
[MenuItem ("テスト/エディタ拡張テスト")]
に書き換えると
[テスト]-[エディタ拡張テスト]というメニューが作られます。
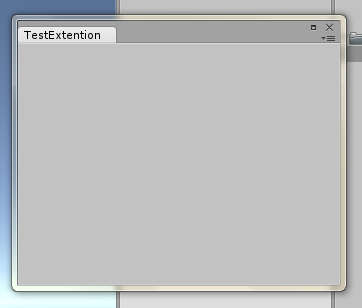
メニューをクリックするとウインドウが表示されます。
あとはOnGUI()の中に処理を追加していくだけです。
次回はOnGUI()の中身について書きたいと思います。
参考
http://docs.unity3d.com/ja/current/Manual/editor-EditorWindows.html


