前回はDjangoのフォームを使ったデータの送信について見ていきました。
【Django】003. フォームでの送信
今回はDjangoのFormクラスを使ってフォームを作成する際に準備されている様々なフィールド (CharField, InteferField, ...) について見ていきます。
今回も以下の本を参考にしています。
テンプレート、ビュー、urlpatternsは一旦以下のようにしておきます。
FormクラスはSampleFormクラスを以降作成していく想定にしています。
{% load static %}
<!DOCTYPE html>
<html lang="ja">
<head>
    <meta charset="UTF-8">
    <title>{{ title }}</title>
    <link href="https://cdn.jsdelivr.net/npm/bootstrap@5.3.0/dist/css/bootstrap.min.css" rel="stylesheet" integrity="sha384-9ndCyUaIbzAi2FUVXJi0CjmCapSmO7SnpJef0486qhLnuZ2cdeRhO02iuK6FUUVM" crossorigin="anonymous">

</head>
<body class="container">
    <h1 class="display-4 text-primary mb-4">{{ title }}</h1>
    <p class="h6 my-3">{{ message|safe }}</p>

    <form action="{% url 'form_sample' %}" method="post">
        {% csrf_token %}
        {{ form.as_p }}
        <input type="submit" value="click" class="btn btn-primary">
    </form>
</body>
</html>
from django.shortcuts import render
from django.http import HttpResponse
from django.views.generic import TemplateView
from .forms import HelloForm

class SampleFormView(TemplateView):

    def __init__(self):
        self.params = {
            "title": "Hello",
            "message": "your data",
            "form": HelloForm(),
        }

    def get(self, request):
        return render(request, "hello/form_sample.html", self.params)

    def post(self, request):
        self.params["form"] = HelloForm(request.POST)
        return render(request, "hello/form_sample.html", self.params)
from django.urls import path
from .views import SampleFormView

urlpatterns = [
    path("form_sample", SampleFormView.as_view(), name="form_sample"),
]
様々な入力フィールド
タグのシリーズ。
CharField
一般的なテキスト入力用クラス。
<input type="text">が生成される。
class SampleForm(forms.Form):
    name = forms.CharField(label="name", widget=forms.TextInput(attrs={"class": "form-control"}))
引数:
| name | detail |
|---|---|
| label | ラベルの表示テキストの指定 |
| widget | ウィジェットを設定できる |
| required | 必須項目かどうかを指定 (True/False) |
| min_length, max_length | 最小/最大文字数を指定(整数値) |
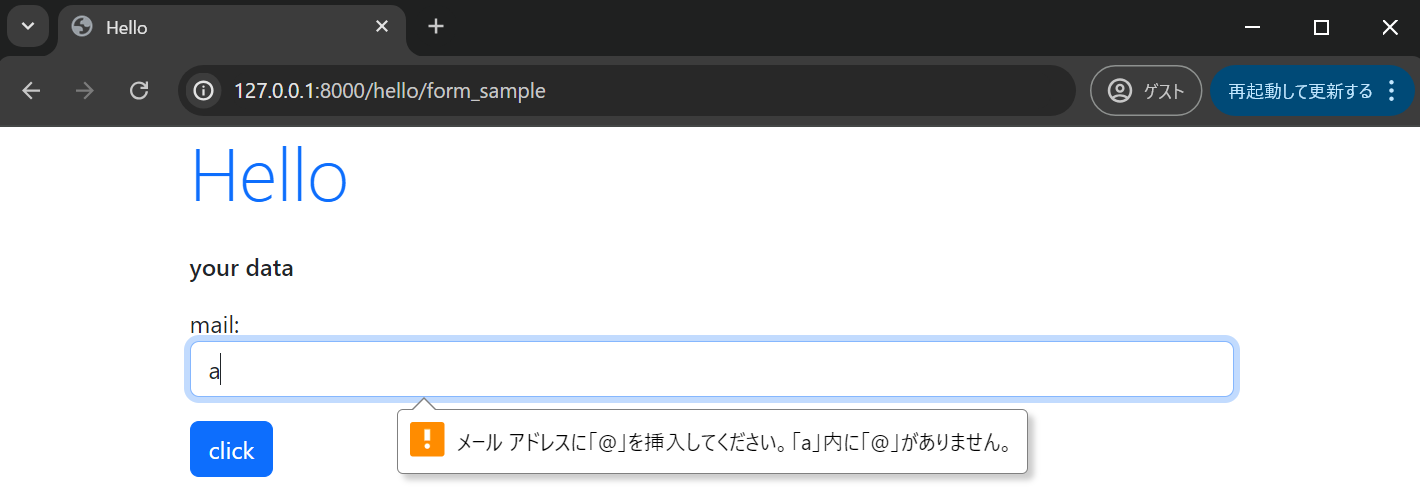
EmailField
CharFieldとほぼ変わらないが、メールアドレス形式のテキストしか受け付けない。
<input type="email">となる。
引数はCharField同様に設定できる。
class SampleForm(forms.Form):
    mail = forms.EmailField(label="mail", widget=forms.EmailInput(attrs={"class": "form-control"}))
IntegerField
整数値のみ入力可能。
<input type=""number>となる。
引数:
| name | detail |
|---|---|
| label | ラベルの表示テキストの指定 |
| widget | ウィジェットを設定できる |
| required | 必須項目かどうかを指定 (True/False) |
| min_value, max_value | 最小/最大値を指定(整数値)、この範囲外の入力を受け付けなくできる。 |
class SampleForm(forms.Form):
    age = forms.IntegerField(label="age", widget=forms.NumberInput(attrs={"class": "form-control"}))
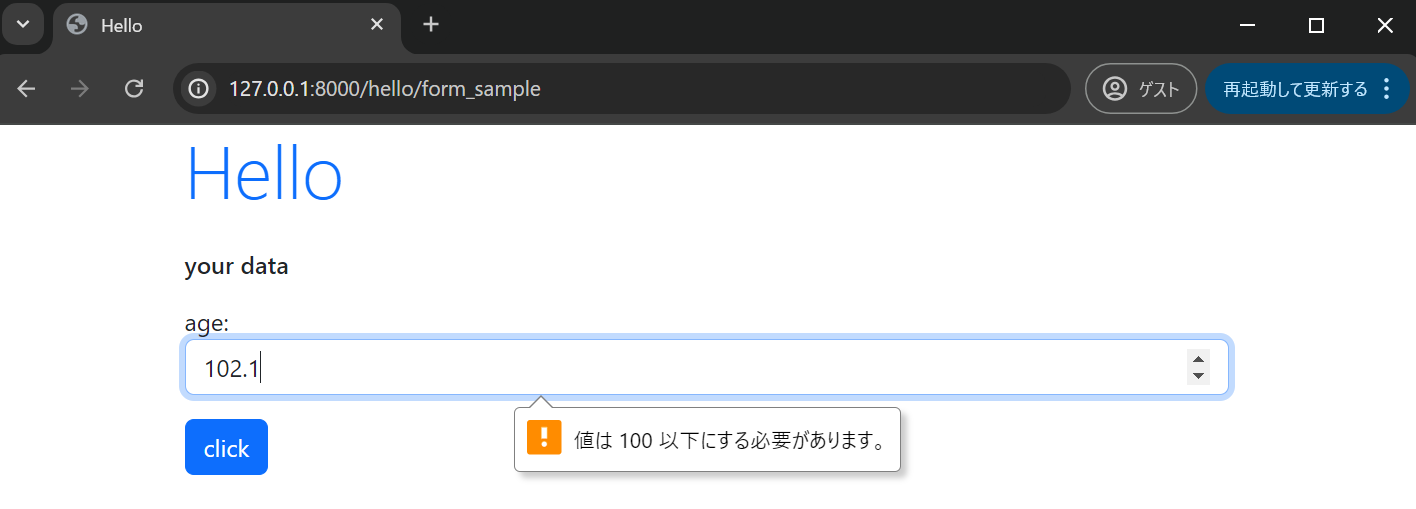
FloatField
整数だけでなく実数も入力可能。
<inpur type="number">は変わらない。
引数もIntegerField同様。
class SampleForm(forms.Form):
    age = forms.FloatField(label="age", min_value=0, max_value=100, widget=forms.NumberInput(attrs={"class": "form-control"}))
URLField
URLを入力するためのもの。
<input type="url">となる。
引数はCharFieldと同様。
class SampleForm(forms.Form):
    url = forms.CharField(label="url", widget=forms.URLInput(attrs={"class": "form-control"}))
日時に関するフィールド
種類
以下3種類がある。
| name | detail |
|---|---|
| DateField | 日付 |
| TimeField | 時刻 |
| DateTimeField | 日付と時刻 |
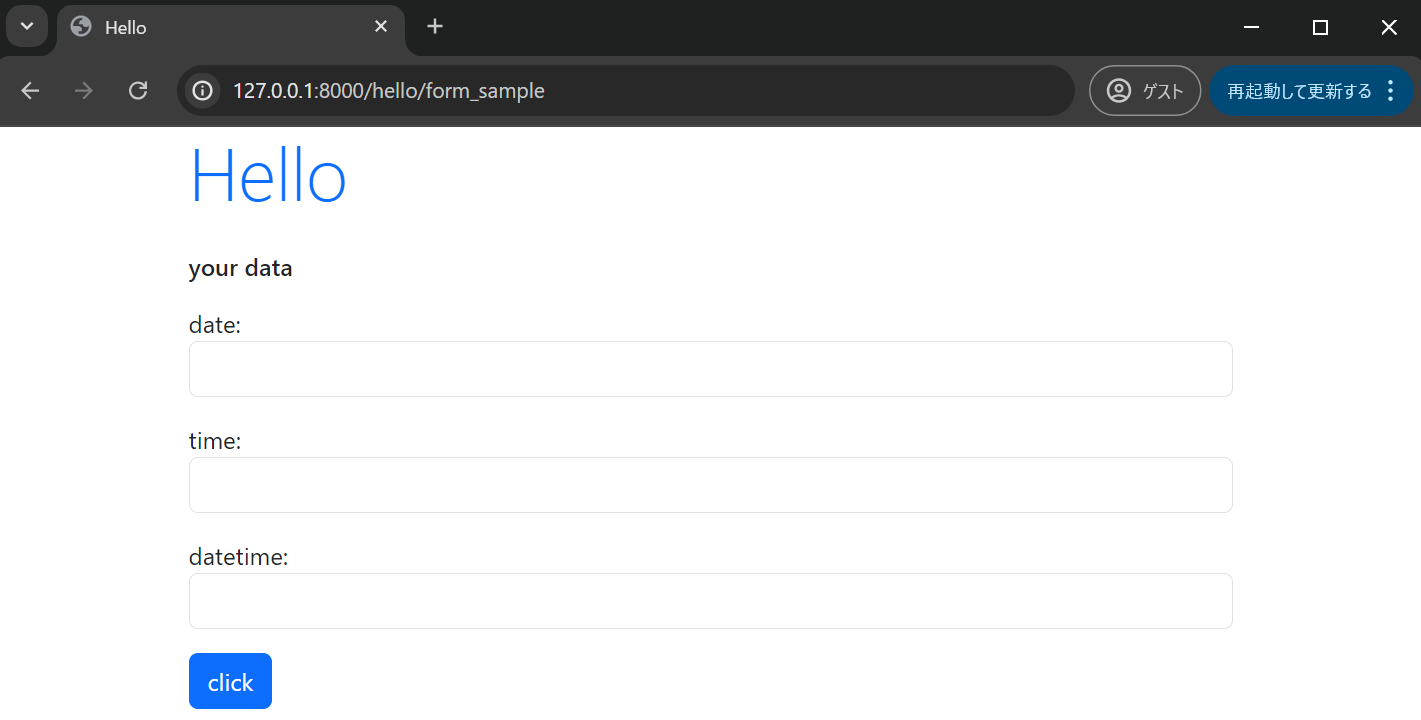
使い方は基本的にどれも同じ、requiredで必須項目かどうか設定可能。
class SampleForm(forms.Form):
    date_ = forms.DateField(label="date", required=True, widget=forms.DateInput(attrs={"class": "form-control"}))
    time_ = forms.TimeField(label="time", required=True, widget=forms.TimeInput(attrs={"class": "form-control"}))
    datetime_ = forms.DateTimeField(label="datetime", required=True, widget=forms.DateTimeInput(attrs={"class": "form-control"}))
日時のフォーマット
日時は正しいフォーマットで入力しないと以下のようなエラーメッセージが出ます。
フォーマットは以下のようなものが用意されています。
日付(Date)
2024-07-25
07/25/2024
07/25/24
時刻(Time)
12:34
12:34:56
日付+時刻(DateTime)
とりあえず日付と時刻をスペースでつなげれば問題なさそう。(スペースは全角でも半角でも何個でも良い?)
無事にエラーメッセージが消えました。
チェックボックス
BooleanFieldを使う。
required=TrueだとチェックをOFFにしたまま送信できないのでrequired=Falseとするのが無難。
class SampleForm(forms.Form):
    check = forms.BooleanField(label="Checkbox", required=False)
チェックボックスの値の取得方法
ビュー側で
if ("check" in request.POST):
    ...
else:
    ...
のように処理可能です。
フィールドの変数名がPOSTリクエスト内に存在するかで判定できます。
今回は以下のようにしました。
class SampleFormView(TemplateView):

    def __init__(self):
        self.params = {
            "title": "Hello",
            "message": "your data",
            "form": SampleForm(),
        }

    def get(self, request):
        return render(request, "hello/form_sample.html", self.params)

    def post(self, request):
        if ("check" in request.POST):
            self.params["message"] = "Checked!!"
        else:
            self.params["message"] = "not checked..."
        self.params["form"] = SampleForm(request.POST)
        return render(request, "hello/form_sample.html", self.params)
実際にチェックボックスの値を取得できていることが確認できました。
3択のNullBooleanField
3択のプルダウンはNullBooleanFieldで実現可能です。
デフォルトだと「Unknown」「Yes」「No」で表示されます。
値は以下のように取得可能です。
chk = request.POST["check"]
値は「unknown」「true」「false」となっているようでした。
プルダウンメニュー
プルダウンメニューはChoiceFieldで実現可能です。
ChoiceFieldは引数のchoicesで項目を指定します。
[
    (値, ラベル),
    (値, ラベル),
    (値, ラベル),
    ...必要な分を記載する...
]
今回は以下のようにしました。
class SampleForm(forms.Form):
    data = [
        ("one", "item 1"),
        ("two", "item 2"),
        ("three", "item 3"),
    ]
    choices = forms.ChoiceField(label="Choice", choices=data)
値は以下のように取得可能です。
ch = request.POST["choices"]
取得した値はchoicesで設定した値となります。
※今回の例なら「item 1」を指定した場合は「one」となる。
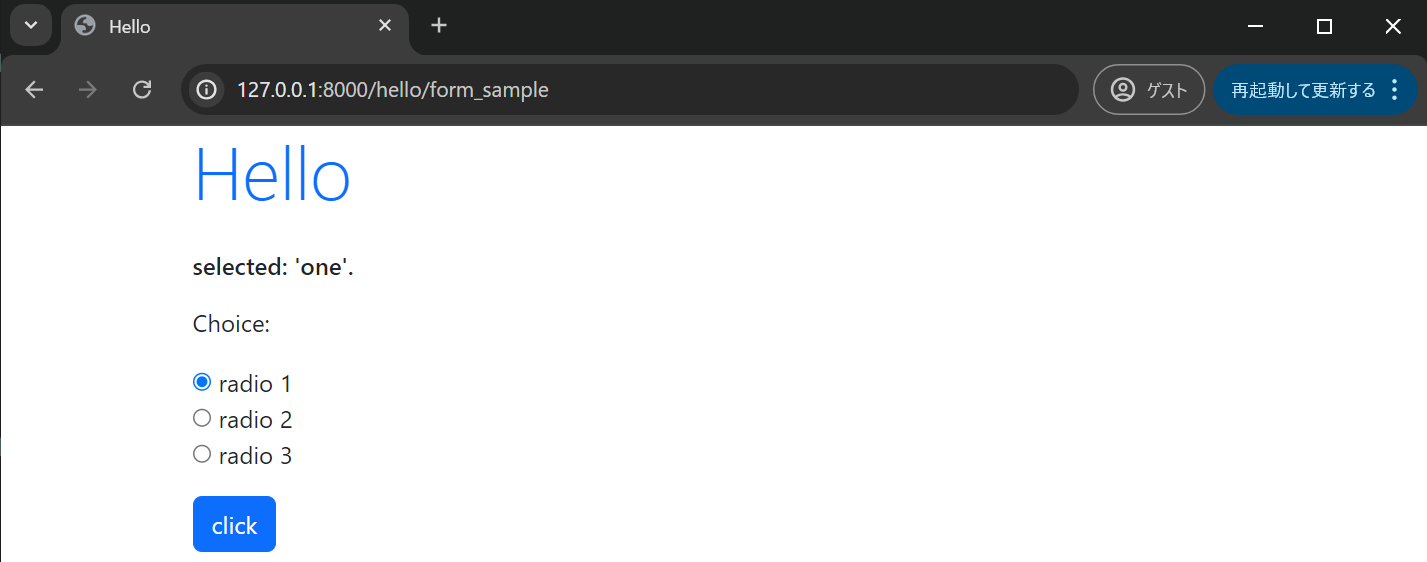
ラジオボタン
ChoiceFieldの引数のwidgetでRadioSelectを指定すると実現可能。
class SampleForm(forms.Form):
    data = [
        ("one", "radio 1"),
        ("two", "radio 2"),
        ("three", "radio 3"),
    ]
    choices = forms.ChoiceField(label="Choice", choices=data, widget=forms.RadioSelect())
値は以下のように取得可能です。
ch = request.POST["choices"]
確認用にビューを以下のようにしておきます。
class SampleFormView(TemplateView):

    def __init__(self):
        self.params = {
            "title": "Hello",
            "message": "your data",
            "form": SampleForm(),
        }

    def get(self, request):
        return render(request, "hello/form_sample.html", self.params)

    def post(self, request):
        ch = request.POST["choices"]
        self.params["message"] = "selected: '" + ch + "'."
        self.params["form"] = SampleForm(request.POST)
        return render(request, "hello/form_sample.html", self.params)
選択リスト
ChoiceFieldの引数のwidgetでSelectを指定すると実現可能。
Select作成時にattrs={"size": 項目数}とする。
class SampleForm(forms.Form):
    data = [
        ("one", "radio 1"),
        ("two", "radio 2"),
        ("three", "radio 3"),
    ]
    choices = forms.ChoiceField(label="Choice", choices=data, widget=forms.Select(attrs={"size": 3, "class": "form-select"}))
複数項目の選択
MultipleChoiceFieldを使用する。
forms.MultipleChoiceField(choices=<値>, widget=forms.SelectMultiple(attrs={"size": 項目数}))
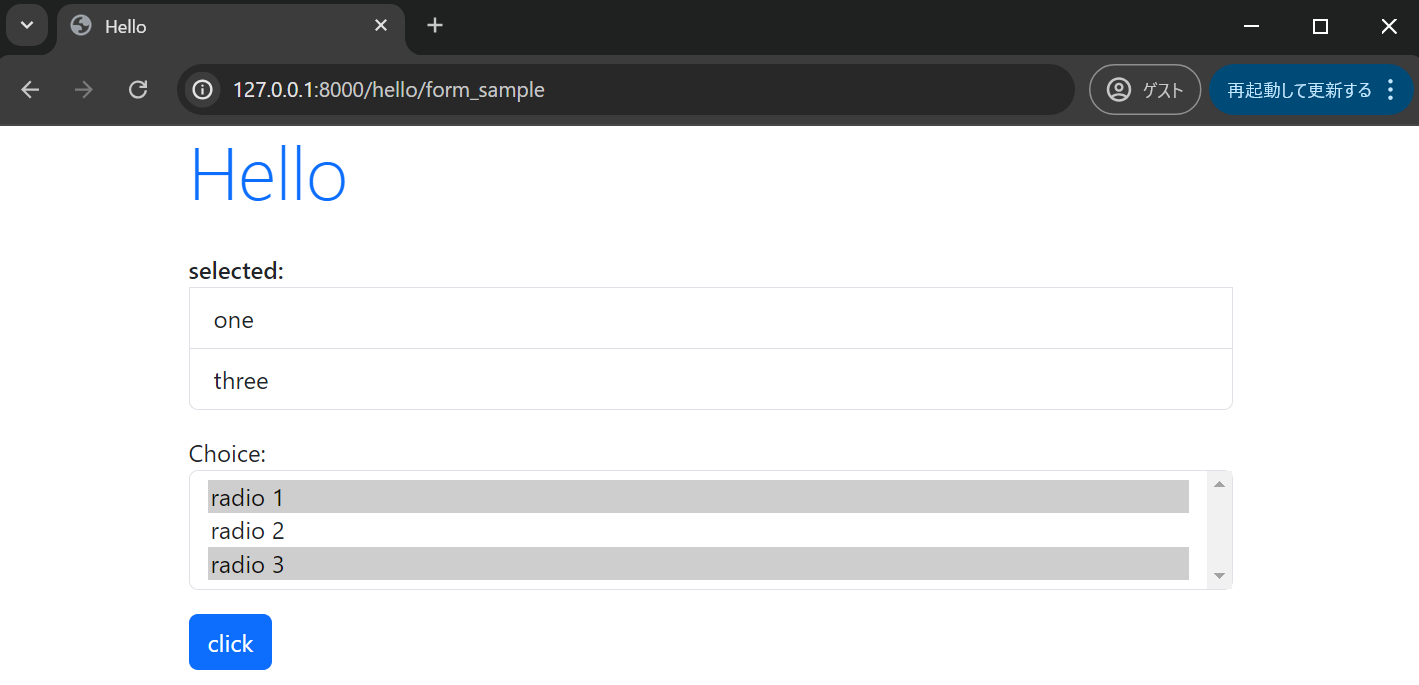
今回は以下のようにしました。
class SampleForm(forms.Form):
    data = [
        ("one", "radio 1"),
        ("two", "radio 2"),
        ("three", "radio 3"),
    ]
    choices = forms.MultipleChoiceField(label="Choice", choices=data, widget=forms.SelectMultiple(attrs={"size": 3, "class": "form-select"}))
複数の項目を表示するためにビューも変更します。
class SampleFormView(TemplateView):

    def __init__(self):
        self.params = {
            "title": "Hello",
            "message": "your data",
            "form": SampleForm(),
        }

    def get(self, request):
        return render(request, "hello/form_sample.html", self.params)

    def post(self, request):
        ch = request.POST.getlist("choices")
        msg = '<ol class="list-group"><b>selected:</b>'
        for item in ch:
            msg += '<li class="list-group-item">' + item + '</li>'
        msg += '</ol>'
        self.params["message"] = msg
        self.params["form"] = SampleForm(request.POST)
        return render(request, "hello/form_sample.html", self.params)
ch = request.POST.getlist("choices")でリストとして取得し処理をします。

