ImageMagick で画像の変形手法の一種、射影変換をする話です。英語だと Homography 又は Perspective projection と呼ばれるものです。
よく知られるアフィン変換では平行四辺形まで歪ませる事ができますが、射影変換だと更に台形や任意の四角形に合わせて歪ませる事ができます。
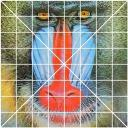 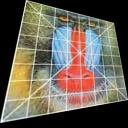 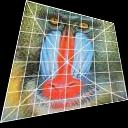
|
|---|
| https://www.imagemagick.org/Usage/distorts/#perspective |
公式マニュアルが非常に分かりやすいのですが、たまに英語を読むのが億劫な時もあるので、簡単な使い方だけ、かいつまんで日本語でまとめました。
主に、Perspective と BilinearForward の2つがあります。使い方は変わりません、結果は変わります。
Perspective から紹介します。
Perspective
3D のパースペクティブ(遠近法,透視図法)に合わせた変換です。斜めの角度から見た時の映像をイメージすると良いです。
丁度良いサンプル画像が手元にあったので、こちらを変換してみます。
| sample.jpg |
|---|
 |
使い方
Perspective は変換元と変換先の対応を、4組指定します。
% convert src.jpg -distort Perspective  \
          -draw "polyline src1_x,y dst1_x,y src2_x,y dst2_x,y ...3... ...4..."
          dst.jpg
変換場所を決める
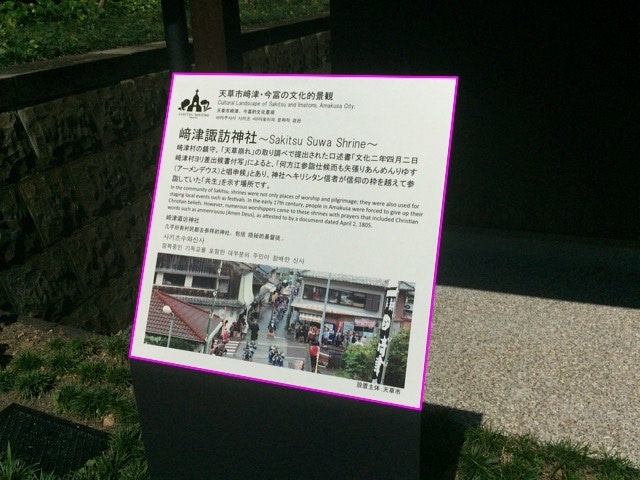
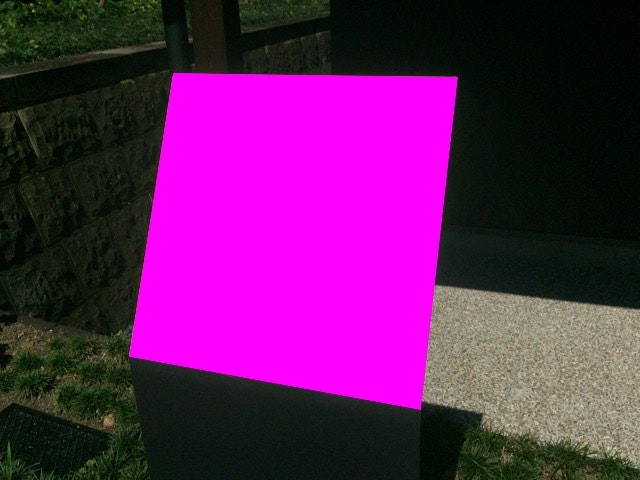
まず変換する場所の四箇所を決めます。台形だと四隅が分かりやすいでしょう。。 -draw を使って線を引いて確認すると便利です。あと -stroke none -fill <目立つ色> と併せて使うとギリギリの見極めが楽になります。(この数値より 1 内側だとはみ出る。)
% convert sample.jpg -strokewidth 2 -stroke magenta -fill none \
          -draw "polyline 173,73 457,77 420,409 129,356 173,73" \
          draw.jpg
% convert sample.jpg -stroke none -fill magenta \
          -draw "polyline 173,73 457,77 420,409 129,356 173,73" \
          draw2.jpg
| draw.jpg | draw2.jpg |
|---|---|
 |
 |
この四隅を以下のように左上スタートで時計回りに対応づけてみます。
| 左上 | 右上 | 右下 | 左下 | |
|---|---|---|---|---|
| src | (173,73) | (457,77) | (420,409) | (129,356) |
| dst | (0, 0) | (640,0) | (640,480) | (0,480) |
変換する
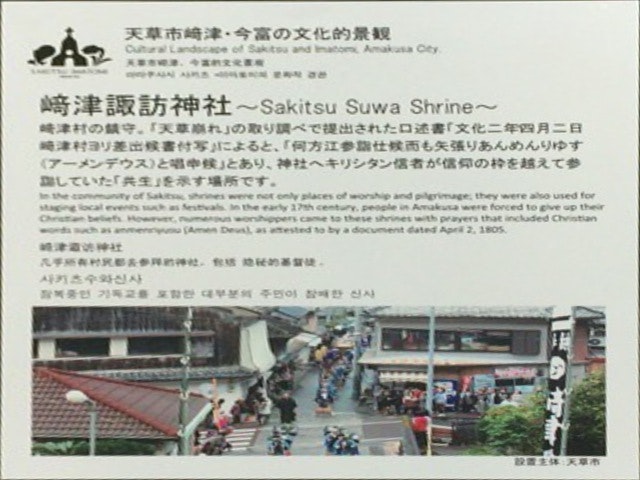
この対応で射影変換するコマンドはこうなります。
% convert sample.jpg -distort Perspective \
          '173,73 0,0 457,77 640,0 420,409 640,480 129,356 0,480' \
          pers.jpg
| pers.jpg |
|---|
 |
-verbose
-verbose オプションをつけると射影変換のパラメータが表示されます。自分で射影変換処理を作りたくなった時に参考になるかもしれません。
% convert sample.jpg -verbose -distort Perspective \
          '173,73 0,0 457,77 640,0 420,409 640,480 129,356 0,480' \
          pers.jpg
Perspective Projection:
  -distort PerspectiveProjection \
      '2.96457, 0.460922, -546.517, -0.0281816,
       2.00089, -141.19, 0.00065016, 0.000276416'
Perspective Distort, FX Equivelent:
  -fx 'ii=i+page.x+0.5; jj=j+page.y+0.5;
       rr=-0.000220141*ii -8.74352e-05*jj + 1;
       xx=(+0.343145*ii -0.102946*jj +173)/rr;
       yy=(-0.0107009*ii +0.558456*jj +73)/rr;
       rr>0 ? p{xx-page.x-0.5,yy-page.y-0.5} : blue' \
sample.jpg=>pers.jpg JPEG 640x480 640x480+0+0 8-bit sRGB 92709B 0.190u 0:00.027
BilinearForward
Perspective は遠近法的に正しい変換を行うので、遠くの場所が小さくなります。
-distort Perspective の代わりに -distort BilinearForward を使うと、以下のように変形させる事ができます。なお、4点の指定の仕方は Perspective と同じです。
| Original | Perspective | Bilinear |
|---|---|---|
 |
 |
 |
グリッドの間を等間隔に保つ。対角線は直線として維持しない。真ん中の位置があまり変わらないといった特徴があります。遠近法で遠くが潰れる事がなくなり、この方が望む画像が得られる事もあります。
後で書く予定のもの
- virtual-pixel (元のエリアに対応するピクセルがない時の対応。指定した4点の枠の外側をどんな色で埋めるか)
- 射影変換の処理概要 (射影行列、逆行列、補間)
- PerspectiveProjection (4点の対応でなく、射影行列パラメータを直接指定)