とある p5.js を使った作品作りの中で、ある処理を実行するイベントが発生した間、しばらくの間は再度イベントを発生させない処理を作る必要がありました。
そして、その対象となるイベントを複数にしたり、一部は排他制御を入れたりということをやりたい状況になりました。
その機能の実験用の処理を作ろうとしたとき、「こういうのは、生成AI で土台を作ってもらうと早くて、すっきりしたものができるのでは?」と思ったので、今回の内容を試しました。
実際に作っていく
ChatGPT(GPT-4o)を使って作っていきます。
ステップ1
実験用のものでは、イベント発生を手動でのボタン押下で作ることにしました。プロンプトは以下で、とりあえず雑にやりたいことを書きました。
p5.js でボタンをボタンを押したタイミングから指定の秒数だけ処理をする、その間はボタン押下の検知をブロックする、という処理は?

なお、常にボタン入力を待ち受けている想定です。
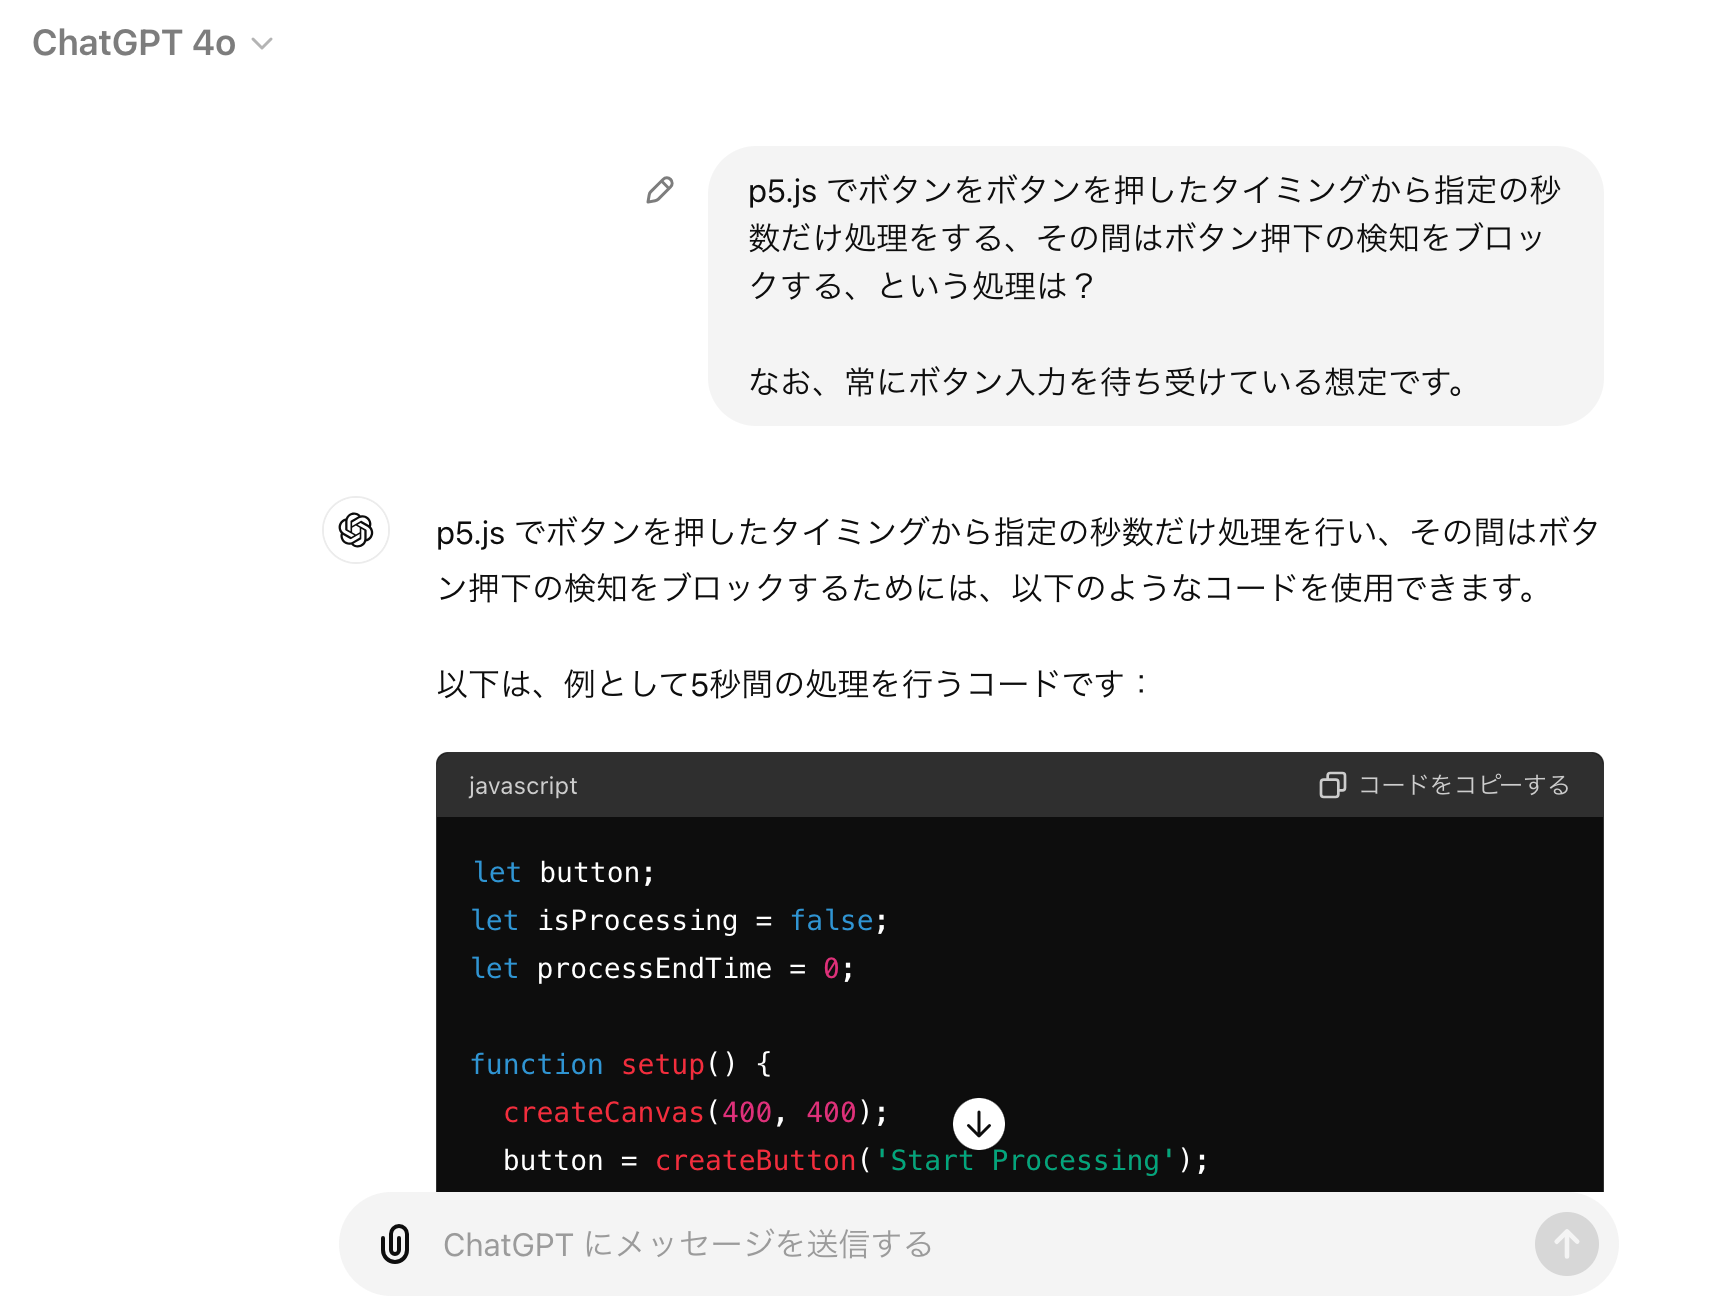
生成された内容は以下のとおりです。
let button;
let isProcessing = false;
let processEndTime = 0;

function setup() {
  createCanvas(400, 400);
  button = createButton('Start Processing');
  button.position(150, 200);
  button.mousePressed(startProcessing);
}

function draw() {
  background(220);

  if (isProcessing) {
    if (millis() >= processEndTime) {
      isProcessing = false;
      button.removeAttribute('disabled');
      console.log('Processing completed');
    } else {
      console.log('Processing...');
    }
  }
}

function startProcessing() {
  if (!isProcessing) {
    isProcessing = true;
    processEndTime = millis() + 5000; // 5秒間処理を実行
    button.attribute('disabled', '');
  }
}
時間の長さは指定してなかったですが、仮に 5秒で作ってくれたようです。
シンプルな処理でもあるので、そのまま動くものがでてきました(※ p5.js Web Editor に貼り付けて、サクッと動作確認もしました)。

ステップ2
次にボタンを複数にして、それらを押下した時のボタン無効化の時間は、それぞれ異なる時間になるようにしました。
プロンプトと生成された内容は以下のとおりです。
画面にボタンが4個あり、それぞれに異なる秒数の実行時間として別管理にするには?

あと、さらに即時リターンを入れてもらったりもしました。その結果、生成された内容は以下のとおりです。
let buttons = [];
let processingTimes = [2000, 3000, 4000, 5000]; // 各ボタンの処理時間(ミリ秒)
let isProcessing = [false, false, false, false]; // 各ボタンの処理状態
let processEndTimes = [0, 0, 0, 0]; // 各ボタンの処理終了時間

function setup() {
  createCanvas(400, 400);

  // ボタンの作成と配置
  for (let i = 0; i < 4; i++) {
    let btn = createButton('Button ' + (i + 1));
    btn.position(100, 50 + i * 50);
    btn.mousePressed(() => startProcessing(i));
    buttons.push(btn);
  }
}

function draw() {
  background(220);

  // 各ボタンの処理状態をチェック
  for (let i = 0; i < 4; i++) {
    if (isProcessing[i]) {
      if (millis() >= processEndTimes[i]) {
        isProcessing[i] = false;
        buttons[i].removeAttribute('disabled');
        console.log('Processing for Button ' + (i + 1) + ' completed');
      } else {
        console.log('Processing for Button ' + (i + 1) + '...');
      }
    }
  }
}

function startProcessing(index) {
  if (isProcessing[index]) return; // 既に処理中の場合は即時リターン

  isProcessing[index] = true;
  processEndTimes[index] = millis() + processingTimes[index]; // 各ボタンに対応する処理時間を設定
  buttons[index].attribute('disabled', '');
  console.log('Started processing for Button ' + (index + 1));
}
これも問題なく動作するものがでできました。
ステップ3
さらに、ボタン押下が無効化されている間、インジケータ的な役割の円を表示させてもらうようにしました。また、排他制御も入れてもらいました。
プロンプトと生成された内容は以下です。
ボタン押下後の処理中は、ボタンの右に異なる色の円が表示されるようにして

色は4つともバラバラで
ボタン1押下時はボタン2の押下を無効にして、ボタン2押下時はボタン1の押下を無効にして
let buttons = [];
let processingTimes = [2000, 3000, 4000, 5000]; // 各ボタンの処理時間(ミリ秒)
let isProcessing = [false, false, false, false]; // 各ボタンの処理状態
let processEndTimes = [0, 0, 0, 0]; // 各ボタンの処理終了時間
let colors = ['red', 'green', 'blue', 'yellow']; // 各ボタンの円の色

function setup() {
  createCanvas(400, 400);

  // ボタンの作成と配置
  for (let i = 0; i < 4; i++) {
    let btn = createButton('Button ' + (i + 1));
    btn.position(100, 50 + i * 50);
    btn.size(100, 30); // ボタンのサイズを設定
    btn.mousePressed(() => startProcessing(i));
    buttons.push(btn);
  }
}

function draw() {
  background(220);

  // 各ボタンの処理状態をチェック
  for (let i = 0; i < 4; i++) {
    if (isProcessing[i]) {
      if (millis() >= processEndTimes[i]) {
        isProcessing[i] = false;
        buttons[i].removeAttribute('disabled');
        if (i === 0) {
          buttons[1].removeAttribute('disabled'); // ボタン1の処理が完了したらボタン2を有効にする
        } else if (i === 1) {
          buttons[0].removeAttribute('disabled'); // ボタン2の処理が完了したらボタン1を有効にする
        }
        console.log('Processing for Button ' + (i + 1) + ' completed');
      } else {
        console.log('Processing for Button ' + (i + 1) + '...');
        // ボタンの右に円を描画
        fill(colors[i]);
        noStroke();
        let buttonY = buttons[i].elt.offsetTop; // ボタンのy座標を取得
        let buttonHeight = buttons[i].elt.offsetHeight; // ボタンの高さを取得
        ellipse(300, buttonY + buttonHeight / 2, 20, 20); // 円の位置をボタンに合わせて調整
      }
    }
  }
}

function startProcessing(index) {
  if (isProcessing[index]) return; // 既に処理中の場合は即時リターン

  isProcessing[index] = true;
  processEndTimes[index] = millis() + processingTimes[index]; // 各ボタンに対応する処理時間を設定
  buttons[index].attribute('disabled', '');
  if (index === 0) {
    buttons[1].attribute('disabled', ''); // ボタン1が押されたときにボタン2を無効にする
  } else if (index === 1) {
    buttons[0].attribute('disabled', ''); // ボタン2が押されたときにボタン1を無効にする
  }
  console.log('Started processing for Button ' + (index + 1));
}
ステップ4
排他制御の部分は、切り出してスッキリさせたかったので、そのような依頼をしました。
また、排他制御の入れ方も変えてみました。
プロンプトは以下のとおりです。
排他制御のところを関数で切り出して
3と4での排他制御も加えて
以下の処理をそれぞれすっきりまとめる短縮することはできる?

function enableDependentButtons(index) {

function disableDependentButtons(index) {
最後のプロンプトの enableDependentButtons() と disableDependentButtons() は、排他制御が関数で切り出してもらった段階で作られたものです。
そして、出てきたコードに少し手を加えてみたりした、最終版の内容は以下です。
let buttons = [];
let processingTimes = [1000, 3000, 1500, 2000];
let isProcessing = [false, false, false, false];
let processEndTimes = [0, 0, 0, 0];
let colors = ["red", "green", "blue", "yellow"];

let dependencies = [[1, 3], [0], [3], [0, 2]];

function setup() {
  createCanvas(450, 350);

  for (let i = 0; i < 4; i++) {
    let btn = createButton("Button " + (i + 1));
    btn.position(100, 50 + i * 70);
    btn.size(100, 30);
    btn.mousePressed(() => startProcessing(i));
    buttons.push(btn);
  }
}

function draw() {
  background(220);

  for (let i = 0; i < 4; i++) {
    if (isProcessing[i]) {
      if (millis() >= processEndTimes[i]) {
        isProcessing[i] = false;
        buttons[i].removeAttribute("disabled");
        enableDependentButtons(i);

        console.log("Processing for Button " + (i + 1) + " completed");
      } else {
        // console.log("Processing for Button " + (i + 1) + "...");

        fill(colors[i]);
        noStroke();
        let buttonY = buttons[i].elt.offsetTop;
        let buttonHeight = buttons[i].elt.offsetHeight;
        ellipse(250, buttonY + buttonHeight / 2, 35);
      }
    }
  }
}

function startProcessing(index) {
  if (isProcessing[index]) return;

  isProcessing[index] = true;
  processEndTimes[index] = millis() + processingTimes[index];
  buttons[index].attribute("disabled", "");
  disableDependentButtons(index);
  console.log("Started processing for Button " + (index + 1));
}
function disableDependentButtons(index) {
  dependencies[index].forEach((i) => buttons[i].attribute("disabled", ""));
}

function enableDependentButtons(index) {
  dependencies[index].forEach((i) => buttons[i].removeAttribute("disabled"));
}
最後のものを動作確認した時の様子は以下のとおりです。
今回の内容であれば、処理の内容的には自分でも書ける内容ですが、ChatGPT に出力してもらうことでタイピングの量を激減させられるのが一番のメリットでした。
また、ちょっと変更を加えるというときに、実装漏れとかを防ぎつつサクッと処理を追加してもらえたりという点でも、効率的に進められたかなと思うところでした。