はじめに
この記事は、以下で見かけた Claude Code的な AIエージェントの「Rovo Dev」を軽く試してみた話です。Rovo Dev は Atlassian がリリースしたもののようです。
●アトラシアン、Claude Codeライクな開発支援AIエージェント「Rovo Dev」をベータ公開。ベータ期間中は無料 - Publickey
https://www.publickey1.jp/blog/25/claude_codeairovo_dev.html

情報を見てみる
公式情報を見ていきます。Rovo Dev についての公式のブログ記事として、以下があるようです。
●アトラシアン、開発者向けのエージェント型AIを発表 | Atlassian Japan 公式ブログ | アトラシアン株式会社
https://www.atlassian.com/ja/blog/rovo-dev-cli
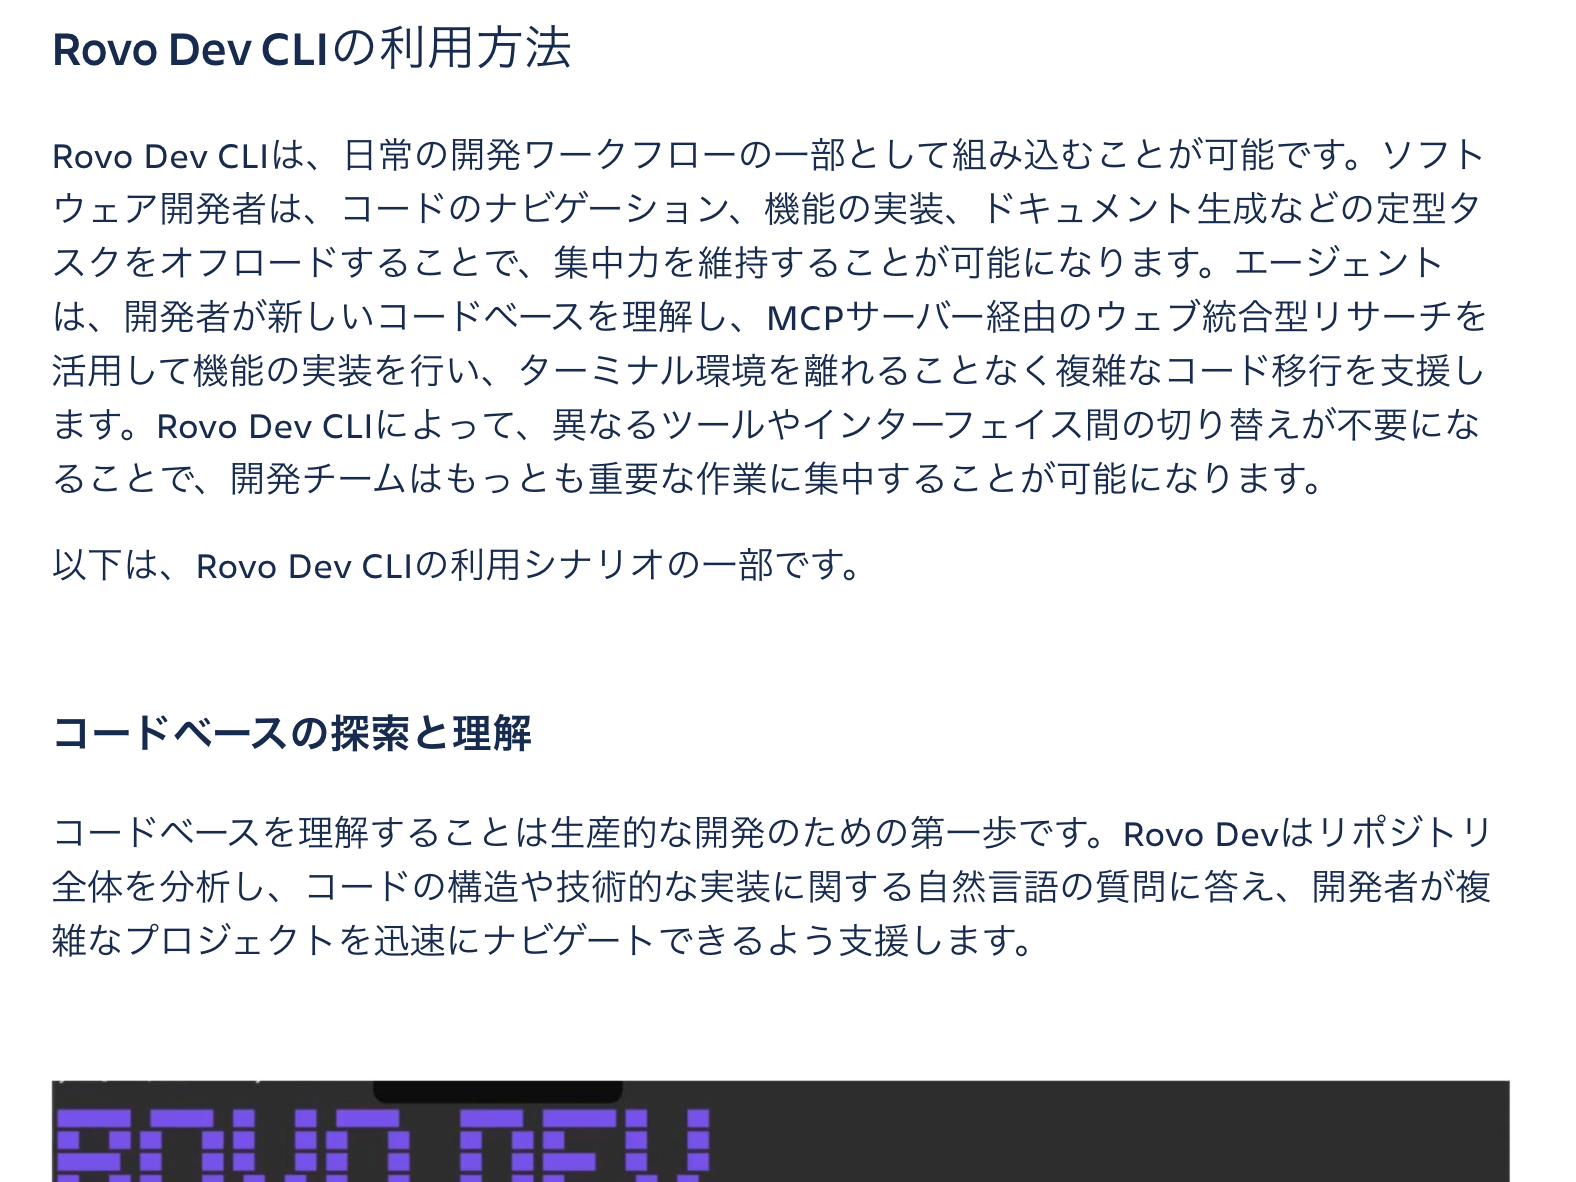
Atlassian製とのことで、Jira や Confluence といったアトラシアン製品に含まれる作業項目を参照することもできるようです(MCP を使うっぽいです)。
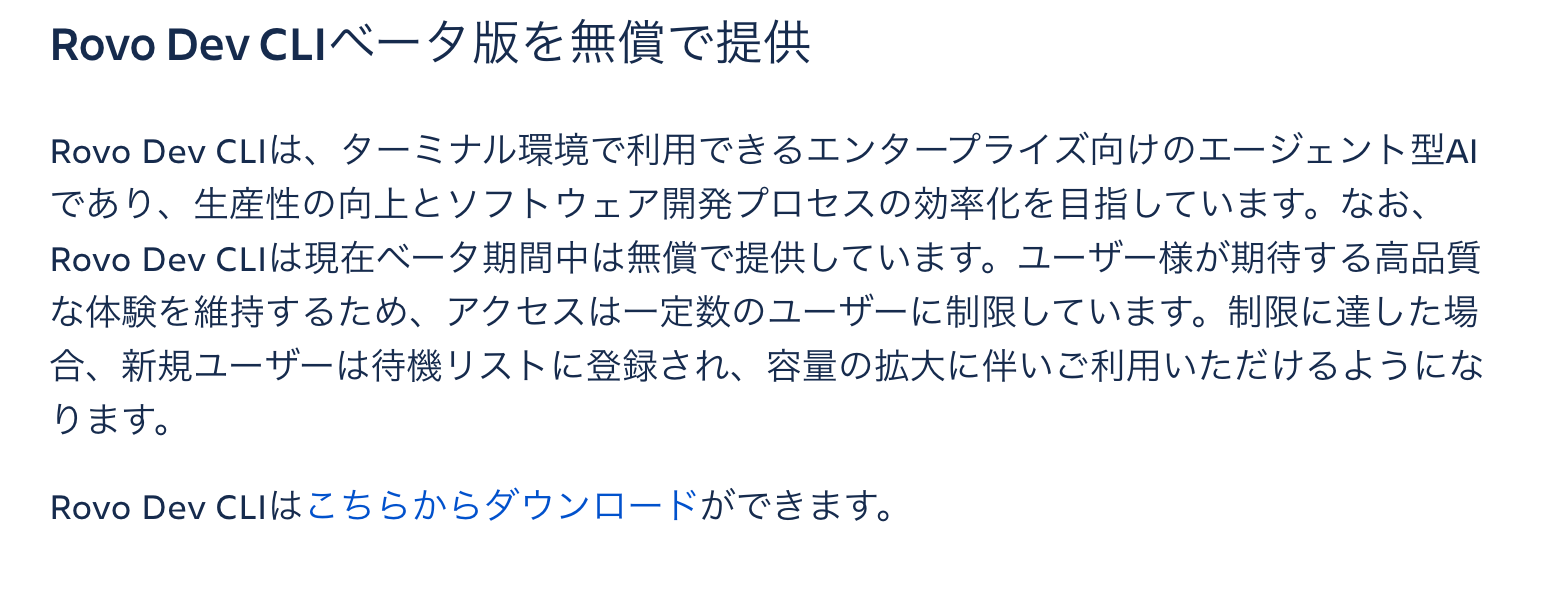
以下を見るとベータ版でのリリースとなっていて、なおかつ現時点では無償で利用できるようです(新規ユーザー登録は、申し込み数によっては待機リストに登録する形にもなるかもしれないとのこと)。
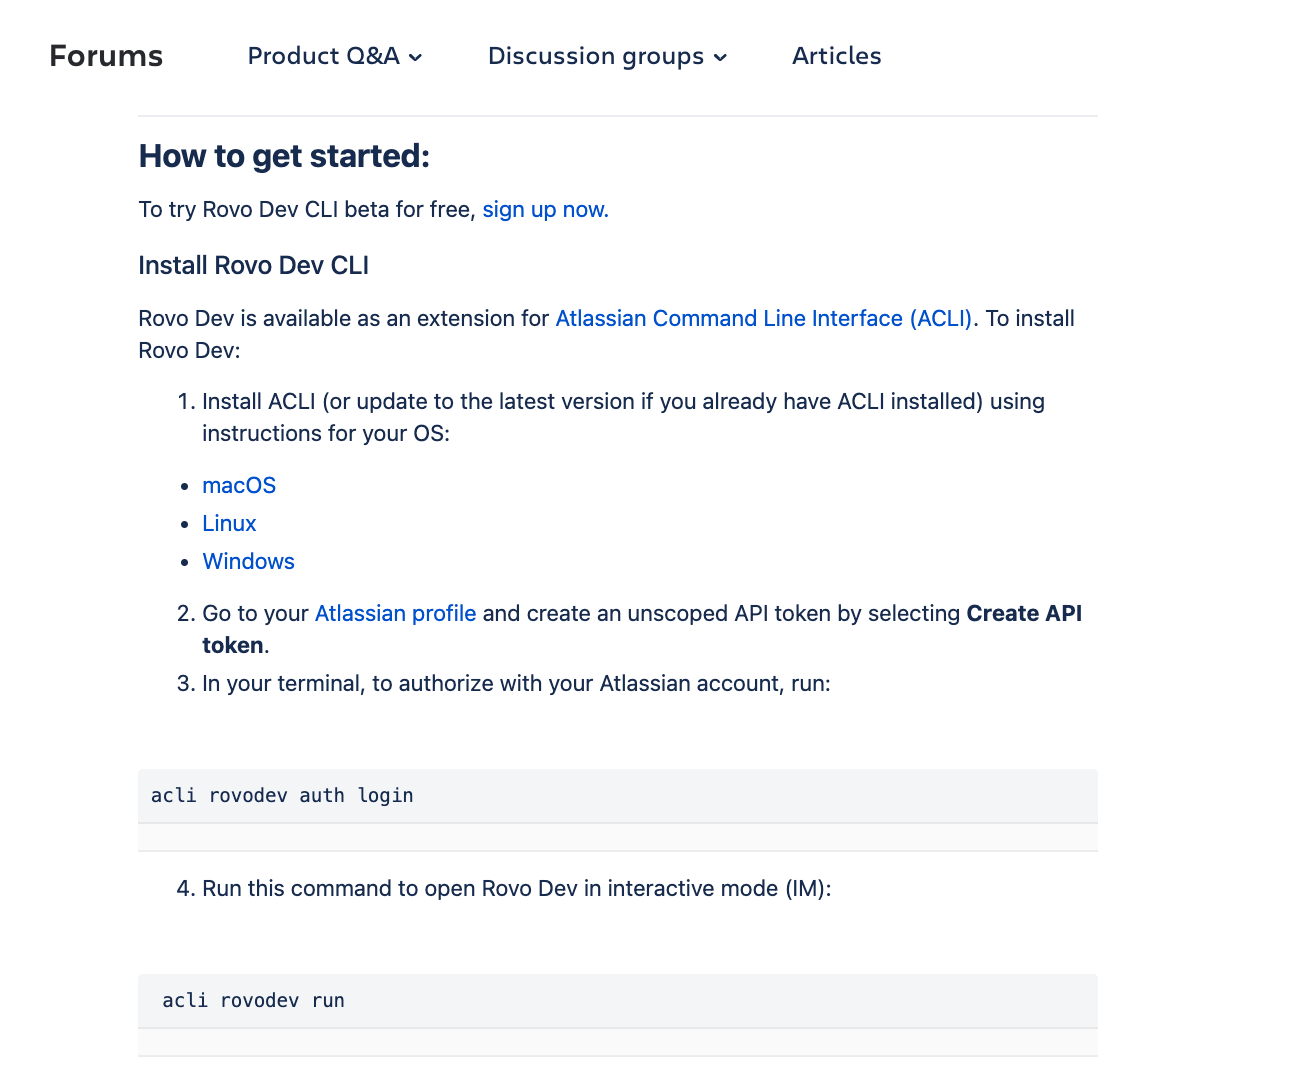
処理の実行に使う CLI については、以下に公式の情報が掲載されているようです。
●Introducing Rovo Dev CLI: AI-Powered Development i... - Atlassian Community
https://community.atlassian.com/forums/Rovo-Dev-AI-Agents-Beta-articles/Introducing-Rovo-Dev-CLI-AI-Powered-Development-in-your-terminal/ba-p/3043623
実際に試し始める時の手順は、以下の「How to get started」の部分を見ていくと良さそうでした。
実際に試す
実際に試していきます。
登録
上で紹介した記事内で掲載されていたリンク( https://www.atlassian.com/solutions/devops/ai-innovation )から登録を進めます。
メールアドレスの登録が必要になるかと思ったのですが、自分の場合は過去に Atlassianアカウントを作成済みだったので、それを利用する形になるようでした(※ 新規登録の流れを進めようとしたら、既に登録済みのメールアドレスだというメッセージが出ました)。
ログインをした後に Rovo Dev を利用するための登録を進めます。途中、以下の画面などが出てきていました。
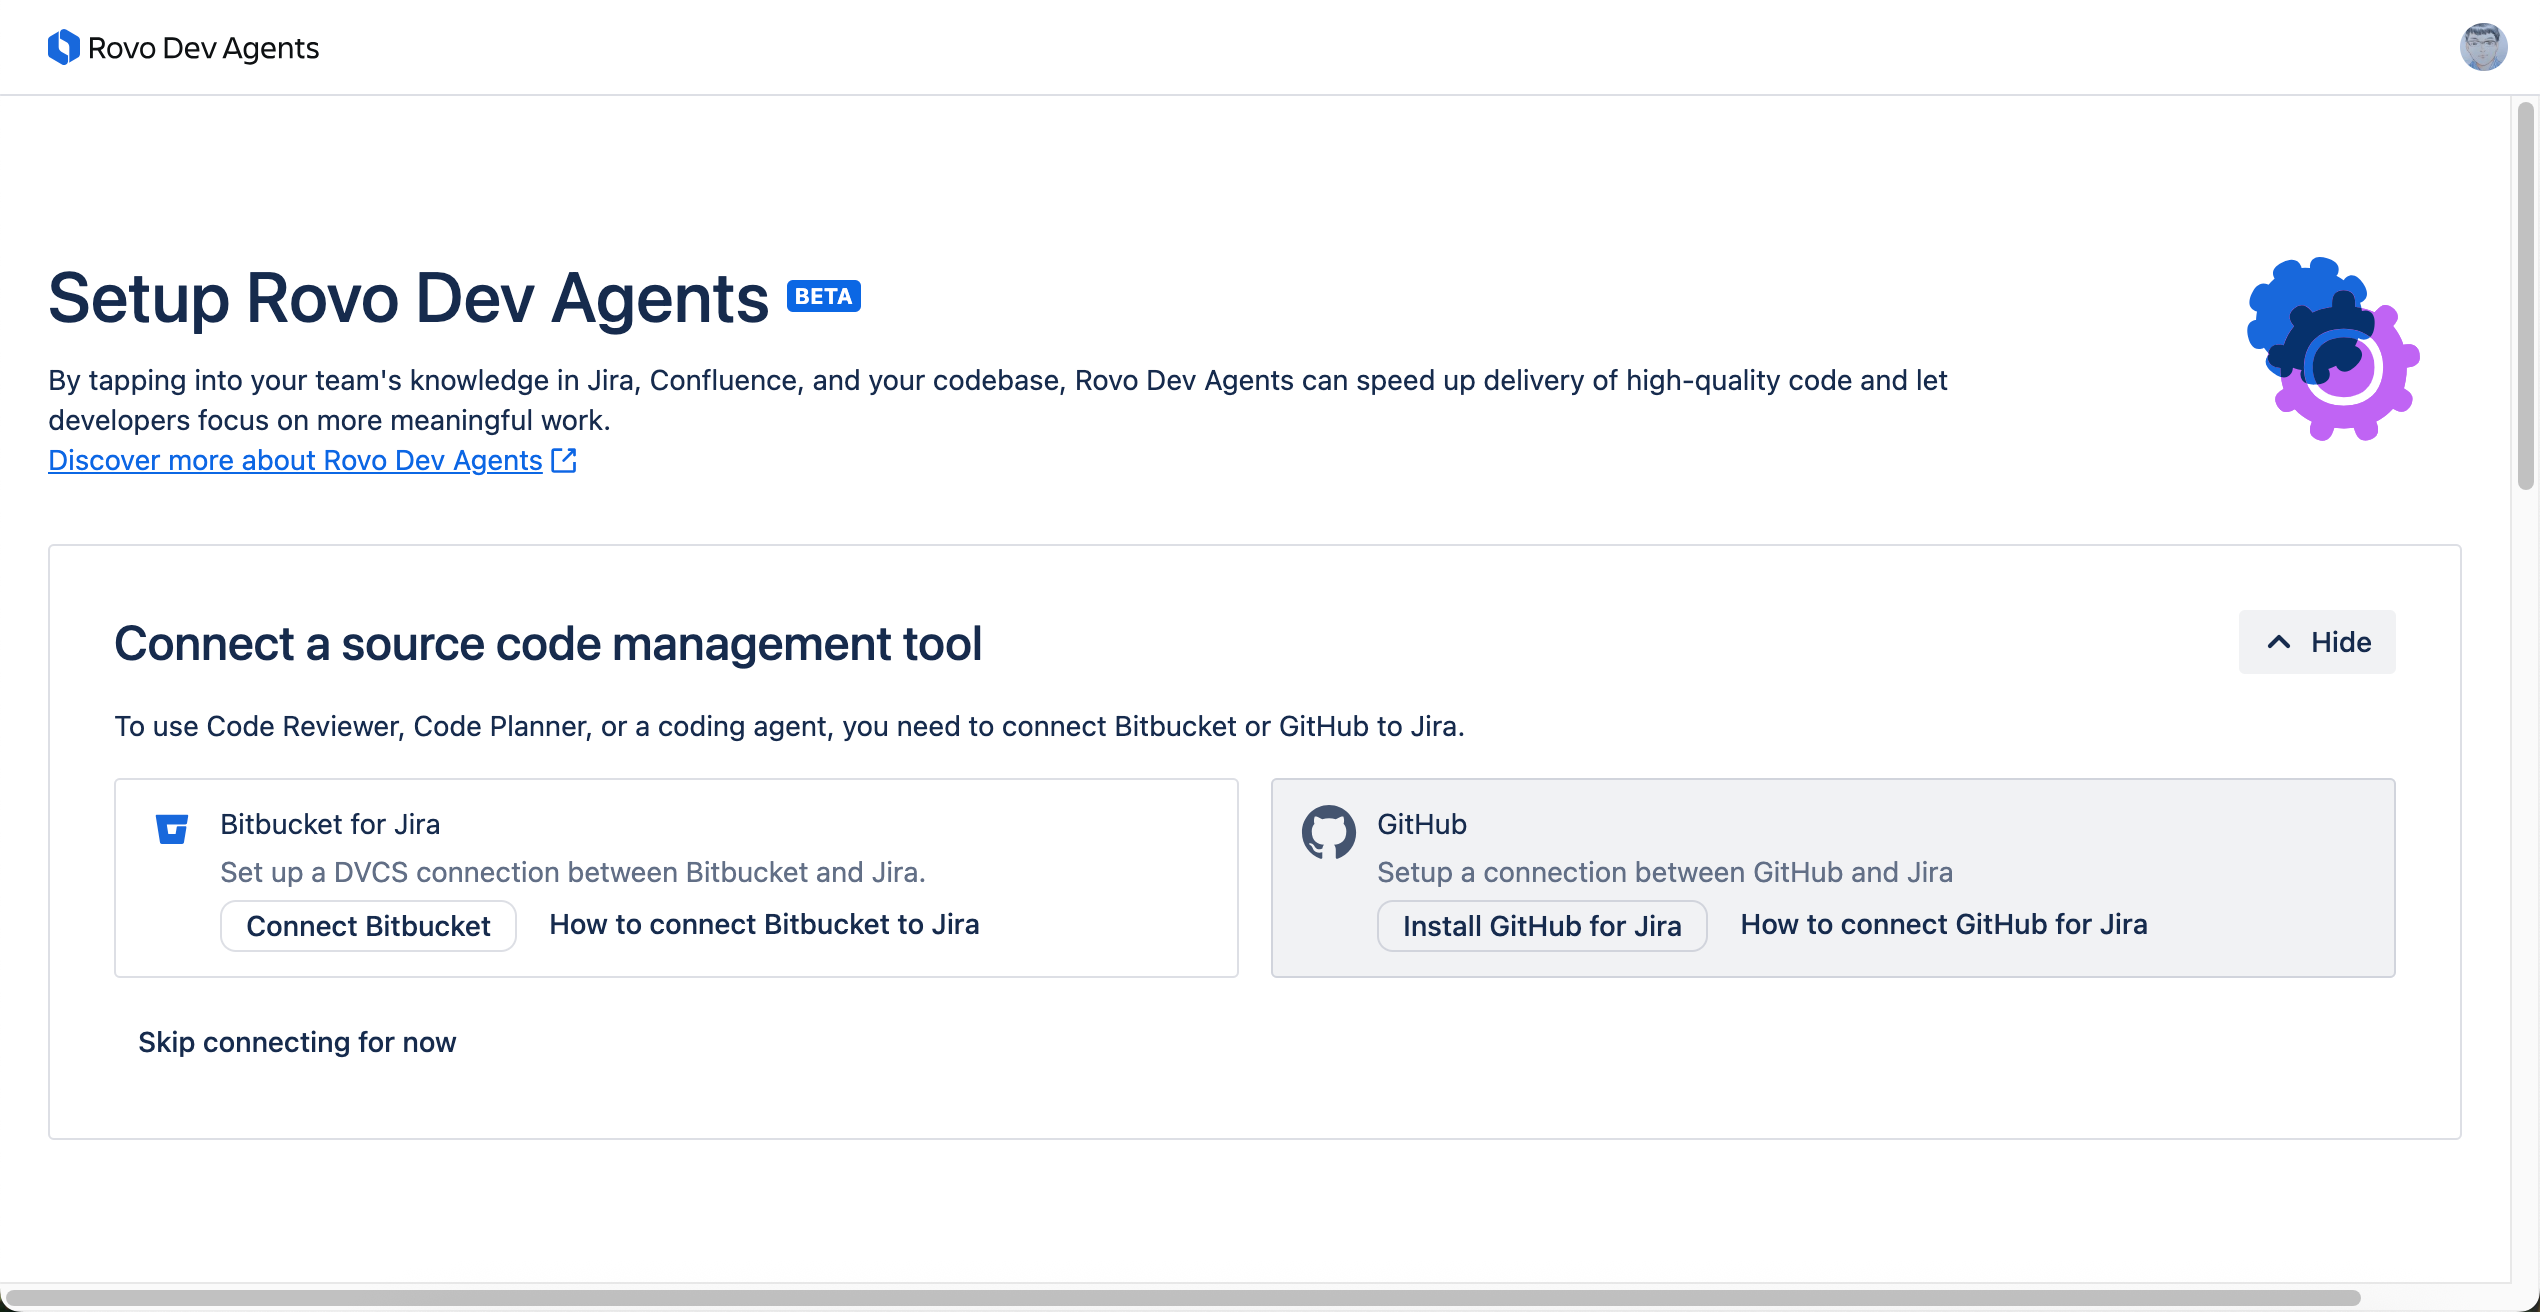
登録完了後の画面の一部
そして登録を完了させられました。
完了後の画面からメニューなどを見ていくと、CLI の無効化が行える画面もあるようでした。
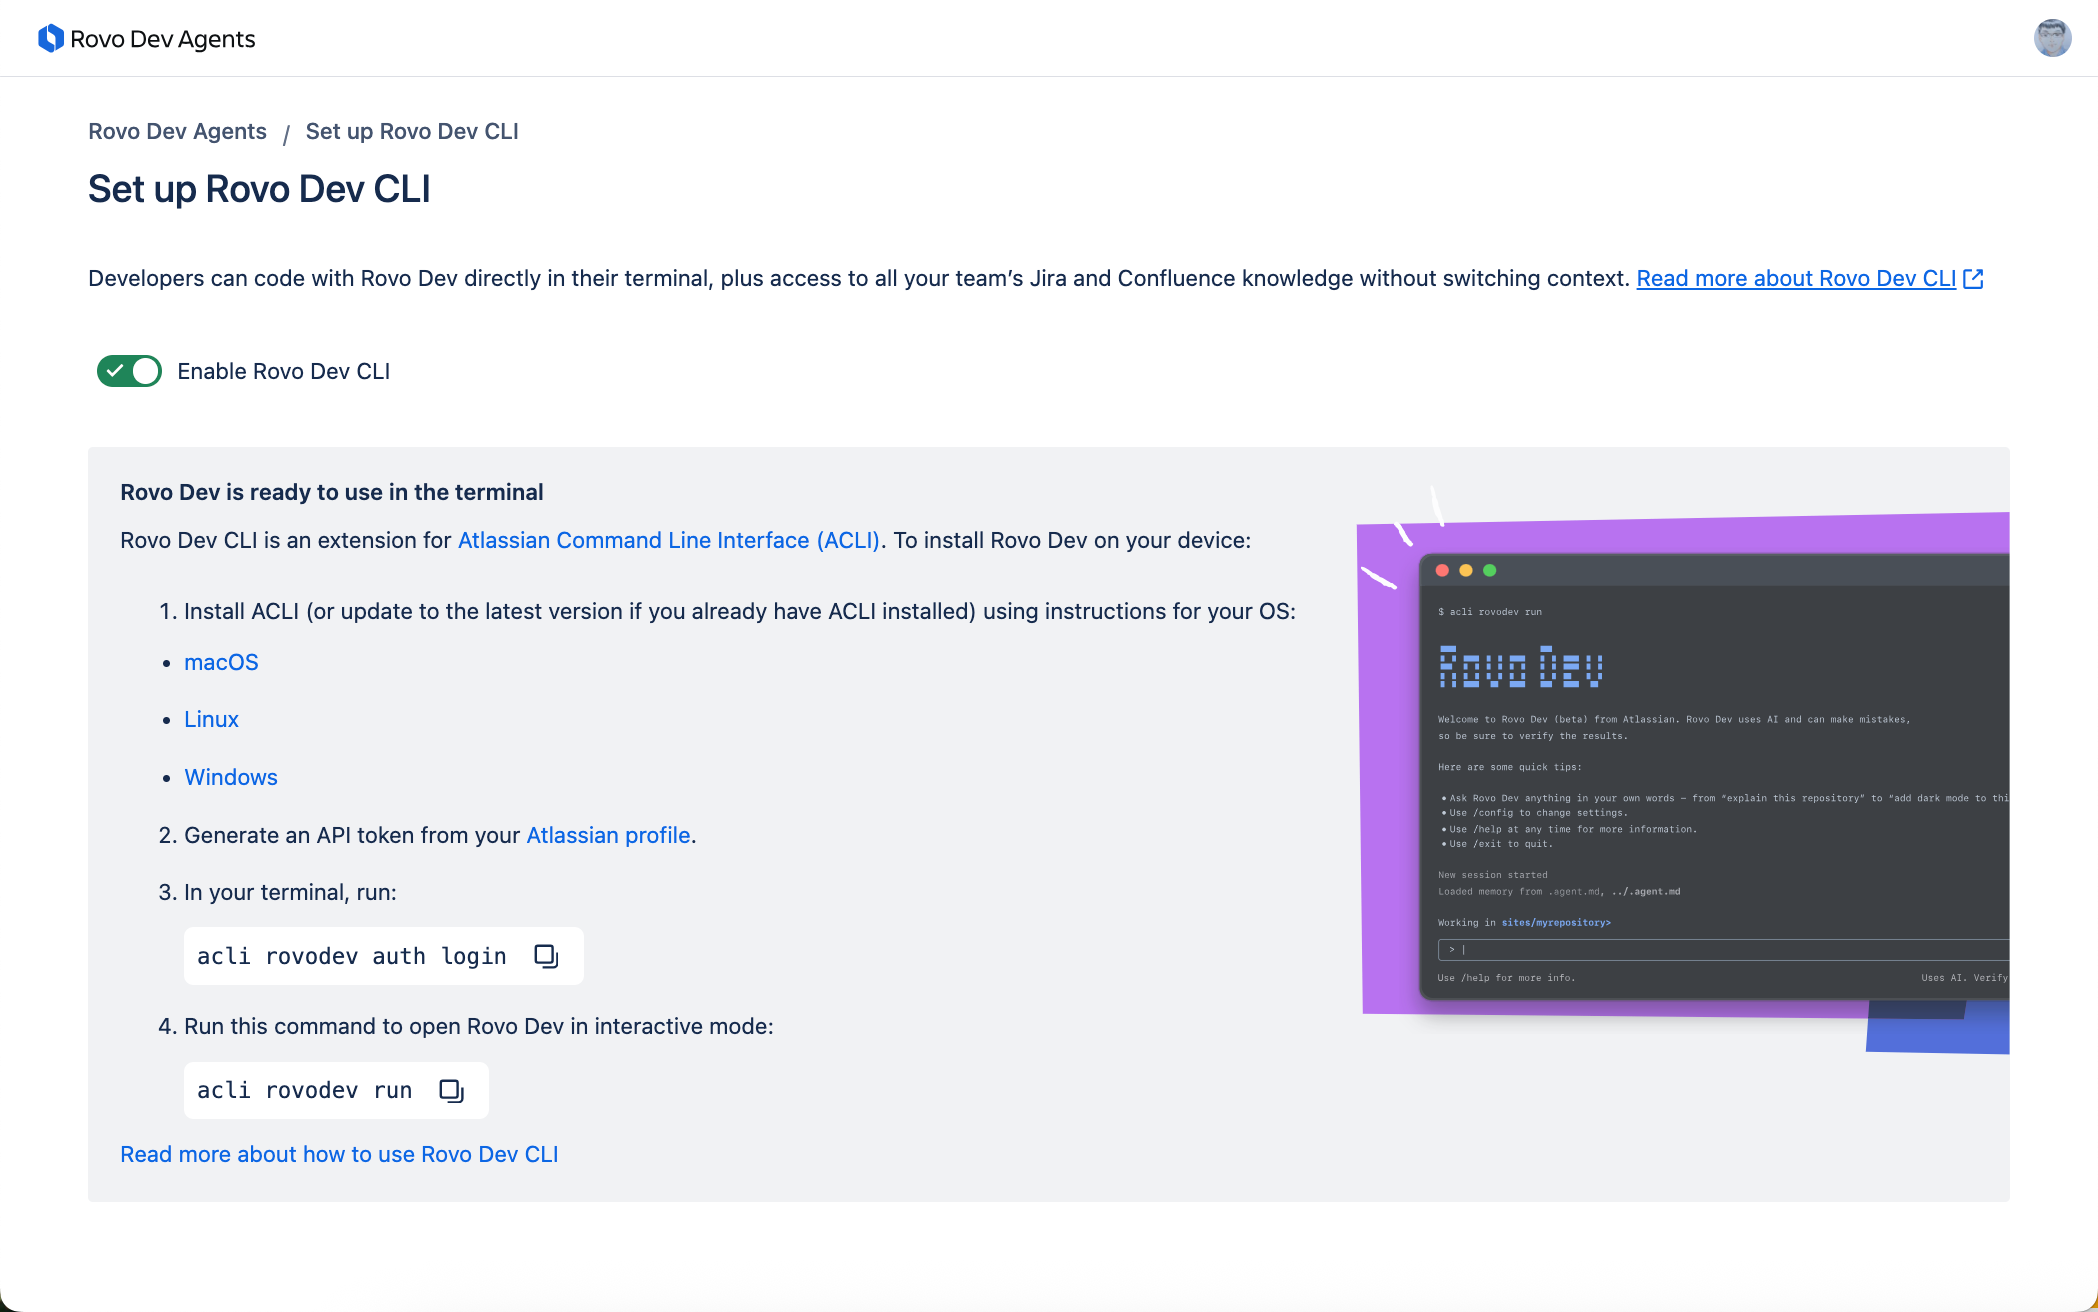
CLI を準備して使う
Atlassian CLI のダウンロード
CLI に Atlassian CLI を使う形になるようで、それを Mac でセットアップする手順は以下になるようです。
●Install Atlassian CLI on macOS
https://developer.atlassian.com/cloud/acli/guides/install-macos/
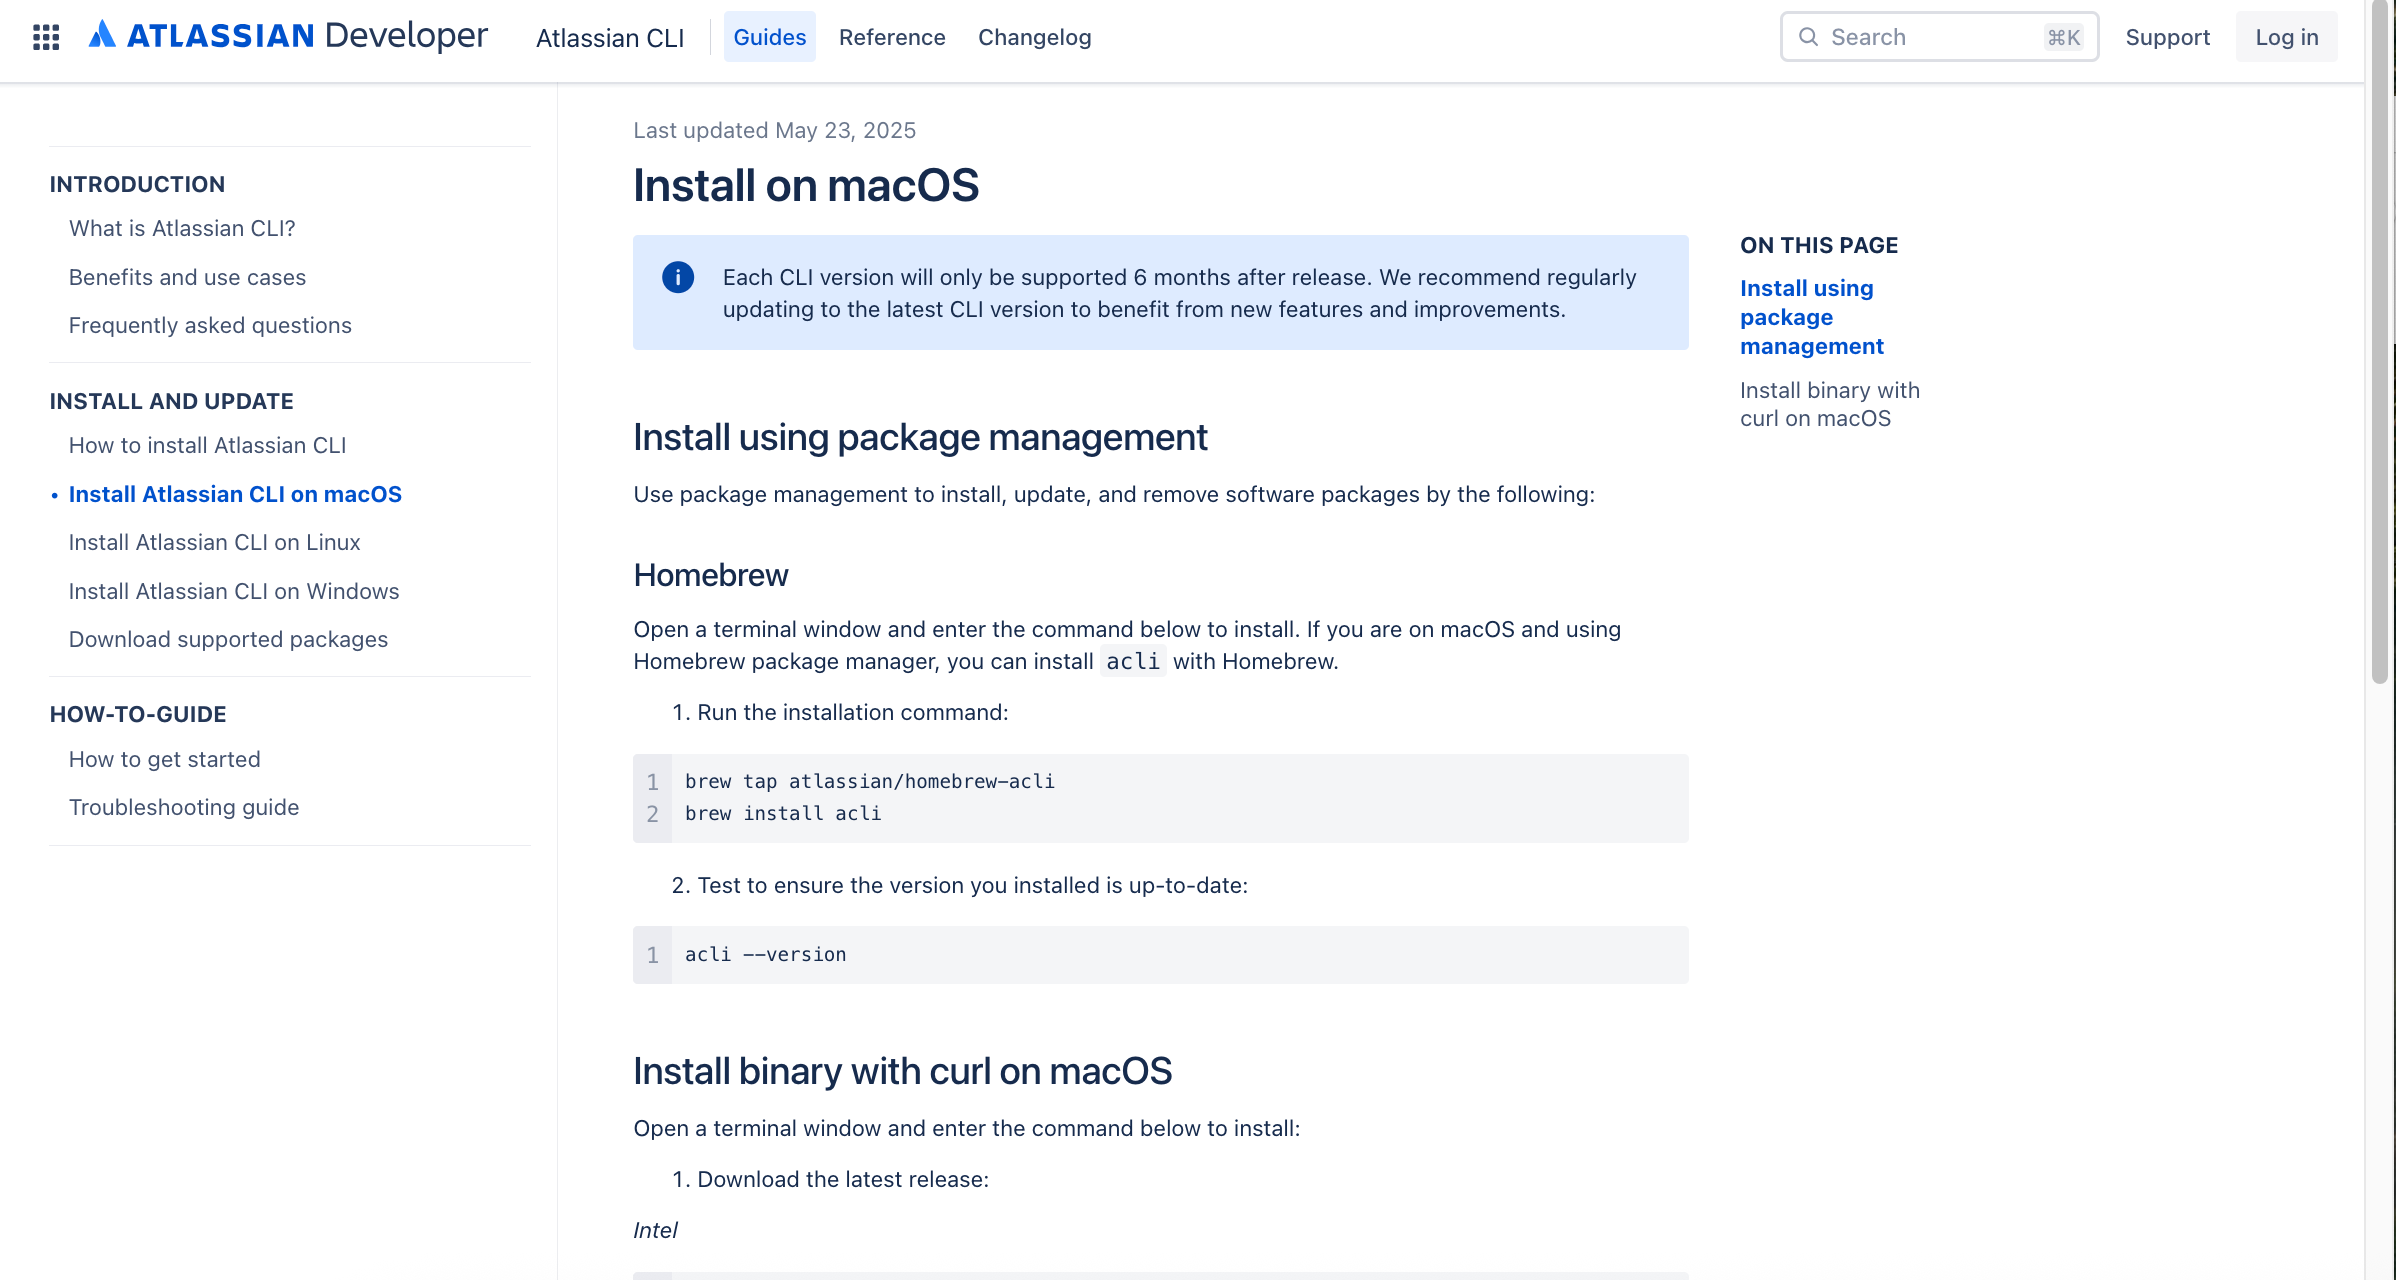
自分の場合、Homebrew でインストールするのが簡単そうでした。インストール用のコマンドは、公式が掲載している以下を使います。
brew tap atlassian/homebrew-acli
brew install acli
インストール完了後、念のため acli --version を実行してバージョン番号が表示されるかを確認しました。
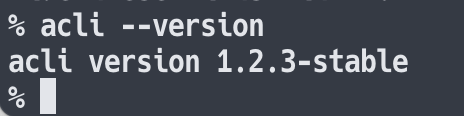
問題なくバージョンが表示されました。
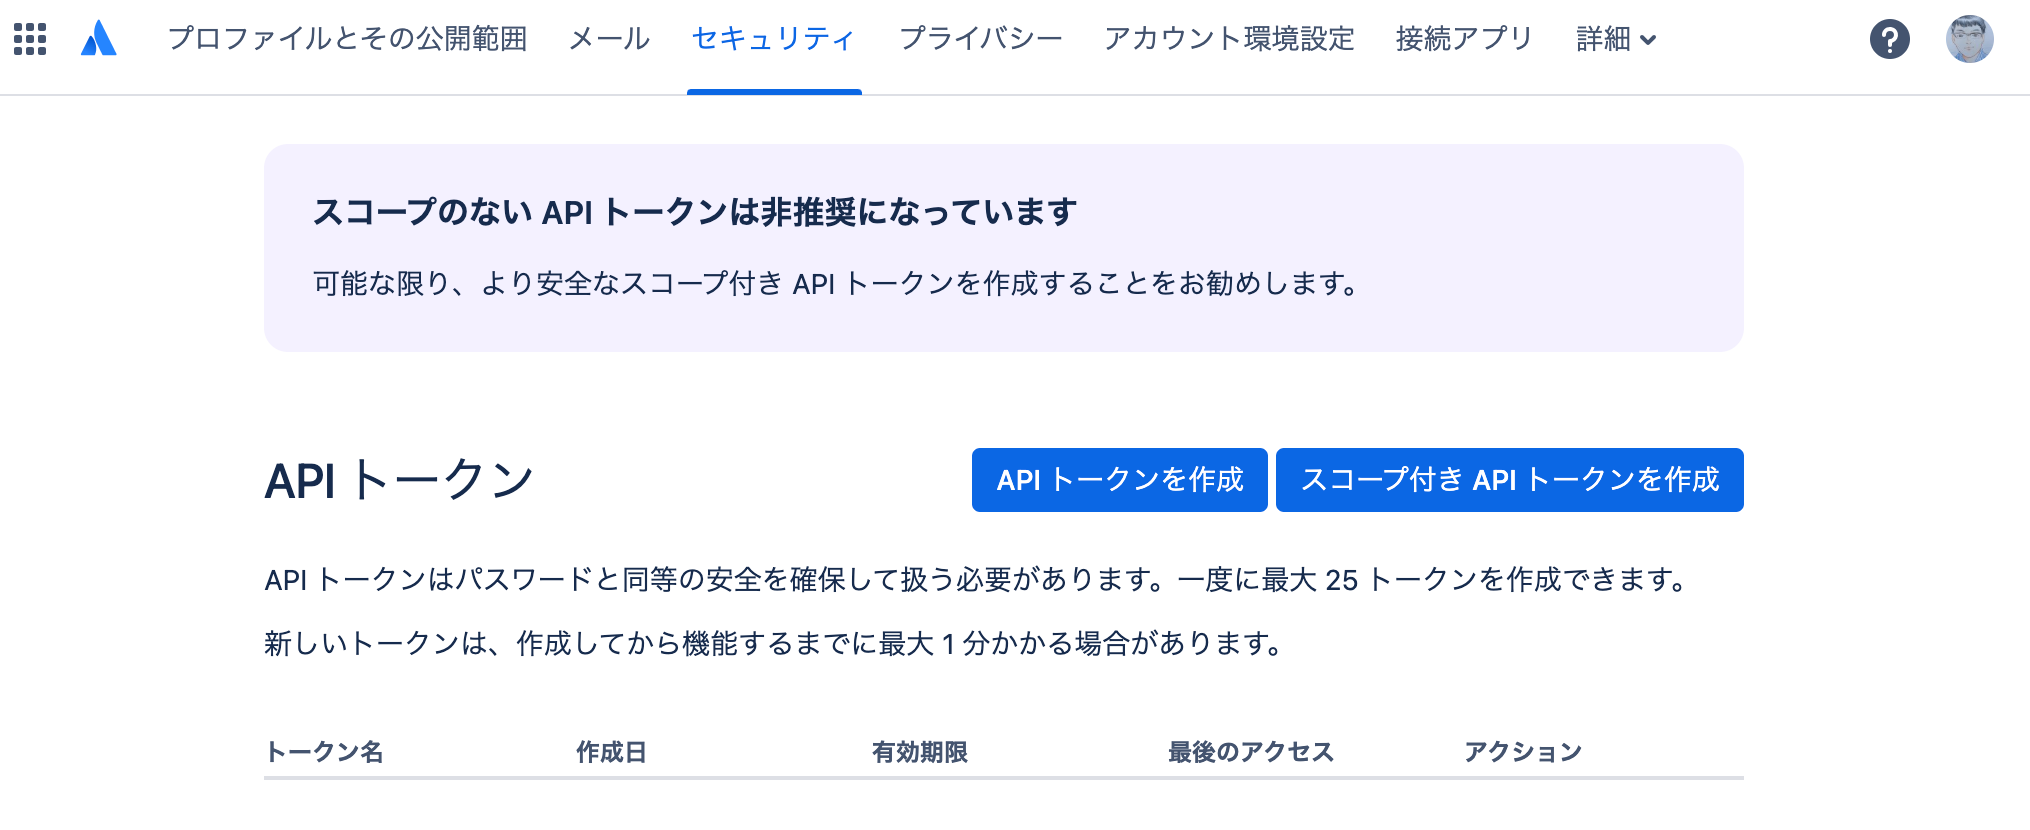
APIトークンの取得
それと、APIトークンの作成・取得が必要になるようです。Atlassian アカウントの以下のページで、APIトークンを作成しました。
CLI を使っていく
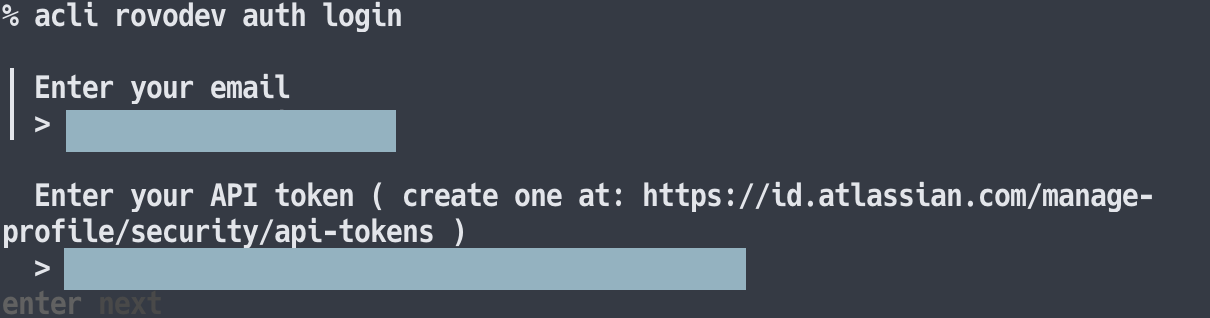
さらに下準備を進めます。まずは authorize の手順に書かれていた以下のコマンドを使います。
acli rovodev auth login
ここで、メールアドレスと APIトークンを入力する形になるようです。
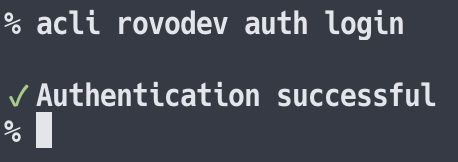
そして、以下の表示が出れば下準備は完了のようです。
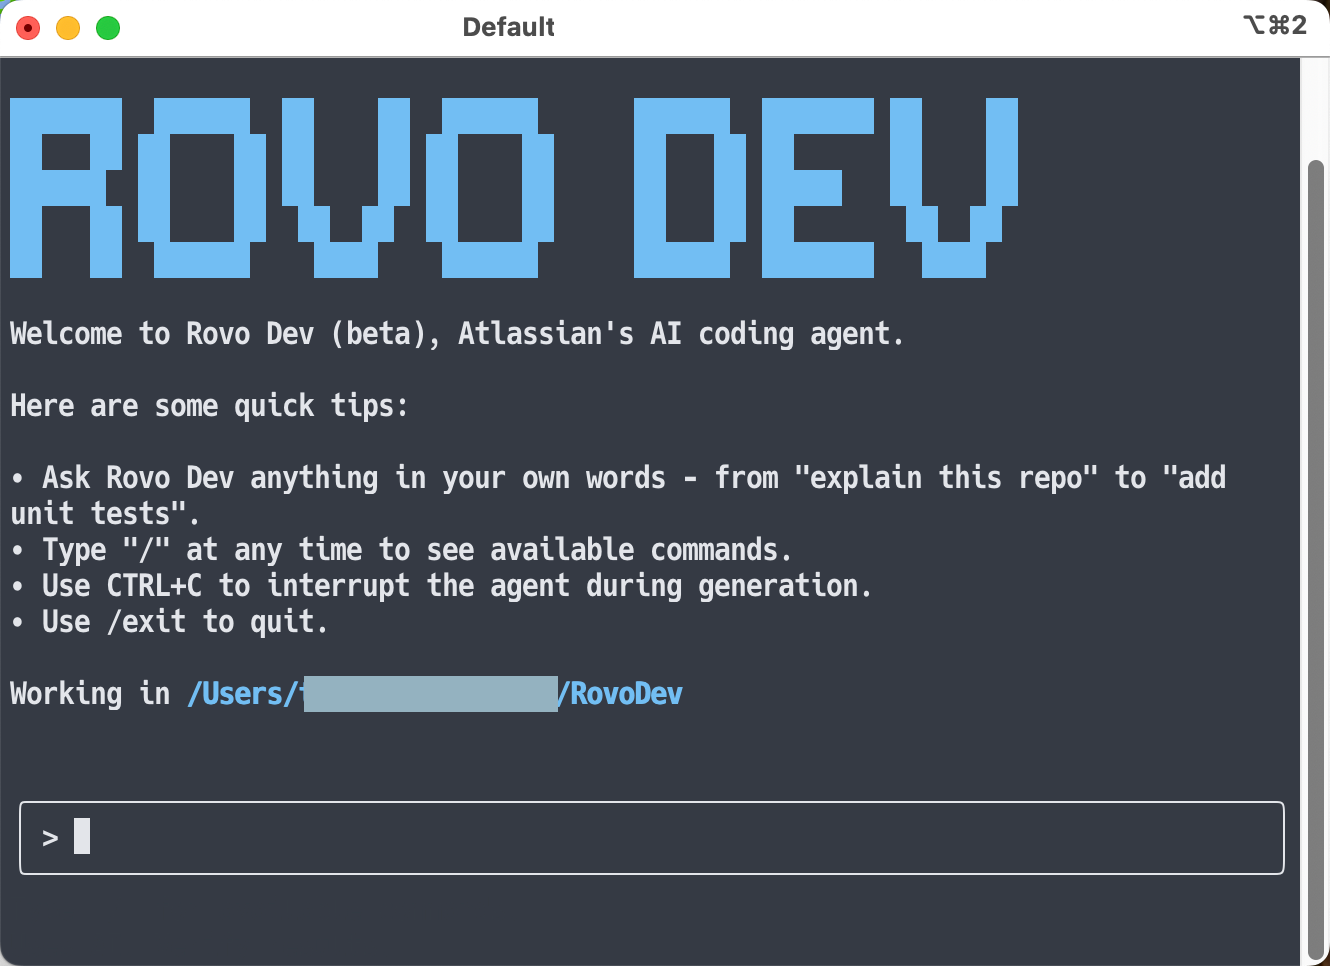
次に以下の Rovo Dev の実行コマンドを使います。
acli rovodev run
上記のコマンドを実行した場所がワーキングディレクトリとなり、そして以下のような表示が出てきました。
軽いお試しを進める
何を試そうか軽く考えてみて、何かのサンプルを参考にすることにしました。
とりあえず Claude Code SDK の Basic SDK usage にいくつかプロンプトのサンプルが書かれていたりしたので、そのうちの 1つを使ってみることにしました。
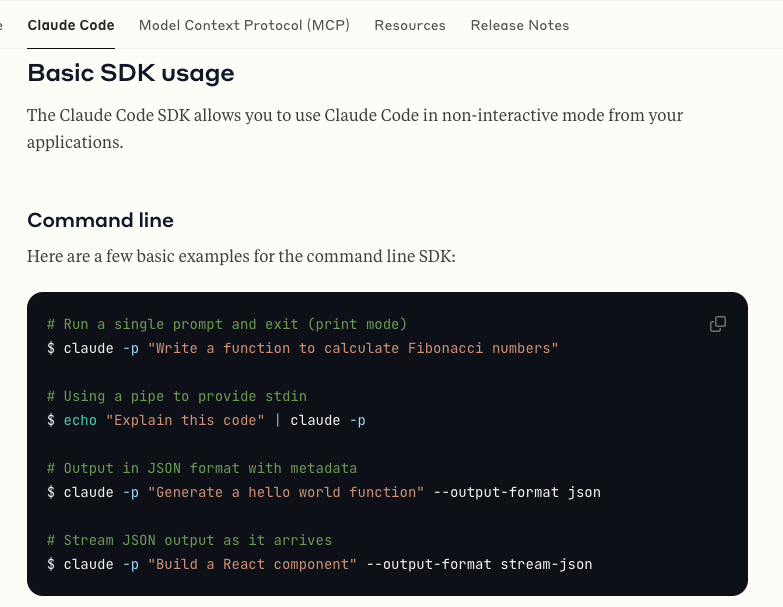
Write a function to calculate Fibonacci numbers というプロンプトを試してみます。
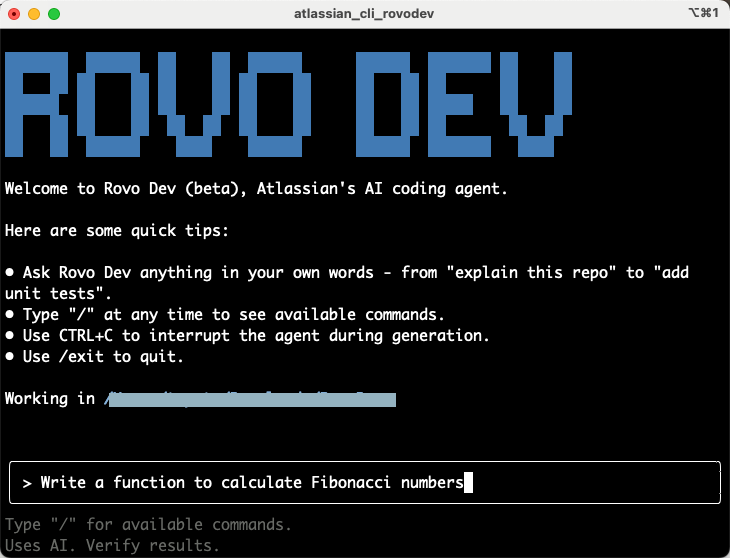
上記を実行すると、以下のように処理が始まりました。

その後、以下のように処理の許可を求める選択肢が出てきました。
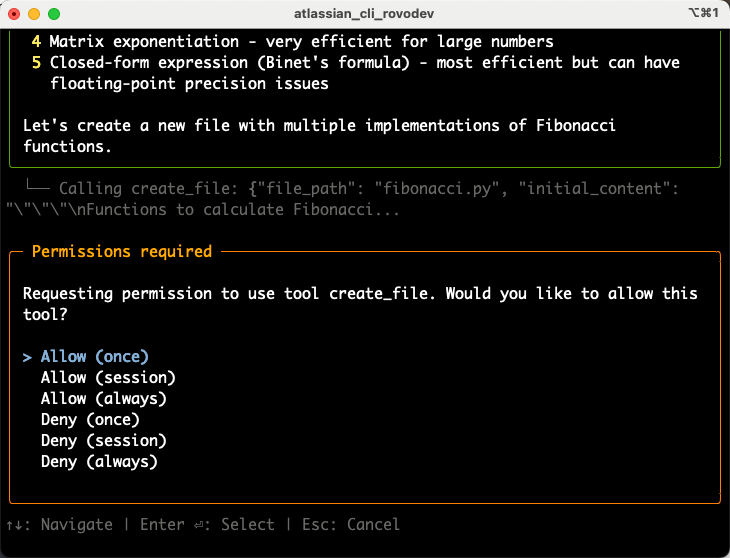
この後の処理を一気に進めたいので、 Allow (session) を選択してセッション中は再度の確認を求められないようにしました。その後どんどん処理が進んで、そして以下が表示された状態で止まりました。
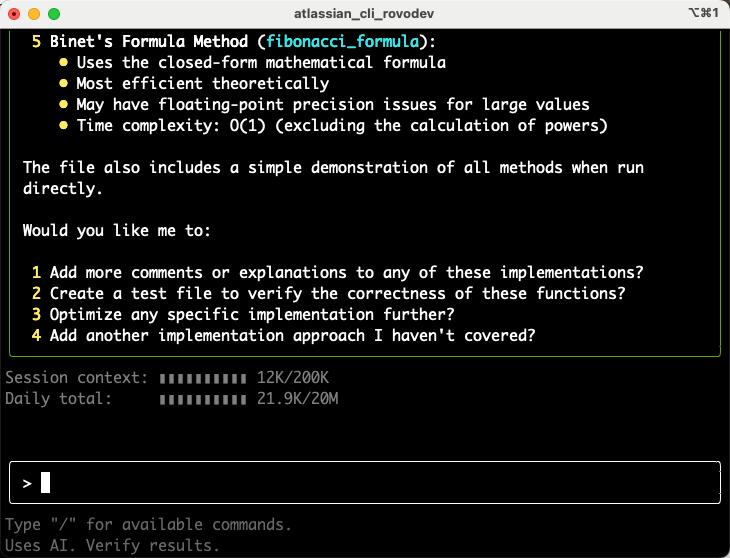
ここで、プロンプトで依頼した内容が完遂されているかを確認します。
上記を実行したフォルダ内を見てみると、以下のファイルが作成されていました。
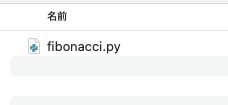
さらにファイルを開くと、以下のような実装が行われていることが確認できました。
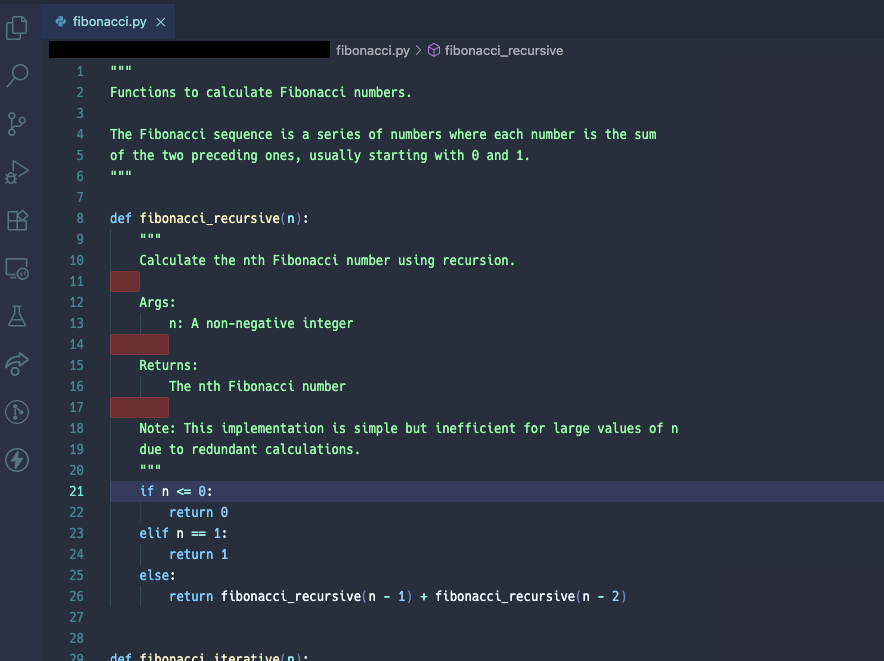
"""
Functions to calculate Fibonacci numbers.

The Fibonacci sequence is a series of numbers where each number is the sum
of the two preceding ones, usually starting with 0 and 1.
"""

def fibonacci_recursive(n):
    """
    Calculate the nth Fibonacci number using recursion.

    Args:
        n: A non-negative integer

    Returns:
        The nth Fibonacci number

    Note: This implementation is simple but inefficient for large values of n
    due to redundant calculations.
    """
    if n <= 0:
        return 0
    elif n == 1:
        return 1
    else:
        return fibonacci_recursive(n - 1) + fibonacci_recursive(n - 2)


def fibonacci_iterative(n):
    """
    Calculate the nth Fibonacci number using iteration.

    Args:
        n: A non-negative integer

    Returns:
        The nth Fibonacci number
    """
    if n <= 0:
        return 0
    elif n == 1:
        return 1

    a, b = 0, 1
    for _ in range(2, n + 1):
        a, b = b, a + b
    return b


def fibonacci_dynamic(n):
    """
    Calculate the nth Fibonacci number using dynamic programming.

    Args:
        n: A non-negative integer

    Returns:
        The nth Fibonacci number
    """
    if n <= 0:
        return 0

    # Initialize the memoization array
    fib = [0] * (n + 1)
    fib[1] = 1

    # Fill the array using bottom-up approach
    for i in range(2, n + 1):
        fib[i] = fib[i - 1] + fib[i - 2]

    return fib[n]


def fibonacci_matrix(n):
    """
    Calculate the nth Fibonacci number using matrix exponentiation.

    Args:
        n: A non-negative integer

    Returns:
        The nth Fibonacci number

    Note: This is very efficient for large values of n.
    """
    if n <= 0:
        return 0

    def matrix_multiply(A, B):
        a = A[0][0] * B[0][0] + A[0][1] * B[1][0]
        b = A[0][0] * B[0][1] + A[0][1] * B[1][1]
        c = A[1][0] * B[0][0] + A[1][1] * B[1][0]
        d = A[1][0] * B[0][1] + A[1][1] * B[1][1]
        return [[a, b], [c, d]]

    def matrix_power(A, n):
        if n == 1:
            return A
        if n % 2 == 0:
            return matrix_power(matrix_multiply(A, A), n // 2)
        else:
            return matrix_multiply(A, matrix_power(matrix_multiply(A, A), (n - 1) // 2))

    if n == 1:
        return 1

    result_matrix = matrix_power([[1, 1], [1, 0]], n - 1)
    return result_matrix[0][0]


def fibonacci_formula(n):
    """
    Calculate the nth Fibonacci number using Binet's formula.

    Args:
        n: A non-negative integer

    Returns:
        The nth Fibonacci number

    Note: This is the most efficient method but may have floating-point precision
    issues for large values of n.
    """
    import math

    if n <= 0:
        return 0

    golden_ratio = (1 + math.sqrt(5)) / 2
    return int(round((golden_ratio ** n - (1 - golden_ratio) ** n) / math.sqrt(5)))


if __name__ == "__main__":
    # Example usage
    n = 10
    print(f"The {n}th Fibonacci number is:")
    print(f"  Recursive method: {fibonacci_recursive(n)}")
    print(f"  Iterative method: {fibonacci_iterative(n)}")
    print(f"  Dynamic programming method: {fibonacci_dynamic(n)}")
    print(f"  Matrix method: {fibonacci_matrix(n)}")
    print(f"  Formula method: {fibonacci_formula(n)}")
コードを見てみると、以下の 5つの方法でそれぞれフィボナッチ数を求める実装になっています。
- 再帰的処理
- 反復的処理
- 動的計画法
- 行列累乗を使った高速化
- Binet の公式
念のため実行してみて結果を確認してみたところ、以下が出力されました。

正しい計算結果が得られていました。
おわりに
今回、Rovo Dev を軽く試してみて、コードの実装・ファイルの作成が行われたことを確認できました。今回進めたのはとりあえずのお試しでしたが、さらに複雑な内容などを試していければと思います。
余談
今回、Claude Code的な AIエージェントと紹介されていた Rovo Dev を軽く試しましたが、それと同じ方向性のものっぽい、以下の CLI も試してみたいところです。