想定する読者
・apt や vim くらいなら使ったことがある人。
・開発環境でもhttps通信をしたいと思った人。
・やり方が多少強引でもとりあえずhttpsになればよい人
筆者の実行環境
| ホストOS | windows10 |
| 仮想環境を作るソフト | wsl2 |
| 仮想OS | Ubuntu 22.04.2 LTS |
| apache | Apache/2.4.52 (Ubuntu) |
apache2のインストール
まずはubuntuを起動して以下を実行
# apacheインストール
sudo apt install apache2

# 動作確認
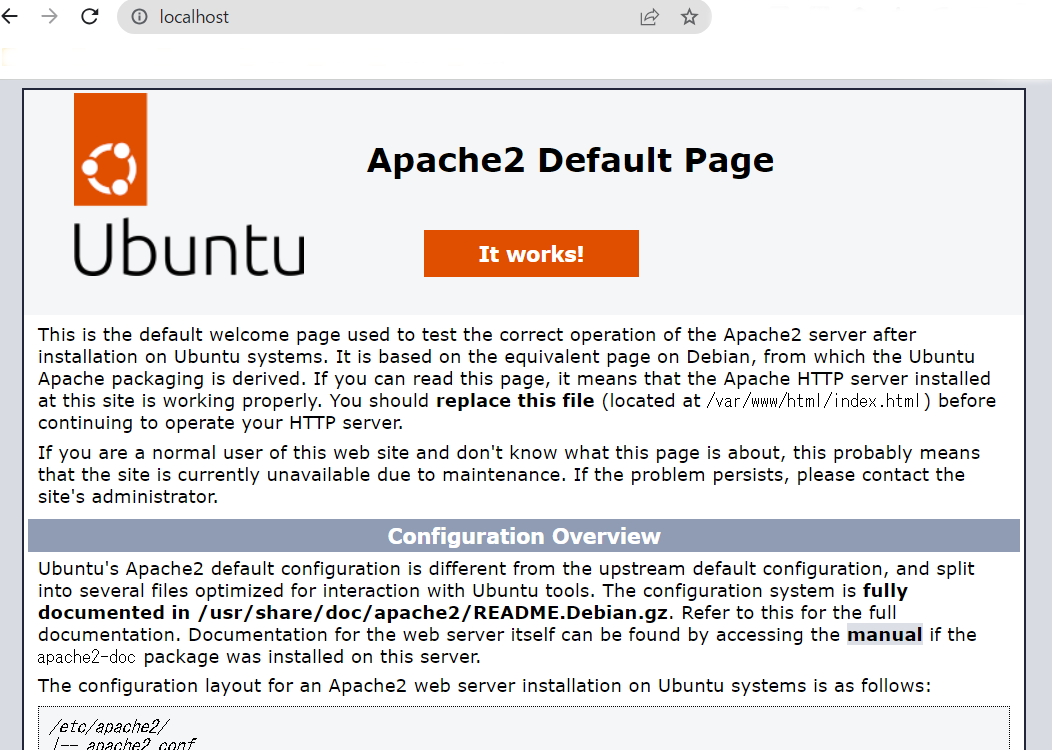
curl localhost
・apache2のインストール時点でlocalhostはもうつながります。さすが (⑉>ᴗ<ノノ゙
※localhostは自分のPCのことを指す一般的な名称です。ホストファイルをいじったりしてない初期値ならつながるでしょう。
ローカルドメインを作る
1. まずはwslに割り当てられてるipアドレスを調べます。
hostname -I
# 筆者の場合、172.29.185.9 が返ってくる
このIPアドレスと、紐づけたいドメイン名を次のファイルに記述します。
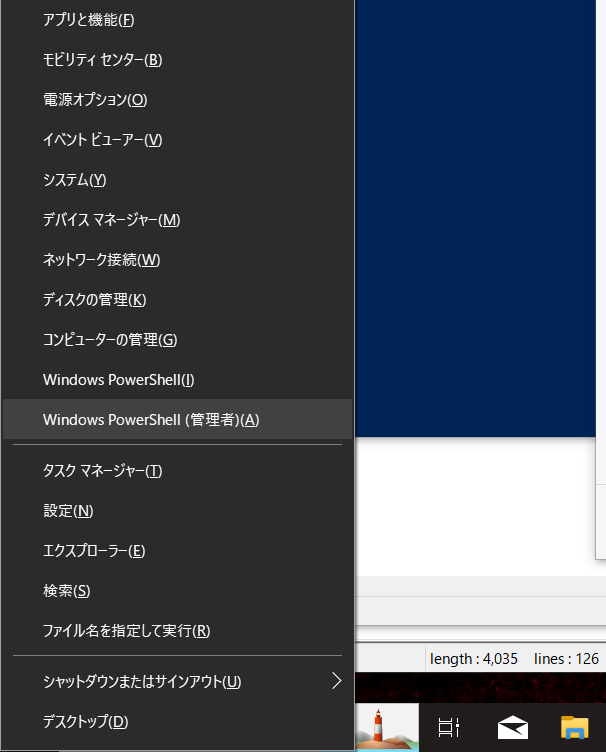
2. windows powershellを”管理者権限”で開きます。
notepad C:\Windows\System32\drivers\etc\hosts

# 書くこと-------------------
# ↓すでに書いてある
    127.0.0.1       localhost
# ↓新たに追記する
	172.29.185.9	akimaki.local
# -------------------
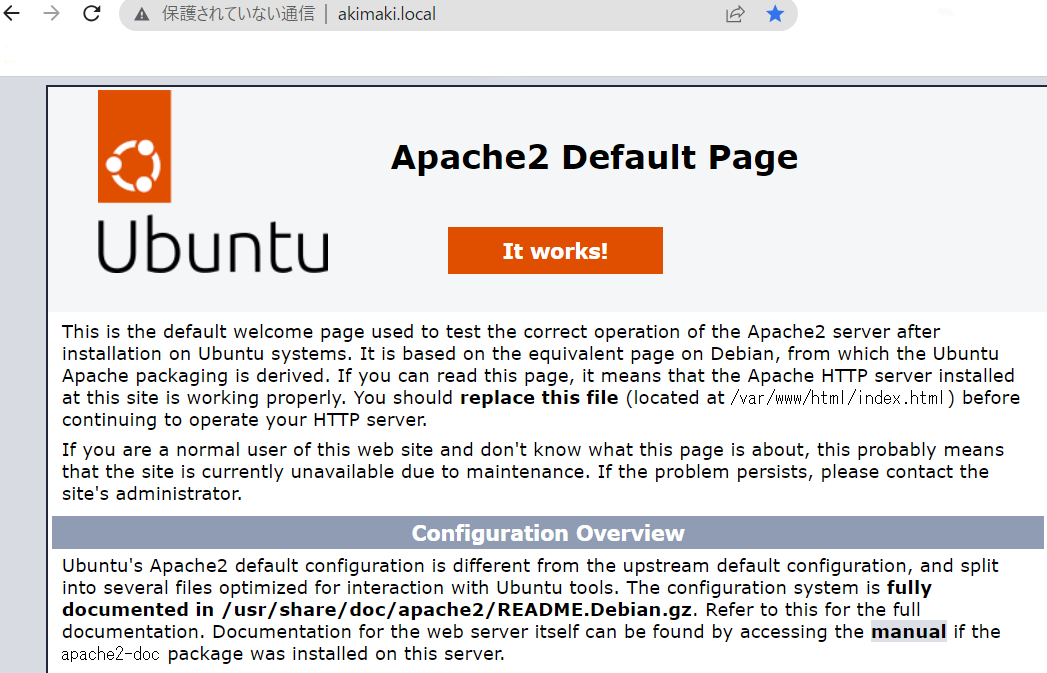
このように書いた場合、akimaki.localという自作ドメインをブラウザのURL欄に書くと自動で172.29.185.9に繋がってくれます。
※管理者権限じゃないとhostsファイルは編集できないので注意です。またsudoコマンドのように、poewrshellから管理者に成り上がる方法は幾分か面倒なので最初から管理者で立ち上げます。
3. 動作確認
自己証明書を作る
1. SSL 証明書の作成
・筆者の環境ではすでにopensslが入っていました。もしない方でもaptコマンドからインストールできるみたいです。
sudo openssl req -x509 -nodes -days 365 -newkey rsa:2048 -keyout /etc/ssl/private/apache-selfsigned.key -out /etc/ssl/certs/apache-selfsigned.crt

# ----実行するとこんなものが出る----------
You are about to be asked to enter information that will be incorporated
into your certificate request.
What you are about to enter is what is called a Distinguished Name or a DN.
There are quite a few fields but you can leave some blank
For some fields there will be a default value,
If you enter '.', the field will be left blank.
-----
・続いて以下のプロンプトが出されるので一つづつ入力していく必要があります。国名やら組織名やら本来の証明書であれば実在性を証明するため厳格に書きますが、自己証明書なので適当に書きます(でよいはず..)。
Country Name (2 letter code) [AU]:JP
State or Province Name (full name) [Some-State]:hatenaCity
Locality Name (eg, city) []:hatena
Organization Name (eg, company) [Internet Widgits Pty Ltd]:hatena
Organizational Unit Name (eg, section) []:hatena
Common Name (e.g. server FQDN or YOUR name) []:ha
Email Address []:
# -----------
2. 作った証明書をapacheの設定に盛り込む
sudo vim /etc/apache2/sites-available/default-ssl.conf
# ----記述内容------------
 # ↓33行目付近? すでにある設定をコメントアウトする
#SSLCertificateFile     /etc/ssl/certs/ssl-cert-snakeoil.pem
#SSLCertificateKeyFile /etc/ssl/private/ssl-cert-snakeoil.key

 # ↓追加する行
SSLCertificateFile /etc/ssl/certs/apache-selfsigned.crt
SSLCertificateKeyFile /etc/ssl/private/apache-selfsigned.key
# -----------------

# SSLの有効化
sudo a2enmod ssl
sudo a2ensite default-ssl.conf

# 設定情報を読み込んでもらう
sudo systemctl reload apache2
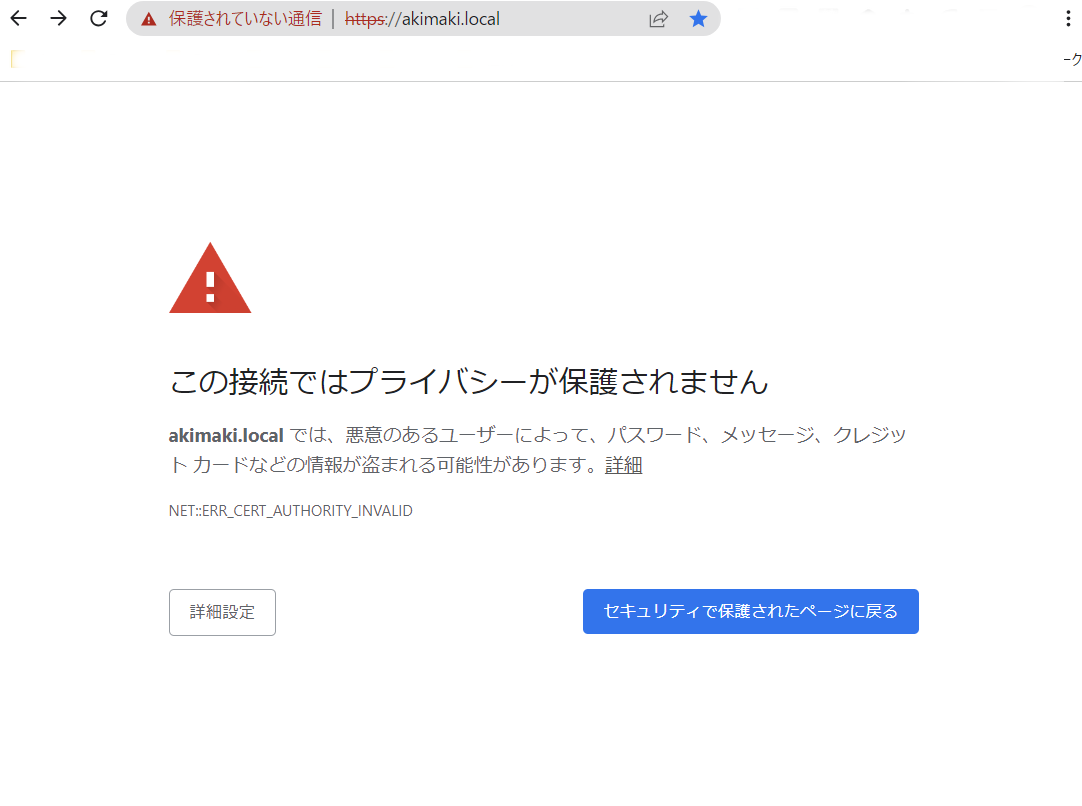
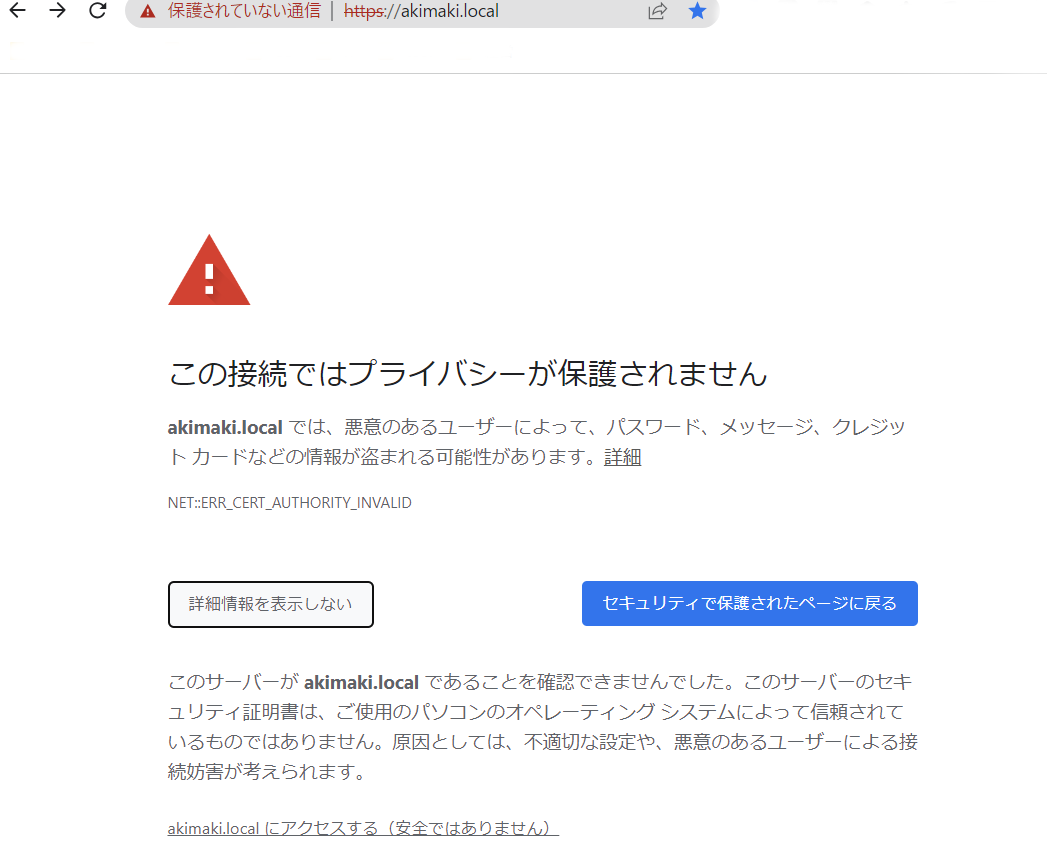
chromeだとこうなりますが、ほかのブラウザでも何かしら警告がでるはずです。一応、ここまでくれば画面の詳細設定のボタンからサイトに強硬できます。
余談
まとめてみると大したことはしてないのだけど、試行錯誤していたときは何日も苦労していたので備忘録に。。
あとドメイン名に".local"なんてつけてそれっぽくしてますが、特に意味はないです。
