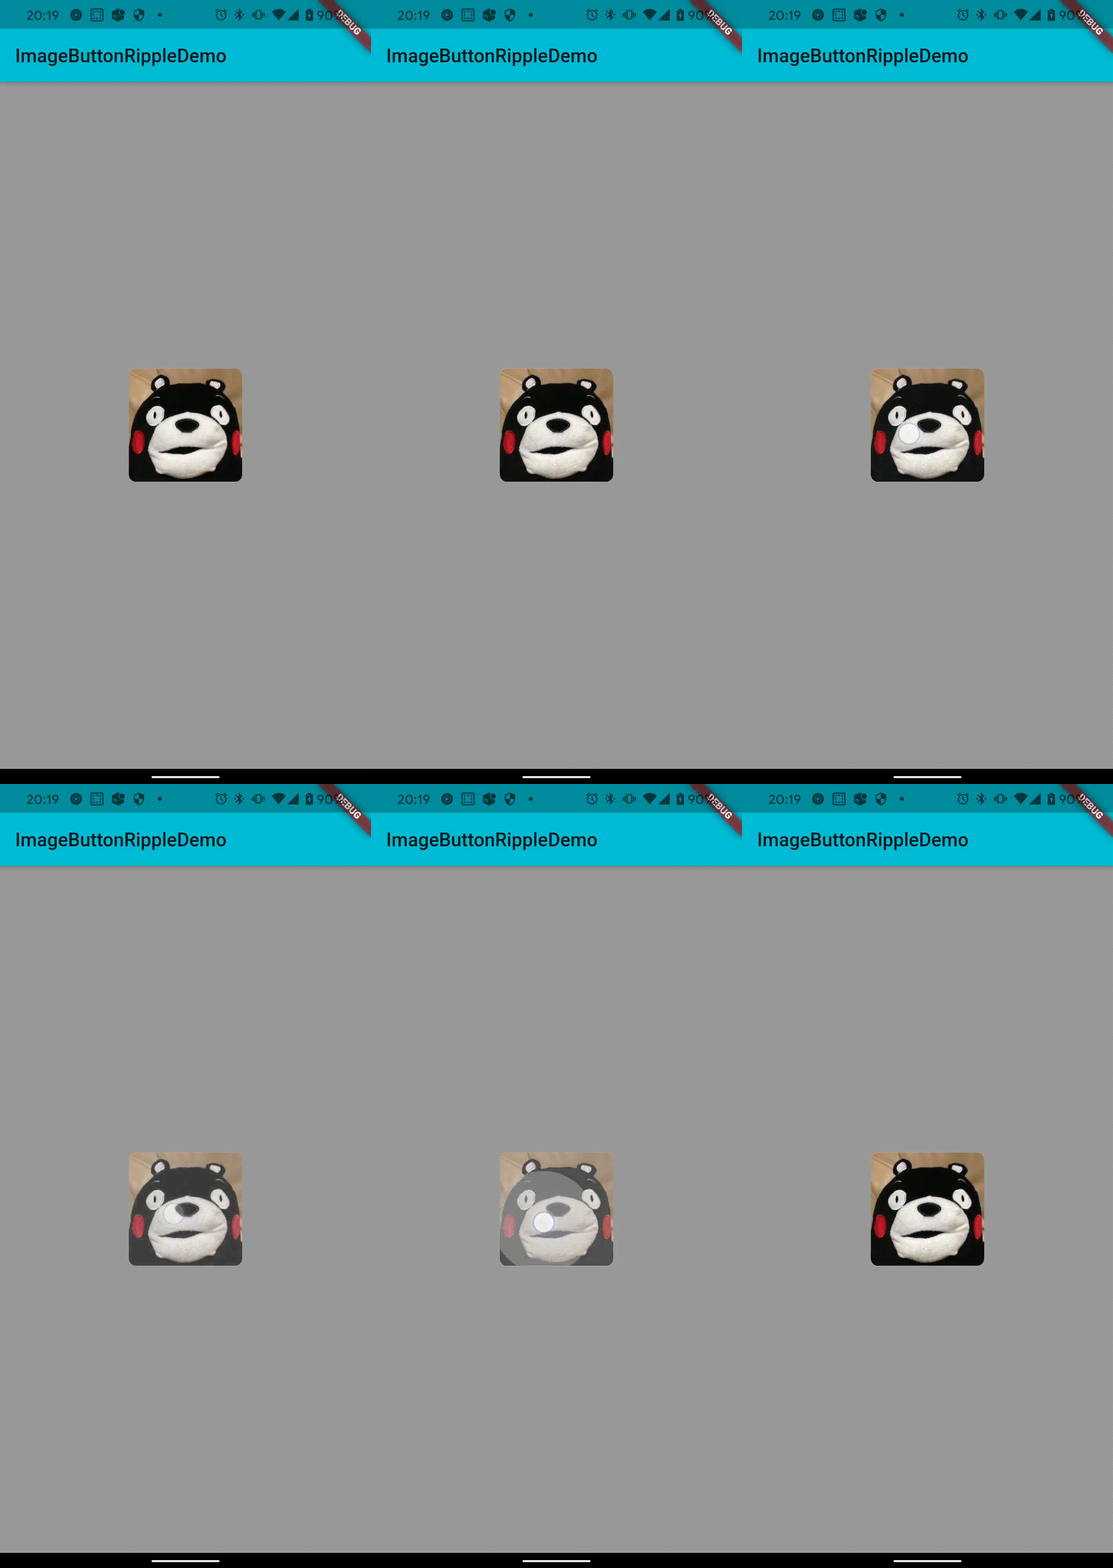
今回作るもの
画像で作ったボタンに対して、画像の前面に広がり、かつボタンの形に沿うようなようなリップルエフェクトを実装していきます。
実装
ボタン作成
まず、ボタン自体を作ります。ここではContainerに対して、Boxdecorationを利用することで丸角の画像ボタンを作ります。
  @override
  Widget build(BuildContext context) {
    return Scaffold(
      backgroundColor: Colors.white60,
      appBar: AppBar(
        title: Text('ImageButtonRippleDemo'),
      ),
      body: Center(
        child: Container(
          width: 120,
          height: 120,
          decoration: BoxDecoration(
            color: Colors.white,
            borderRadius: BorderRadius.circular(8.0),
            image: DecorationImage(
              image: AssetImage(
                'images/icon.jpg',
              ),
              fit: BoxFit.cover,
            ),
          ),
        ),
      ),
    );
  }
こんな感じになります。
MaterialウィジェットとInkWellウィジェットをContainerの子ウィジェットとして定義する
リップルエフェクトとして描画するためにはMaterialウィジェットがInkwellの親ウィジェットとして定義されている必要があります。
ただ、その二つをContainerの親として定義してしまうと、Containerの裏側でリップルエフェクトが描画されてしまい、以下のように想定した動作になりません。
なので、まずMaterialをContainerの子ウィジェットとして定義します。ただ、Material自体に色を持たせてしまうとボタン自体が見えなくなってしまうので、colorはColors.transparentに指定します。
最後に、リップルエフェクトを描画するためにInkwellをMaterialの子ウィジェットとしておきます。
また、ここでボタンの形に合わせるためにborderRadiusを指定します。
  @override
  Widget build(BuildContext context) {
    return Scaffold(
      backgroundColor: Colors.white60,
      appBar: AppBar(
        title: Text('ImageButtonRippleDemo'),
      ),
      body: Center(
        child: Container(
          width: 120,
          height: 120,
          decoration: BoxDecoration(
            color: Colors.white,
            borderRadius: BorderRadius.circular(8.0),
            image: DecorationImage(
              image: AssetImage(
                'images/icon.jpg',
              ),
              fit: BoxFit.cover,
            ),
          ),
          child: Material(
            color: Colors.transparent,
            child: InkWell(
              borderRadius: BorderRadius.circular(8.0),
              onTap: () {
                // 押下時の処理を記述
              },
            ),
          ),
        ),
      ),
    );
  }
完成
このように画像ボタンに対してボタンの形に沿って適切にリップルエフェクトが描画することができました。
まとめ
小ネタですが、画像ボタンの形に沿って適切にリップルエフェクトを実装することができました。
Inkwellでラップすればすぐできるっしょと思いがちですが、画像や背景色があるウィジェットに対しては、少し手間を加える必要があります。
他にももっと良い方法ありましたら教えていただけると嬉しいです。
最後までご覧いただきありがとうございました。


