はじめに
2017年8月末にZabbix 3.4がリリースされました。
Zabbix 2.x以来、あまり触っていなかったのでAzure上にさくっと仮想マシン(CentOS 7.3)を立ち上げて、Zabbix 3.4をインストールしました。
Azure側の構築
以下の構成でAzure側のリソースを準備します。
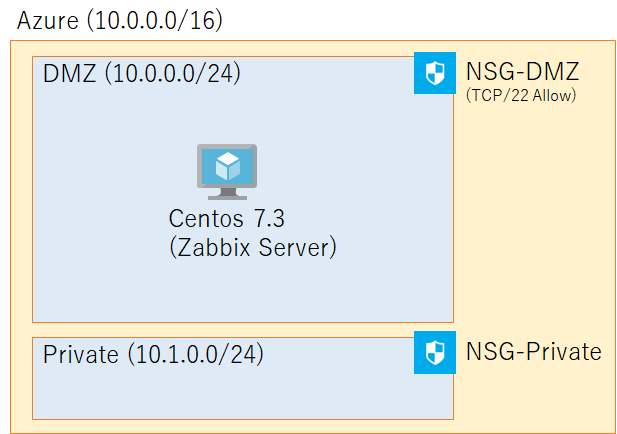
適当なリソースグループに、2つのサブネットをもつ仮想ネットワークを作成し、それぞれのサブネットにNSGを割り当てます。
DMZセグメントにCentOS 7.3の仮想マシンを作成します。
仮想ネットワーク、NSGの作成
Azureポータルで手動でぺこぺこ作成しても良いのですが、https://github.com/katakura/Azure/tree/master/two-subnet-vnetにデプロイテンプレートを準備したのでご利用ください。
azuredeploy.jsonをクライアントPCの適当なフォルダに保存しておきます。
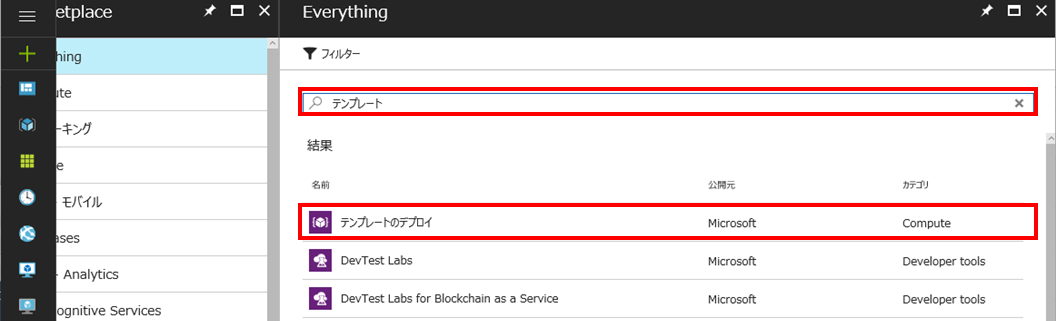
Azureポータル上でリソース追加(+)をクリックして、検索フィールドに「テンプレート」と入力します。
一覧から「テンプレートのデプロイ」をクリックして先に進みます。
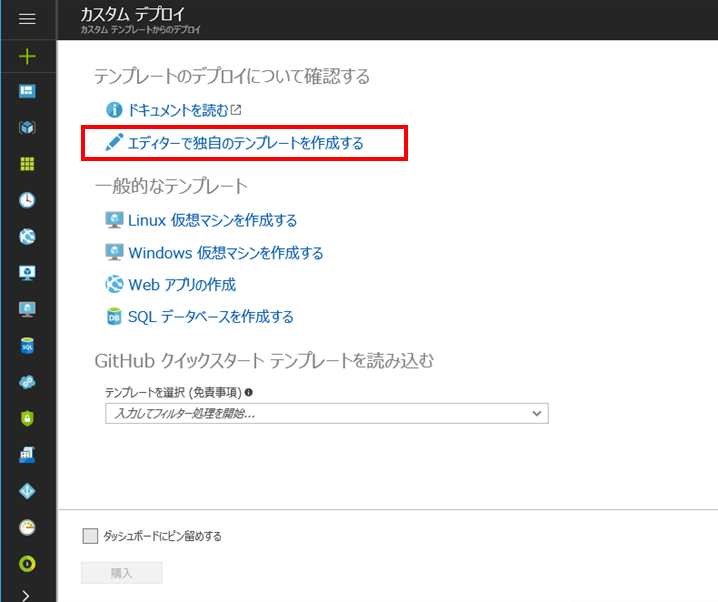
カスタムデプロイ画面では「エディターで独自のテンプレートを作成する」をクリックします。
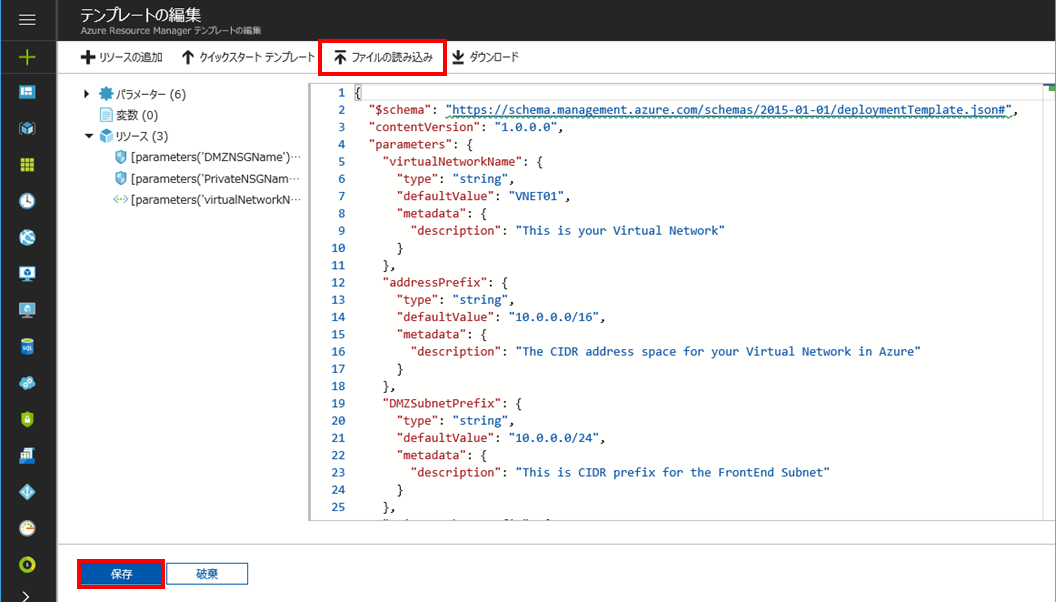
「ファイルの読み込み」をクリックして、クライアントPCに保存したazuredeploy.jsonを読み込み、最後に「保存」をクリックします。
パラメータ入力画面になるので、「サブスクリプション」「リソースグループ」「場所」を設定後、「上記の使用条件に同意する」のチェックを入れてから、「購入」をクリックします。
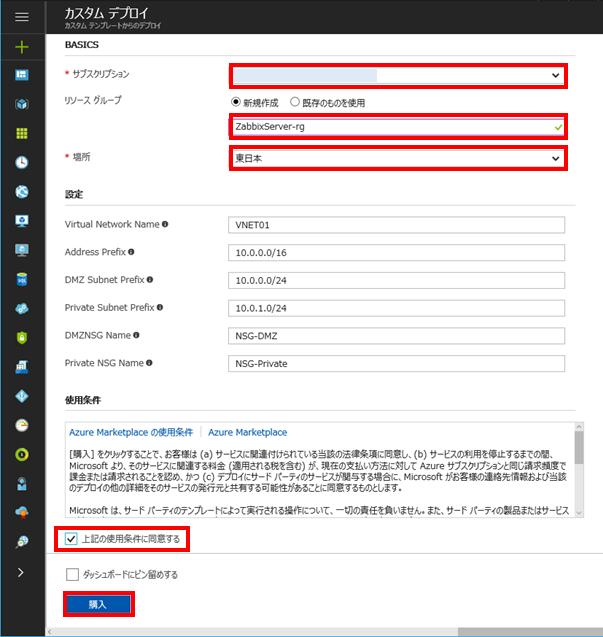
しばらくすると仮想ネットワークとNSGが作成されます。
DMZセグメント用のNSGには受信ルールとしてTCP/22(ssh)、TCP/80(http)、TCP/443(https)が許可された状態になっています。

仮想マシンの構築
先に作成した仮想ネットワークのDMZセグメント上に仮想マシンを作成します。
詳しい手順は省略しますが、CenOS 7.3をMarketplaceから選択して作成します。
「基本」は適当に。

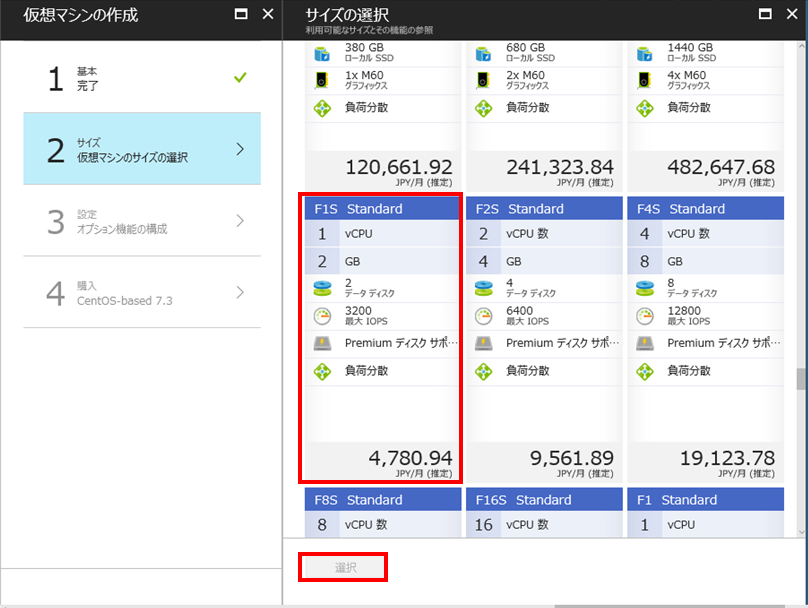
「サイズ」も適当に。Linuxベースの仮想マシンは1 Coreのサイズでもそれなりの速度で動きます。
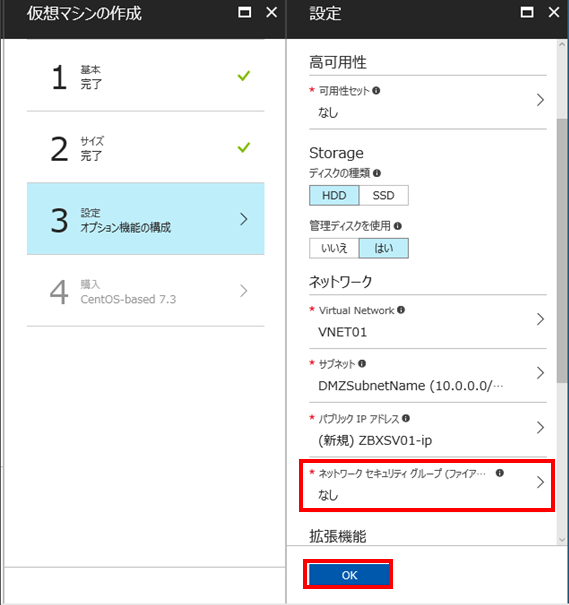
「設定」では、仮想ネットワークのサブネット単位でNSGを定義しているので、こちらのNSGは「なし」にしました。
「購入」で最終確認を行って仮想マシンを作成します。
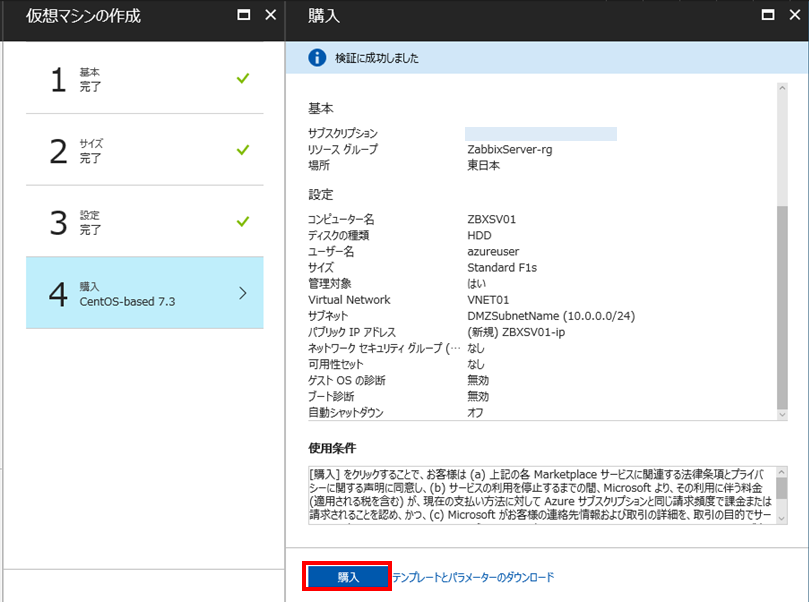
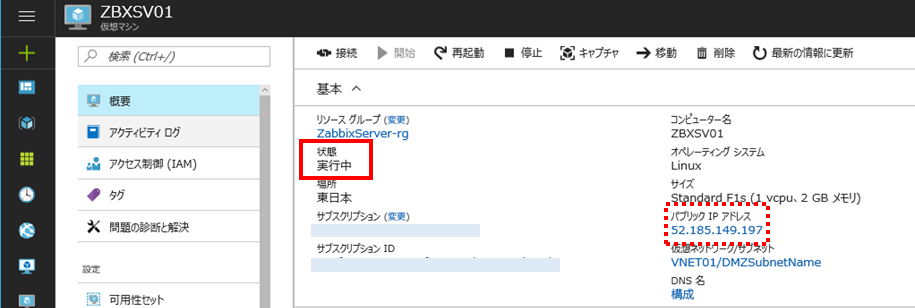
暫く待つと無事作成完了しました。表示されたパブリックIPアドレスは控えておきます。
CentOSの設定
Azure上でMarketplaceからデプロイしたLinux仮想マシンは、swap領域が有効になっていないため、Azureエージェントの設定ファイルを修正してswapを有効にします。
(snip)

# Create and use swapfile on resource disk.
ResourceDisk.EnableSwap=y

# Size of the swapfile.
ResourceDisk.SwapSizeMB=4096

(snip)
設定ファイル保存後はOS再起動をします。
Zabbixの設定
Zabbixのインストール
ここから先の操作は全てroot権限で行ったほうが効率がいいのでsudo su -で常に偉くなっておきます。
$ sudo su –
#
今回は検証目的なのでSELinuxは無効化しておきます。
以下の設定ファイルを修正します。
# This file controls the state of SELinux on the system.
# SELINUX= can take one of these three values:
#     enforcing - SELinux security policy is enforced.
#     permissive - SELinux prints warnings instead of enforcing.
#     disabled - No SELinux policy is loaded.
SELINUX=disabled

(snip)
OS再起動をするか、以下のコマンドを実行します。
# setenforce 0
yumコマンドで簡単にインストールできるように、zabbix 3.4のレポジトリを追加します。
# rpm -ivh http://repo.zabbix.com/zabbix/3.4/rhel/7/x86_64/zabbix-release-3.4-2.el7.noarch.rpm
最新のレポジトリファイルは日々更新されると思いますので、http://repo.zabbix.com/zabbix/3.4/rhel/7/x86_64/を適宜チェックしておくと良いと思います。
それではインストールしましょう。
以下のコマンドで一通り入ります。
# yum install zabbix-agent zabbix-server-mysql zabbix-web-mysql zabbix-web-japanese mariadb-server zabbix-get
MariaDB(MySQL)の設定
先ずはMariaDBを自動起動する設定にしてから起動します。
# systemctl enable mariadb.service
# systemctl start mariadb.service
mysql_secure_installationコマンドを使って、初回設定を行います。
基本的にrootパスワードの設定の他はデフォルト(エンター空打ち)でOKです。
# mysql_secure_installation

NOTE: RUNNING ALL PARTS OF THIS SCRIPT IS RECOMMENDED FOR ALL MariaDB
      SERVERS IN PRODUCTION USE!  PLEASE READ EACH STEP CAREFULLY!

In order to log into MariaDB to secure it, we'll need the current
password for the root user.  If you've just installed MariaDB, and
you haven't set the root password yet, the password will be blank,
so you should just press enter here.

Enter current password for root (enter for none):
OK, successfully used password, moving on...

Setting the root password ensures that nobody can log into the MariaDB
root user without the proper authorisation.

Set root password? [Y/n]
New password:
Re-enter new password:
Password updated successfully!
Reloading privilege tables..
 ... Success!


By default, a MariaDB installation has an anonymous user, allowing anyone
to log into MariaDB without having to have a user account created for
them.  This is intended only for testing, and to make the installation
go a bit smoother.  You should remove them before moving into a
production environment.

Remove anonymous users? [Y/n]
 ... Success!

Normally, root should only be allowed to connect from 'localhost'.  This
ensures that someone cannot guess at the root password from the network.

Disallow root login remotely? [Y/n]
 ... Success!

By default, MariaDB comes with a database named 'test' that anyone can
access.  This is also intended only for testing, and should be removed
before moving into a production environment.

Remove test database and access to it? [Y/n]
 - Dropping test database...
 ... Success!
 - Removing privileges on test database...
 ... Success!

Reloading the privilege tables will ensure that all changes made so far
will take effect immediately.

Reload privilege tables now? [Y/n]
 ... Success!

Cleaning up...

All done!  If you've completed all of the above steps, your MariaDB
installation should now be secure.

Thanks for using MariaDB!
Zabbix用DB,アカウントの作成
mysqlコマンドを使ってrootでログインして、DBとZabbix用アカウントを作成します。
今回は実験用であるのと、localhostからのログインしか許可しないため、パスワードは簡単なものを設定しています。
# mysql -u root -p

> create database zabbix character set utf8;
> grant all privileges on zabbix.* to zabbix@localhost identified by 'zabbix';
> FLUSH PRIVILEGES;
> exit
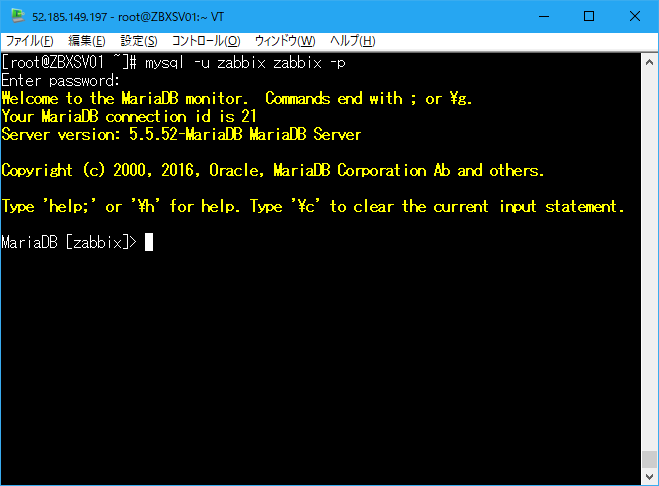
無事zabbixユーザでもMySQLにログインできました。
続いて、Zabbix用の初期テーブル、データを設定します。
# zcat /usr/share/doc/zabbix-server-mysql-3.4.1/create.sql.gz | mysql -uzabbix -hlocalhost zabbix -pzabbix
各種設定ファイルの修正
/etc/zabbix/zabbix_server.confの中を修正して「DBHost=localhost」「DBPassword=zabbix」を追加します。
修正後のdiffは以下のとおりです。
# diff zabbix_server.conf{.ORG,}
91a92
> DBHost=localhost
125a127
> DBPassword=zabbix
/etc/php.iniの中を修正して「date.timezone=Asia/Tokyo」を追加します。
修正後のdiffは以下のとおりです。
# diff php.ini{.ORG,}
878a879
> date.timezone = Asia/Tokyo
各種サービスの起動設定
各種サービスを自動起動設定を行います。
# systemctl enable zabbix-server
# systemctl start zabbix-server
# systemctl enable httpd
# systemctl start httpd
# systemctl enable zabbix-agent
# systemctl start zabbix-agent
以下のコマンドでzabbix agentとの接続確認が行えます。
# zabbix_get -s 127.0.0.1 -k agent.version
3.4.1
Zabbixの初期設定
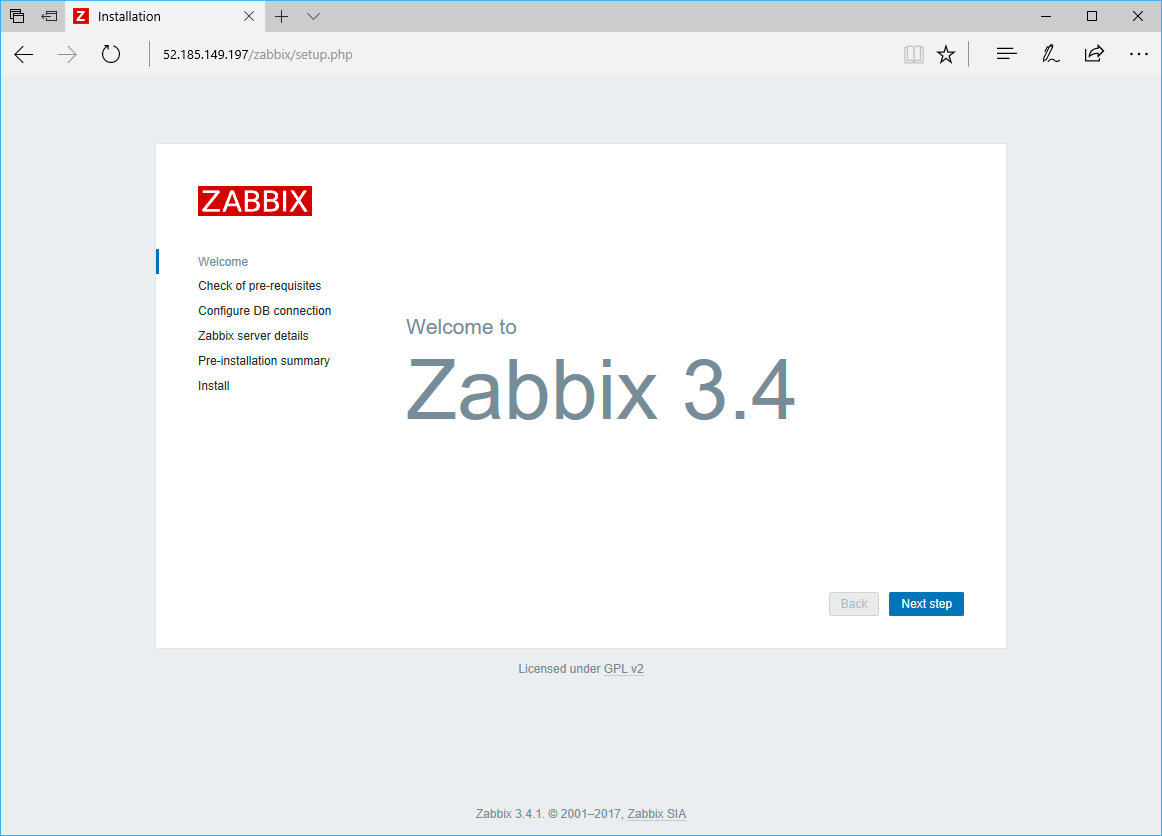
sshで接続したIPアドレスで、以下のURLにクライアントPCのブラウザからアクセスします。
http://IPアドレス/zabbix/
初回接続時のみ、インストールウイザードが表示されます。
「Next step」ボタンをクリックして次に進みます。
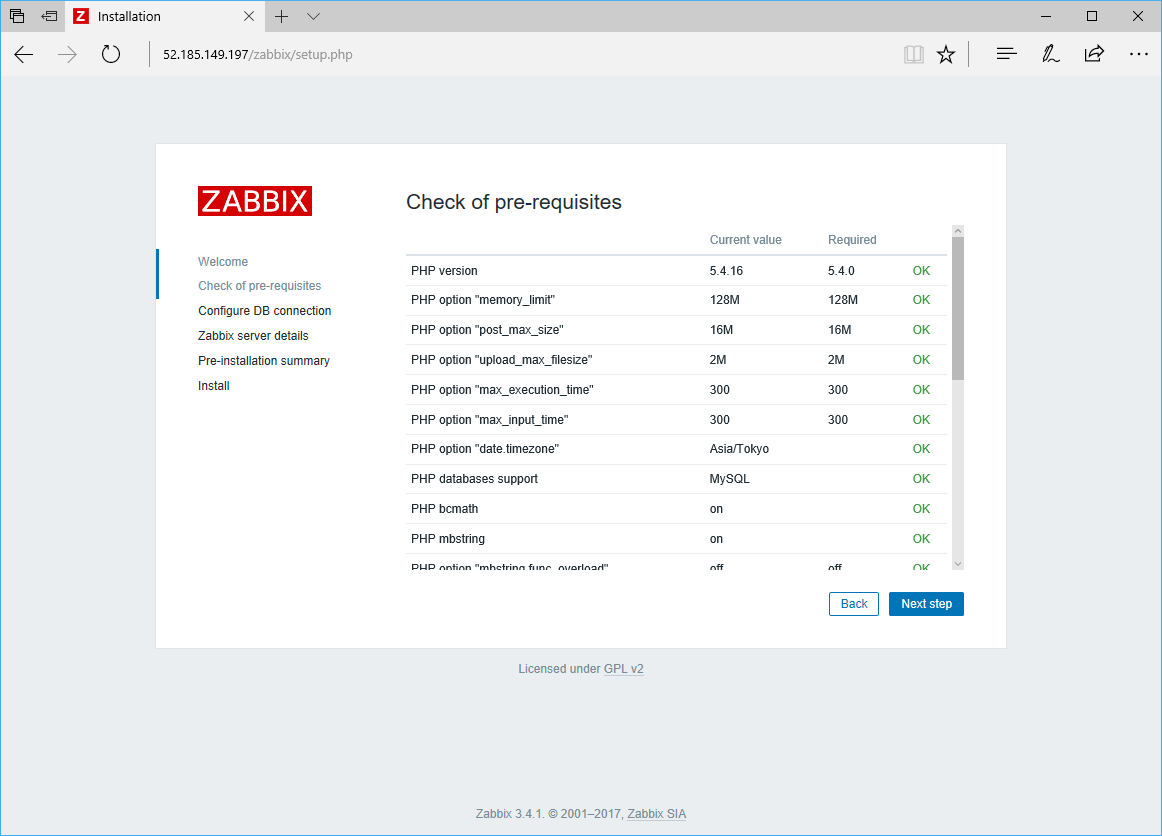
各種パッケージのチェックが行われます。
本手順通りに進めると、ALL GREENになると思いますので「Next step」をクリックします。
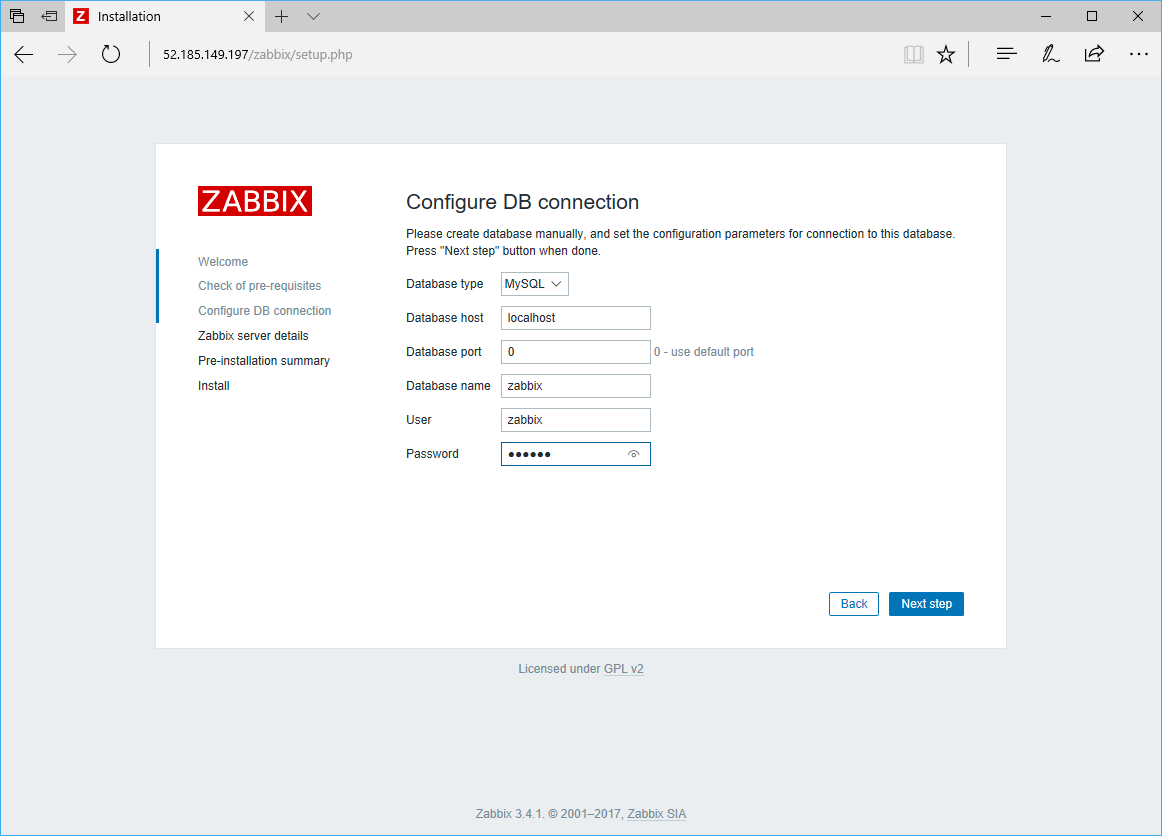
接続するDBの情報を入力します。
「Password」欄に先ほどMySQLの設定時に作成したzabbixユーザのパスワード(zabbix)を入力して、「Next step」をクリックします。
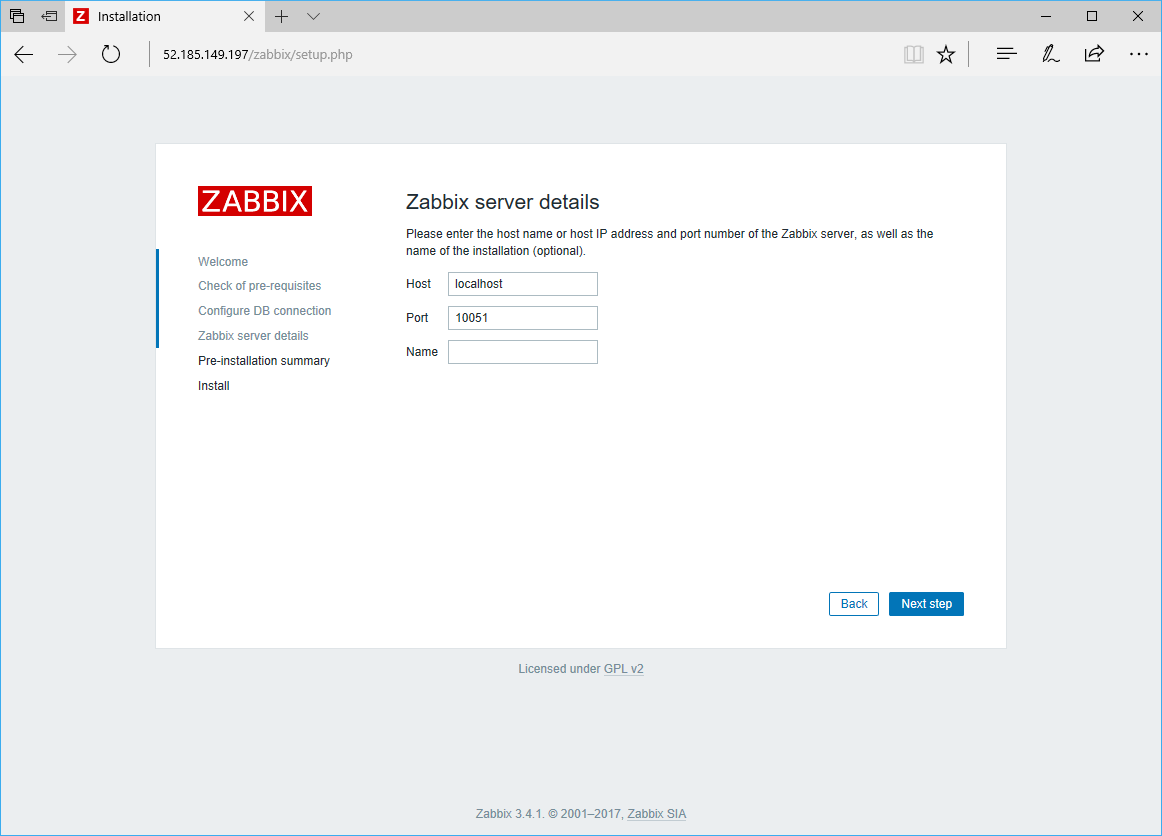
次の画面では特に内容を変更せずに「Next step」をクリックします。
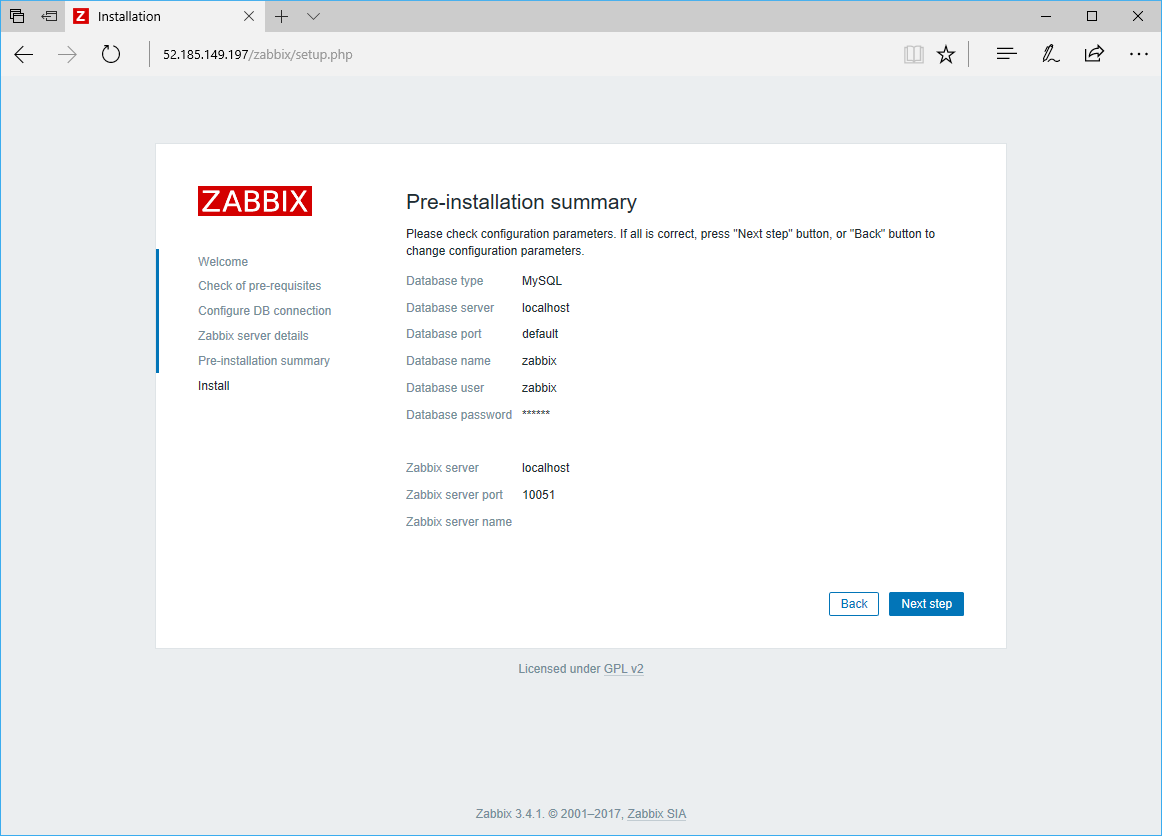
最後の確認画面で「Next step」をクリックして初期設定を完了します。
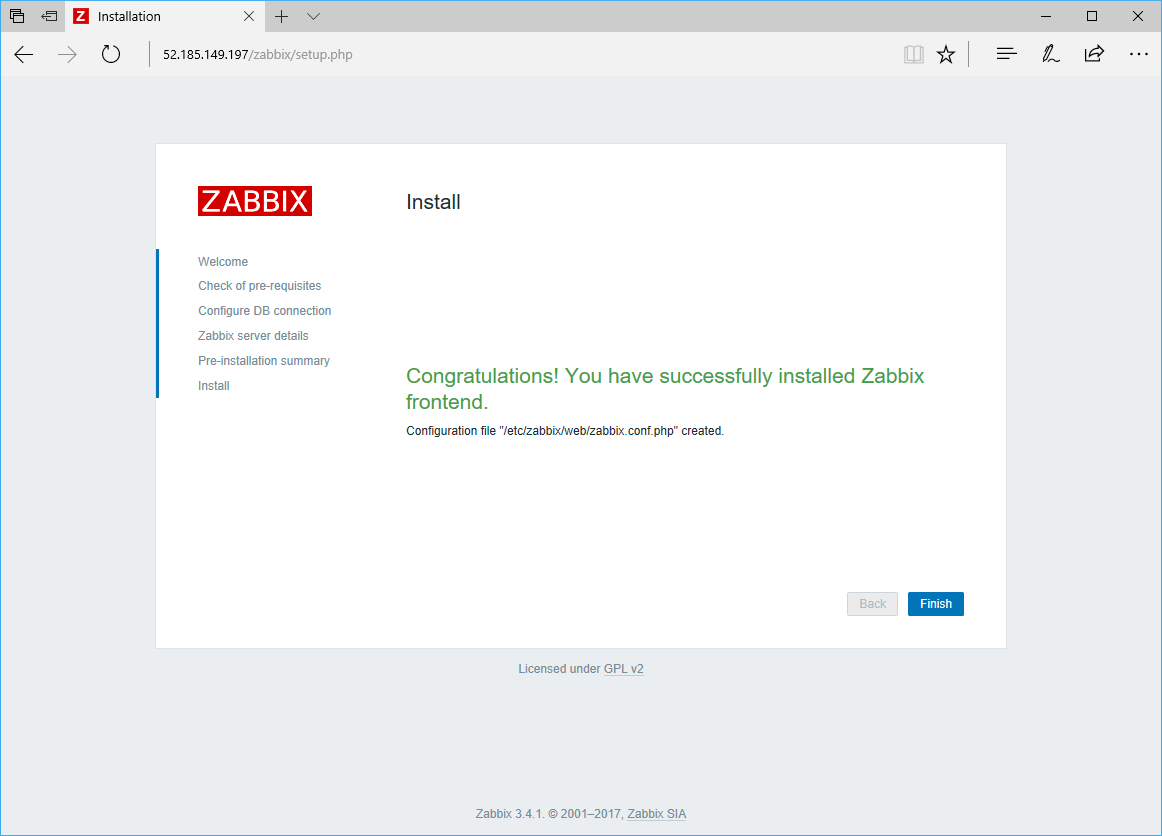
完了画面が出たら「Finish」をクリックして完了です。
Zabbixの動作確認
Zabbix管理画面へのログイン
初回ログイン時のUsername、PasswordはAdmin/zabbixです。
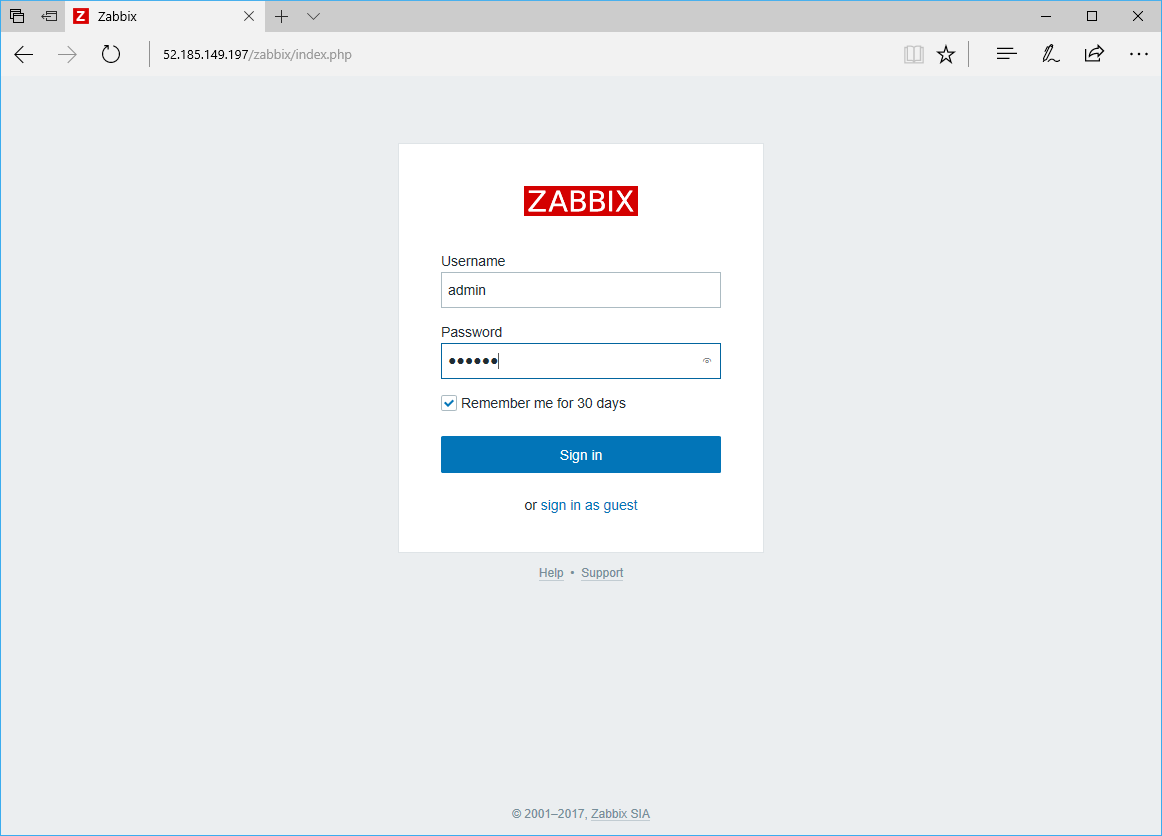
無事ログインできるとダッシュボードが英語で表示されます。

パスワード及び言語設定の変更
上部メニューから「Administration」「Users」「Admin」をクリックします。
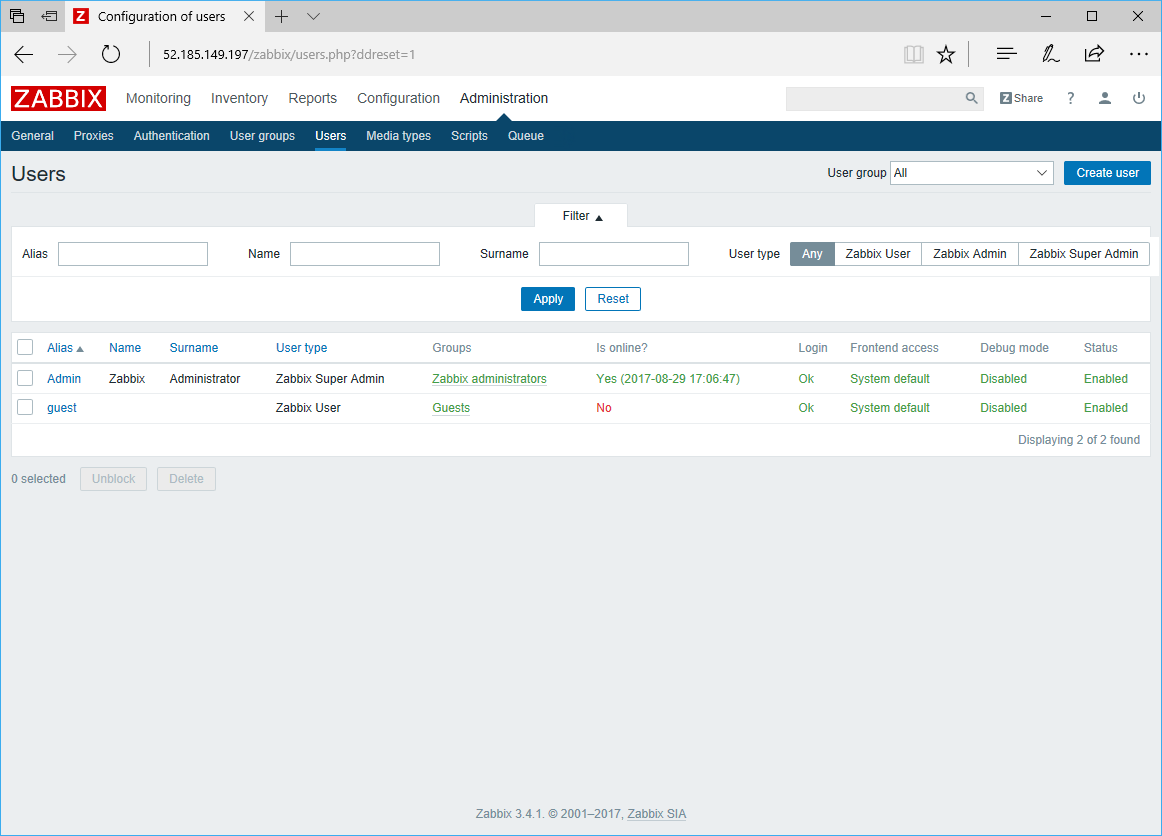
「Change Password」をクリックして、新しいパスワードを入力するほか、Languageを「Japanese(ja_JP)」に変更すると表示が日本語になります。
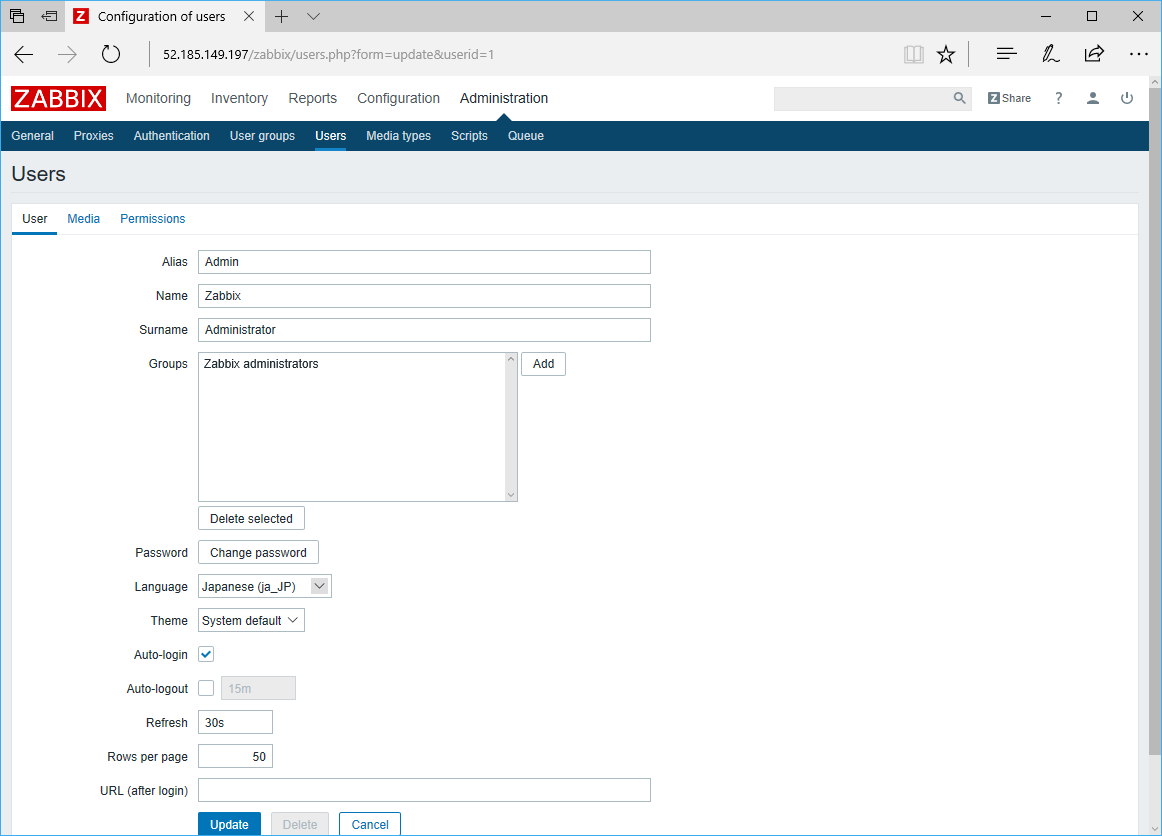
設定の適用後、ブラウザをリロードすると即座に日本語表示が反映されます。

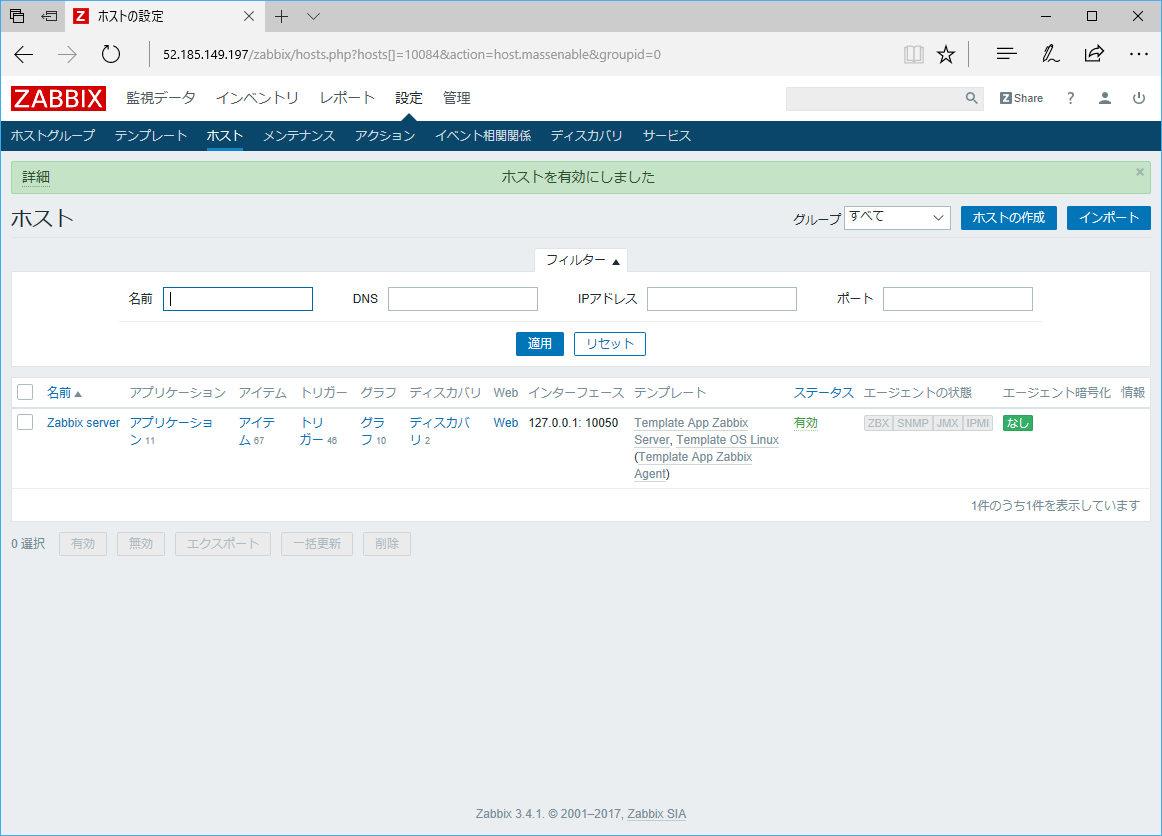
Zabbix Serverの監視開始
とりあえず今回インストールしたZabbix Server自身の監視を有効にしたいと思います。
上部メニューから「設定」「ホスト」をクリックします。
一覧上の「Zabbix server」のステータス欄「無効」をクリックして、監視を有効にします

ホストが有効になったことを確認します。
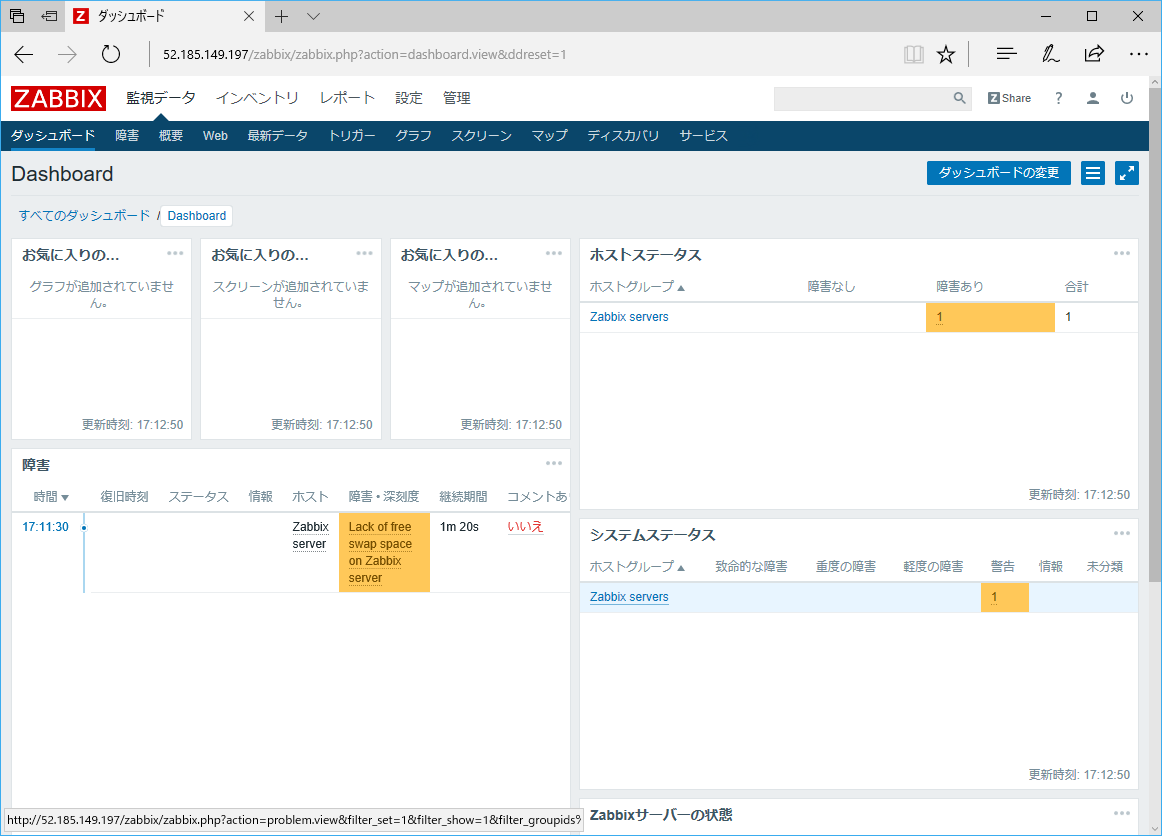
色々と監視が始まったことをダッシュボード画面から確認します。
(なにやらswap spaceの障害がでていますねw)
おわりに
今回は最新のZabbix 3.4をAzure上で構築したCentOS 7.3にインストールして基本設定を行うところまで実施しました。
次回以降時間があれば、Zabbix Proxyの機能を深く試してみたいと思います。