脆弱性管理用のSysdig Splunk TA(Technical Add-on)がリリースされたので、導入手順をご紹介します。
このSysdig Splunk TA は、ワークロードとホストの両方でSysdigランタイム脆弱性データのエクスポートを可能にします(パイプラインやレジストリの脆弱性スキャン結果は対象外です)。
ドキュメント
テスト環境
- EC2インスタンス: m5.xlarge
- Ubuntu 20.04.4 LTS
- Splunk Enterprise 9.1.2
Splunk Enterpriseのインストール
- Splunkのトライアルアカウントを作成する。
- 9.1.2 debパッケージをwgetを使ってLinuxサーバにダウンロードする。
- Splunkをインストールする
sudo dpkg -i splunk-9.1.2-b6b9c8185839-linux-2.6-amd64.deb
4. Splunk Enterpriseを起動する。
cd /opt/splunk/bin
sudo ./splunk start
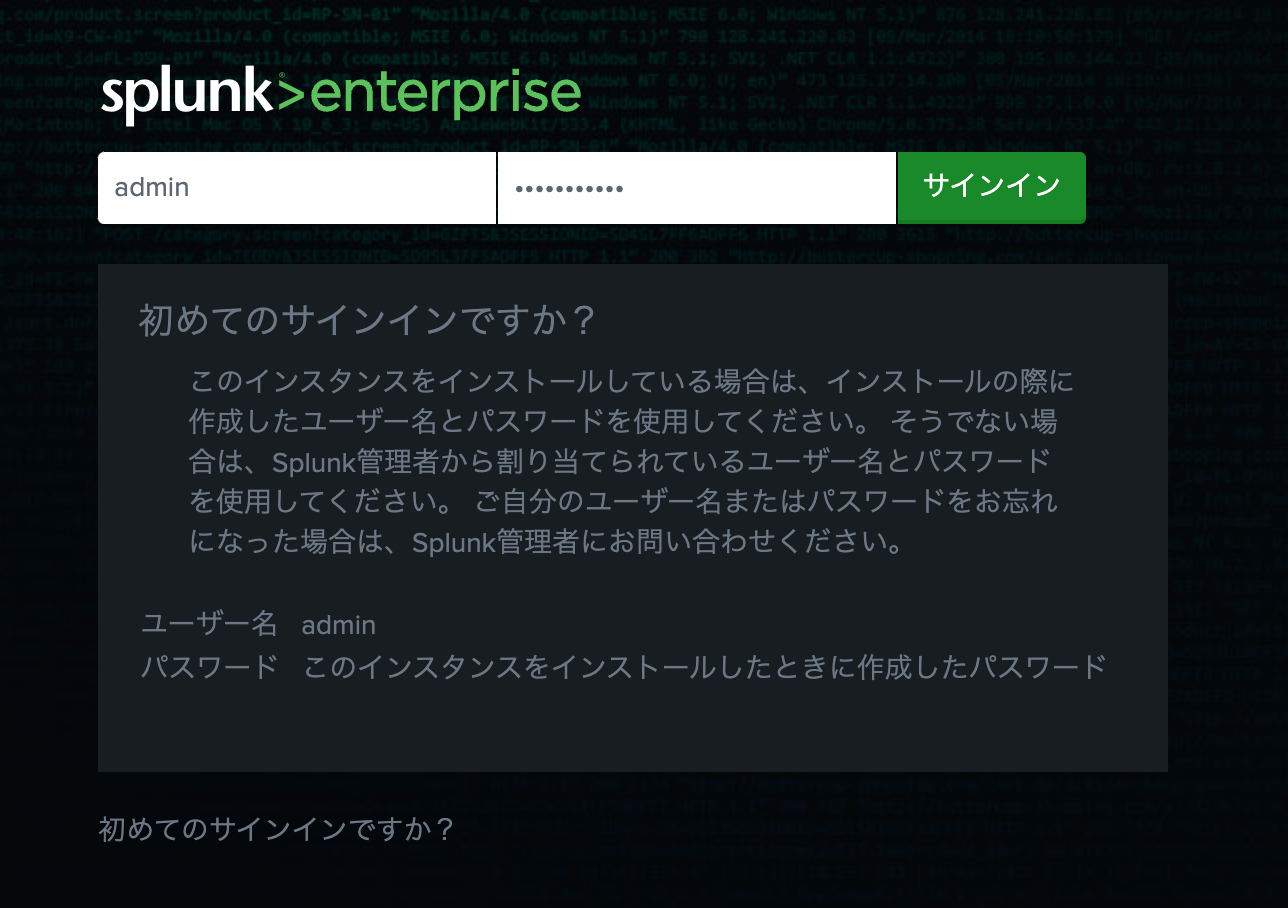
指示に従ってusername (ex. admin) とpasswordを設定する。
Please enter an administrator username: admin
Password must contain at least:
   * 8 total printable ASCII character(s).
Please enter a new password:
Please confirm new password:
Copying '/opt/splunk/etc/openldap/ldap.conf.default' to '/opt/splunk/etc/openldap/ldap.conf'.
Generating RSA private key, 2048 bit long modulus
................+++++
....+++++
e is 65537 (0x10001)
writing RSA key

Generating RSA private key, 2048 bit long modulus
.....................+++++
...........................................+++++
e is 65537 (0x10001)
writing RSA key

Moving '/opt/splunk/share/splunk/search_mrsparkle/modules.new' to '/opt/splunk/share/splunk/search_mrsparkle/modules'.

Splunk> The IT Search Engine.

Checking prerequisites...
	Checking http port [8000]: open
	Checking mgmt port [8089]: open
	Checking appserver port [127.0.0.1:8065]: open
	Checking kvstore port [8191]: open
	Checking configuration... Done.
		Creating: /opt/splunk/var/lib/splunk
		Creating: /opt/splunk/var/run/splunk
		Creating: /opt/splunk/var/run/splunk/appserver/i18n
		Creating: /opt/splunk/var/run/splunk/appserver/modules/static/css
		Creating: /opt/splunk/var/run/splunk/upload
		Creating: /opt/splunk/var/run/splunk/search_telemetry
		Creating: /opt/splunk/var/run/splunk/search_log
		Creating: /opt/splunk/var/spool/splunk
		Creating: /opt/splunk/var/spool/dirmoncache
		Creating: /opt/splunk/var/lib/splunk/authDb
		Creating: /opt/splunk/var/lib/splunk/hashDb
New certs have been generated in '/opt/splunk/etc/auth'.
	Checking critical directories...	Done
	Checking indexes...
		Validated: _audit _configtracker _internal _introspection _metrics _metrics_rollup _telemetry _thefishbucket history main summary
	Done
	Checking filesystem compatibility...  Done
	Checking conf files for problems...
	Done
	Checking default conf files for edits...
	Validating installed files against hashes from '/opt/splunk/splunk-9.1.2-b6b9c8185839-linux-2.6-x86_64-manifest'
	All installed files intact.
	Done
All preliminary checks passed.

Starting splunk server daemon (splunkd)...
Generating a RSA private key
...........+++++
............................................................................................................+++++
writing new private key to 'privKeySecure.pem'
-----
Signature ok
subject=/CN=ip-172-31-47-58/O=SplunkUser
Getting CA Private Key
writing RSA key
PYTHONHTTPSVERIFY is set to 0 in splunk-launch.conf disabling certificate validation for the httplib and urllib libraries shipped with the embedded Python interpreter; must be set to "1" for increased security
Done

Waiting for web server at http://127.0.0.1:8000 to be available................. Done

If you get stuck, we're here to help.
Look for answers here: http://docs.splunk.com

The Splunk web interface is at http://ip-172-31-33-239:8000
Open port 8000 from my IP at Security Group.
5. Webブラウザで下記URLにアクセスする
https://<SplunkサーバのIPアドレス>:8000
Splunk TA for Vulnerability Managementの導入
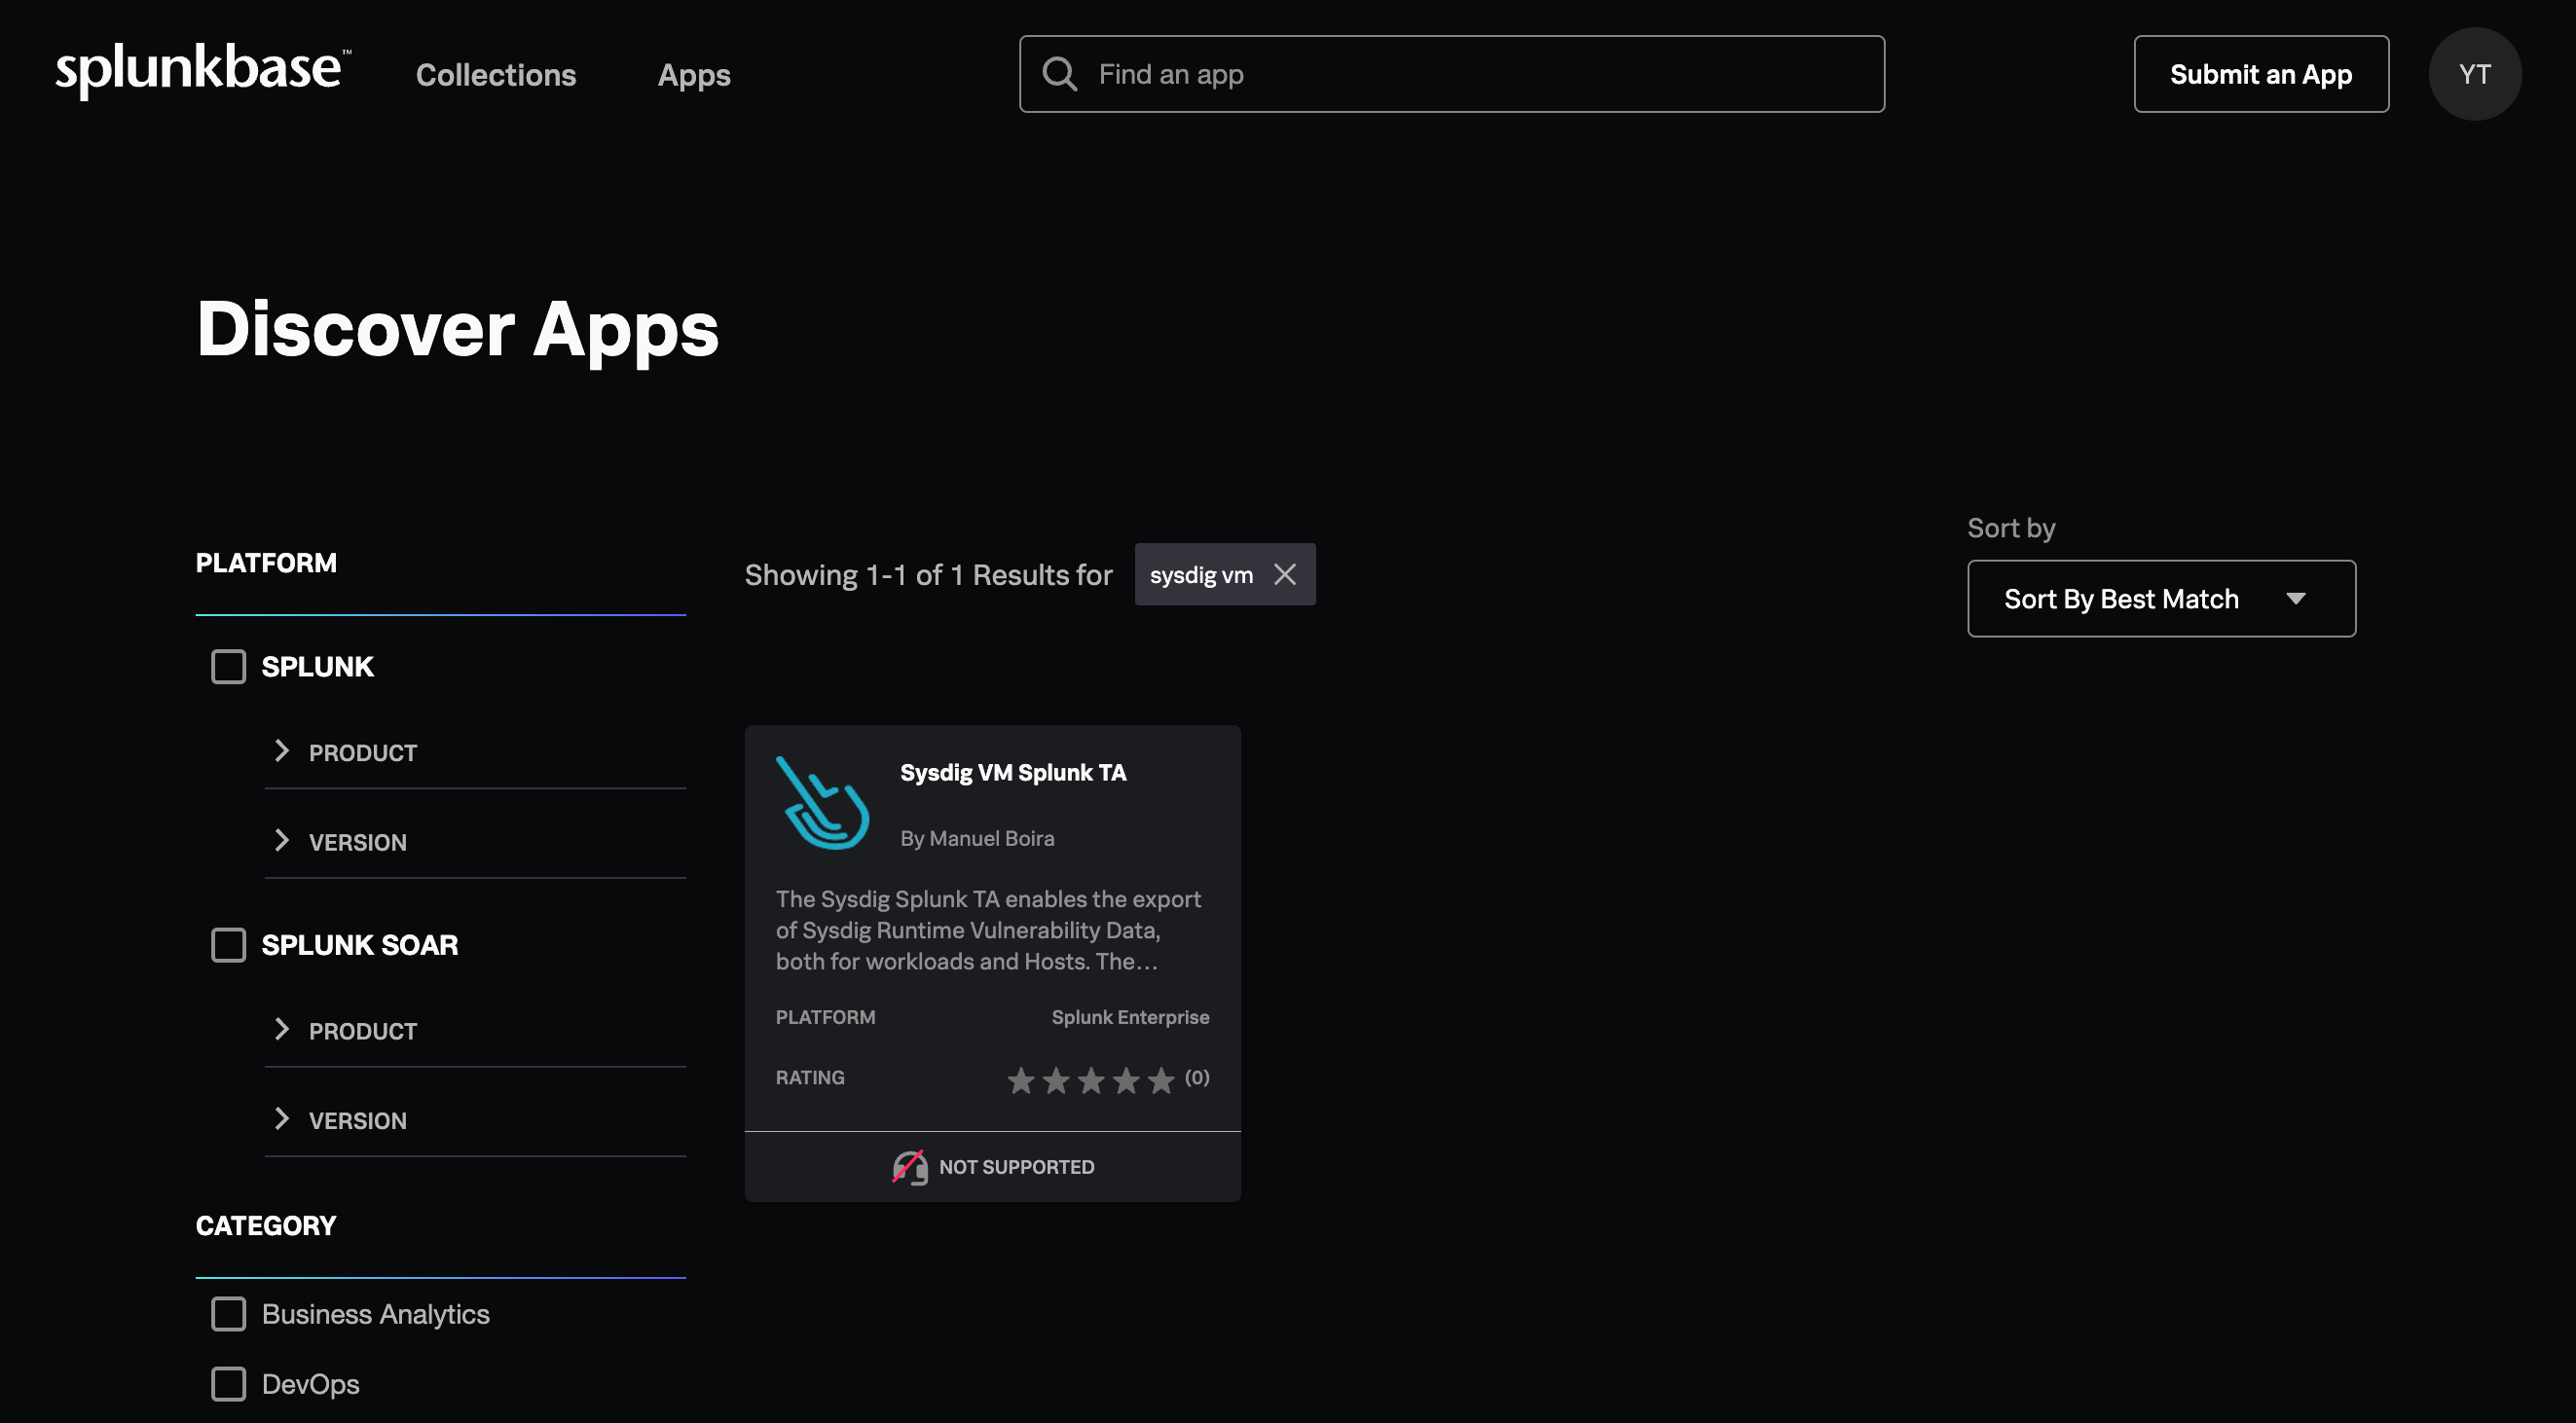
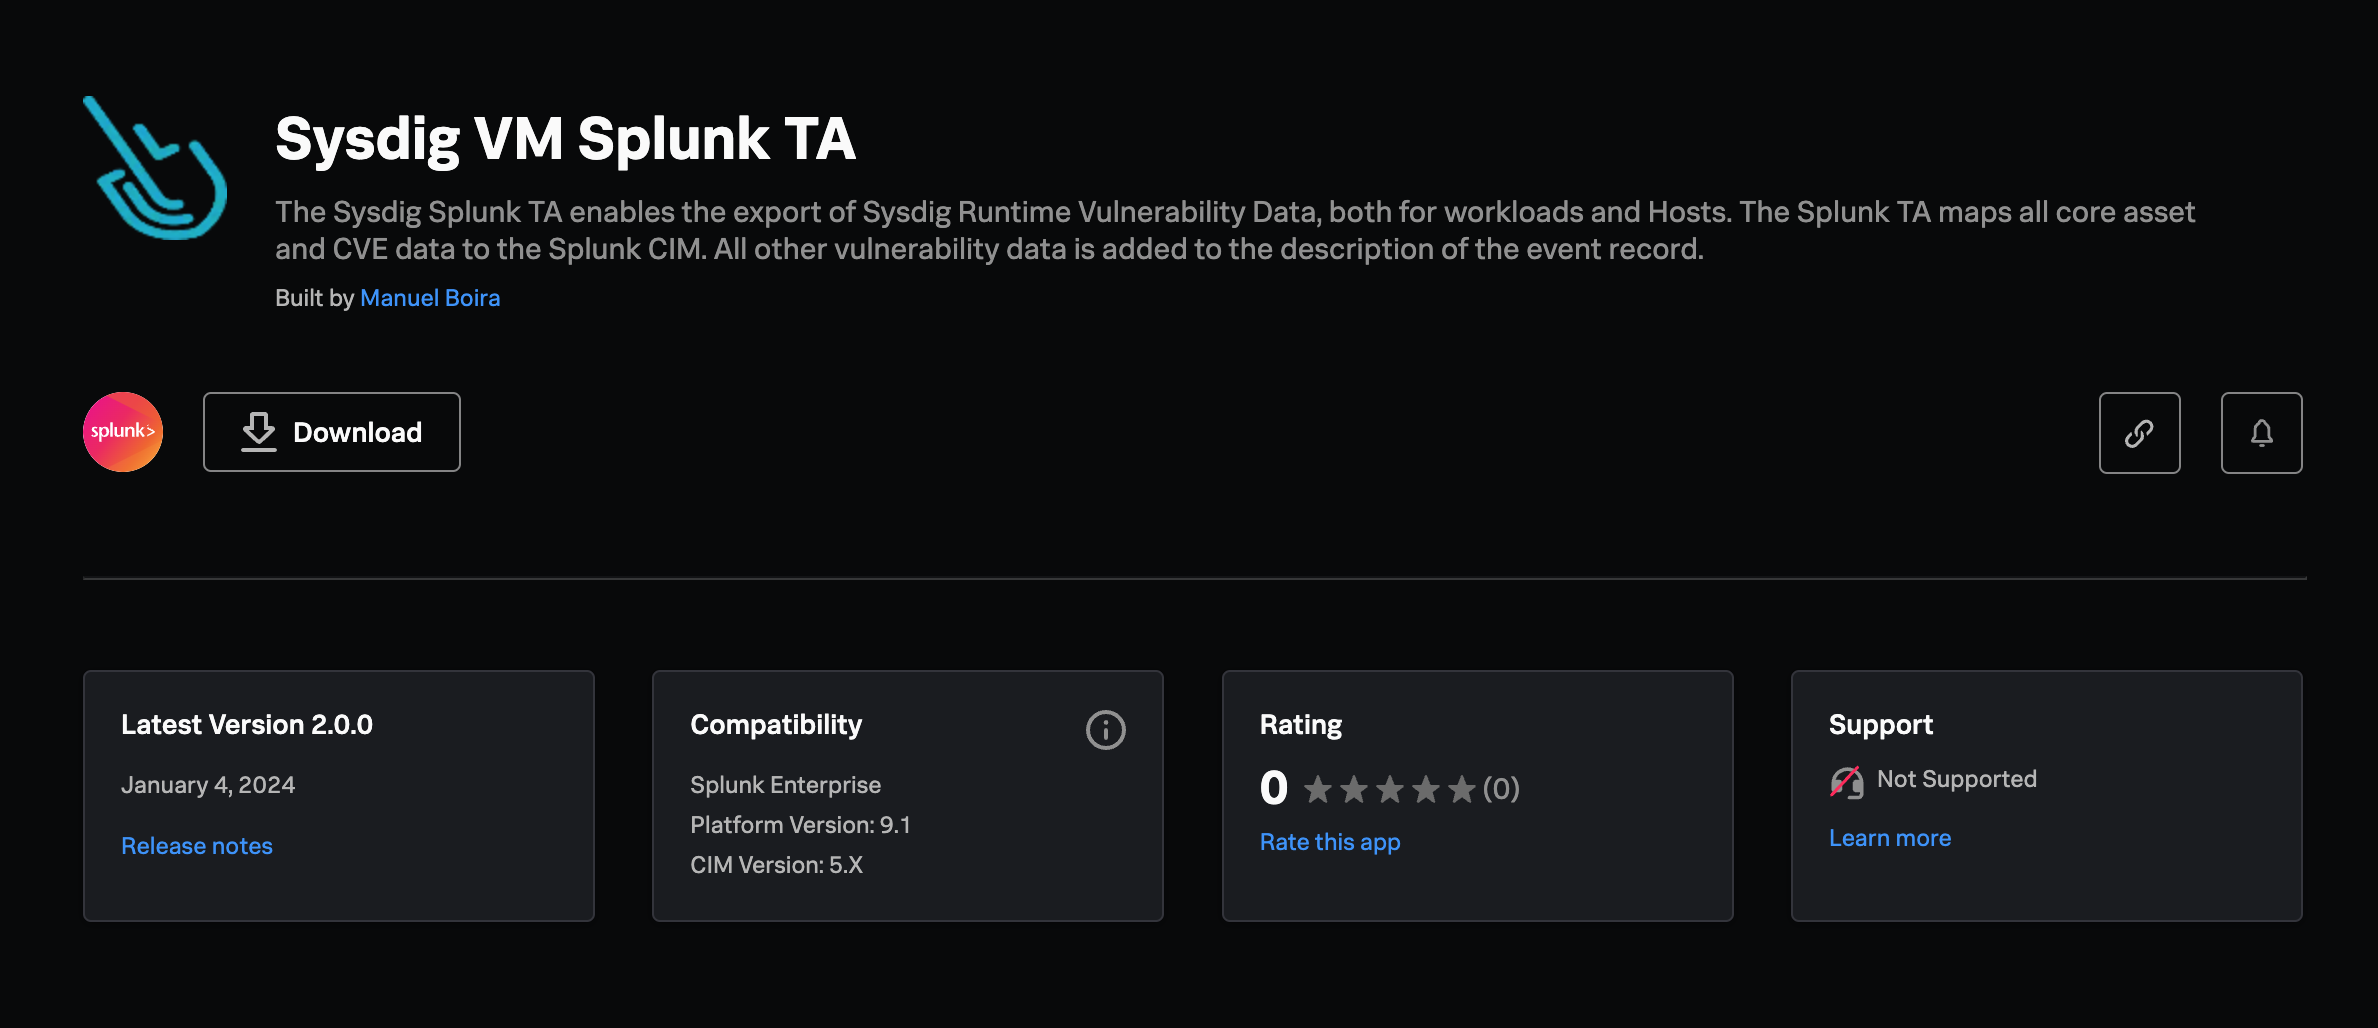
- splunkbaseにアクセスする。
https://splunkbase.splunk.com/

2. 自身のSplunkアカウントでログインする。
3. Sysdig VM で検索し、Sysdig VM Splunk TAをダウンロードする。
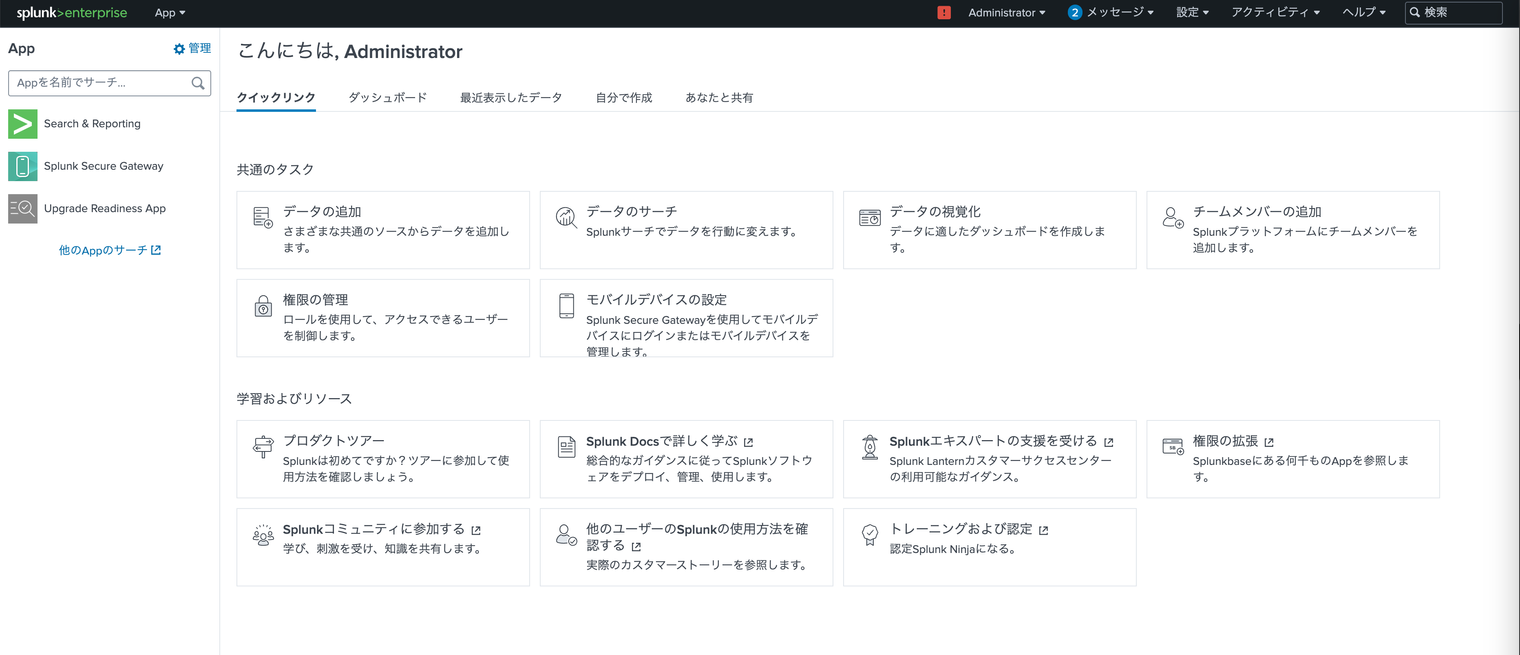
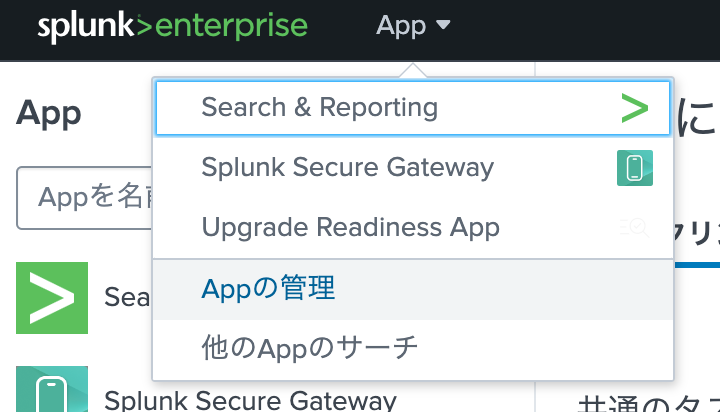
4. 自身のSplunkサーバのUIに移動し、App をクリックし、ドロップダウンメニューから Appの管理 を選択する。
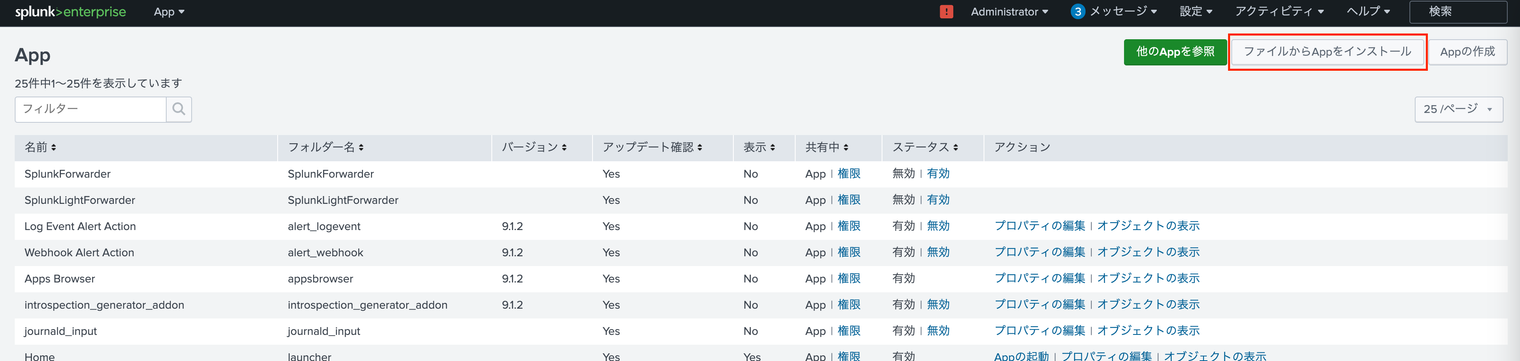
5. ファイルからAppをインストール をクリックする。
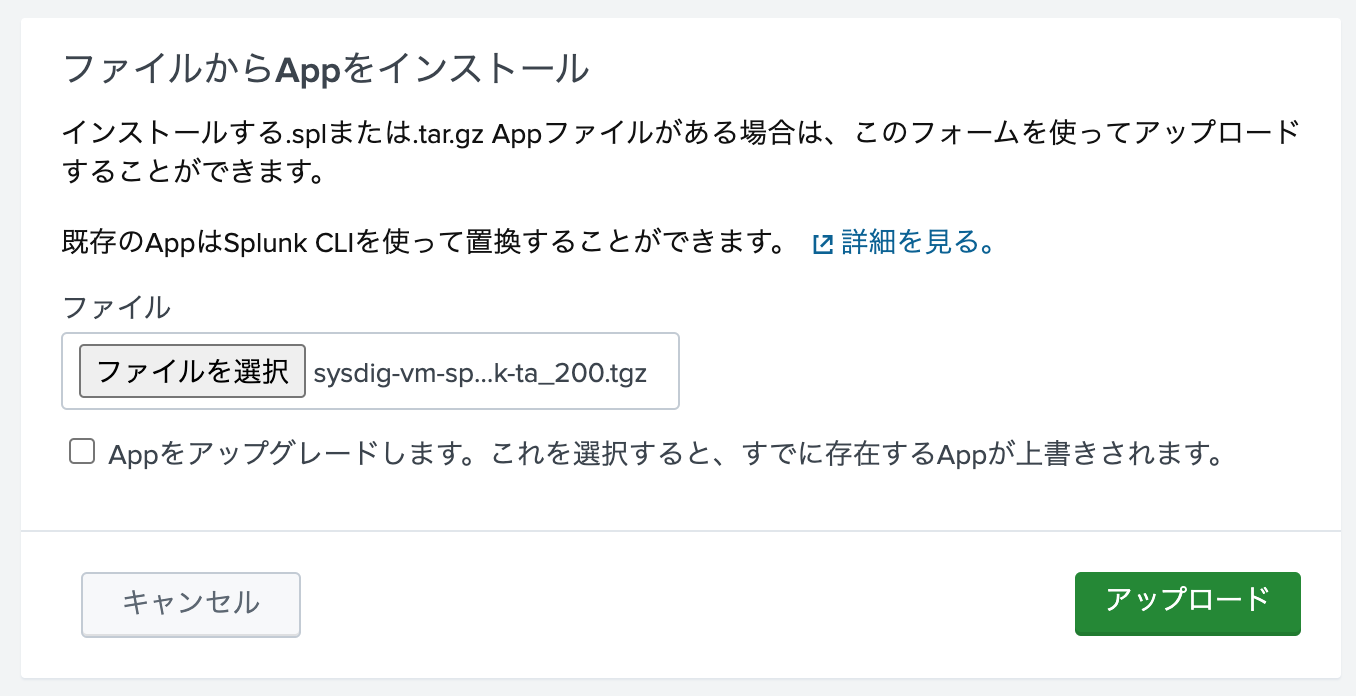
6. ファイルを選択 をクリックし、ダウンロードしたTAファイルを選択する。
7. アドオンがインストールされたあと、Splunkインスタンスを再起動する必要があるかもしれません。

sudo /opt/splunk/bin/splunk restart
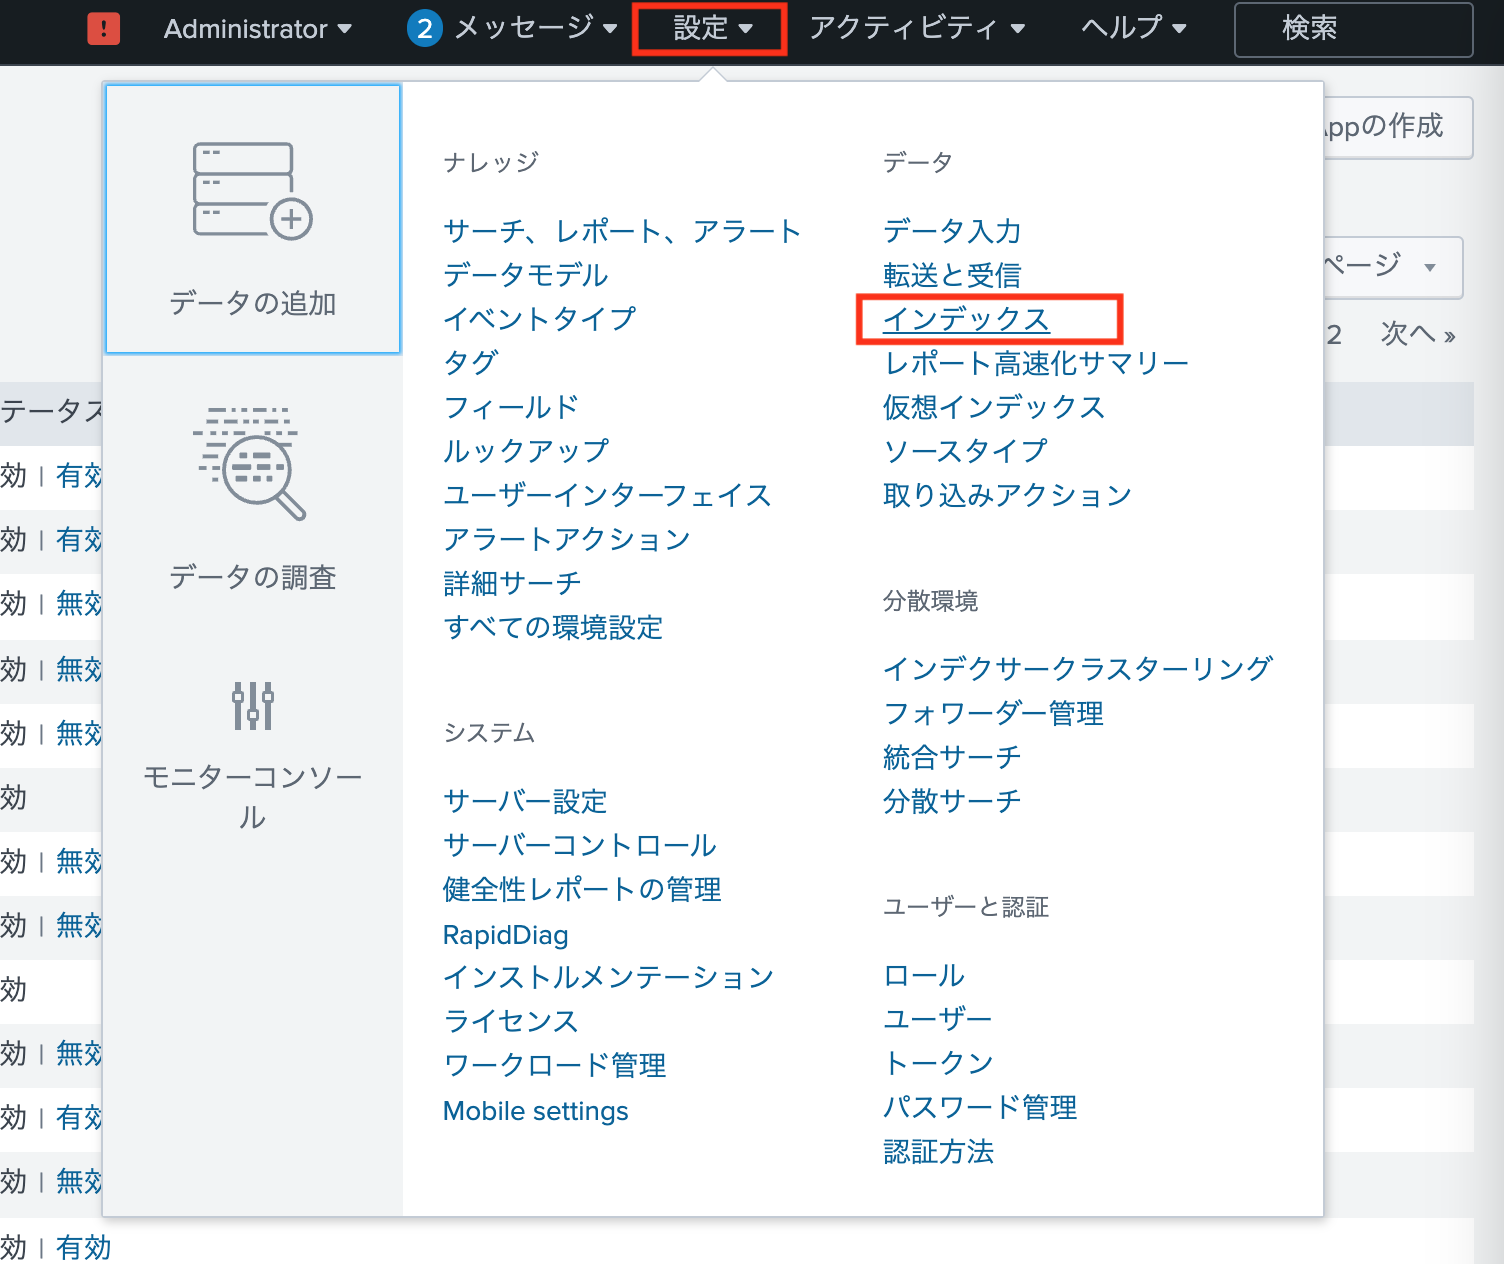
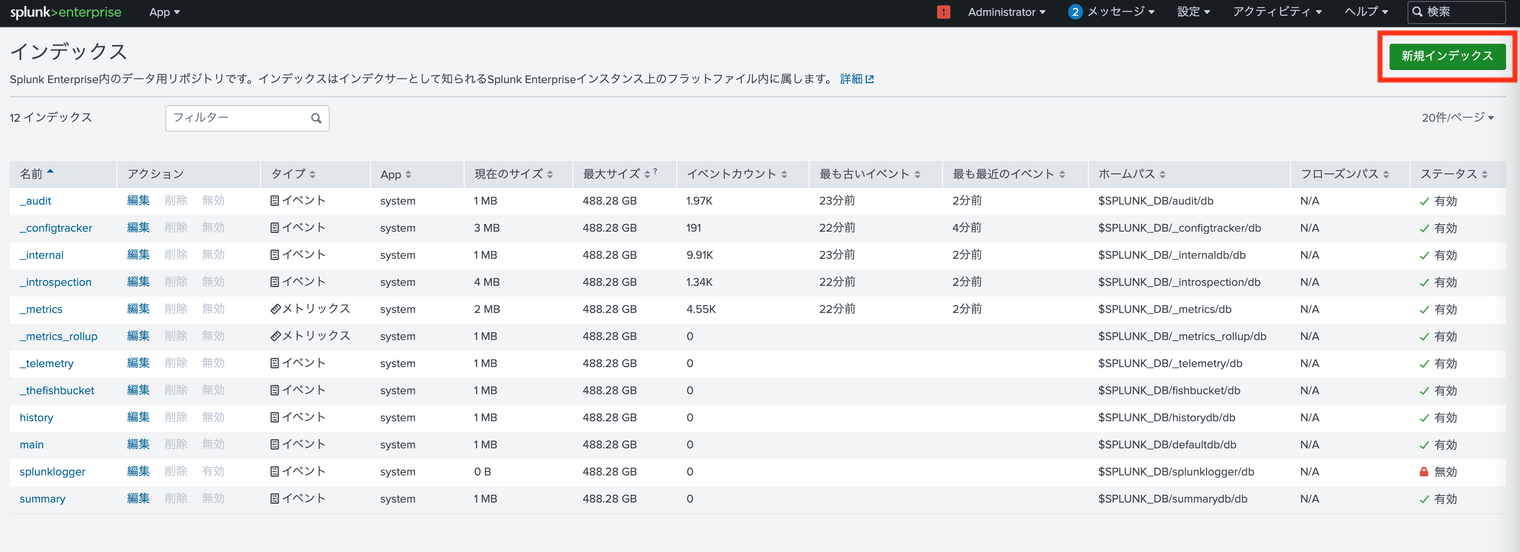
8. 上部メニューから 設定 をクリックし、インデックス を選択します。
9. 新規インデックス をクリックします。
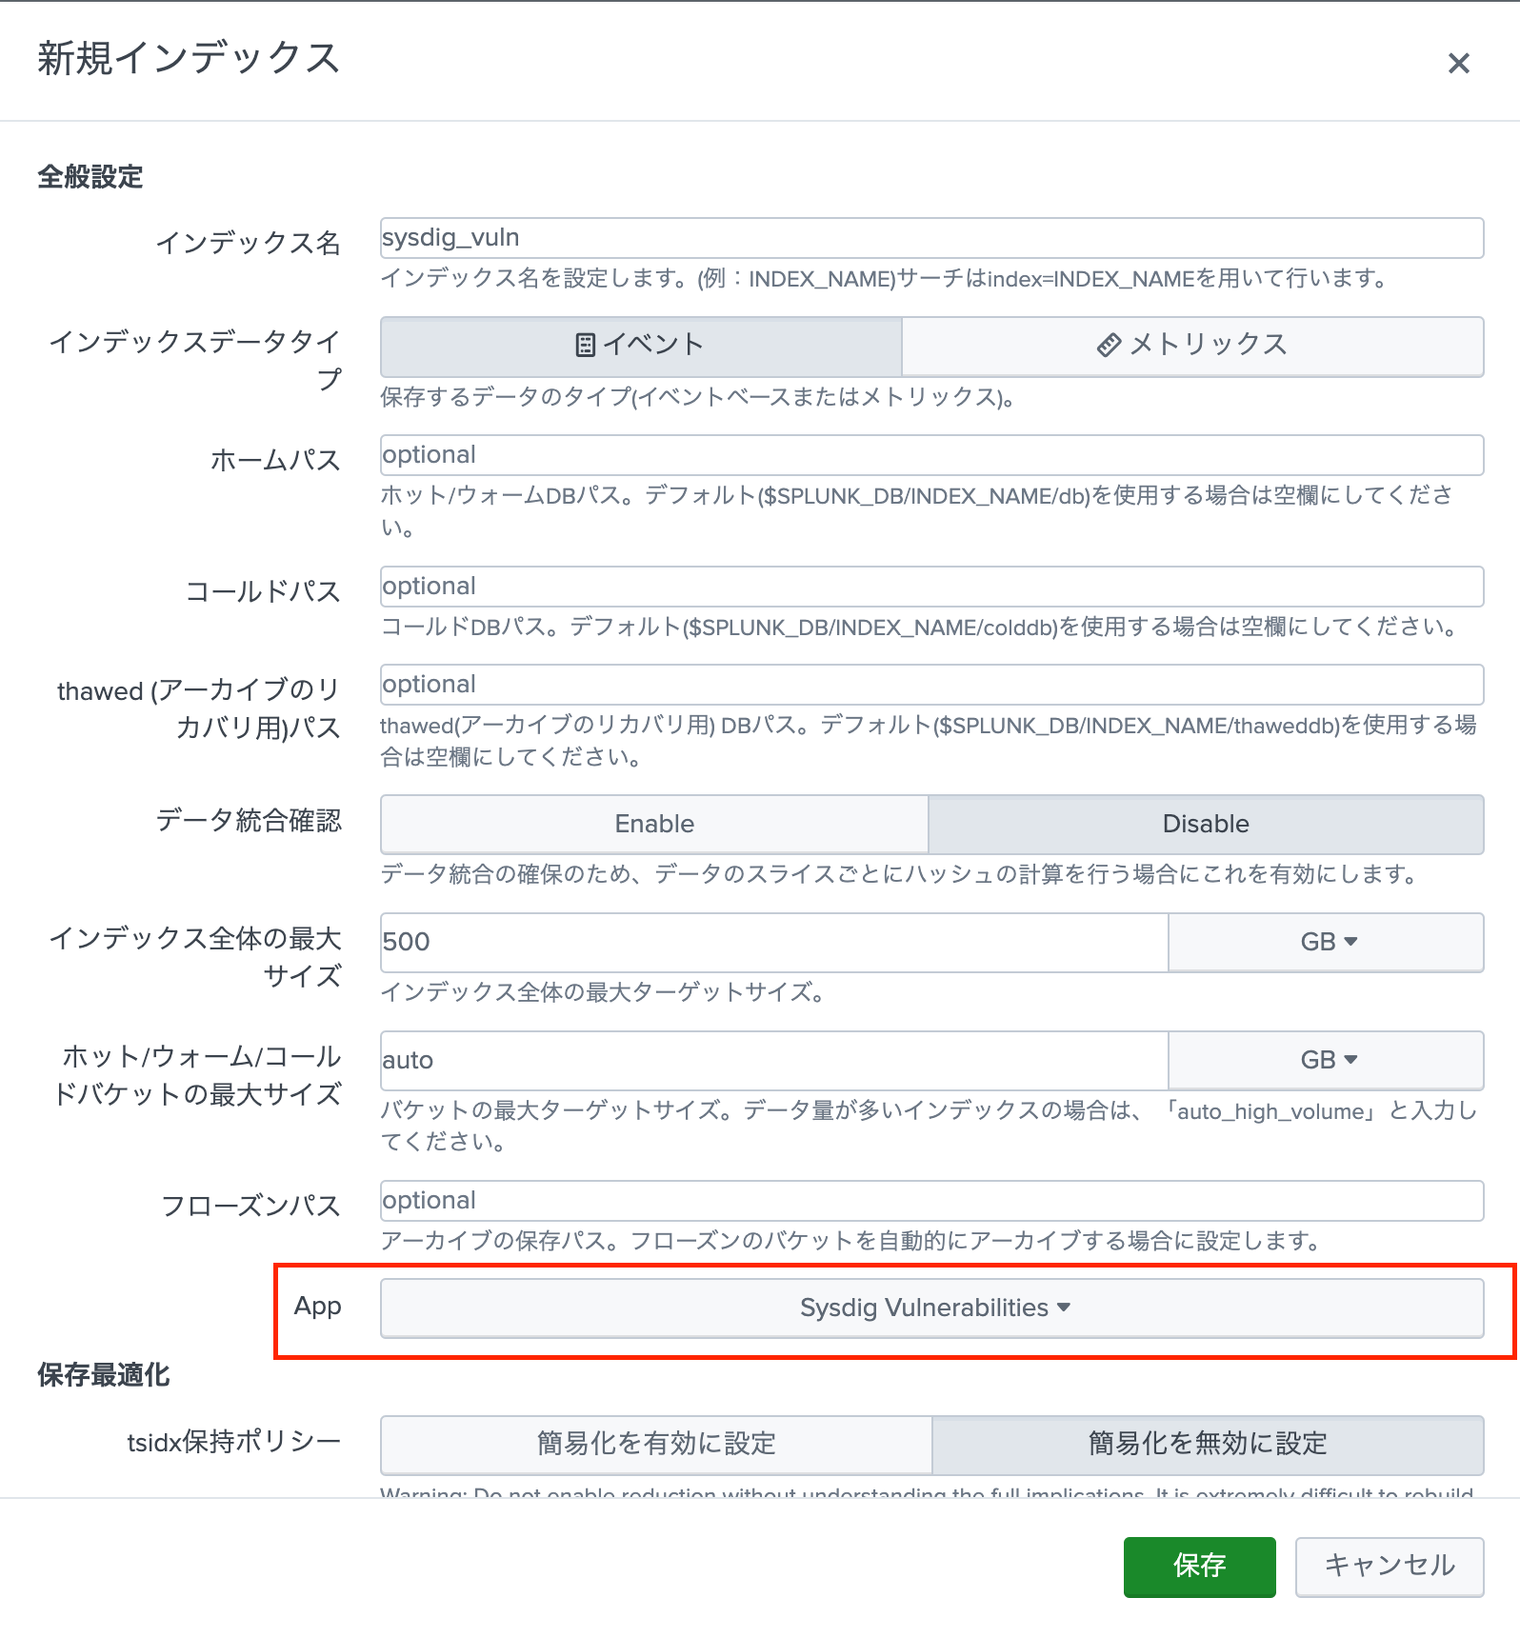
10. インデックス名 を入力し (e.g. sysdig_vuln)、App でSysdig Vulnerabilitiesを選択し、保存 をクリックします。
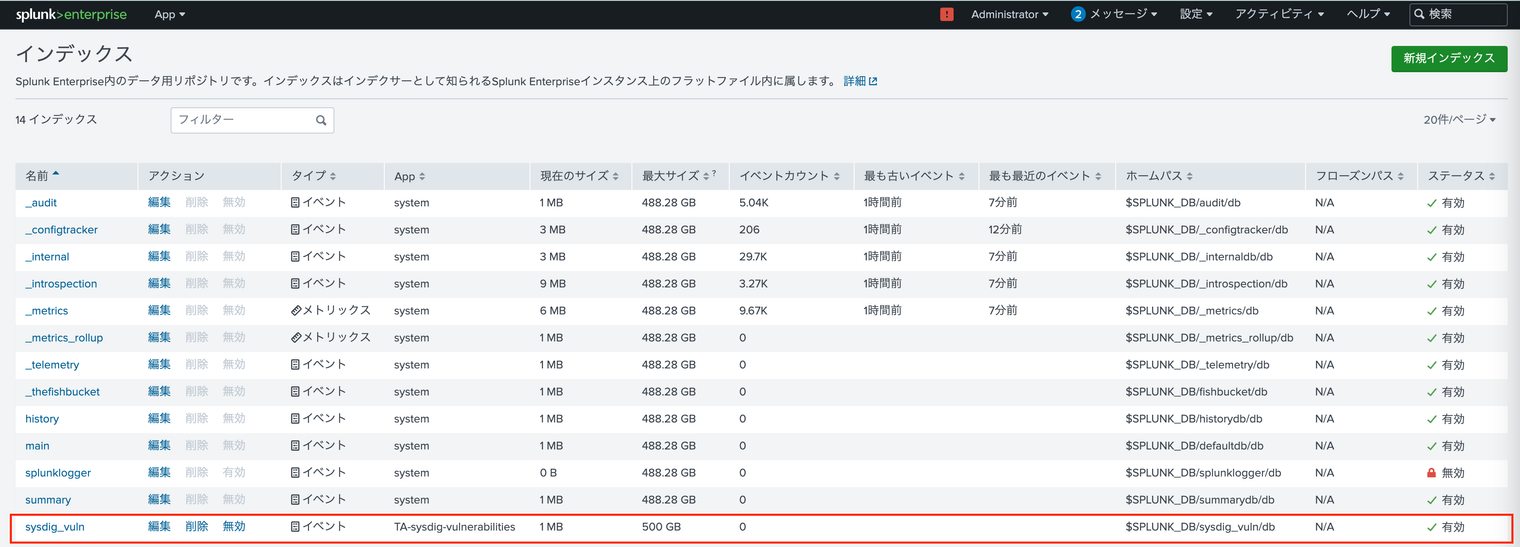
11. 追加したインデックスが一覧に表示されます。
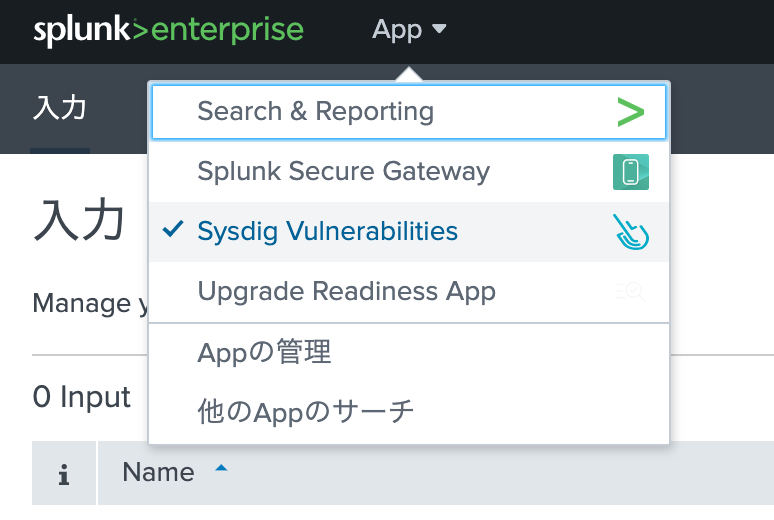
12. App メニューの Sysdig Vulnerabilities をクリックします。
13. 入力 タブを選択し、Create New Input をクリックします。

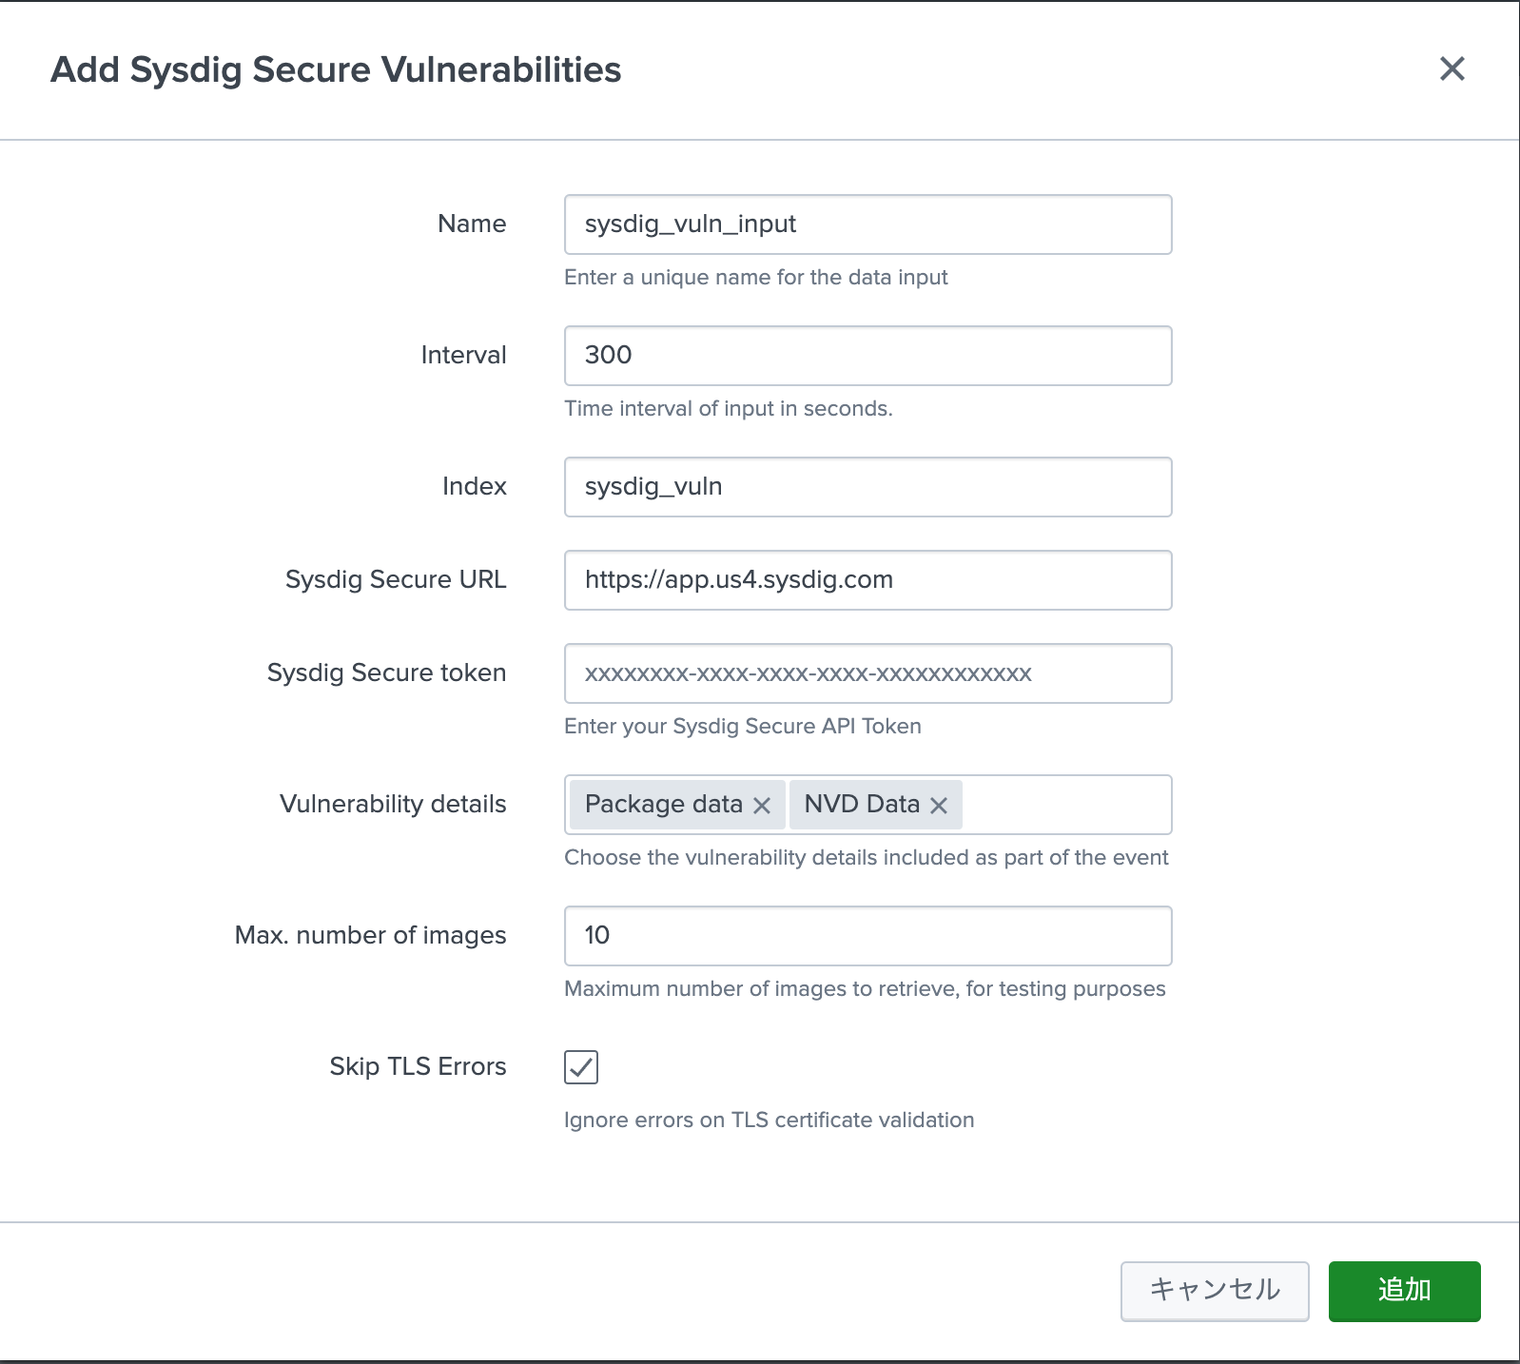
14. 必要な項目を入力します。Indexとしては、先ほど作成した脆弱性管理用のインデックス名 (e.g. sysdig_vuln) を入力し、追加 をクリックします。
データ取得間隔のIntervalはテストのために300秒と設定していますが、大量のログが記録されるため、実際の運用では適切な値に調整してください。
Sysdig Secure URLの値はご利用のSysdig SaaSリージョンにより異なります。下記ドキュメントをご参照ください。
https://docs.sysdig.com/en/docs/administration/saas-regions-and-ip-ranges/
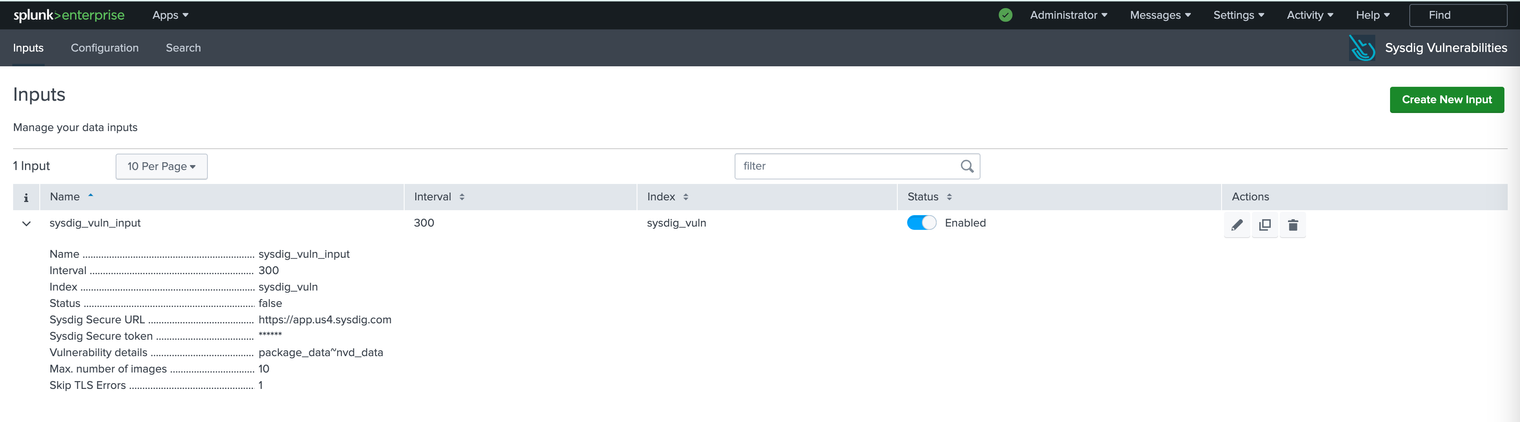
15. 入力一覧に追加されたことを確認します。
Sysdig Secureのランタイム脆弱性データの確認
-
Search タブの検索欄に、脆弱性管理用に作成したインデックス名である
index="sysdig_vuln"と入力して検索します。
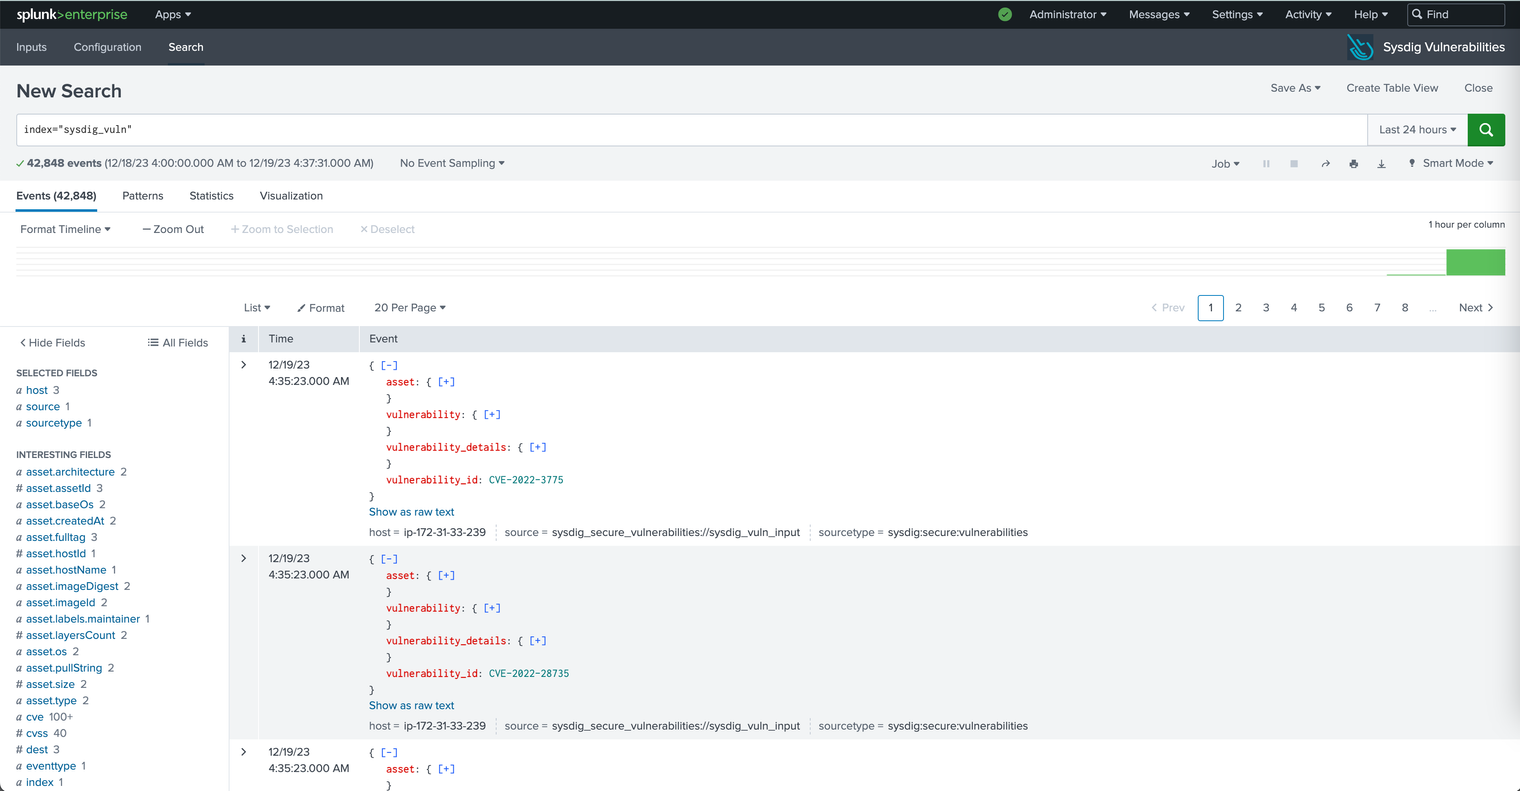
検索結果が何も表示されないときは、インデックス名を囲むダブルクォーテーション(") が正しいかを確認します。Macでは「スマート引用符とスマートダッシュを使用」機能で勝手に変換されて、機能しないダブルクォーテーション(“)になっていることがあります。
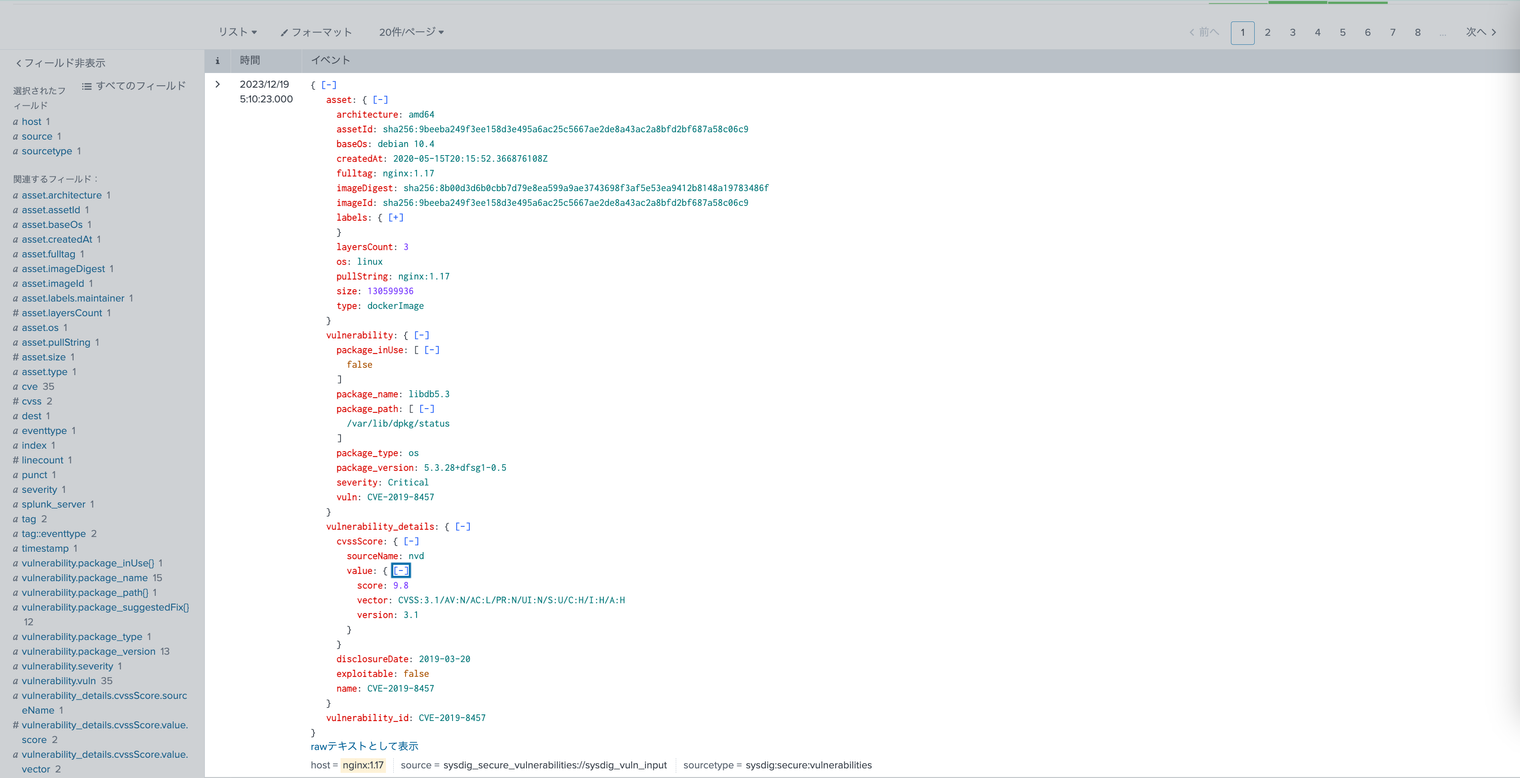
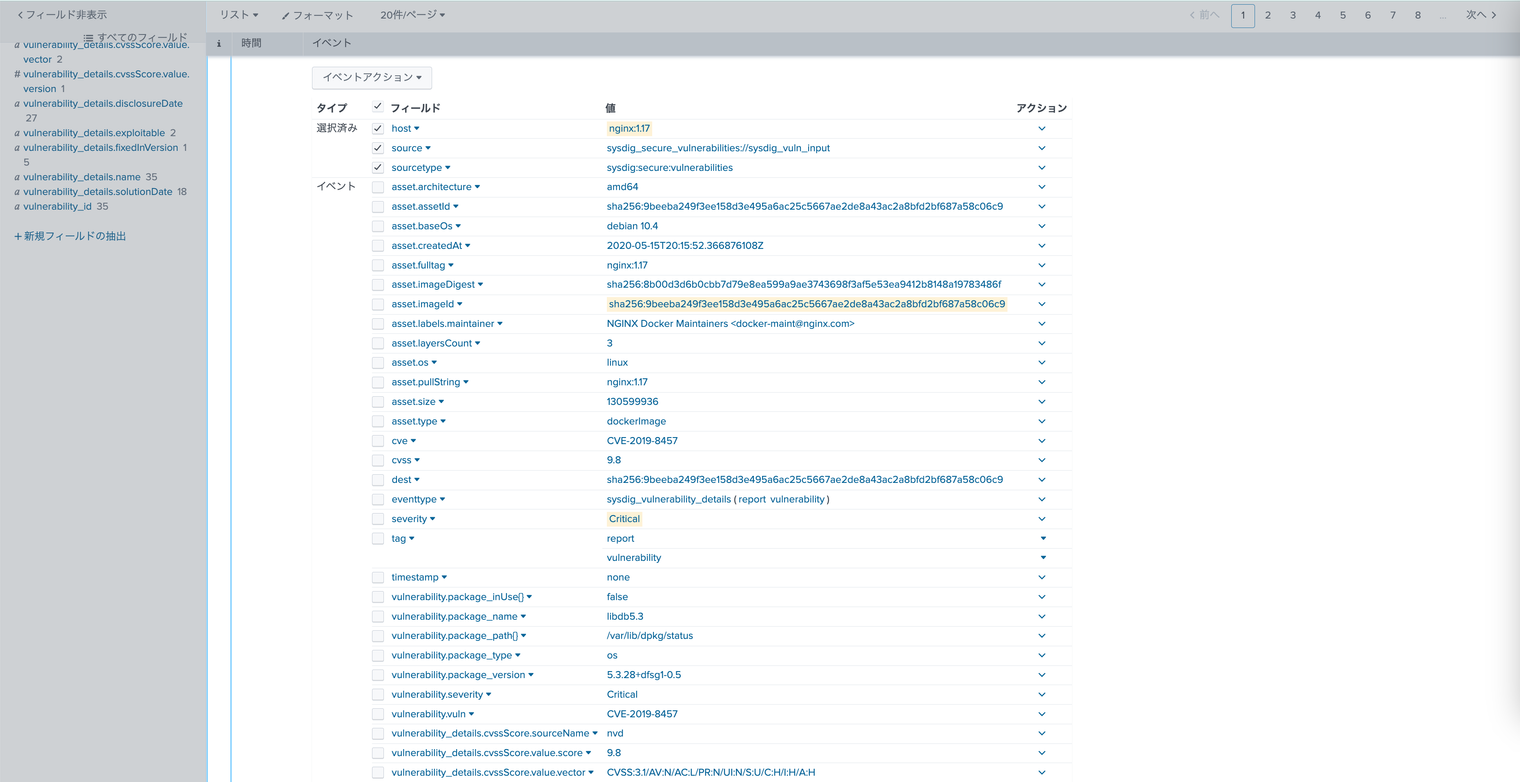
2. レコードの1つを展開して内容を確認します。

まとめ
Sysdig SecureのSplunk TA (Technical Add-on) for Vulnerability Managementによって、Sysdig Secureのランタイム脆弱性スキャンの結果をSplunk側で簡単に取り込めることが確認できました。