CentOS7にGrowiを構築
Growiを(Dockerでも構築できるようだが)普通に構築してみる
バージョン確認
Growiの公式Gitで利用できるバージョンを調べる
2019-02-24現在のバージョンは以下
| 項目 | バージョン |
|---|---|
| node | 8.x (DON'T USE 9.x) |
| npm | 6.x |
| yarn | - |
| MongoDB | 3.x |
インストールする環境作成
今回はAWSにインスタンスを作成
| 項目 | バージョン |
|---|---|
| OS | CentOS Linux release 7.6.1810 (Core) |
| インスタンスタイプ | t3.small (2コア 2GB) |
| ストレージ | 10G |
| 空けたポート | HTTP/HTTPS/ssh |
sshのカギを作る
- WindowsなのでCygwinを使う(Git Bashなどでもよい)
カギを作るディレクトリ作成
$ mkdir c:\Users\<user_name>\.ssh
カギを作る
$ ssh-keygen
Generating public/private rsa key pair.
Enter file in which to save the key (/home/<user_name>/.ssh/id_rsa): /cygdrive/c/Users/
<user_name>/.ssh/id_rsa [Enter]
Enter passphrase (empty for no passphrase):  ※ 自分のパスワード[Enter]
Enter same passphrase again: ※ 上と同じパスワード[Enter]
Your identification has been saved in /home/<user_name>/.ssh/id_rsa.
Your public key has been saved in /home/<user_name>/.ssh/id_rsa.pub.
The key fingerprint is:
SHA256:xxxx <user_name>@LAPTOP-C47JTLB4
The key's randomart image is:
+---[RSA 2048]----+
<略>
+----[SHA256]-----+
作った公開鍵(id_rsa.pub)をAWSの.sshに置く
置く場所は/home/user_name/.ssh/authorized_keys
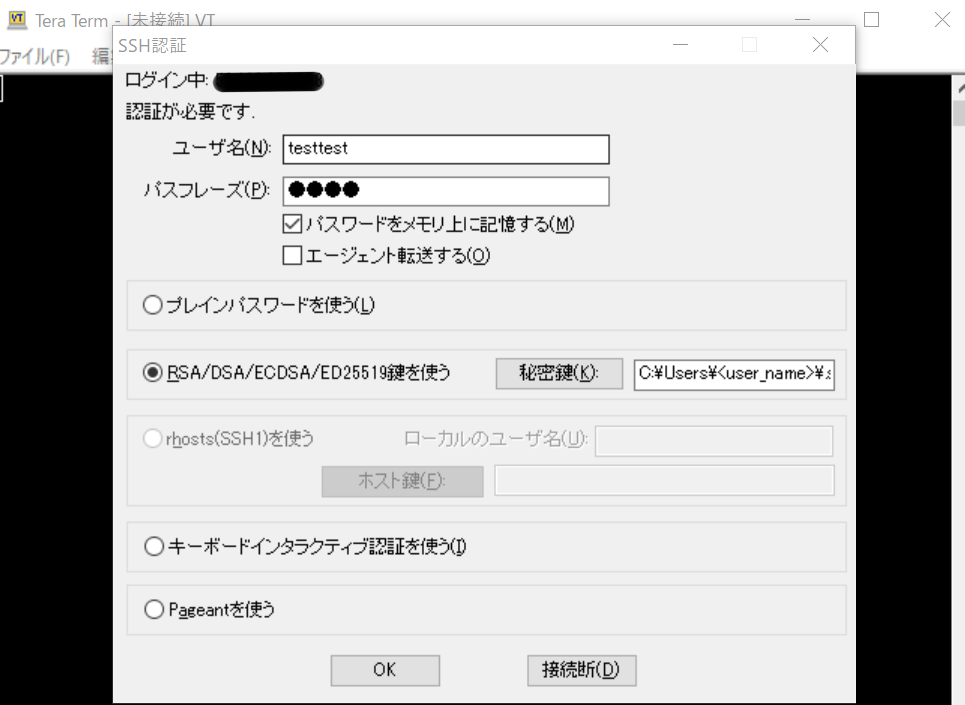
TeratermでインスタンスにSSHでログイン
※ AWSのコンソールでインスタンス起動とIP取得をしておく
Teratermを使って、AWSのインスタンスにログインする。
先ほど使った、sshカギを使ってアクセスする
sudo
インストール中は面倒くさいのでsudoをしておく
$ sudo -i
MongoDB 3.xインストール
リポジトリ登録
リポジトリ登録する。最新は4.xだったが、Growiが3.xなので3系の最新にする
登録内容は公式サイトのv3.6の手順を確認する
- リポジトリ
# vi /etc/yum.repos.d/mongodb-org-3.6.repo
- 内容
[mongodb-org-3.6]
name=MongoDB Repository
baseurl=https://repo.mongodb.org/yum/redhat/$releasever/mongodb-org/3.6/x86_64/
gpgcheck=1
enabled=1
gpgkey=https://www.mongodb.org/static/pgp/server-3.6.asc
インストール
yum install mongodb-org
サービス起動と自動起動設定
# systemctl start mongod.service
# systemctl enable mongod.service
Node.jsとYarnのインストール
Node.js 8のインストール
Node.js 8のセットアップ方法を確認する
yum install gcc-c++ make
yum install yarn -y nodejs
yarnのインストール
リポジトリを登録して、yarnをインストールする。
Node.js 8のセットアップ方法にyarnのインストール方法も書いてある。
# curl -sL https://dl.yarnpkg.com/rpm/yarn.repo | sudo tee /etc/yum.repos.d/yarn.repo
# yum install yarn
バージョン確認
nodejsはバージョンが違うと動かないとあったので、バージョンを確認する
# yarn -v
1.13.0
# node -v
v8.15.0
# npm -v
6.4.1
Growiのインストール
Git
gitでソースを入れるので、gitをインストールする
# yum install git
Growi
Growiのソースをクローンしつつインストール
# cd /usr/local/bin
# git clone https://github.com/weseek/growi.git
# cd growi
# yarn
サービスの設定
* サービス
# vi /etc/systemd/system/growi.service
- 内容
[Unit]
Description=Growi
After=network.target mongod.service

[Service]
WorkingDirectory=/usr/local/bin/growi
EnvironmentFile=/etc/sysconfig/growi
ExecStart=/usr/bin/npm start

[Install]
WantedBy=multi-user.target
- コンフィグファイル
# vi /etc/sysconfig/growi
- 内容
とりあえず、ポートは80にする
PORT=80
NODE_ENV=production
PASSWORD_SEED="`openssl rand -base64 128 | head -1`"
MONGO_URI="mongodb://localhost/growi"
FILE_UPLOAD=local
サービス起動と自動起動設定
# systemctl daemon-reload
# systemctl start growi
# systemctl enable growi
アクセス
http://<IP or FQDN>
でアクセスし、管理者を設定する。
// 起動のためか、数分間アクセスできなかった
バックアップ
以下を参照してバックアップ設定しました
https://qiita.com/yuki476/items/85d1625d5df503dc710b