■ 前置き
MeetingSDKのWeb版(通称:WebSDK)では2種類のUIが用意されています。- Component view: Zoomの基本デザインを元にウェジット化されたUIをパッケージ化
- Client view: 通常のブラウザー版ZoomクライアントのUI/UXをパッケージ化
接続を確立させるためには「SDK Key/SDK Secret」を利用した「Signature」の生成が必要となります。
また、セキュリティーの観点から「SDK Secret」はクライアント側に渡らないよう注意が必要です。
その為、解説を容易にするため以降の例についてはNodeを利用したサーバサイドとの組み合わせを参考にしたローカルで動作するサンプルで解説していますが、他の環境でも開発を進めていたくことは可能です。
ここで生成したSDKクライアントは会議参加のみで会議の開始やウェビナーへの参加はできません。その他、接続方法については「Use Component View」を参照ください。
会議開始を目的とする場合は、別途「zak」トークンの取り扱いもしくは、会議自体の設定にて「参加者に参加を許可する 任意の時間」(Allow participants to join anytime)を有効にするなどが必要になります。
■ Component view
1. 「index.js」名でファイルを用意します。
「express」を利用して、GETが要求された場合には「public」フォルダ配下を参照させ、POSTで要求があった場合には「Signature」を生成するよう動作させます。
「Signature」を生成する際には、「meetingNumber」(会議番号)、「role」(参加権限)をJSONフォーマットで受け取れるようにします。
require('dotenv').config()
const express = require('express')
const bodyParser = require('body-parser')
const crypto = require('crypto')
const cors = require('cors')
const KJUR = require('jsrsasign')

const app = express()
const port = process.env.PORT || 4000
const path = require('path');

app.use(bodyParser.json(), cors())
app.use(express.static(path.join(__dirname, 'public')));
app.options('*', cors())

app.post('/', (req, res) => {

  const iat = Math.round(new Date().getTime() / 1000) - 30;
  const exp = iat + 60 * 60 * 2

  const oHeader = { alg: 'HS256', typ: 'JWT' }

  const oPayload = {
    sdkKey: process.env.ZOOM_SDK_KEY,
    mn: req.body.meetingNumber,
    role: req.body.role,
    iat: iat,
    exp: exp,
    appKey: process.env.ZOOM_SDK_KEY,
    tokenExp: iat + 60 * 60 * 2
  }

  const sHeader = JSON.stringify(oHeader)
  const sPayload = JSON.stringify(oPayload)
  const signature = KJUR.jws.JWS.sign('HS256', sHeader, sPayload, process.env.ZOOM_SDK_SECRET)

  res.json({
    signature: signature
  })
})

app.listen(port, () => console.log(`Zoom Meeting SDK for Web Sample. port: ${port}!`))
2. 「.env」名でファイルを用意します。
ここに、「SDK Key/SDK Secret」を保存します。
ZOOM_SDK_KEY=<Marketplaceから取得した SDK KEY>
ZOOM_SDK_SECRET=<Marketplaceから取得した SDK SECRET>
3. 次に「public」フォルダを作り「index.html」名でファイルを用意します。
最低限必要な「Name」(参加者名)、「Meeting Number」(会議番号)、「Meeting Password」(会議パスコード)を配置して、ComponentViewで必要となるCDNから提供されるcss及びjsファイルをそれぞれheader、bodyに配置します。
ここでは、CDNを利用していますが、npmを利用したローカルでの実装も可能です。
詳しくは「Import SDK」を参照ください。
<html>
<head>
    <title>Zoom WebSDK Example</title>
    <meta charset="utf-8" />
    <link type="text/css" rel="stylesheet" href="https://source.zoom.us/2.9.5/css/bootstrap.css" />
    <link type="text/css" rel="stylesheet" href="https://source.zoom.us/2.9.5/css/react-select.css" />
    <script src="https://source.zoom.us/2.9.5/lib/vendor/react.min.js"></script>
    <script src="https://source.zoom.us/2.9.5/lib/vendor/react-dom.min.js"></script>
    <script src="https://source.zoom.us/2.9.5/zoom-meeting-embedded-2.9.5.min.js"></script>
    <script src="./js/index.js"></script>
  <style>
.myButton {
  background-color: #2D8CFF;
  border: none;
  color: white;
  padding: 6px 32px;
  text-align: center;
  text-decoration: none;
  display: inline-block;
  font-size: 14px;
  margin: 4px 2px;
  cursor: pointer;
}
</style>
</head>
<body>

  <input type="text" id="display_name" maxLength="20" placeholder="Name" required>
  <input type="text" id="meeting_number" maxLength="200" style="width:150px" placeholder="Meeting Number" required>
  <input type="text" id="meeting_pwd" style="width:150px" maxLength="32" placeholder="Meeting Password">
  <button id="join_meeting" class="myButton">Join</button>

  <div id="ZoomEmbeddedApp"></div>

</body>
</html>
4. 最後に「js」フォルダを「public」内に作り「index.js」名でファイルを用意し接続制御のための構文を記載していきます。
接続ボタンをクリックしたタイミングでサーバ側で「Signature」を生成させるため「XMLHttpRequest」を利用したPOSTリクエストを含めています。
window.addEventListener('DOMContentLoaded', function(event) {
  console.log('DOM fully loaded and parsed');
  websdkready();
});

function websdkready() {
  console.log("ready");

  var rootElement = document.getElementById('ZoomEmbeddedApp');
  var zmClient = ZoomMtgEmbedded.createClient();

  zmClient.init({
      debug: true,
      zoomAppRoot: rootElement,
      customize: {
        meetingInfo: ['topic', 'host', 'mn', 'pwd', 'telPwd', 'invite', 'participant', 'dc', 'enctype'],
        toolbar: {
          buttons: [
            {
              text: 'CustomizeButton',
              className: 'CustomizeButton',
              onClick: () => {
                console.log('click Customer Button');
              }
            }
          ]
        }
      }
    }).then((e) => {
      console.log('init success', e);
    }).catch((e) => {
      console.log('init error', e);
  });


  //WHEN JOIN IS CLICKED
  document.getElementById("join_meeting").addEventListener("click", async function (e) {
      e.preventDefault();
      console.log("click join");
      var meetingid = document.getElementById("meeting_number").value;

      getSignature(meetingid,0,function(signature){
        console.log(signature);
        var name = document.getElementById("display_name").value;
        var meetingpwd = document.getElementById("meeting_pwd").value;
        const sdkKey = "<Marketplaceから取得した SDK KEY>";
        // WebSDK COMPONENT JOIN
        zmClient.join({
          sdkKey: sdkKey,
          signature: signature,
          meetingNumber: meetingid,
          userName: name,
          password: meetingpwd,
          role: 0,
        }).then((e) => {
          console.log('join success', e);
        }).catch((e) => {
          console.log('join error', e);
        });
      });

  });

  // GET SIGNATURE FOR WEBSDK
  function getSignature(meeting_number, role, callback){
    var xhr = new XMLHttpRequest();
    xhr.onreadystatechange = function() {
    if (xhr.readyState == XMLHttpRequest.DONE) {
        console.log(xhr.responseText);
        const obj = JSON.parse(xhr.responseText);
        if(callback) callback(obj.signature);
      }
    }
    xhr.open('POST', '/', true);
    xhr.setRequestHeader('content-type', 'application/json');
    const body = '{"meetingNumber":"' + meeting_number +'", "role":"'+ role +'"}';
    xhr.send(body);
  };

};
5. 全てのファイルが揃っているところで、nodeモジュールをインストールします。
$ npm install express body-parser crypto cors jsrsasign
6. 起動します。
$ node index.js
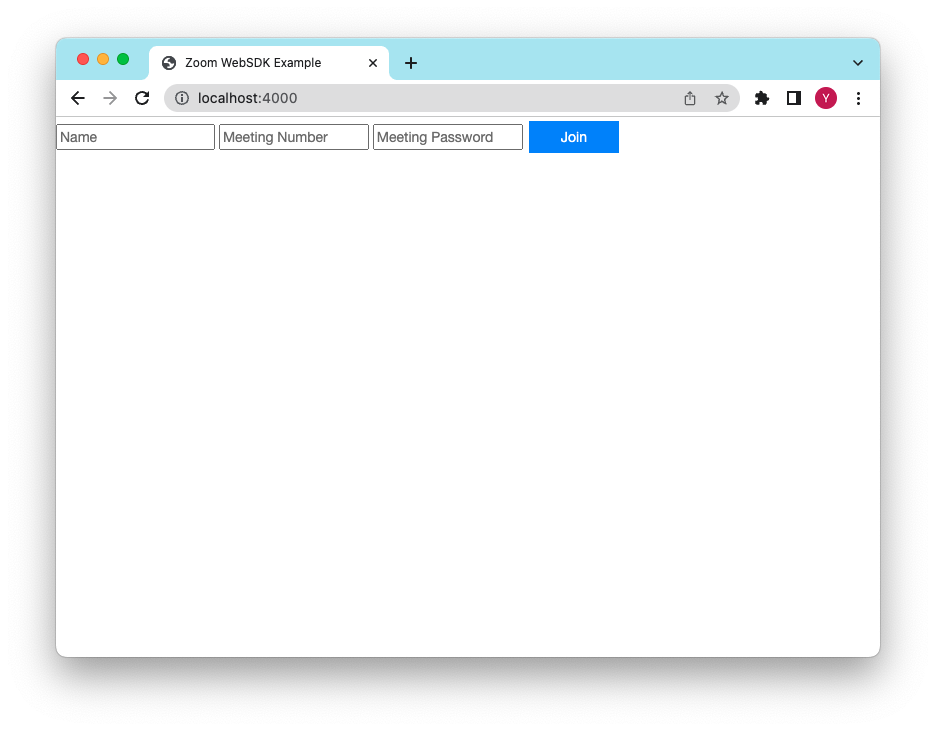
7. 正常に起動できたところで、Chromeブラウザから「http://localhost:4000」を開きます。
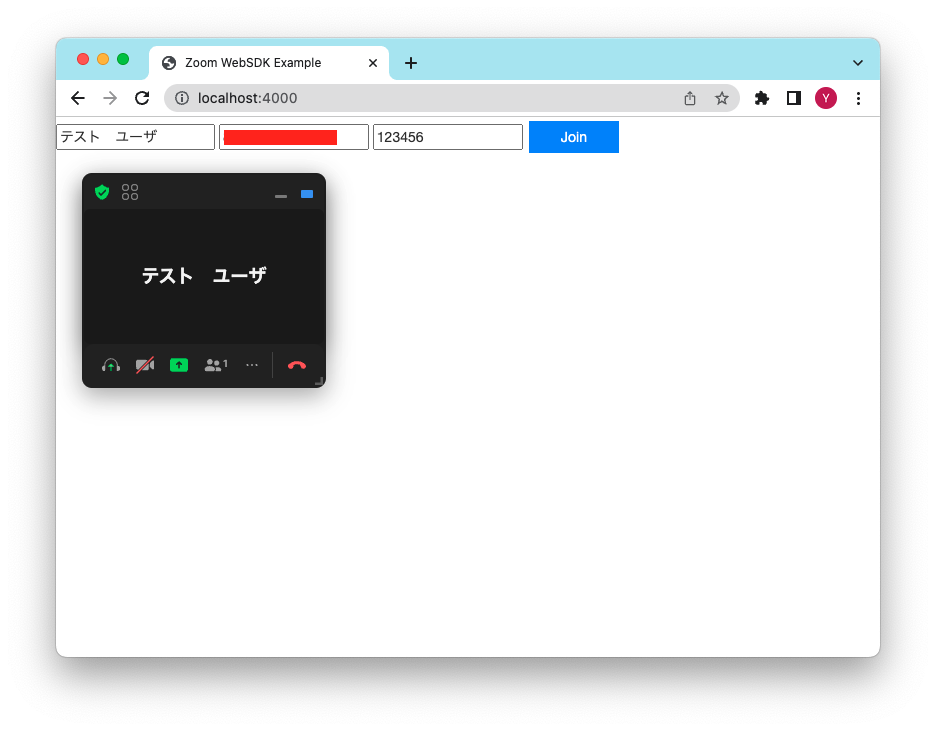
「Name」に参加者名、「Meeting Number」に会議番号、「Meeting Password」(会議パスワード)を入力し「Join]ボタンをクリックします。
8. 正常に接続ができるとウェジット型のZoomのUIが表示されます。
■ 補足事項
Generate Signature(Signatureの生成について):
https://marketplace.zoom.us/docs/sdk/native-sdks/web/signature
Positioning(配置方法ついて):
https://marketplace.zoom.us/docs/sdk/native-sdks/web/component-view/positioning
Resizing(サイズ変更について):
https://marketplace.zoom.us/docs/sdk/native-sdks/web/component-view/resizing
Reference(各種パラメータ情報):
https://marketplace.zoom.us/docs/sdk/native-sdks/web/component-view/reference