実行環境はホームネットワーク内を想定しています。
この記事は【Ionic】PeerJSを使ってP2Pチャットアプリを作るの応用です。
やったこと
PeerJSを使ってP2PビデオチャットができるアプリをIonicで作りました。
Ionicでピアを作成する
ベースは【Ionic】PeerJSを使ってP2Pチャットアプリを作るなので、
導入部の説明は省きます。
ビデオの表示領域を作成する
<ion-row>
  <ion-col>
    <video #video autoplay></video>
  </ion-col>
  <ion-col>
    <video #selfVideo autoplay></video>
  </ion-col>
</ion-row>
AngularにViewChildを使って制御できるようにします。
@ViewChild('video') video: any;
@ViewChild('selfVideo') selfVideo: any;

// 相手のビデオを表示する
private showVideo(stream) {
  let video = this.video.nativeElement;
  video.src = URL.createObjectURL(stream);
}

// 自分のビデオを表示する
private showVideoSelf(stream) {
  let video = this.selfVideo.nativeElement;
  video.src = URL.createObjectURL(stream);
}
通信処理
他のピアから接続を受けた時の処理と、
自分から接続しにいく時の処理を用意します。
初期セットアップと他のピアから接続を受けた時の処理の開始は、
IonicのionViewDidLoadで開始させます。
ionViewDidLoad() {
  this.start();
}

// 初期セットアップ
public start() {
  const peerId = String(Math.floor(Math.random() * 900) + 100);
  const options = {
    host: location.hostname,
    port: 9000
  };

  this.peer = new Peer(peerId, options);

  this.peer.on('open', id => this.talk.srcId = id);

  this.peer.on('call', (call) => { this.receive(call); });
}

// 他の端末から接続をけた時の処理
private receive(call: PeerJs.MediaConnection) {
  navigator.getUserMedia =  ( navigator.getUserMedia || navigator.webkitGetUserMedia || navigator.mozGetUserMedia || navigator.msGetUserMedia );
  navigator.getUserMedia(this.talk.device, mediaStream => {
    this.showVideoSelf(mediaStream);
    call.answer(mediaStream);
    call.on('stream', stream => this.showVideo(stream));
  }, err => console.error(err));
}
ボタンイベントを受けて、他のピアに接続しにいく処理を用意します。
onSend() {
this.call();
}
// 他の端末へ接続しに行く
public call() {
navigator.getUserMedia = ( navigator.getUserMedia || navigator.webkitGetUserMedia || navigator.mozGetUserMedia || navigator.msGetUserMedia );
navigator.getUserMedia(this.talk.device, mediaStream => {
this.showVideoSelf(mediaStream);
const call = this.peer.call(this.talk.destId, mediaStream);
call.on('stream', stream => this.showVideo(stream));
}, err => console.error(err));
}
シグナリングサーバー
テキストチャット作成時に用意した物と同じです。
var PeerServer = require('peer').PeerServer;
var server = new PeerServer({port: 9000});
テスト実行
シグナリングサーバー
$ node peer.server.js
Ionic Serve実行
$ ionic serve
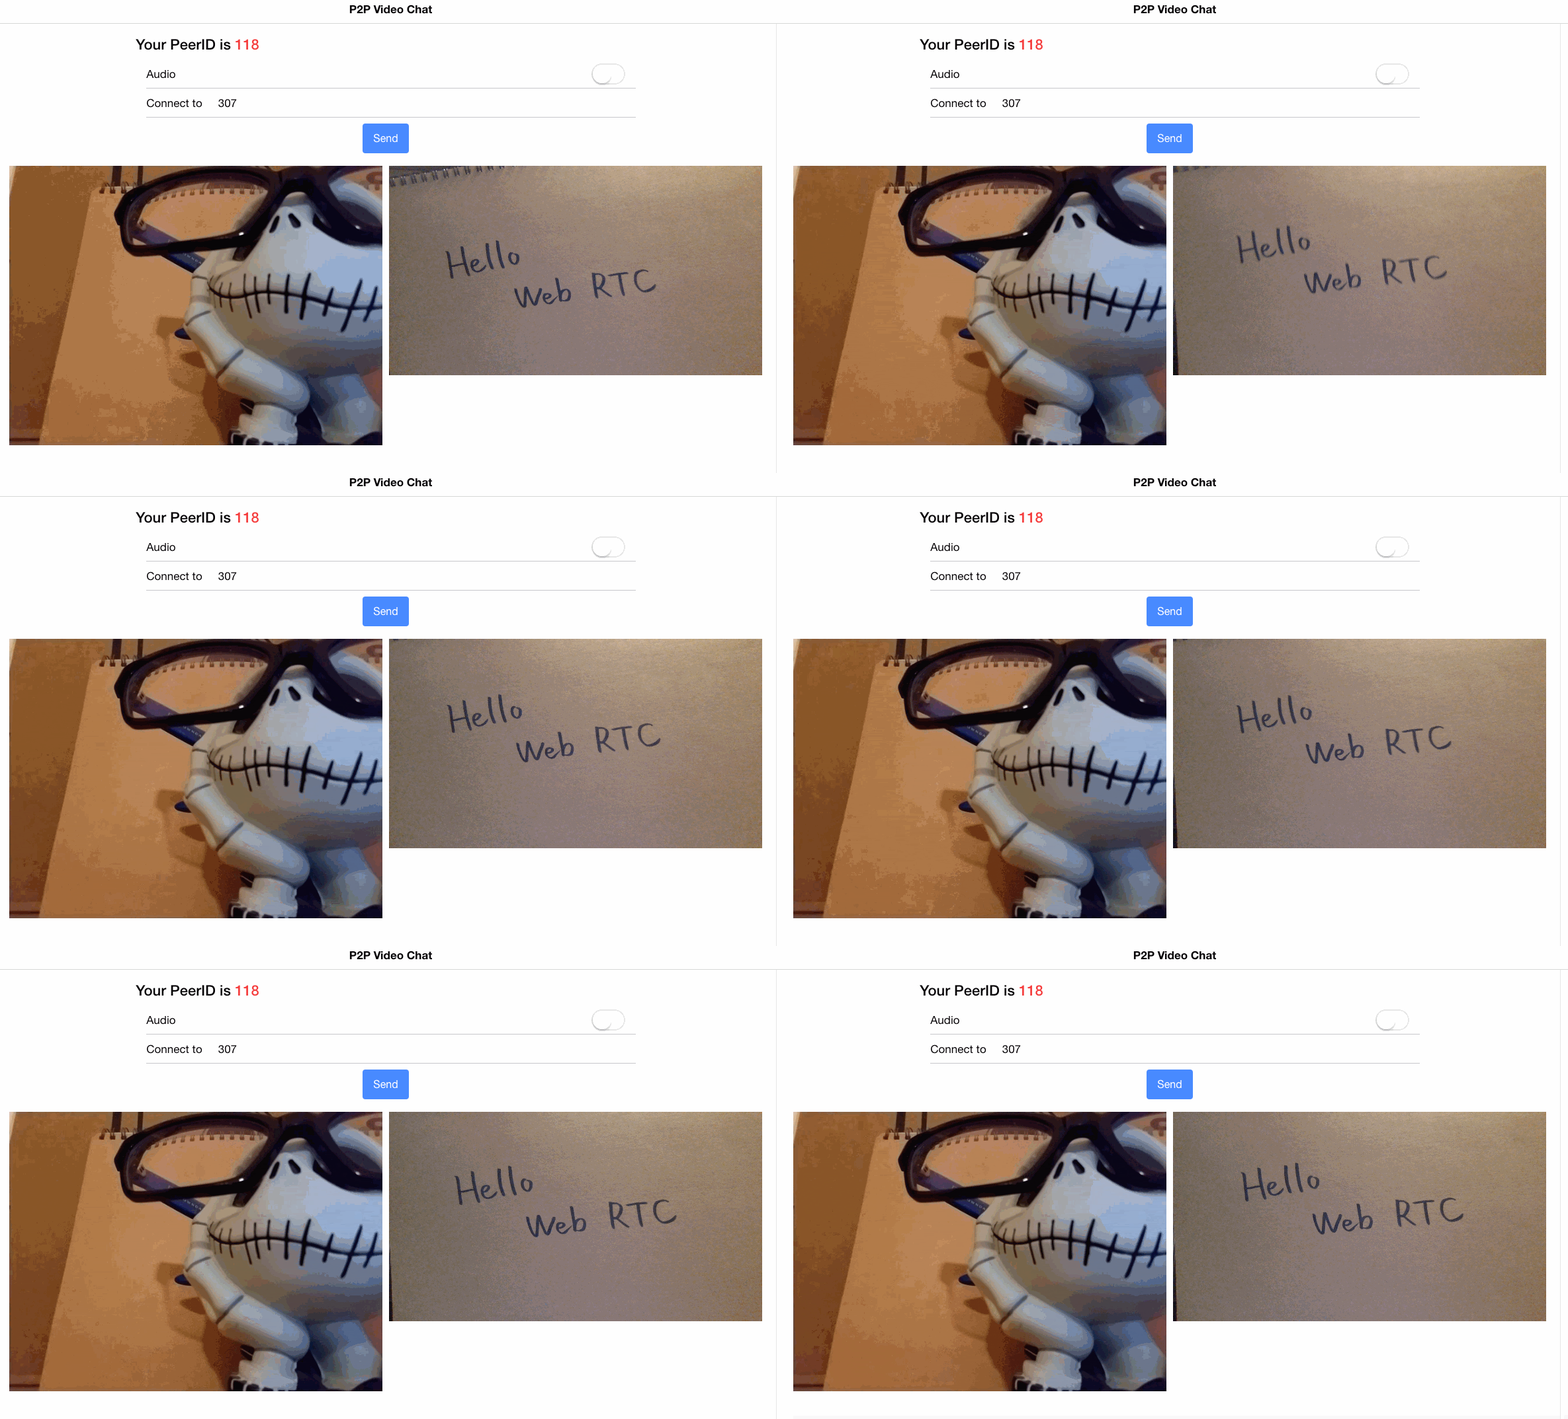
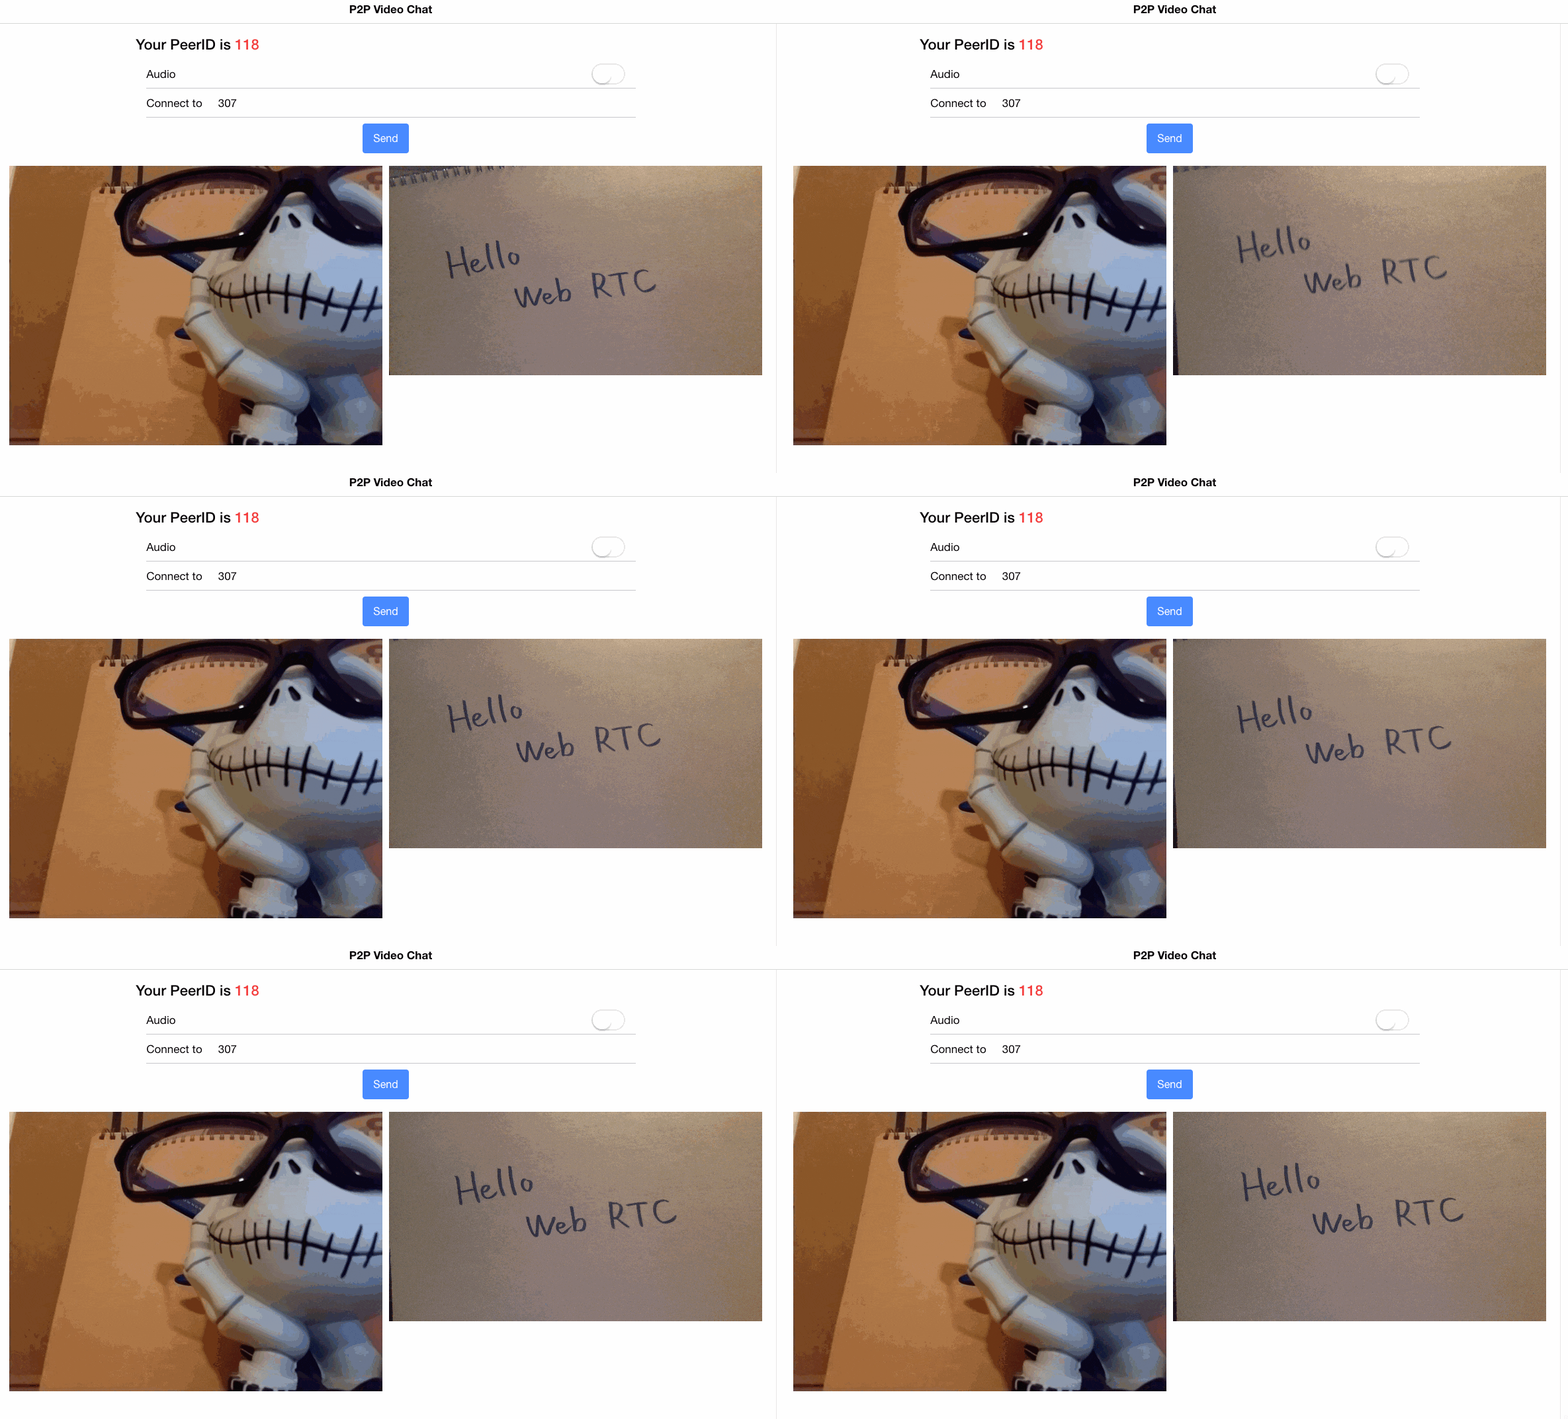
実行イメージは以下になります
テスト実行時の注意
Chromeはlocalhost以外での「getUserMedia」が HTTPS のみでしか使用できませんでした。
localhost以外(スマートフォン等)の端末で動きを確認したい場合は、
FirefoxまたはEdgeを利用する必要がありました。
Safariはlocalhostでも駄目みたいです。
終わりに
普段こういった感じの物を作らないので動くと「おおっ!!」ってなりました。
実コードはここ GitHubです。
